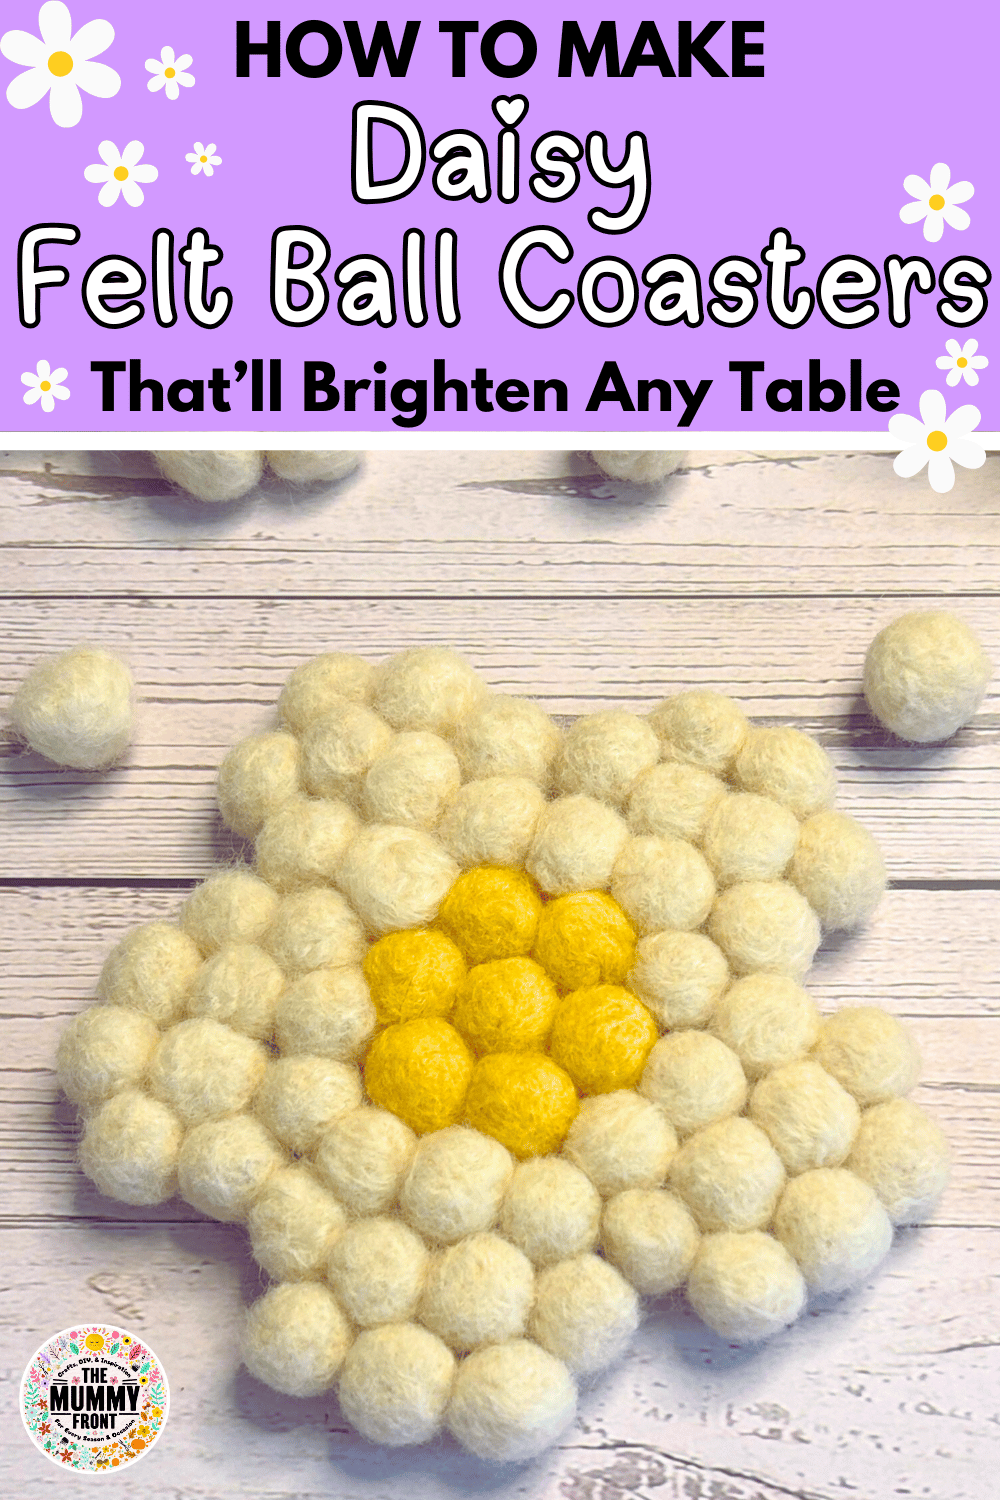
If you’re anything like me, you love adding sweet little handmade touches to your home… especially when they’re as cute as daisies.
In this tutorial, I’ll walk you through how to make your own DIY Daisy felt ball coasters using soft felt balls and a bit of cork.
They’re cozy, cheerful, and honestly just make every coffee moment feel a little more special.

These coasters are perfect for spring decorating, gifting to your craft-loving bestie, making to sell, or just as a fun way to spend an afternoon getting creative.
You can either make your own felt balls (which is super relaxing and satisfying!) or use pre-made ones to speed things up.
We’ll go step-by-step together… from tracing your flower shape to gluing on each fluffy little petal!
By the end, you’ll have the prettiest daisy coasters ready to show off.
So shall we get crafting?
P.S. Love this spring craft idea? Make sure you never lose it by Clicking here to easily save this tutorial to your favorite Pinterest board. Happy pinning!
This post may contain affiliate links. See my full disclosure here for more info.
What You’ll Need to Make DIY Felt Daisy Coasters
Before we get started on this adorable project, let’s gather all the crafty essentials.
Whether you’re felting your own wool balls or using pre-made ones, you’ll only need a few tools and supplies to bring your daisy coasters to life.
Tools You’ll Need:
- Sharp scissors – for snipping out that perfect daisy shape
- Glue gun – your best friend for securing everything into place
- Black Sharpie or permanent marker – for outlining your design
- Needle felting mat and needle – only if you’re making your own felt balls (optional)
- Daisy template – you can download the one I used here
Supplies to Gather:
- Felting wool in white and yellow or pre-made felt balls in those colors which are available here.
- Cork sheet – the sturdy base for your flower
Step-by-Step: Let’s Make DIY Felt Daisy Coasters!
Ready to bring some cozy charm to your coffee table?
Follow along… I’ll walk you through every step!
1. Make Your Felt Balls (Skip if You Bought Premade)
If you’re feeling extra crafty and have felting wool, go ahead and needle felt your own balls.
You’ll want them to be firm and around the size of a large marble.
Make a good handful of white ones for the petals and a few yellow ones for the daisy center.
Tip: This step is super fun and oddly satisfying… perfect for a cozy crafting evening.
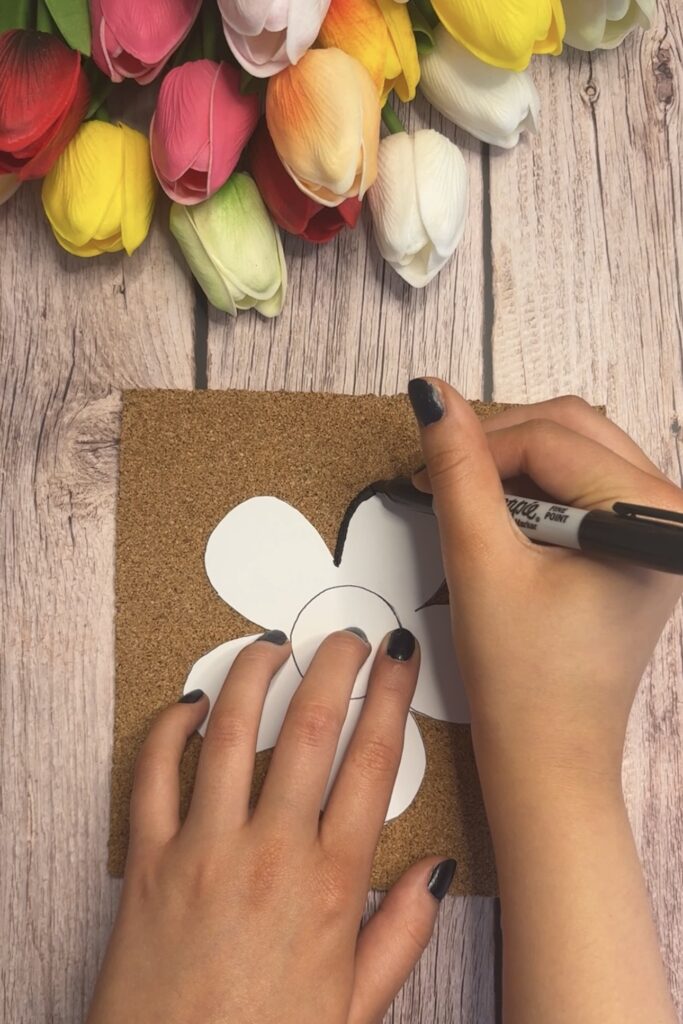
2. Trace the Daisy Design Onto Cork
Grab your cork mat and daisy template. Place the template on the cork, hold it steady, and use your Sharpie to trace the flower shape.
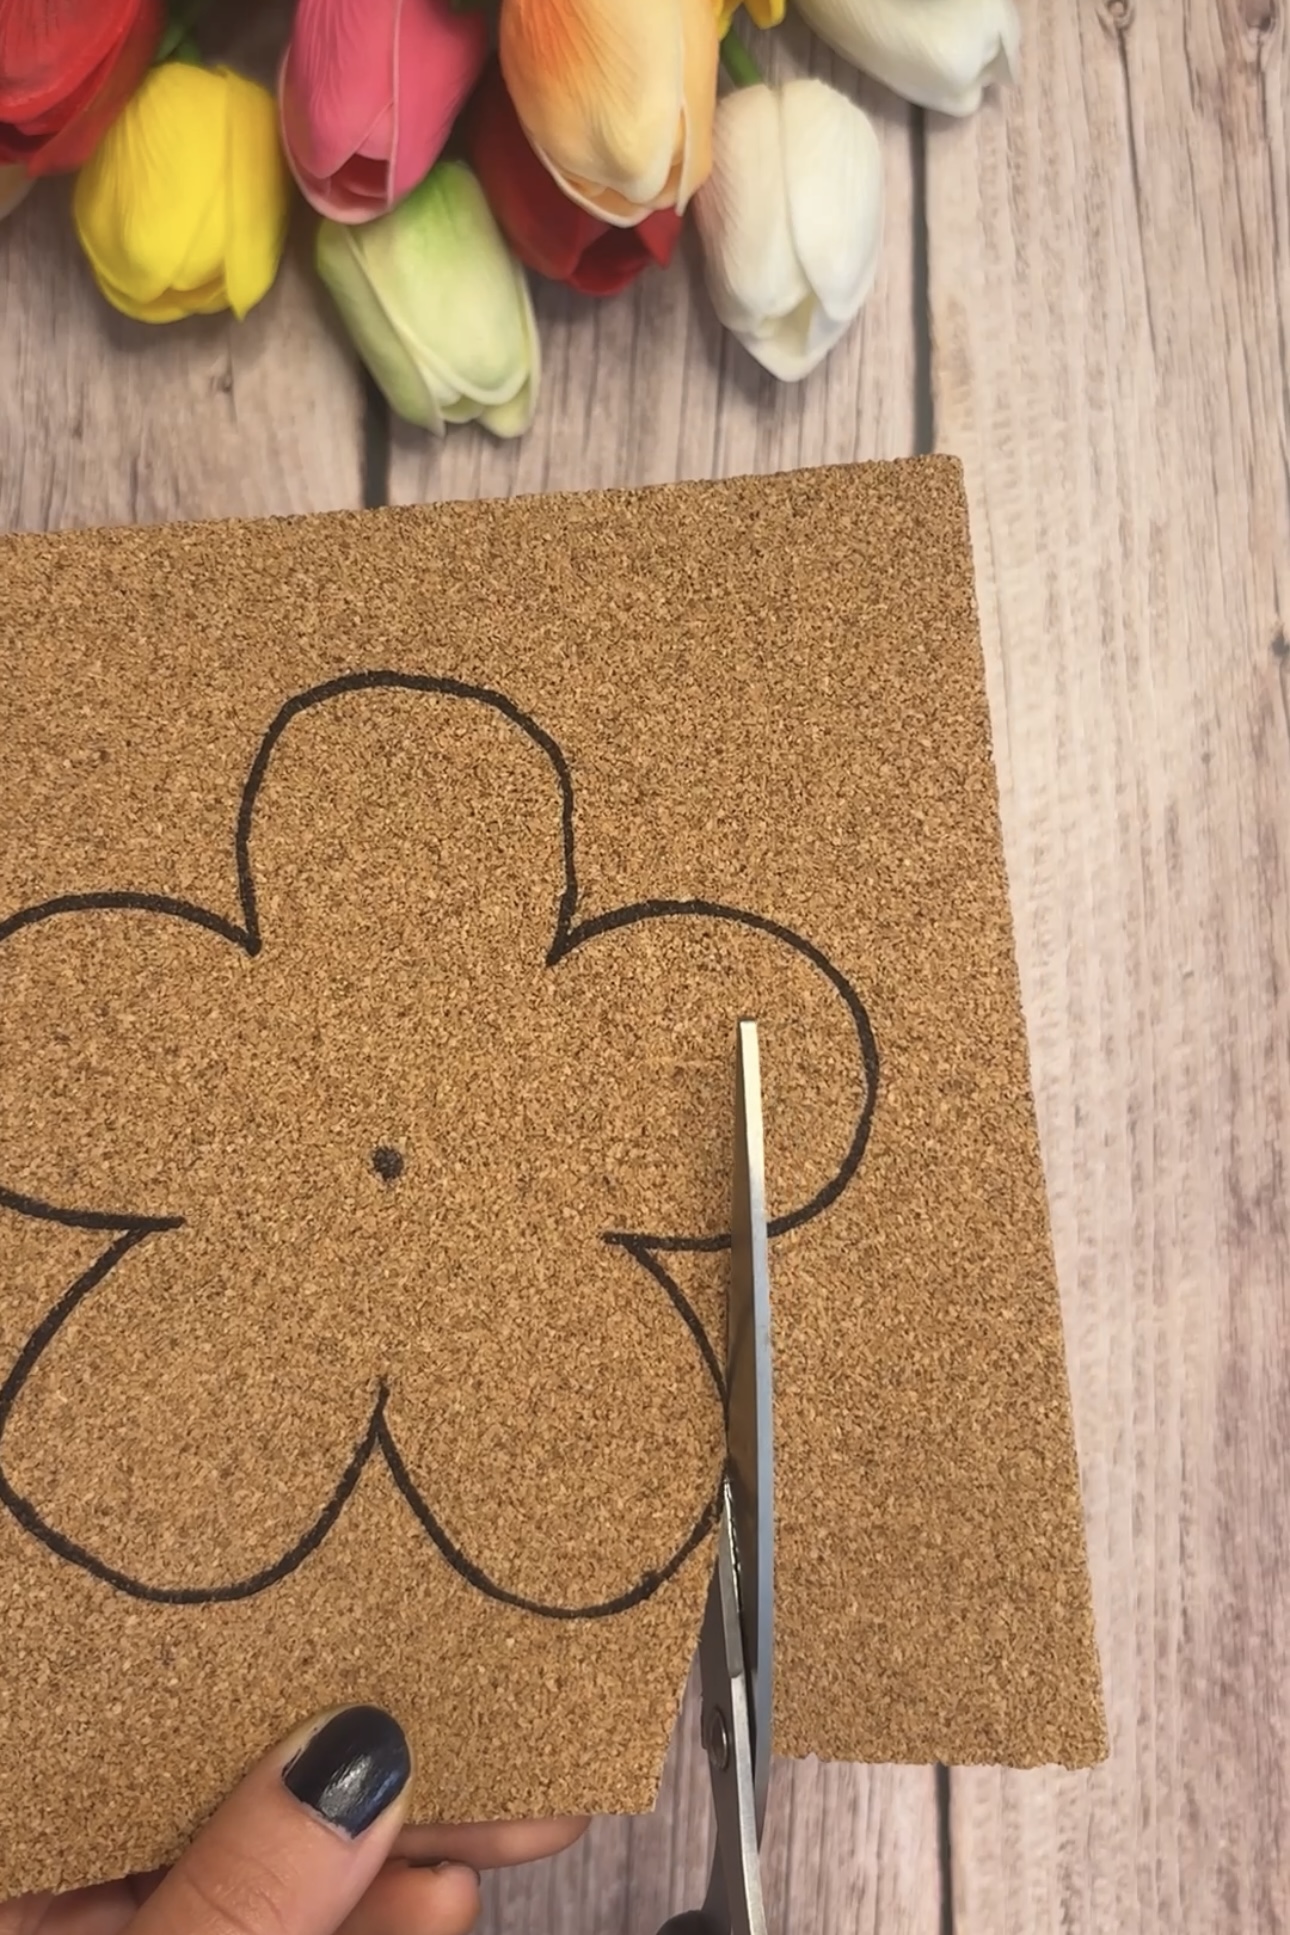
3. Cut Out Your Daisy Shape
Using a sharp pair of scissors, carefully cut along the lines you just traced.
Go slow and steady around those curves to keep your daisy shape nice and even.
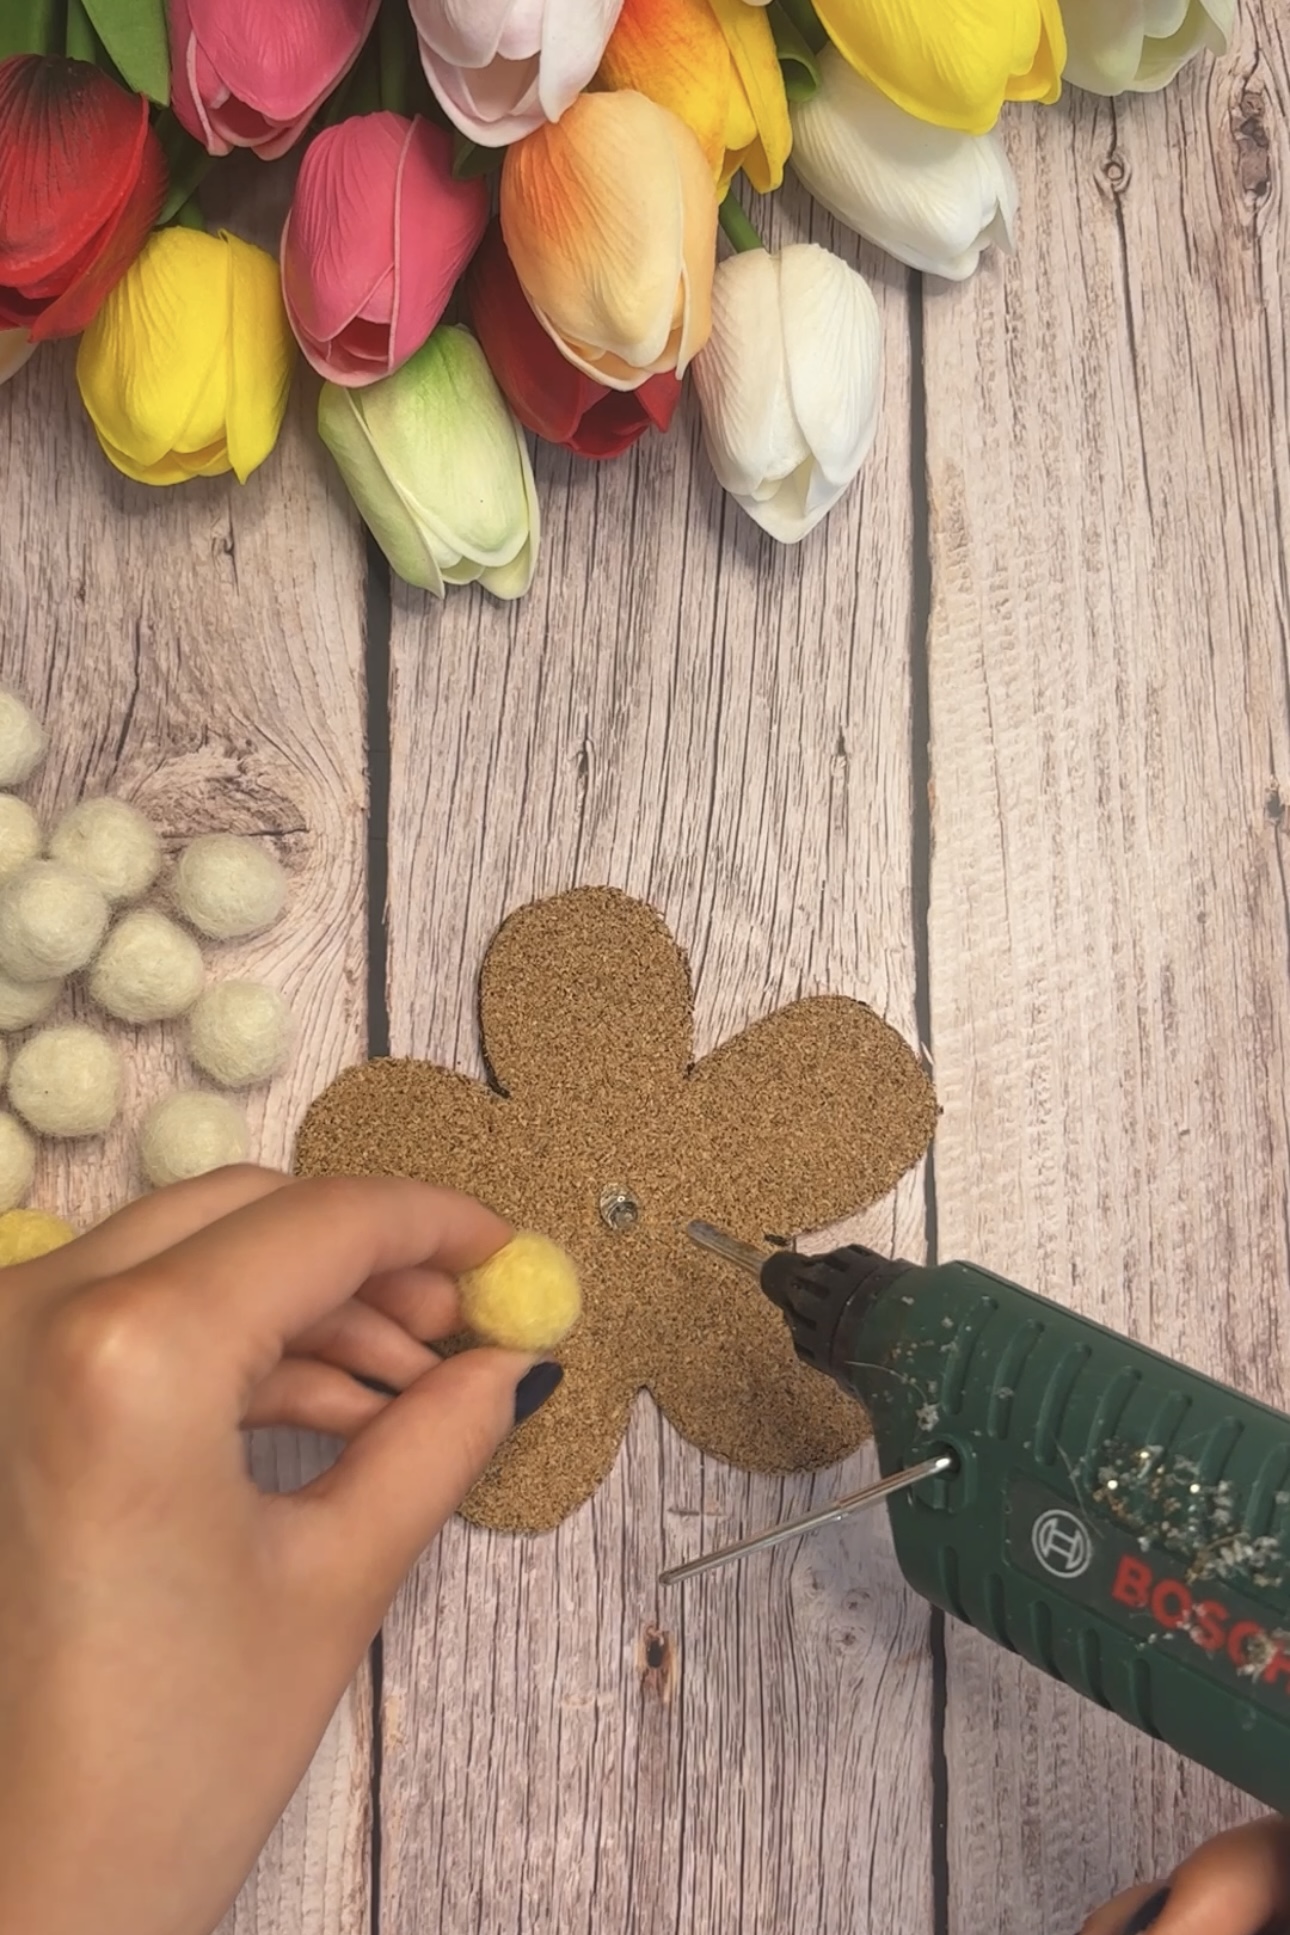
4. Start Gluing from the Center Out
Heat up your glue gun… it’s time for the fun part!
Begin by gluing a yellow felt ball right in the center of your cork flower.
Keep adding yellow balls to form the daisy’s middle.
Once the center is done, move on to the white balls for the petals. Work your way outward, petal by petal, until you’ve covered the shape.
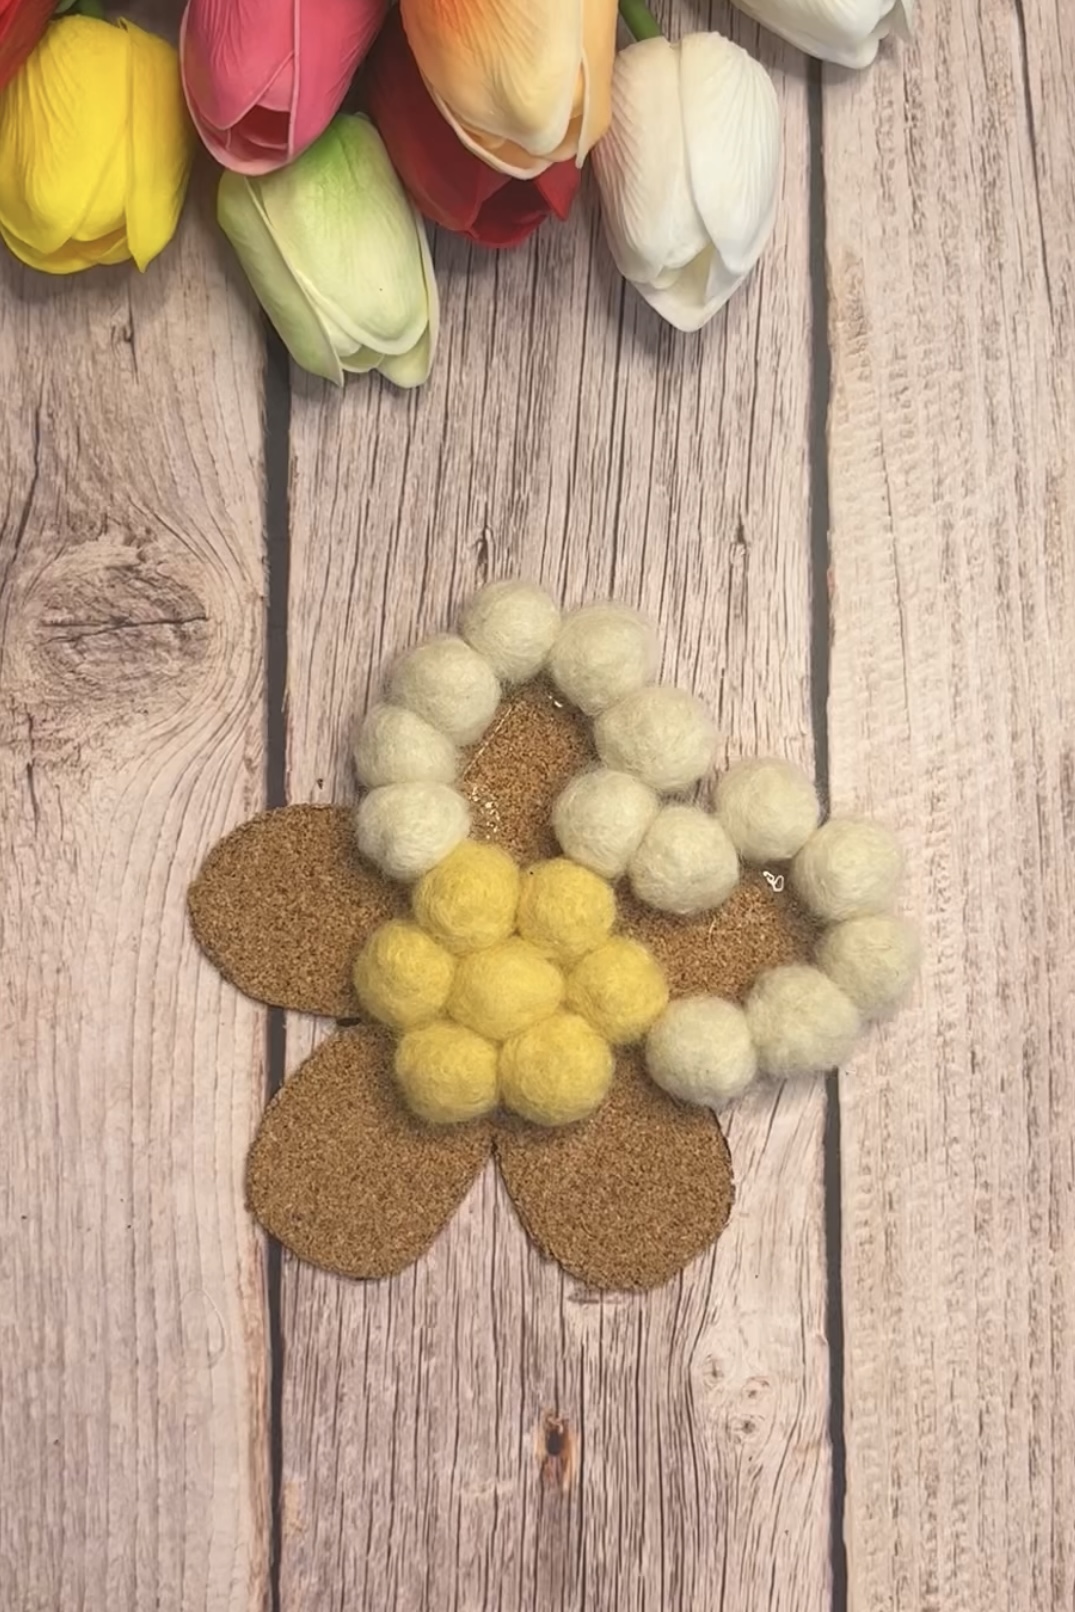
It’s totally fine if they aren’t perfectly symmetrical…
it just adds handmade charm!

Before You Go...
And just like that, you’ve created the cutest little set of DIY Daisy felt ball coasters!
Whether you made just one or a whole bouquet of them, these coasters are such a sweet way to bring a little handmade joy into your home.
If you give this adorable spring craft a try, I’d love to see your creations…
seriously, it makes my day!
Tag me on social or drop a photo in the comments.
And if you had fun with this tutorial, be sure to subscribe or check out more seasonal crafty goodness on the blog.
Happy crafting ?!
