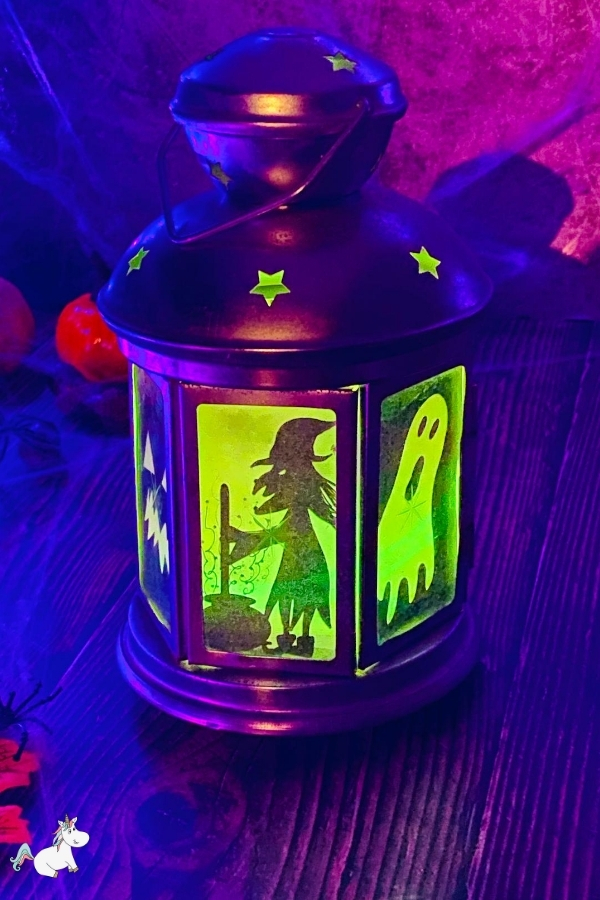
Decorate your home in style this Halloween with this stunning (and not to mention SPOOKY) DIY Halloween lantern!
This Halloween project requires minimal effort and DIY skills… and can be made from start to finish in less than 10 minutes!
And the best part? (as if it wasn’t good enough already)
This beautiful DIY Halloween lantern will cost less than 10 dollars to make… Now that’s my kinda project!
This post may contain affiliate links. See my full disclosure here for more info.
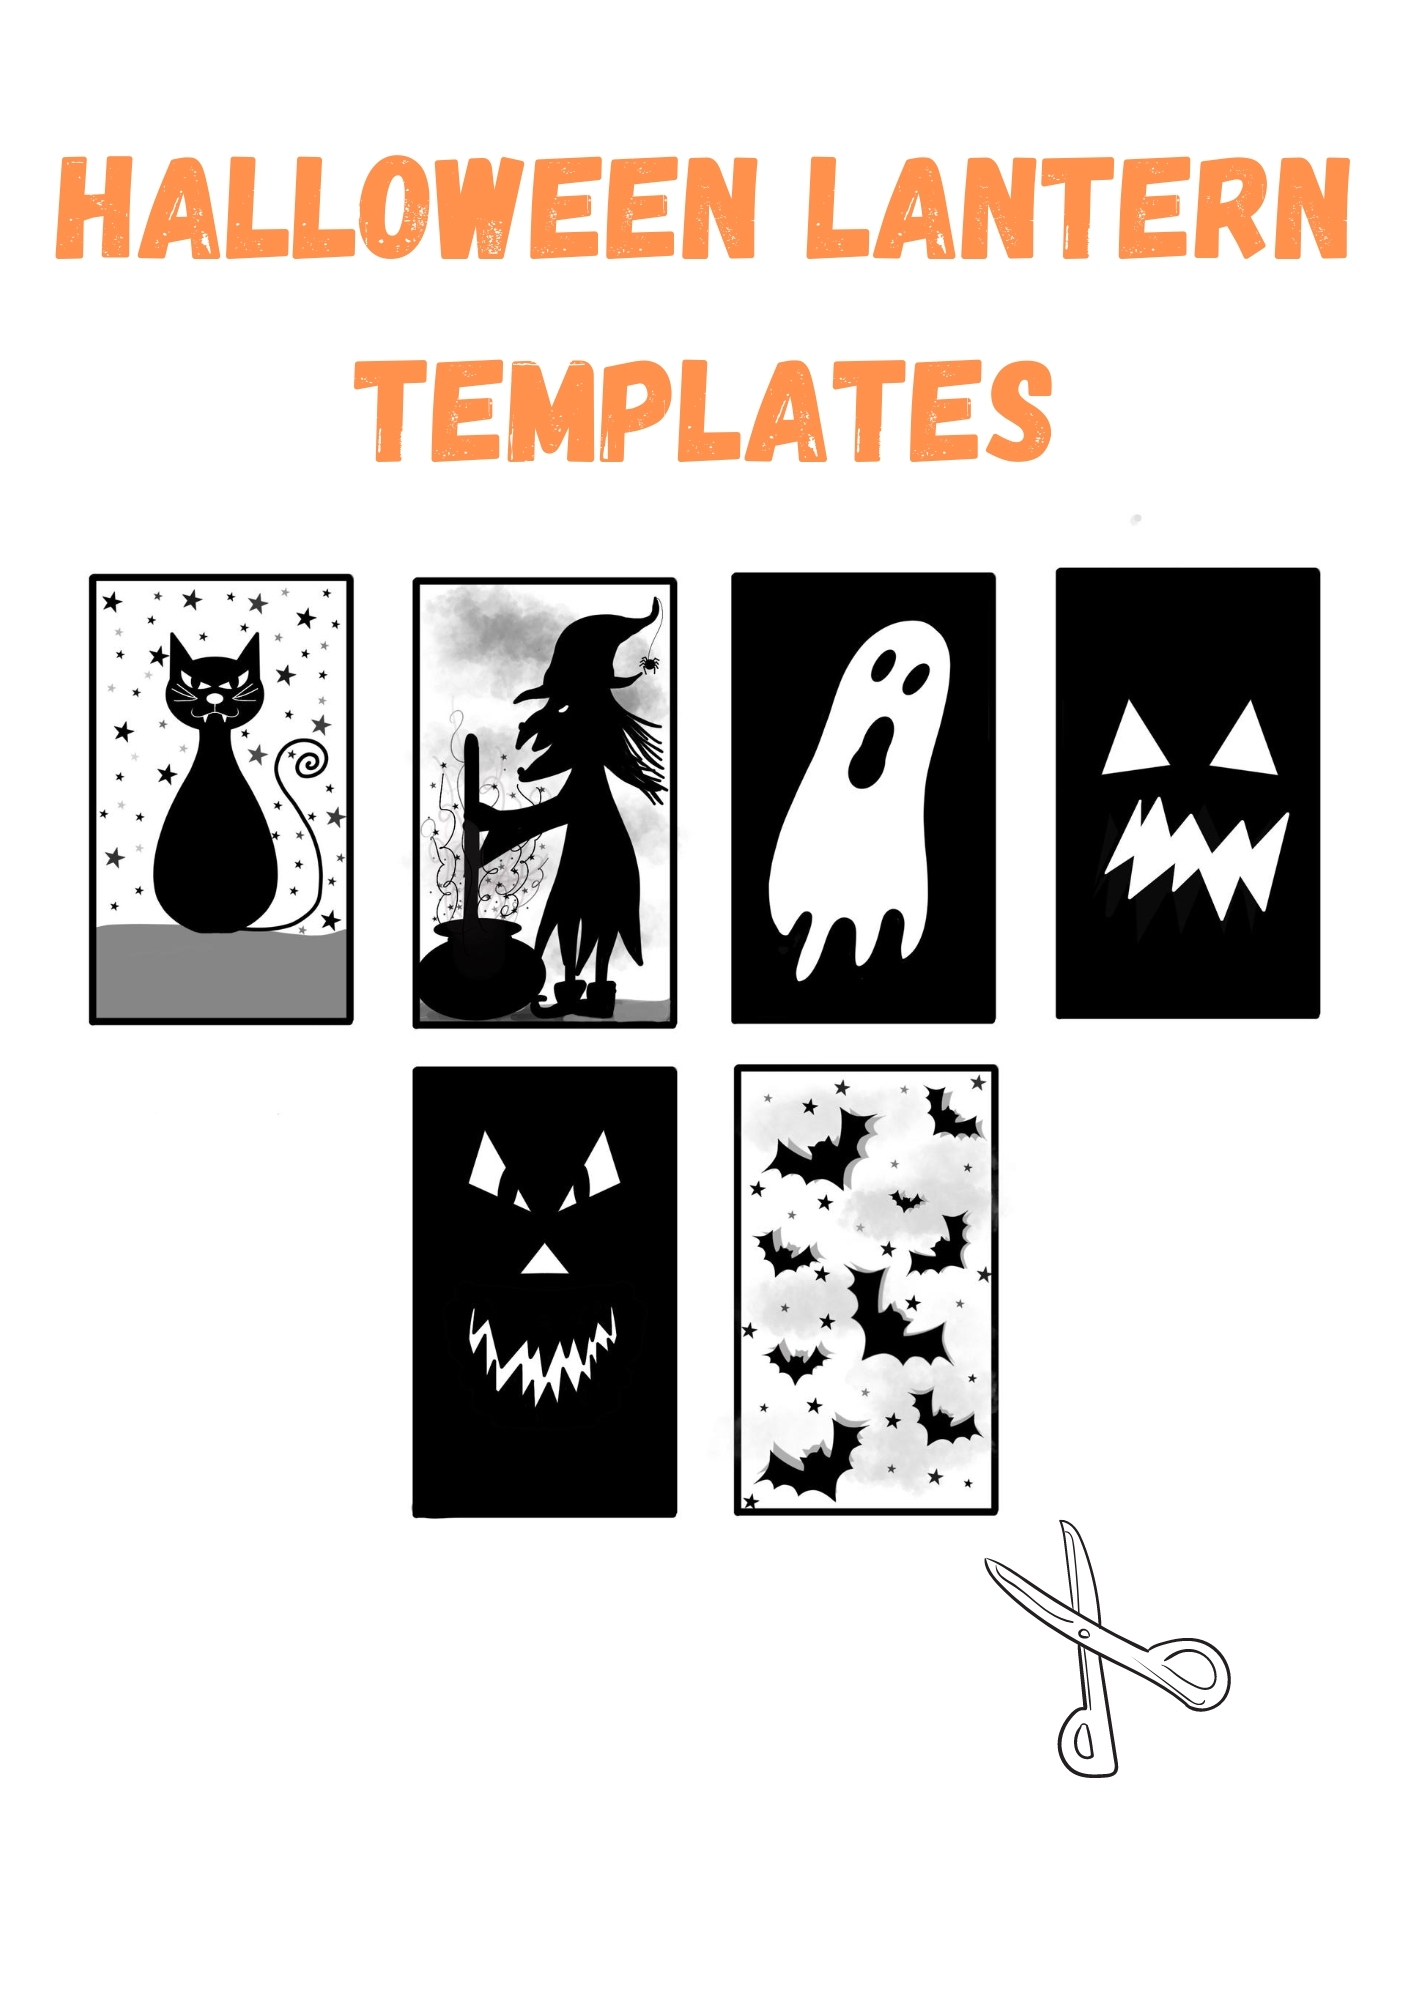
DIY Halloween Lantern Templates
The first thing you need to do to get started with your Halloween lantern project is to download your FREE lantern templates included with this tutorial.
To do this, simply click here to sign up and I’ll send you the secret password for my members-only area where you’ll find the templates you need for this Halloween lantern craft (and much more besides)!
Already a member? Click here to access the library and enter your password (found at the bottom of your welcome email)

DIY Halloween Lantern Supplies
Once you have your templates in hand, you’ll only need a few more simple supplies…
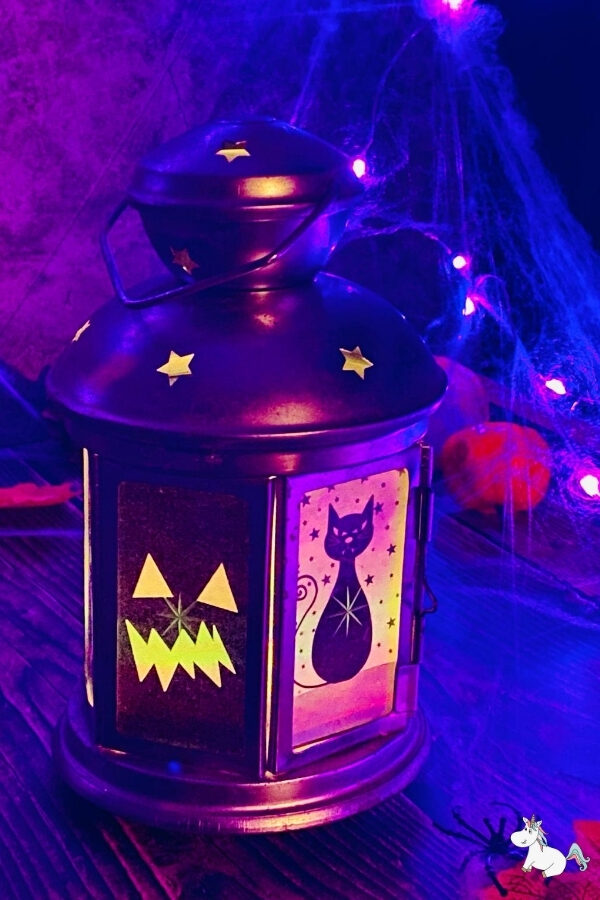
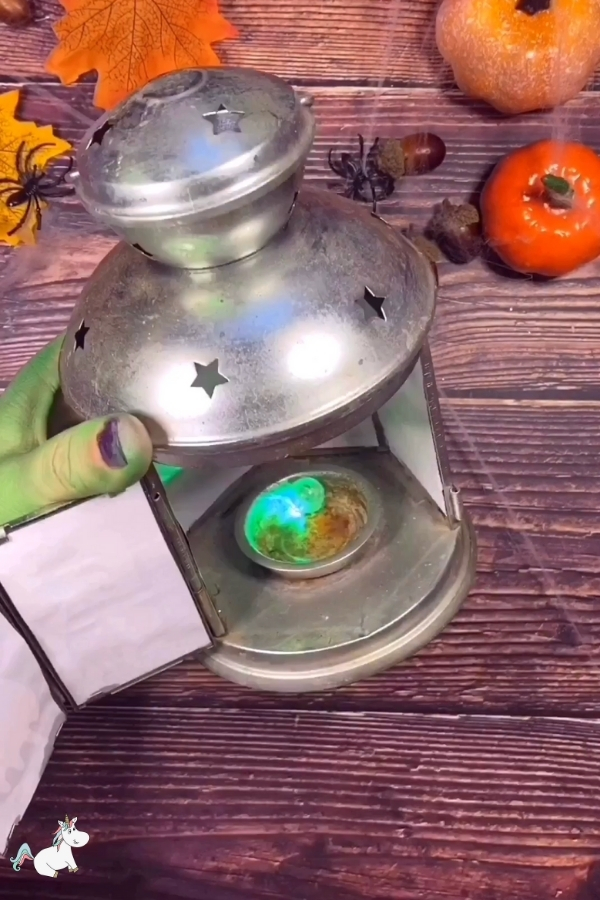
- IKEA Rotera Lantern
This lantern is an IKEA classic! I bought mine way over 10 years ago now which is why it’s slightly rusty inside… But this just adds an authentic Halloween touch, right?
If you don’t have an IKEA store close by, you can get the Rotera lantern I used for this craft from Amazon! But be warned, they are more expensive than they are over in IKEA!
No Rotera? No Problem! Drop me a message here with your lantern size requirements and I’ll fix you up some templates in the size you need!
I found these awesome little light-up balls on Amazon and they have blown my mind!
Not only are they unbelievably bright, but there’s also 100 in a pack, and they last much longer than the 15 hours stated in the description.
Pro Tip: You can even slide the white battery stopper back in after use to make them last even longer
This means they’re much more efficient than using glowsticks or battery-operated lights which can become expensive over time.
- Glue
Any Pritstick style glue will work well for these Halloween lanterns.
You’ll only need a tiny strip of glue along the top and bottom edges of your templates to hold them in place.
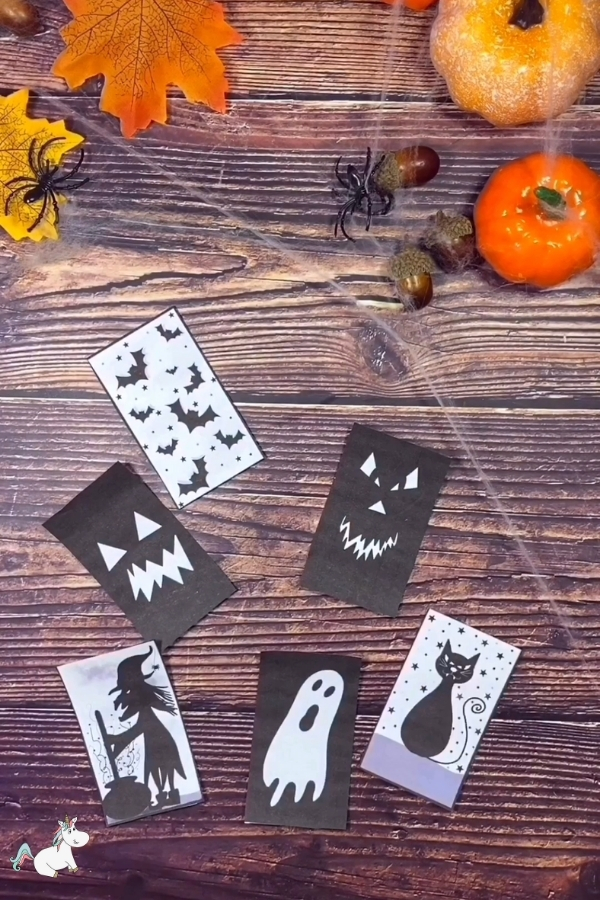
- Scissors
Scissors are the perfect tool for carefully cutting out your lantern templates.
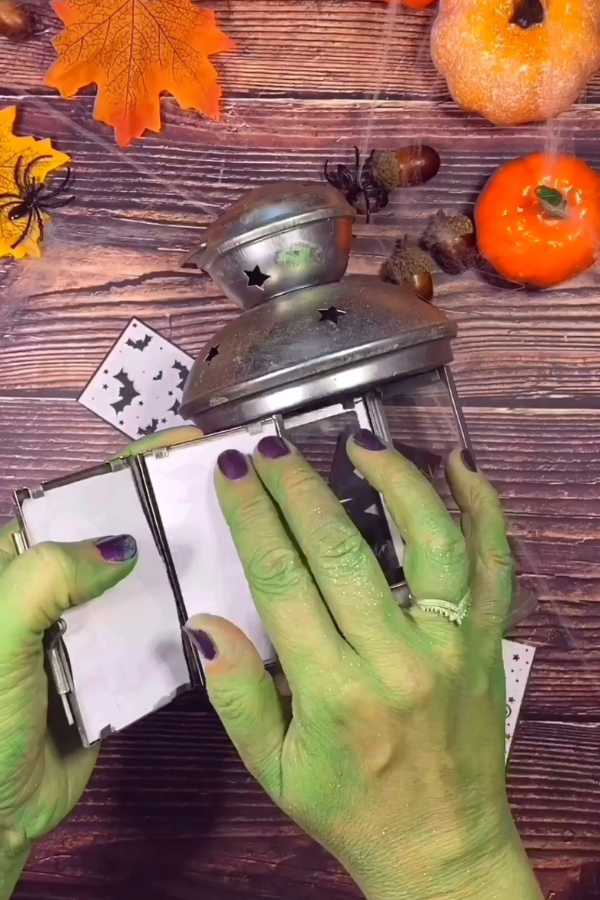
DIY Halloween Lantern Method
Now you’ve gathered all your supplies, it’s time to assemble your Halloween lantern…
and it really couldn’t be any simpler!
Let’s go…
P.S. Keep this craft handy by clicking here or on the image below to quickly & easily save it to your Halloween Pinterest board
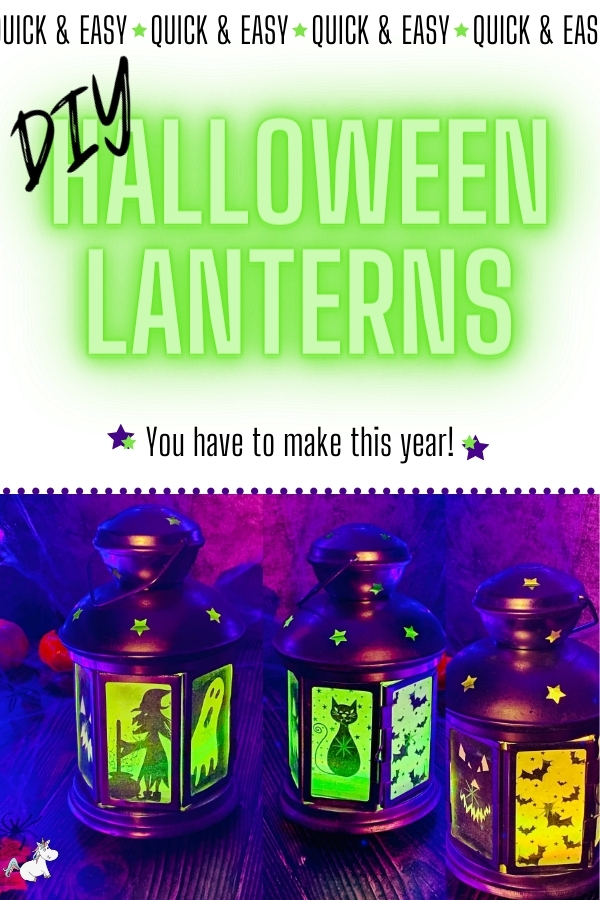
Make this show-stopping DIY Halloween Lantern in less than 10 minutes... Perfect Halloween Decor! * Be extremely cautious when using mini light-up balls as these are tiny and pose a choking risk to children. * Got a lantern in a different size? No problem! Send me a message here with the dimensions you need and I'll fix them up for you * This project can experience rain damage due to the vent holes in the top of the lantern... You could either secure your templates in a plastic coating (think tape or sticky-backed plastic) or seal up the holes with some clear tape. * Please don't use a real flame inside this lantern while you have the paper templates inside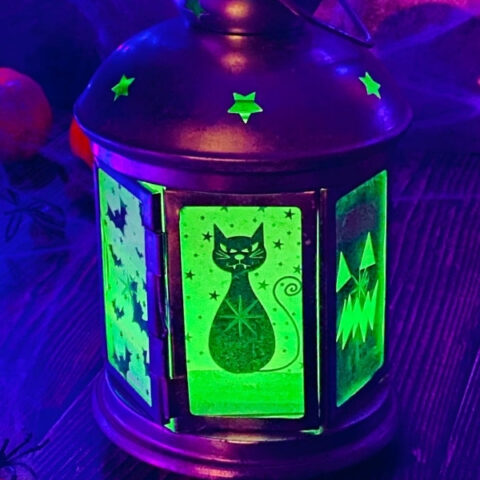
Easy DIY Halloween Lantern (In Less Than 10 Minutes!!)
Materials
Tools
Instructions

Notes
Before You Go...
Any questions on how to make this DIY Halloween lantern? Let me know in the comments section below!