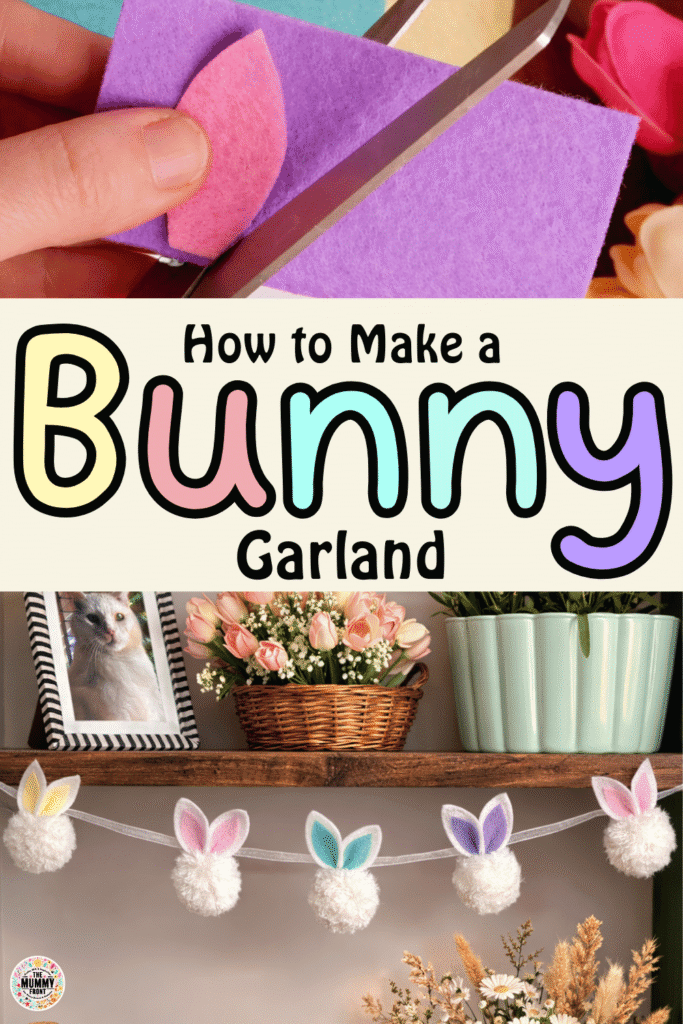
This easter garland diy is adorable and the perfect way to add some softness to your spring decor without a lot of fuss or expense. It’s also an Easter craft that feels cheerful, customizable and actually FUN to make.
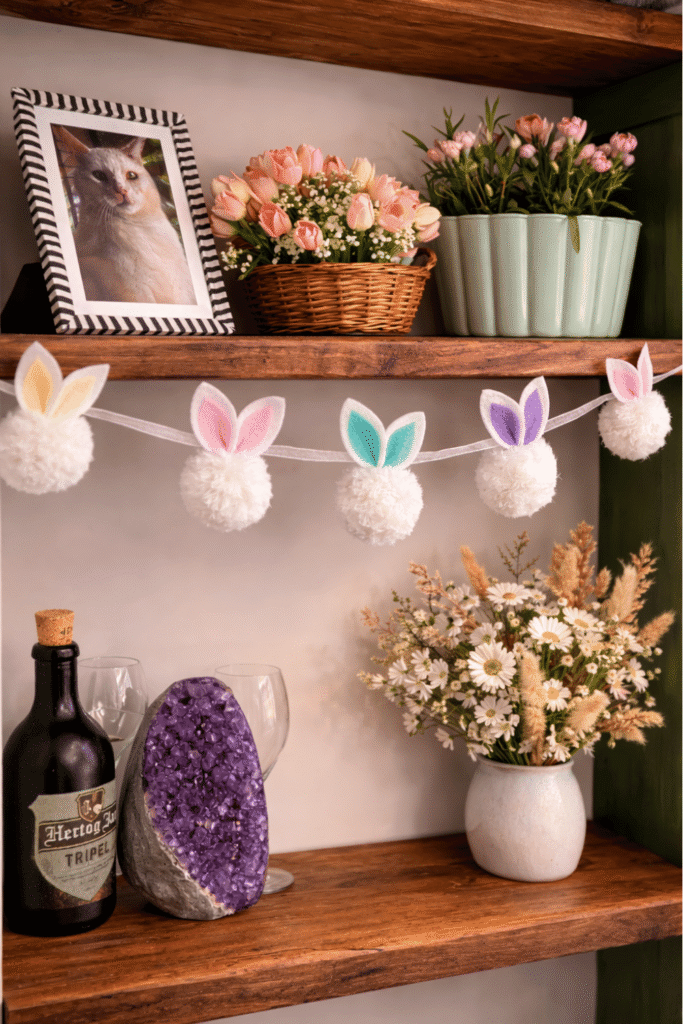
I love how the fluffy pom pom bunnies paired with soft pastel felt ears give this garland such a sweet handmade vibe. It’s perfect hung on a shelf, mantel or stretched across a little console table in your entryway. Bonus? You can totally customize the colours to fit your space… pastel Easter perfection or something more muted to work with your existing Easter decor.
I’ll walk you through each step below so you can feel confident whipping up your own bunny garland. No matter what you’re in the mood to make for Easter, this easy afternoon craft is sure to sweeten your spring decor.
P.S. Click here to Pin this Easter garland diy for later so you can find it when you’re ready to make this sweet little project.
This post may contain affiliate links. See my full disclosure here for more info.
Materials Needed for Easter Garland DIY
You will need:
- White fluffy yarn
- Pom pom makers
- White felt
- Pastel felt in multiple spring colors
- Ribbon
- Hot glue gun and glue sticks
- Scissors
How To Make Fluffy Bunny Garland Diy (Easy Easter Garland Tutorial)
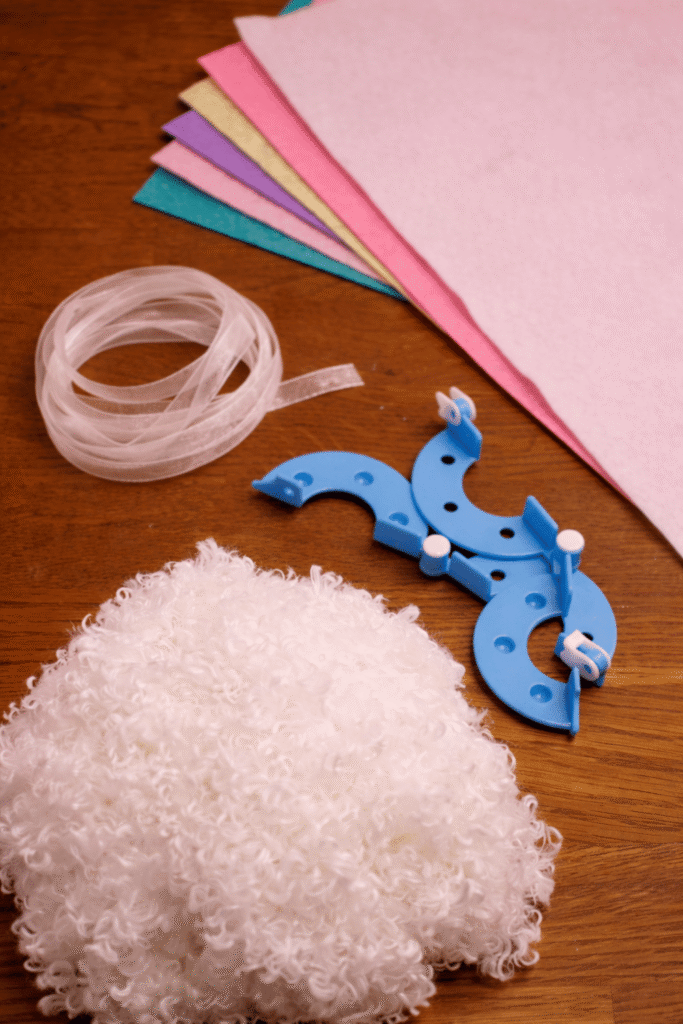
STEP 1: Get your materials ready
The first step is to grab all of the materials you’ll need to make this Easter garland diy. Pastel felt, fluffy white yarn, pom pom makers, ribbon, hot glue and scissors. Trust me, having it all laid out before you start will make this simple project feel even easier.
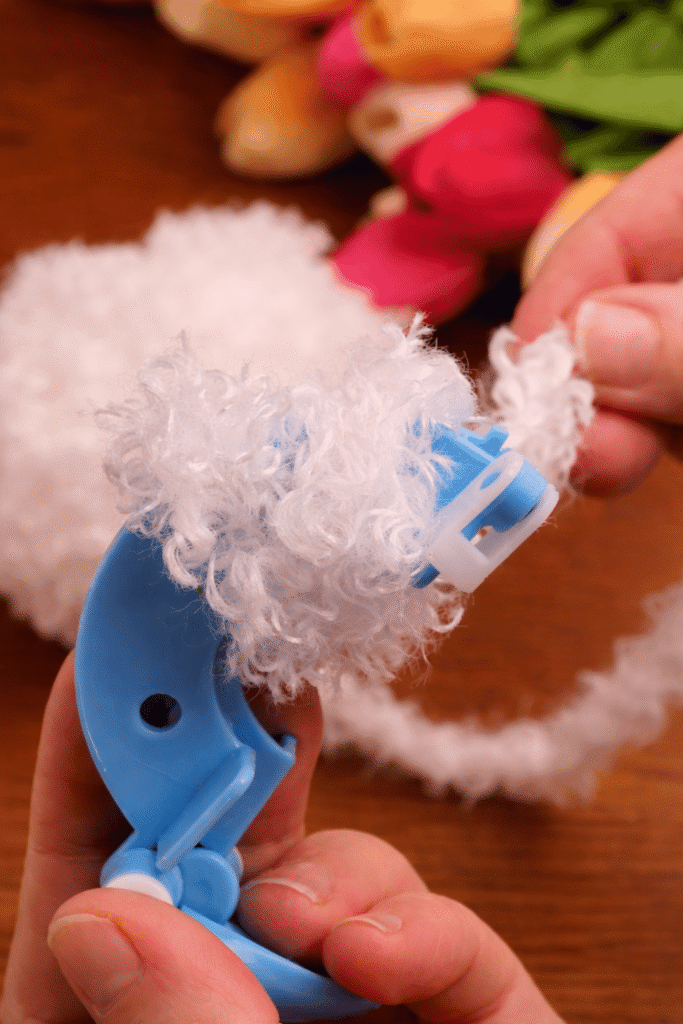
STEP 2: Wrap white yarn around pom pom maker
Use your pom pom maker and wrap the white fluffy yarn around both sides until they’re nice and full. The fuller they are the fluffier your cuties will be!
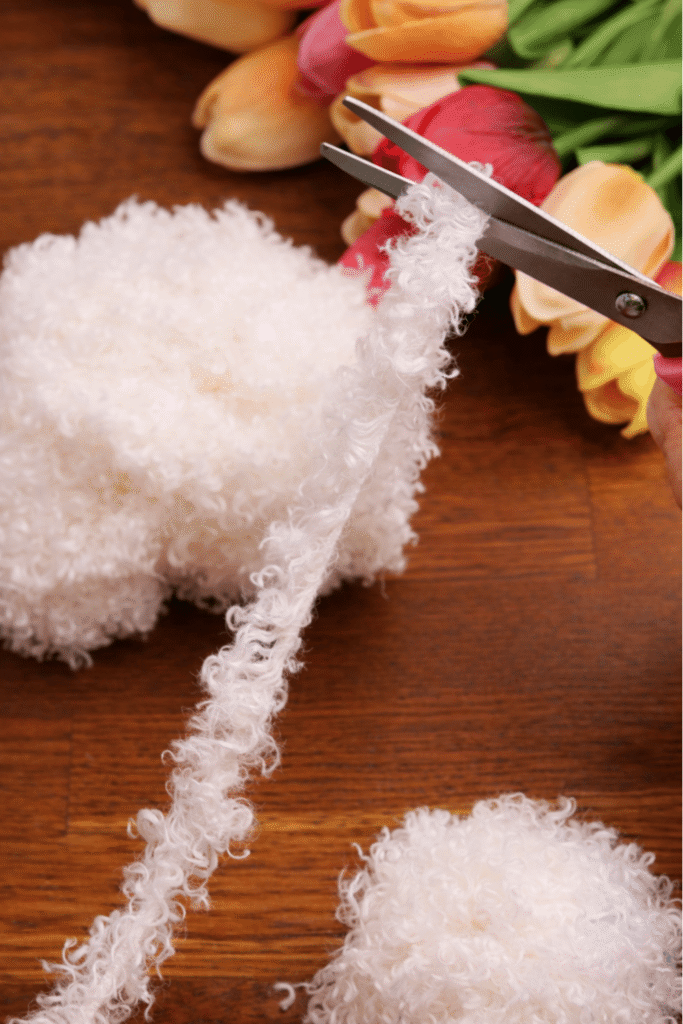
STEP 3: Cut your pom pom
Carefully cut through all the loops around the outside edge of your pom pom maker.
STEP 4: Remove pom pom from maker
Tie the middle tight and open up your pom pom maker to remove your pom pom. This is what it should kind of look like before you trim.
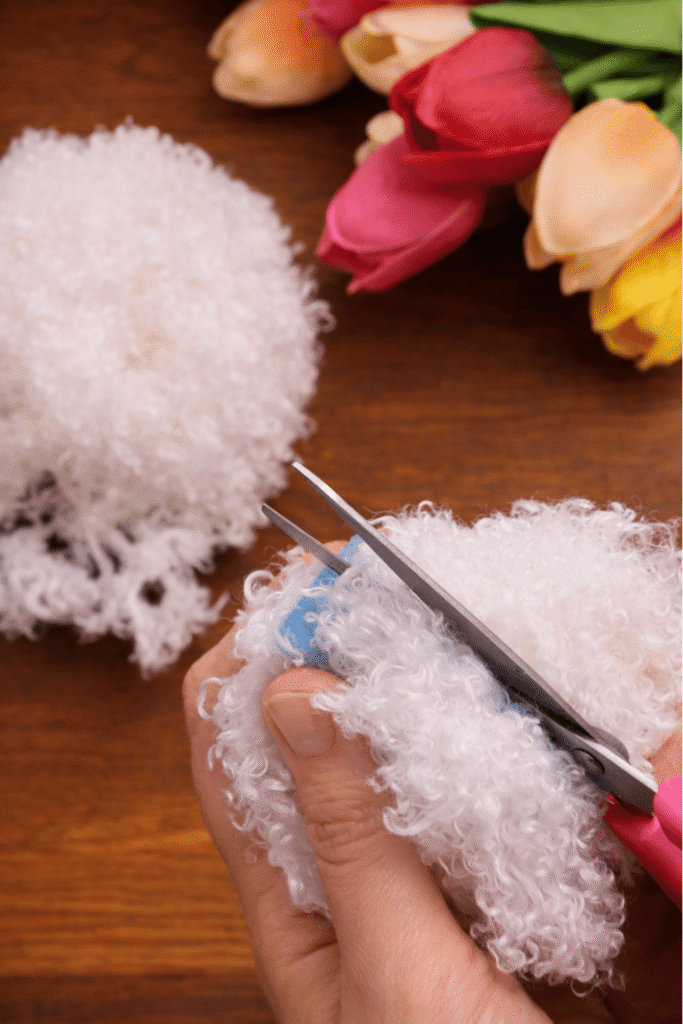
STEP 5: Trim your pom poms
Grab your scissors and trim your pom pom until it’s cute and rounded. These pom poms will be the bunny bodies so take your time here and make them nice and neat.
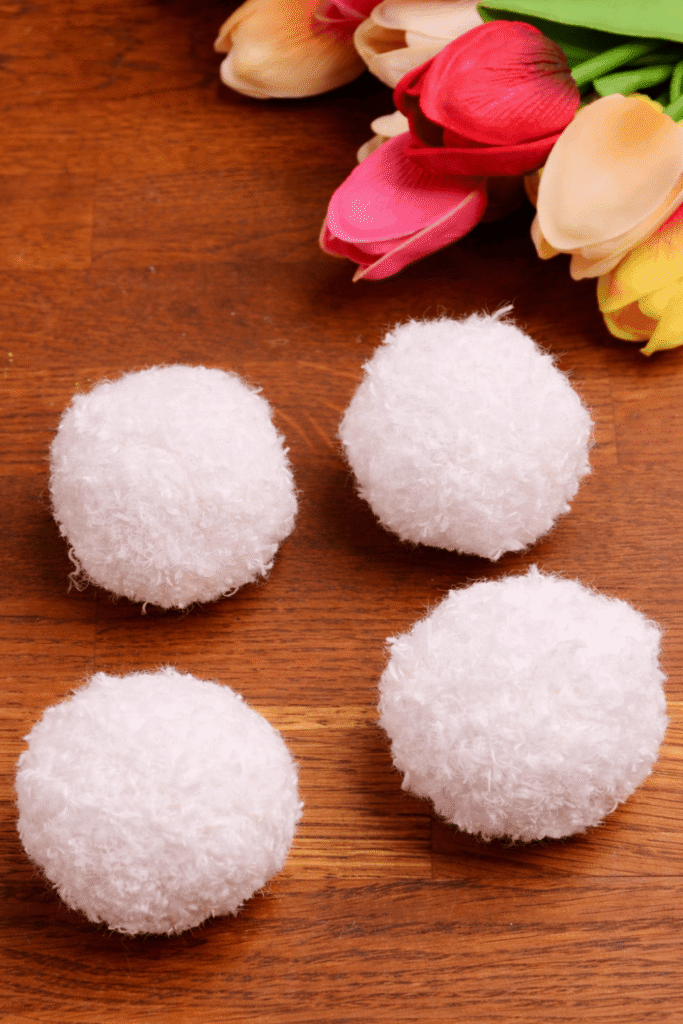
STEP 6: Make your pom pom bunny bodies
Keep making pom pom bunny bodies until you have as many as you’d like on your garland. Seeing them all together is kind of magical and makes it feel like your project is really happening!
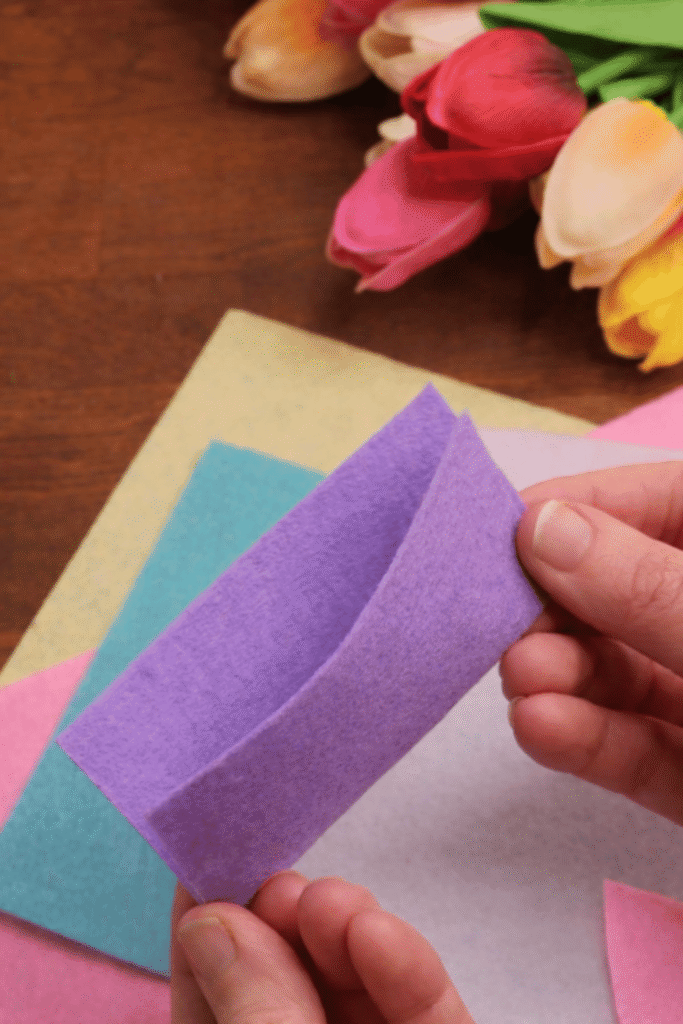
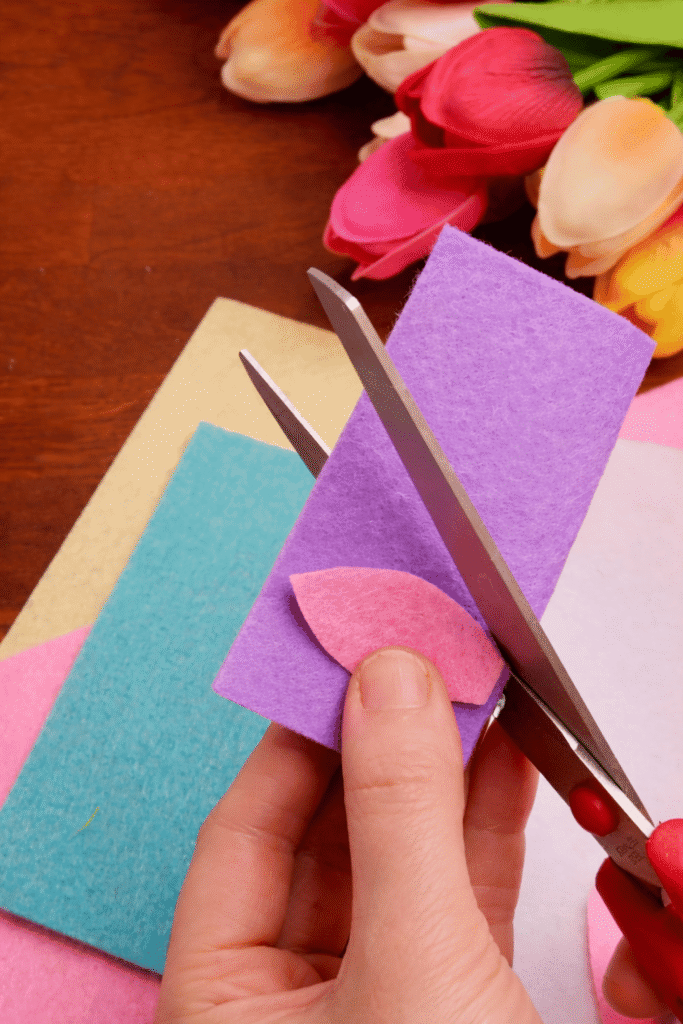
STEP 7: Fold your felt strip in half
Fold a strip of felt in half, this will help you cut nice matching pieces.
STEP 8: Cut one piece and use as template
Cut one piece, then use it as a template to make the rest. It doesn’t have to be exact but it sure does help speed things along.
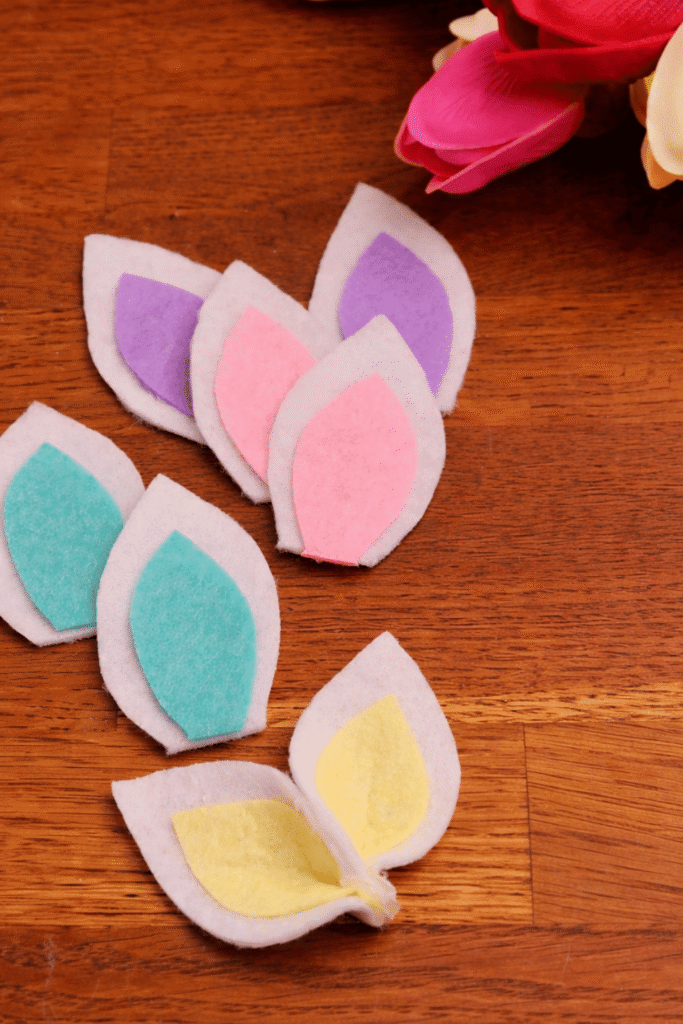
STEP 9: Cut out white and pastel felt pieces
Cut larger white pieces for the outside ears and smaller coordinating pastel felt pieces for the inside ears. I mixed pink, purple, yellow and blue for an adorable spring palette.
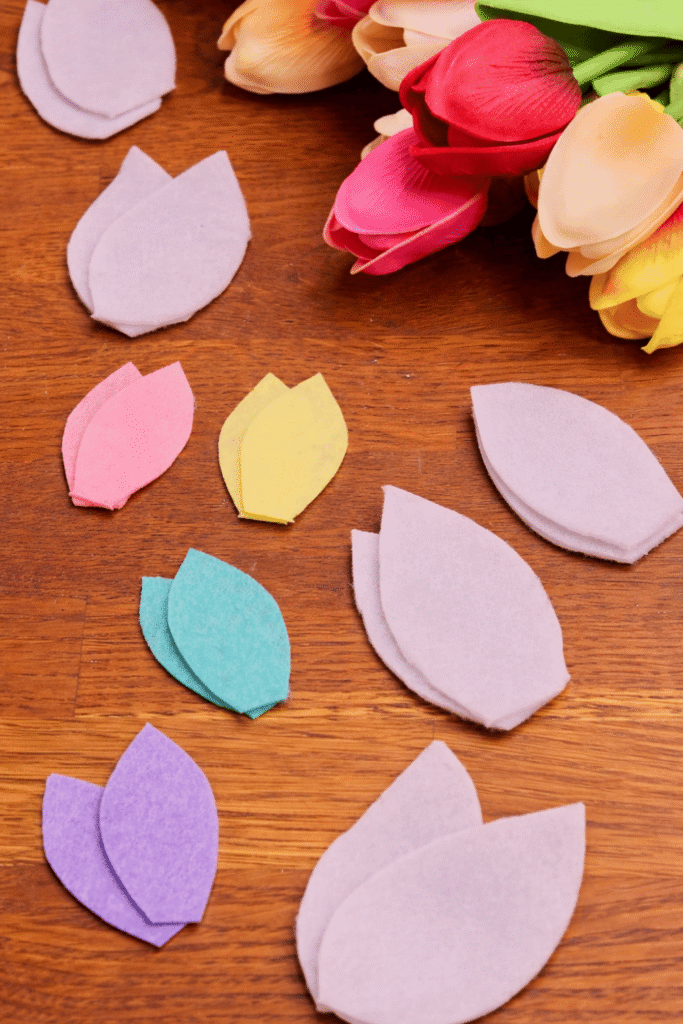
STEP 10: Continue making all felt pieces
Keep making felt pieces until you have two for each bunny. I found it helpful to organize them by color.
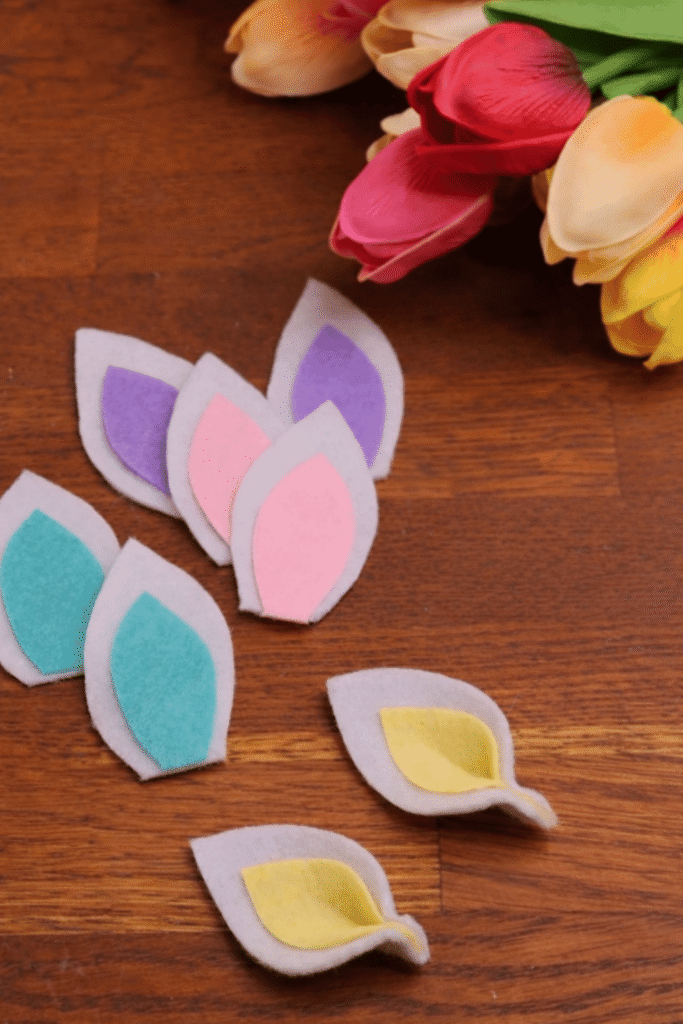
STEP 11: Glue on inner ears
Glue your smaller felt pieces onto the larger ones, leaving a little white border around the edge.
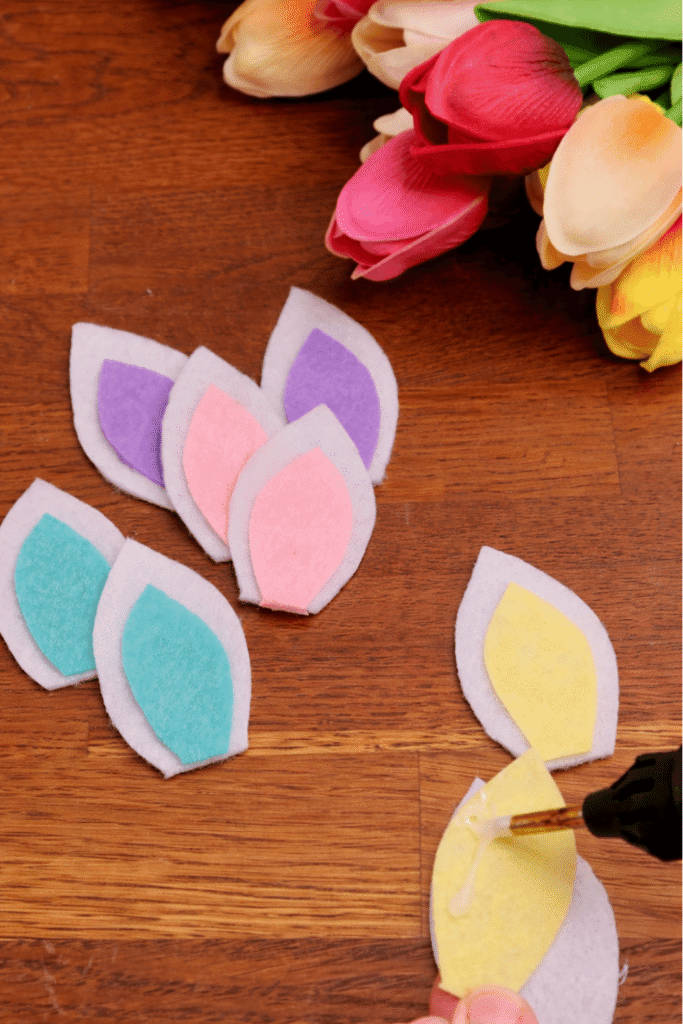
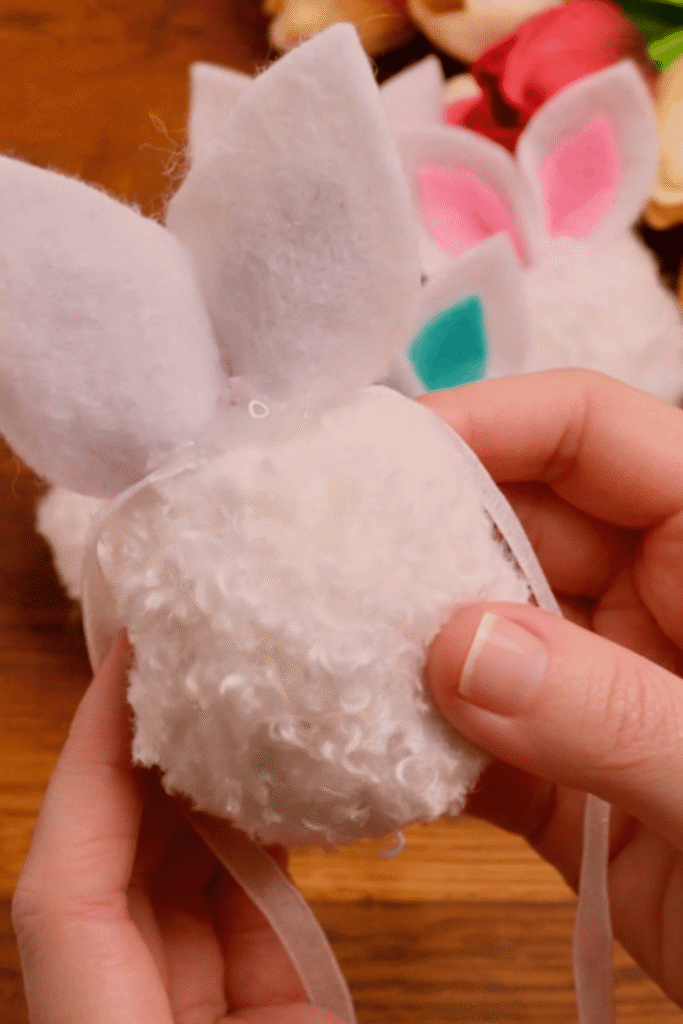
STEP 12: Pinch the bottom of each bunny ear
Add a dot of hot glue to the underside of each ear, then pinch it closed to create a cute ear shape.
STEP 13: Match ear pieces in pairs
Pair your ears into bunny ear sets and glue the bottoms together. Feel free to match colors or go with random colors for a softer look.
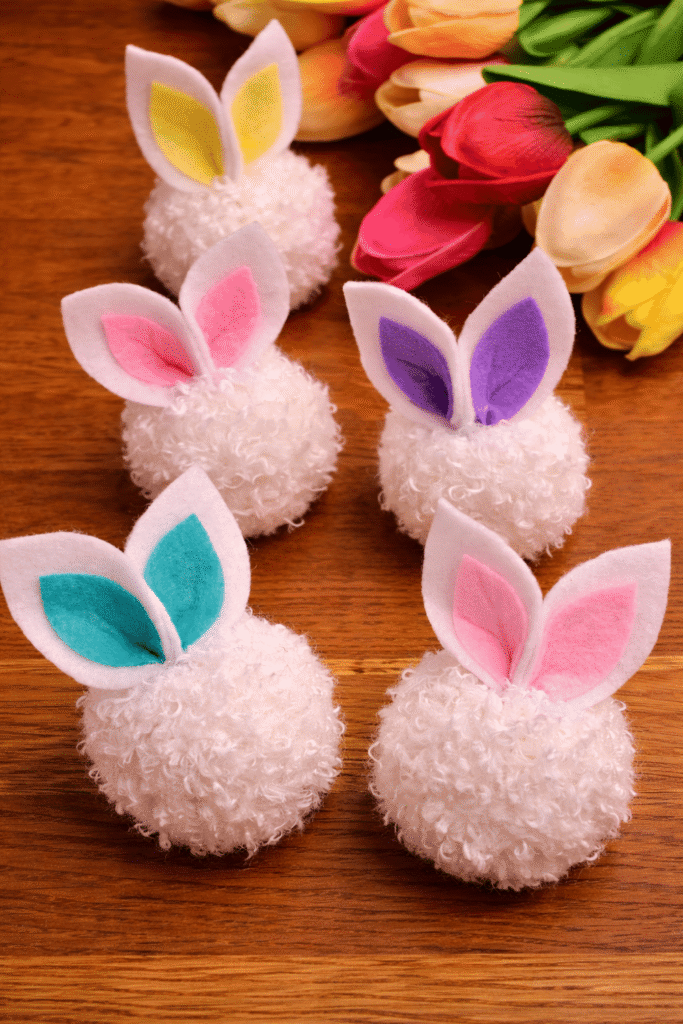
STEP 14: Glue ears onto pom pom
Glue your ears into the top of your pom pom. This is where it starts to feel real!
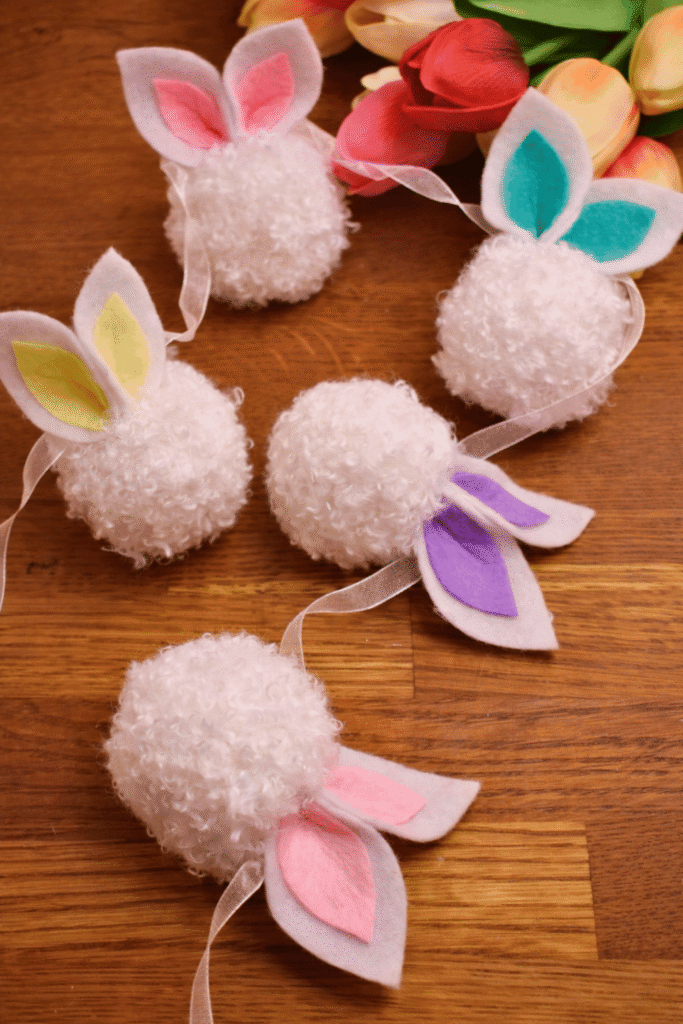
STEP 15: Glue fluffy bunnies to ribbon
Glue your bunnies onto your ribbon, leaving some space in between. Once you find the perfect spot to hang it, you’ll have an adorable Easter Garland everyone will adore.
Before You Go...
I adore how this easter garland diy gives my shelves some extra dimension. Fluffy white pom pom bunnies are beyond cute (and super inexpensive to make), and pairing them with some handmade Easter bunny ears really brings the whole look together.
And you know I love a simple DIY you can customize to fit your style. Try different colors, change up the ribbon used for hanging… You could even hang a few around your home for an extra festive Easter atmosphere.