With cute chicks, fluffy bunnies and chocolate eggs, it’s no wonder kid’s love Easter so much… they also love to get crafty, so today I thought I would share with you our favorite easy Easter craft!
In our home, about 5 years ago, we made the mistake of ‘asking’ the Easter bunny to do a wool maze that would make hunting for chocolate eggs a fun challenge for our three kids…

This post may contain affiliate links. See my full disclosure here for more info.
Having 3 different color wool trails running from one end of the house to the other, wrapping around everything high and low, sometimes even leading out into the garden… is no joke!
Seriously!
But we still do it every year because (unfortunately) the kids LOVE it!
Alongside this, we do a little Easter egg hunt in the garden and we try to do an Easter Craft or two as well… I’ve just realized I am writing ‘we’ whereas it’s really more of an ‘I’ thing that my partner gets dragged reluctantly along with.
Honestly… you’ve never seen a look of despair as great as when I present my partner with 3 balls of wool the night before Easter.
Easy Easter Craft
So, when it comes to crafts, I refuse to make the same mistake as I did with the yarn maze so my only requirement is that we do easy Easter crafts!
If you have read my other posts, you will know that I don’t much like waiting around for things to dry and set… I prefer a bish, bash, bosh kind of activity where I can see results fast… and so do my kids.
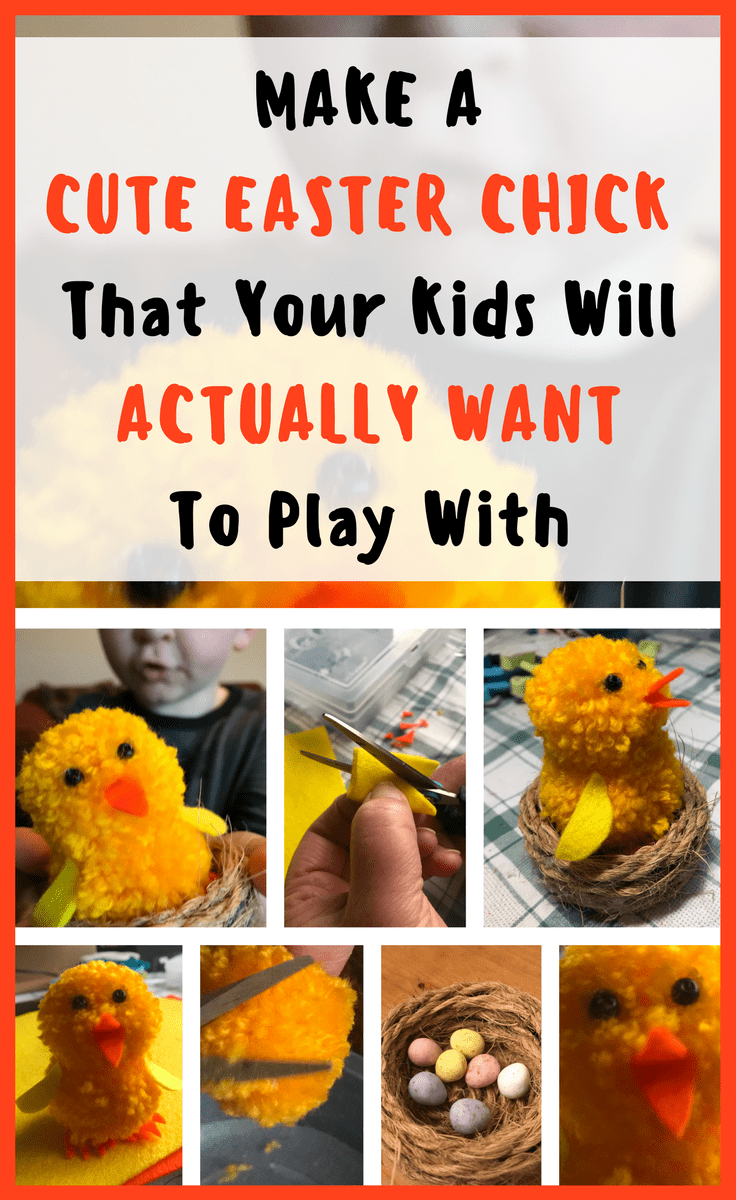
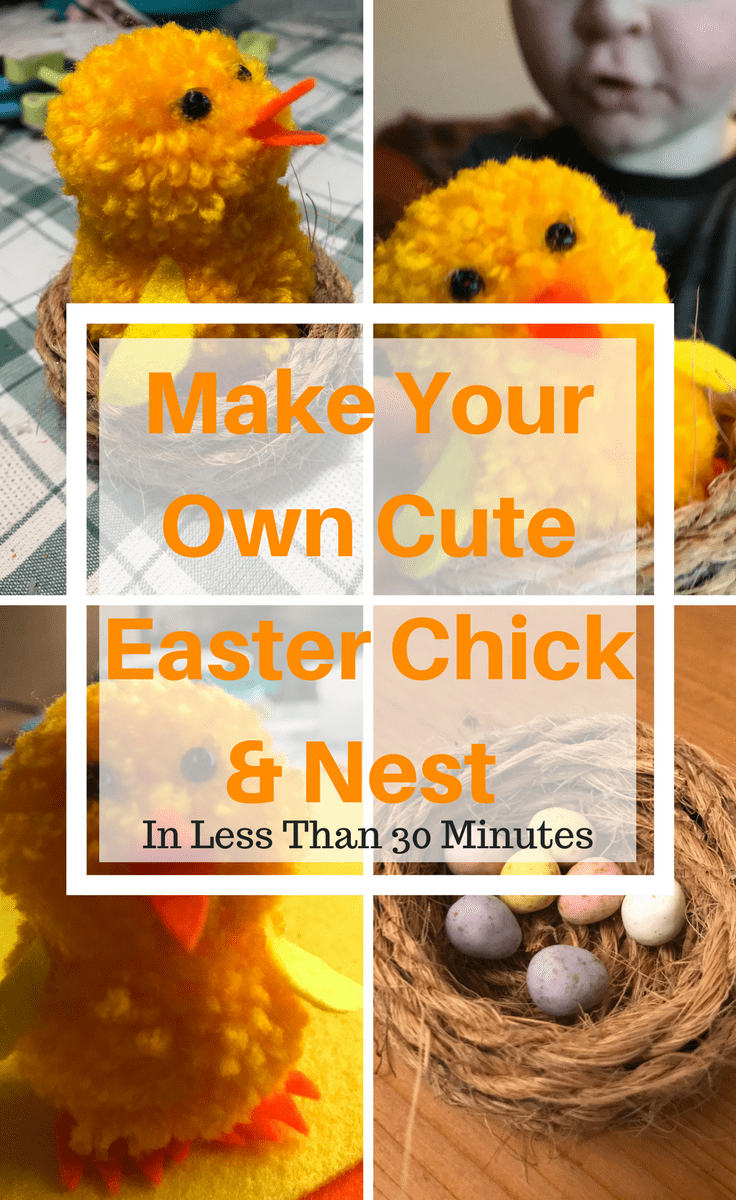
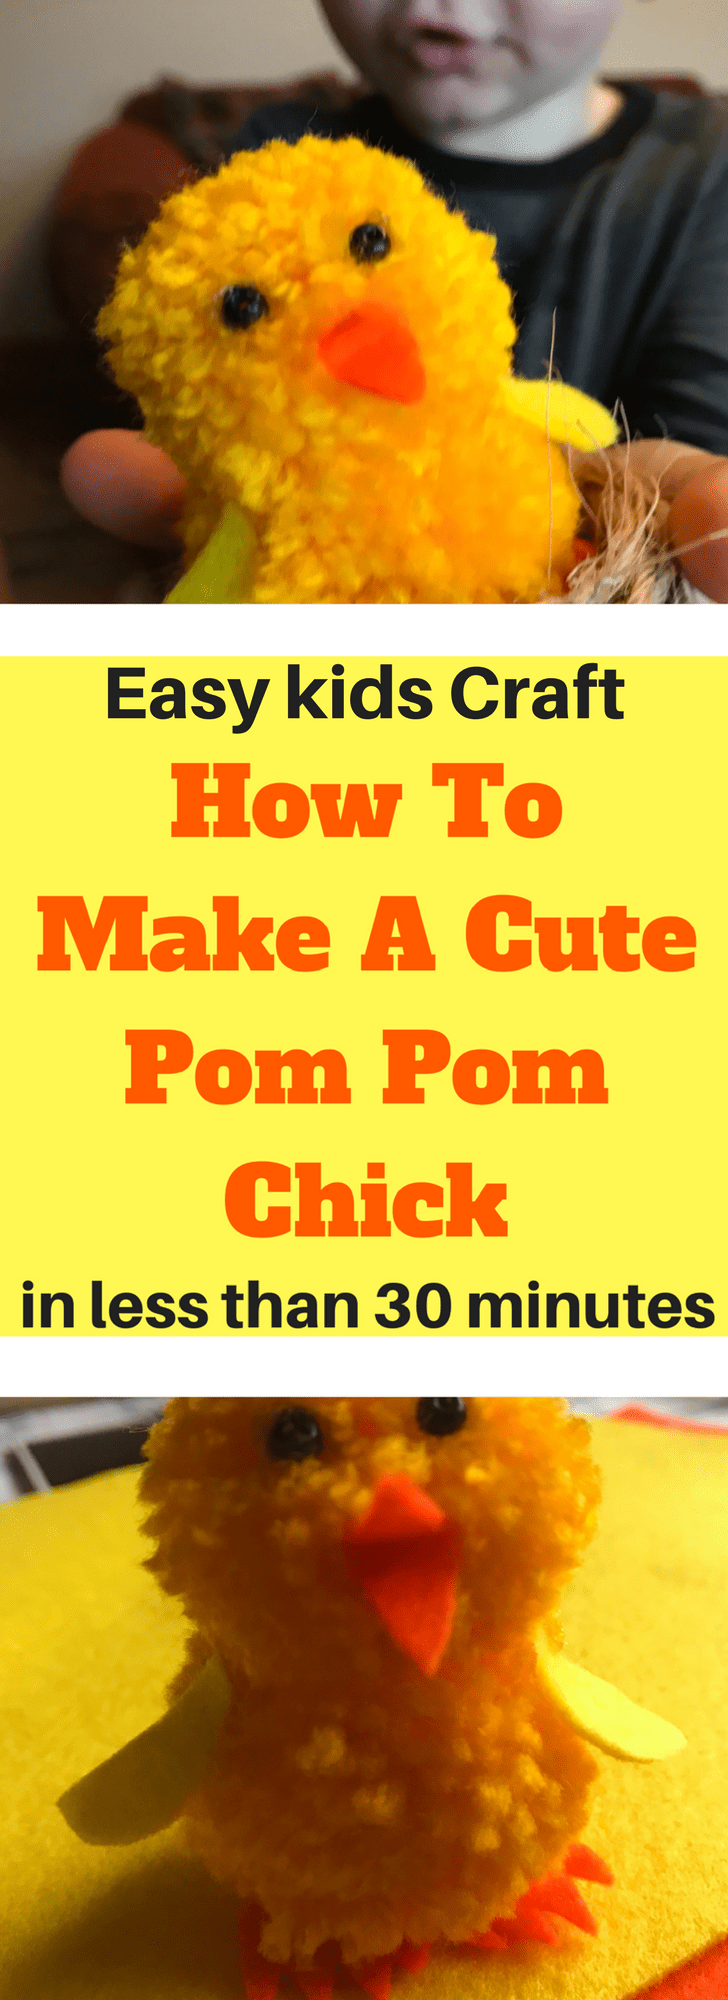
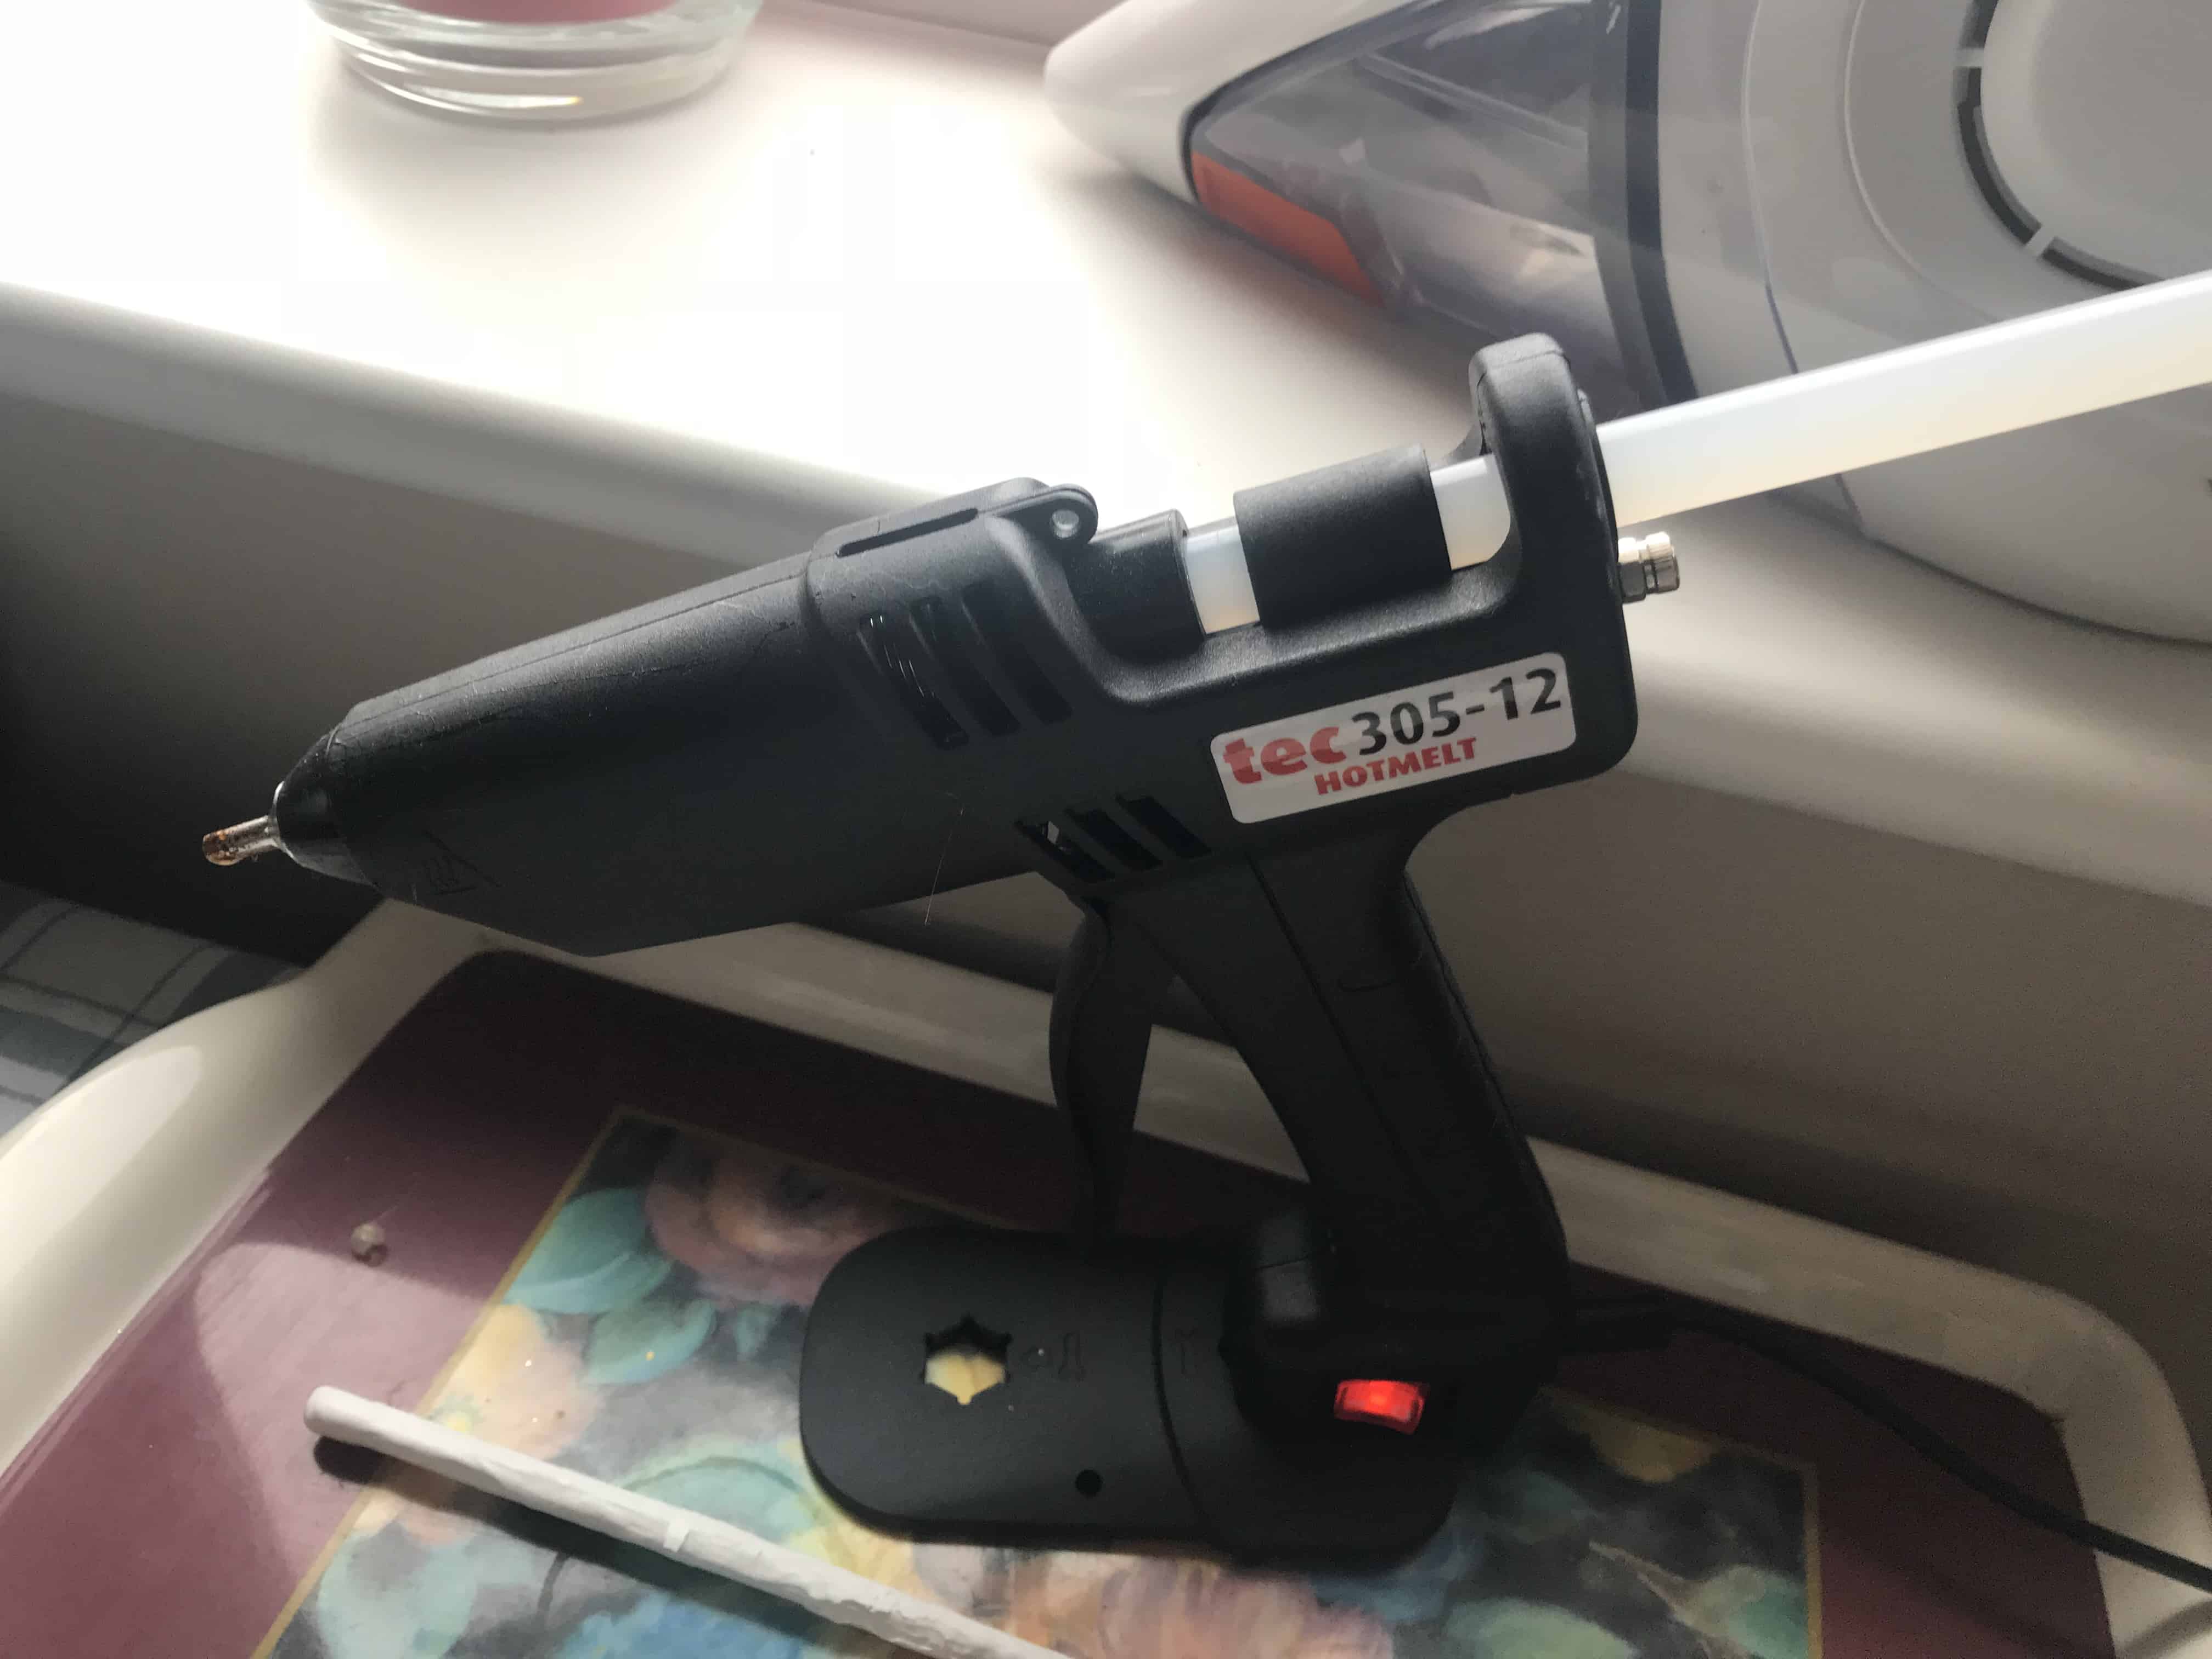
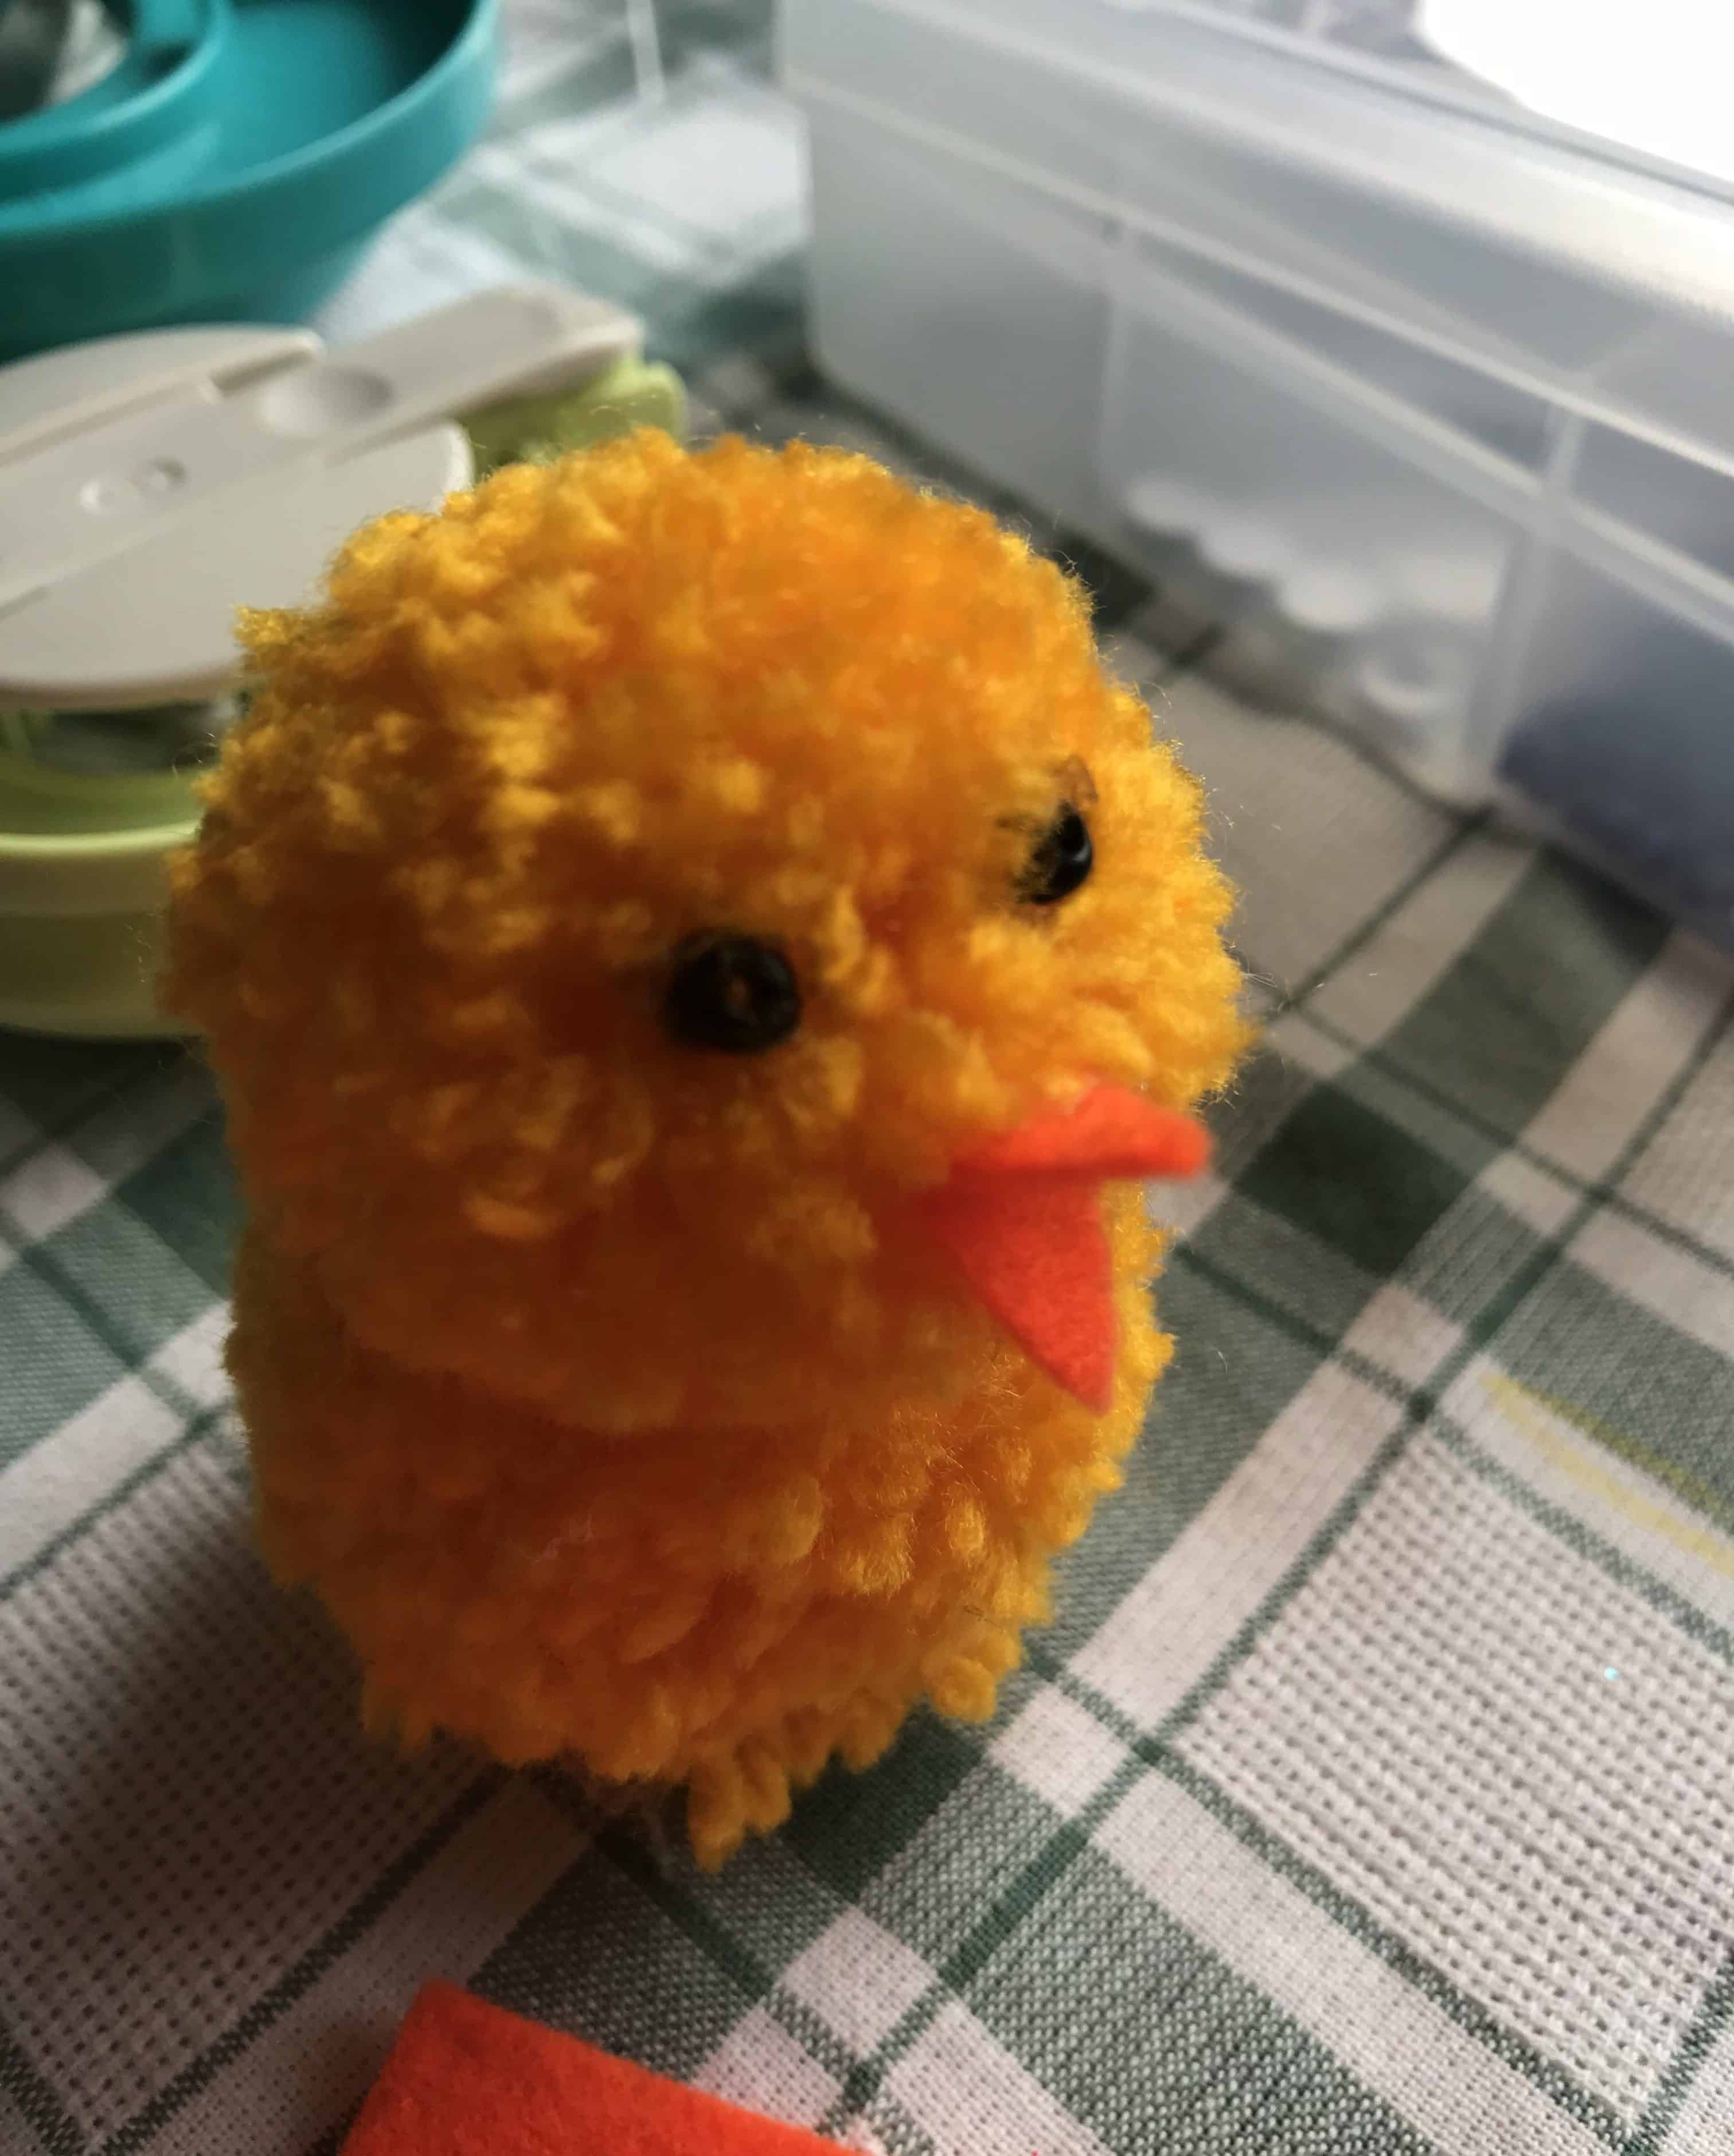
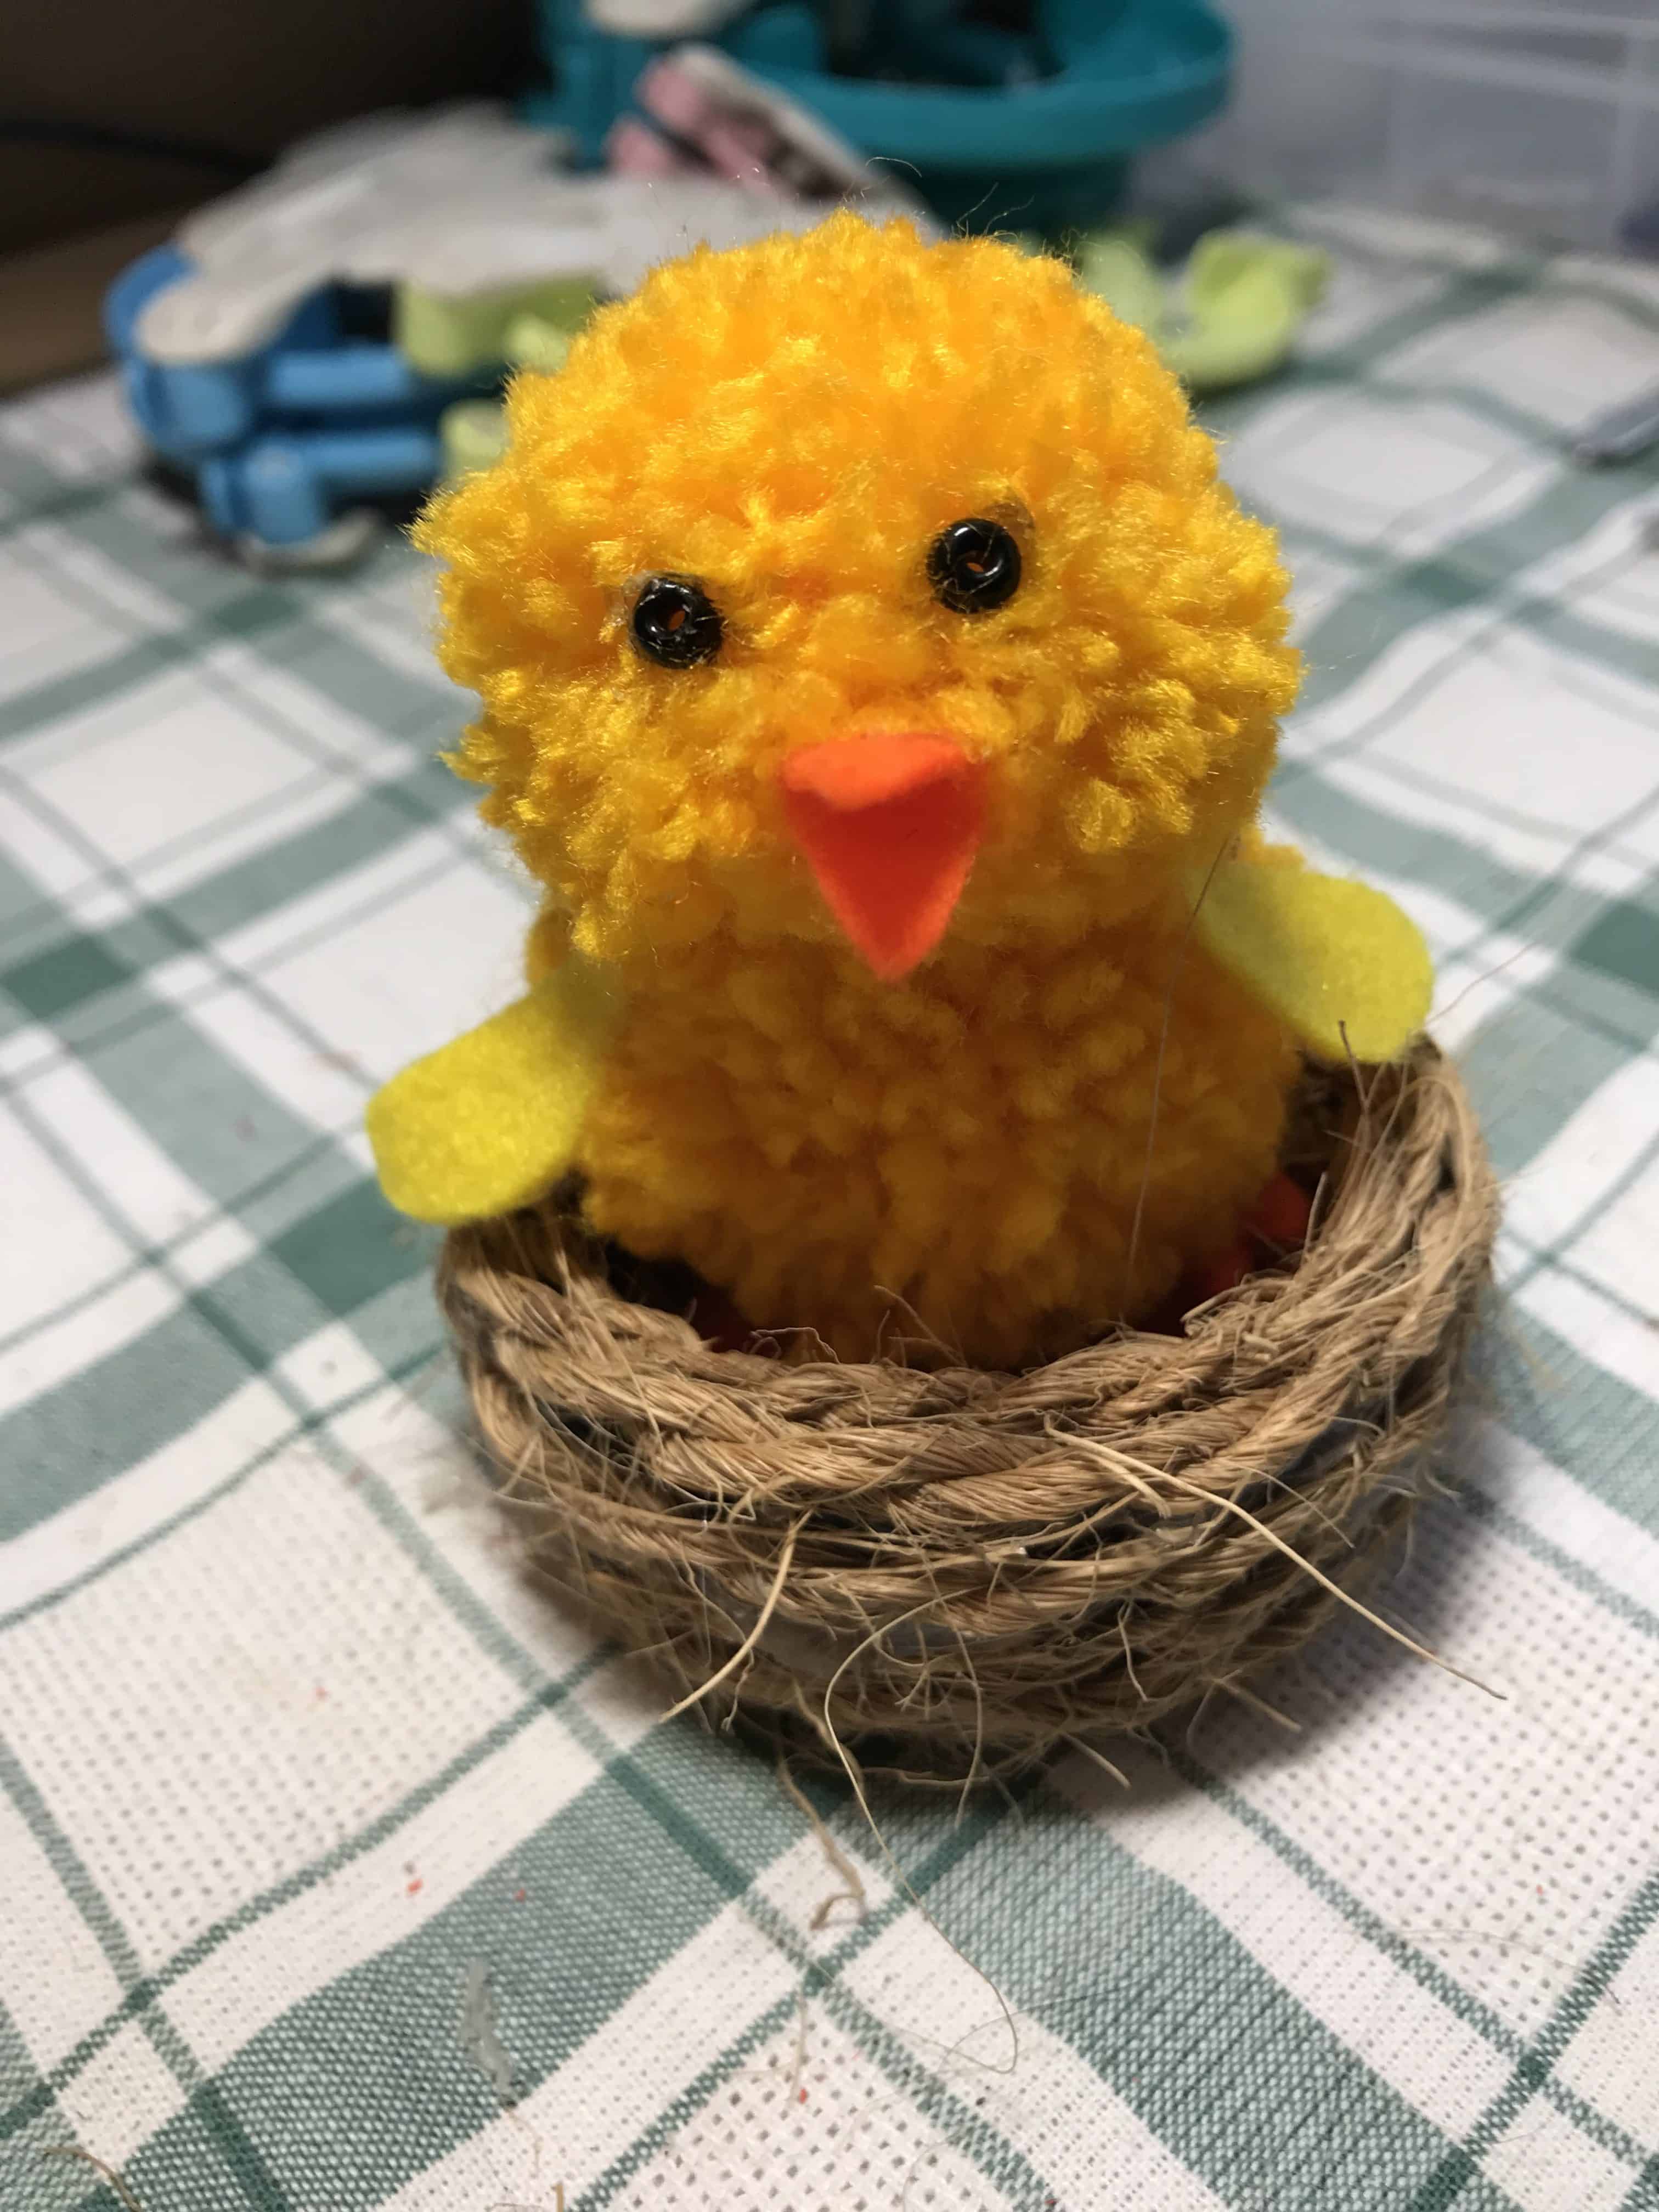
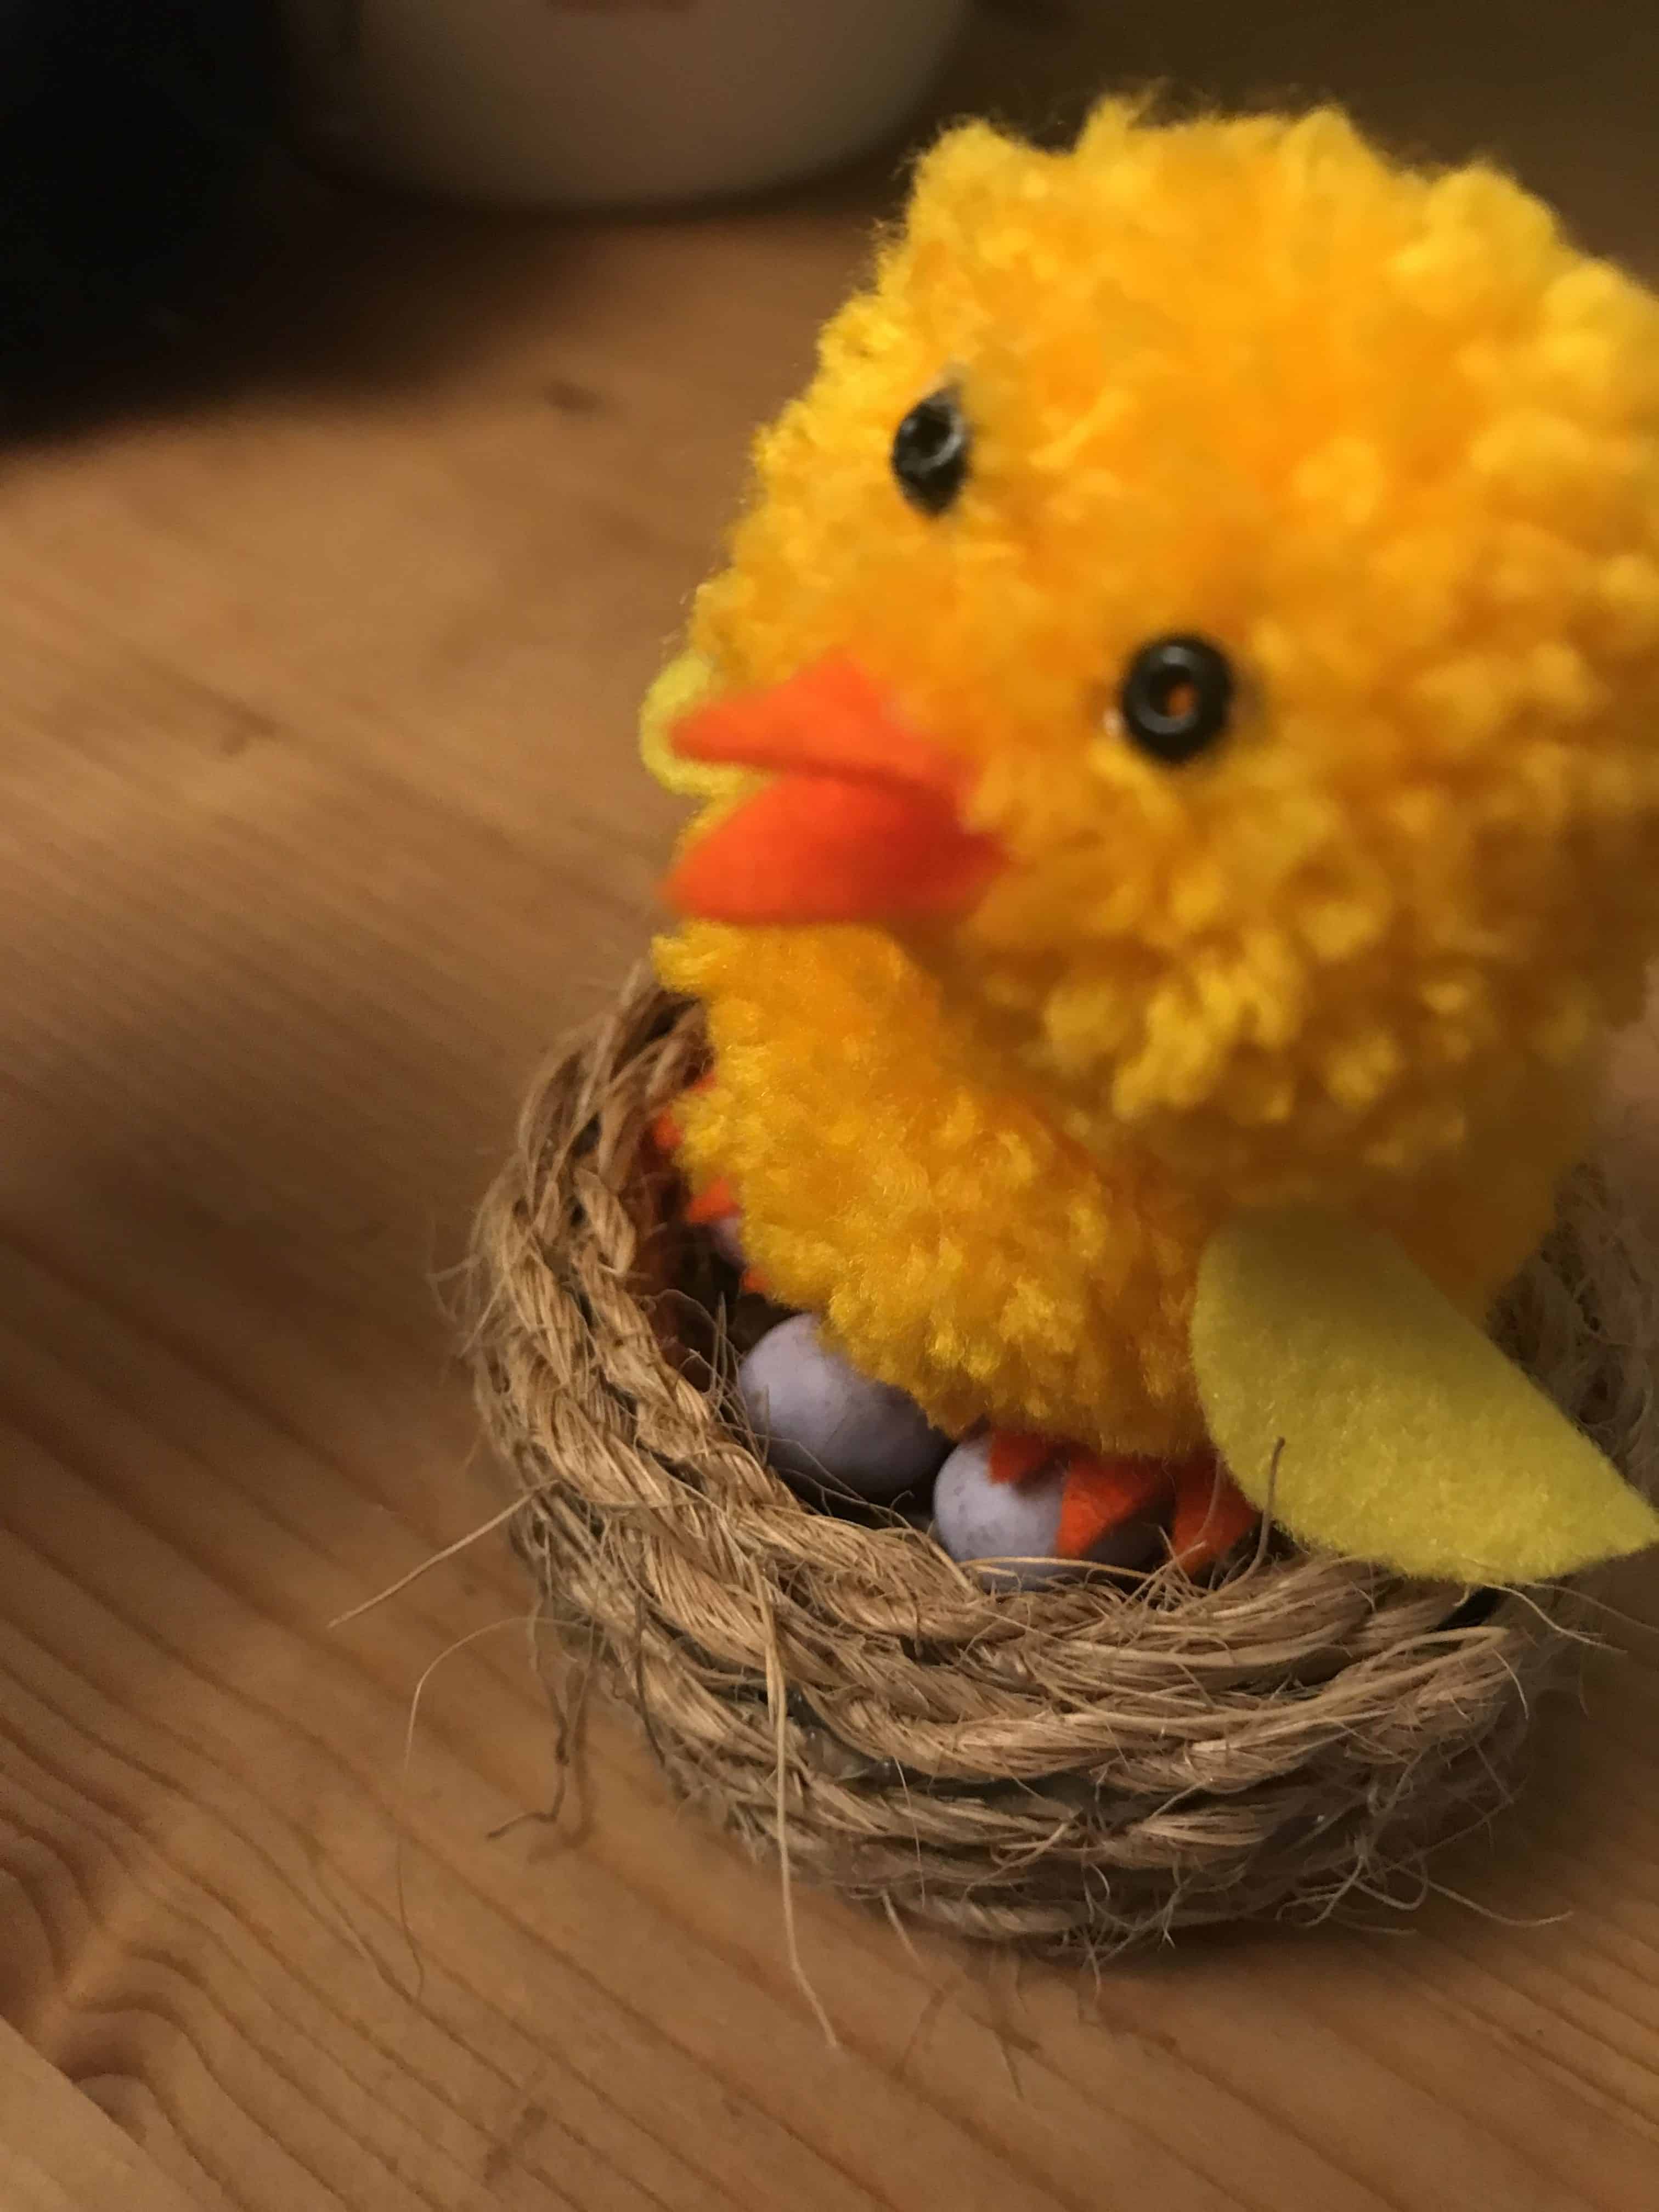
Making this cute Easter chick only took 30 minutes and was so simple to do! Even the kids can do this one… with a little help from an adult wielding a glue gun. Saying that, I must have burnt myself around a thousand times making the nest!
Don’t be like me… be careful with the glue gun!
How to Make An Easter Chick & Nest
You Will Need
Tools:
Scissors
Tweezers
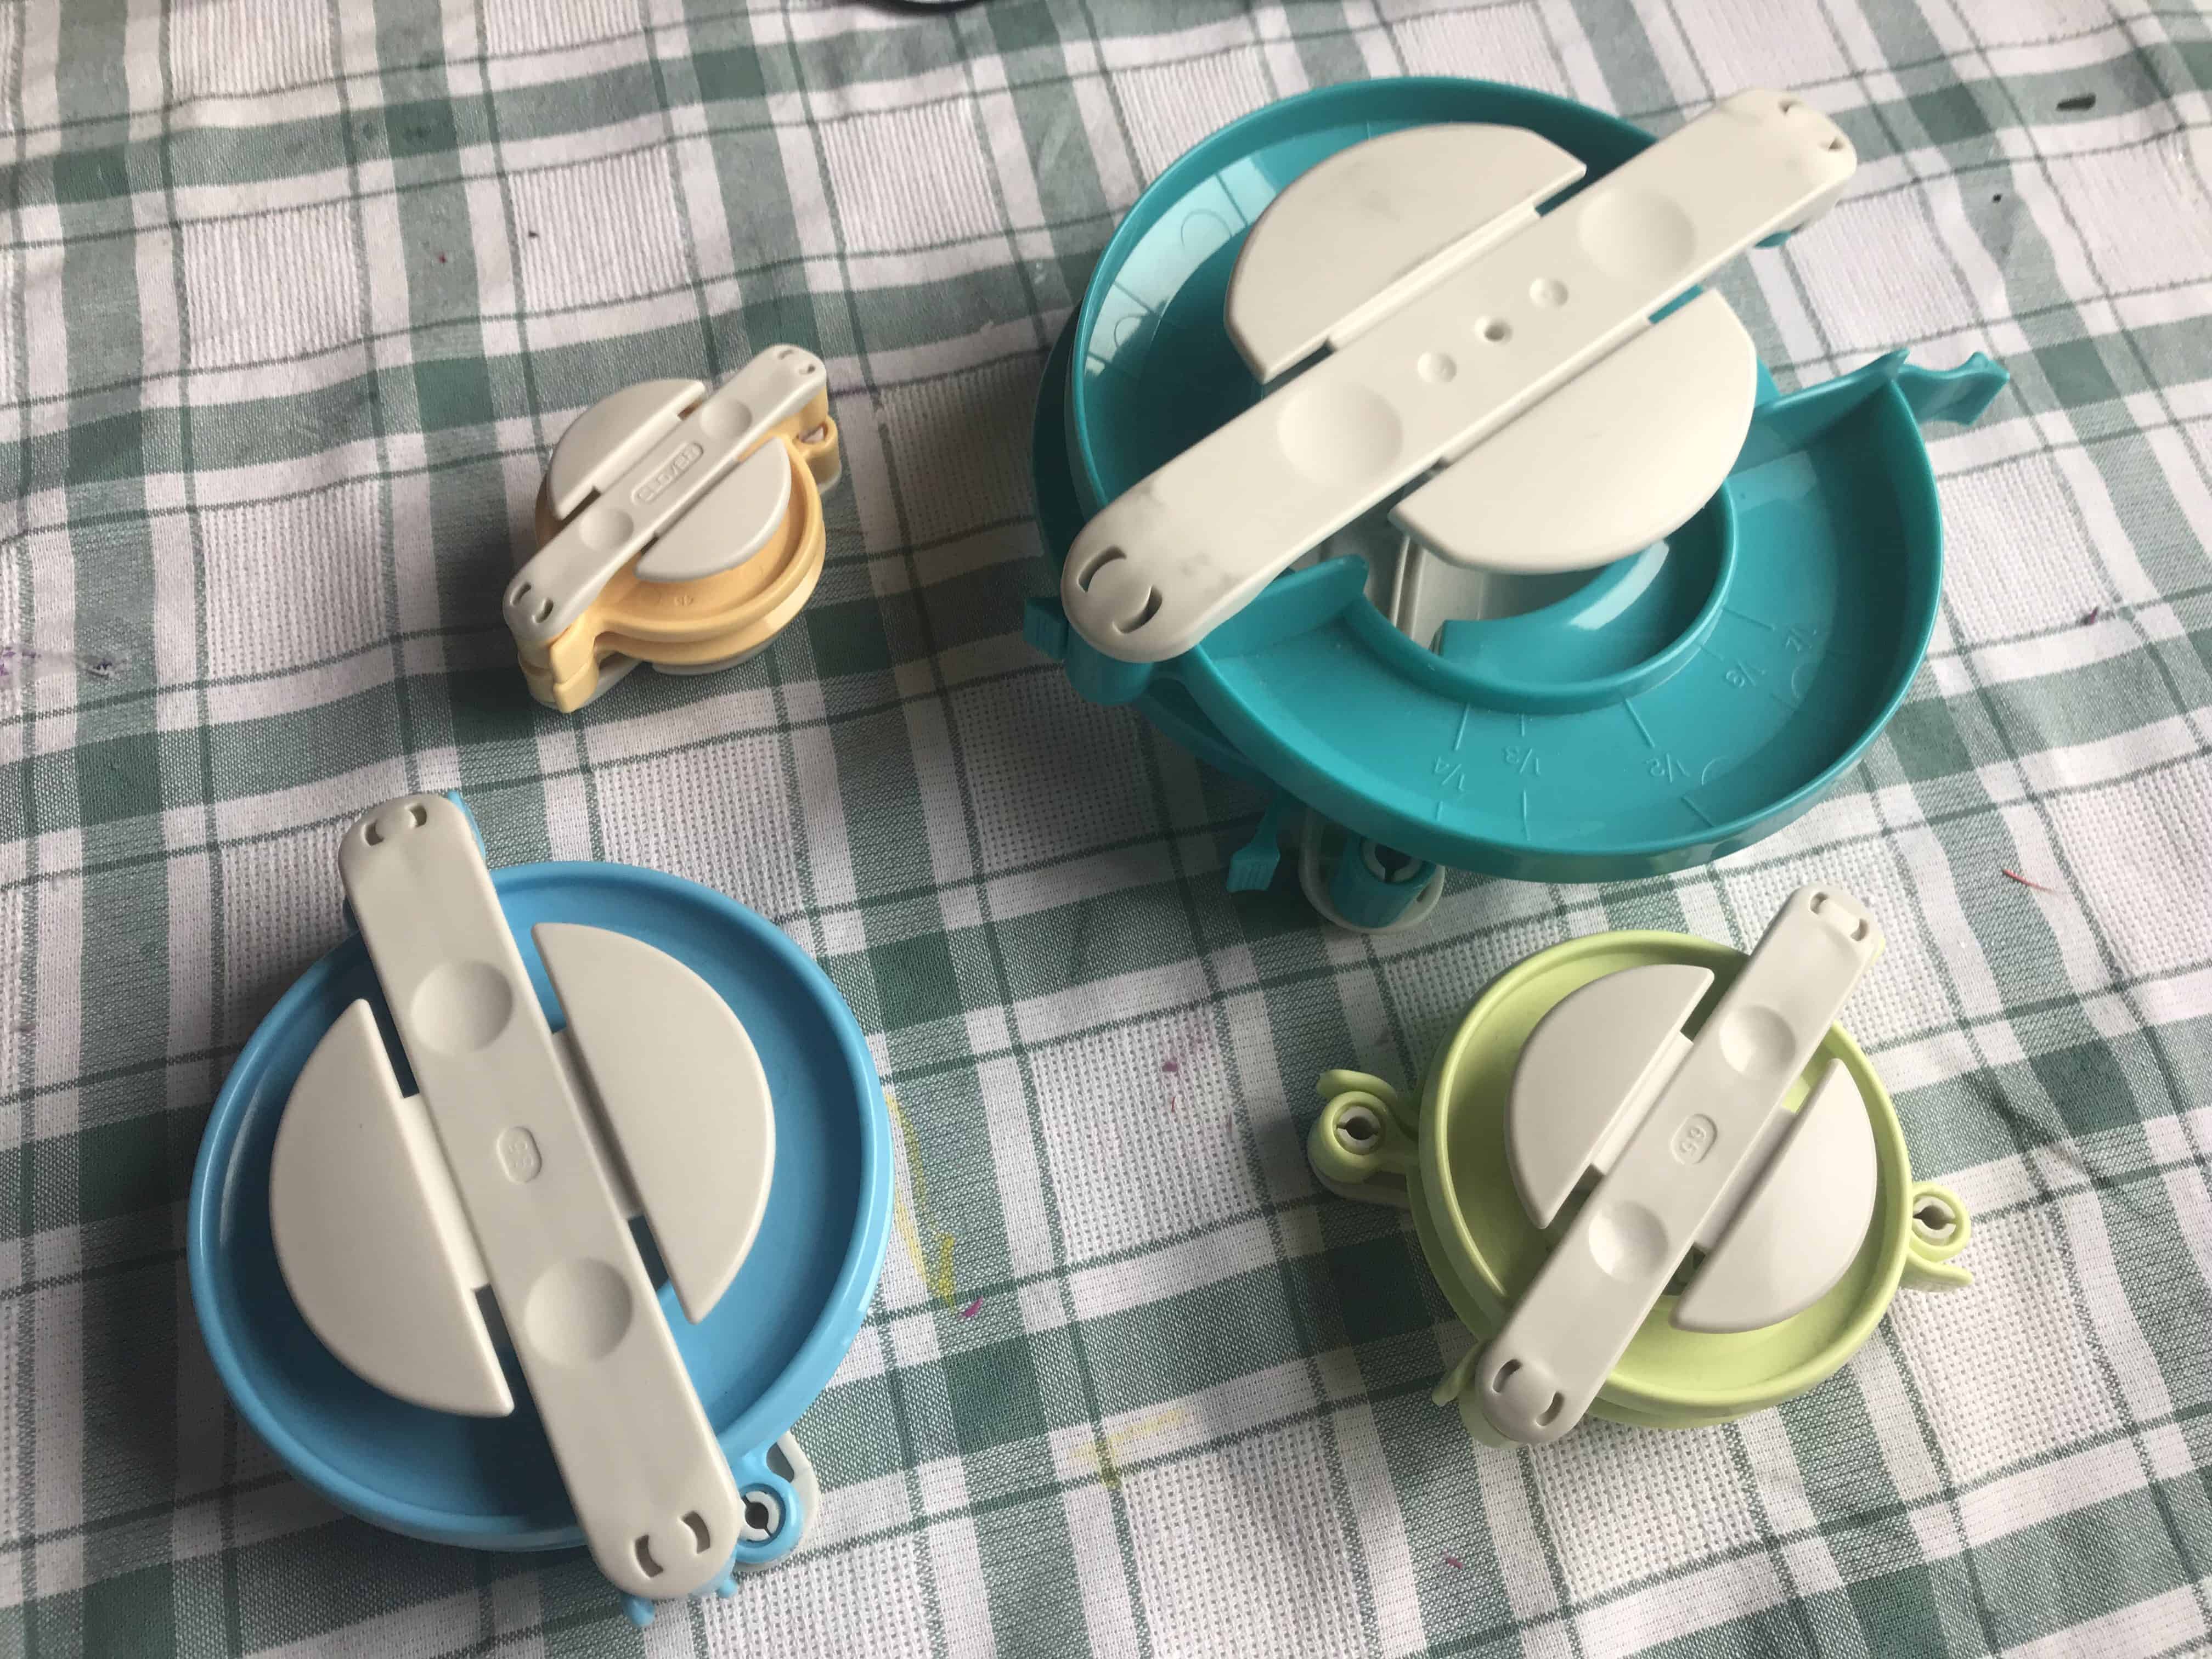
Pom Pom makers (or use cardboard rings)
For the Chick
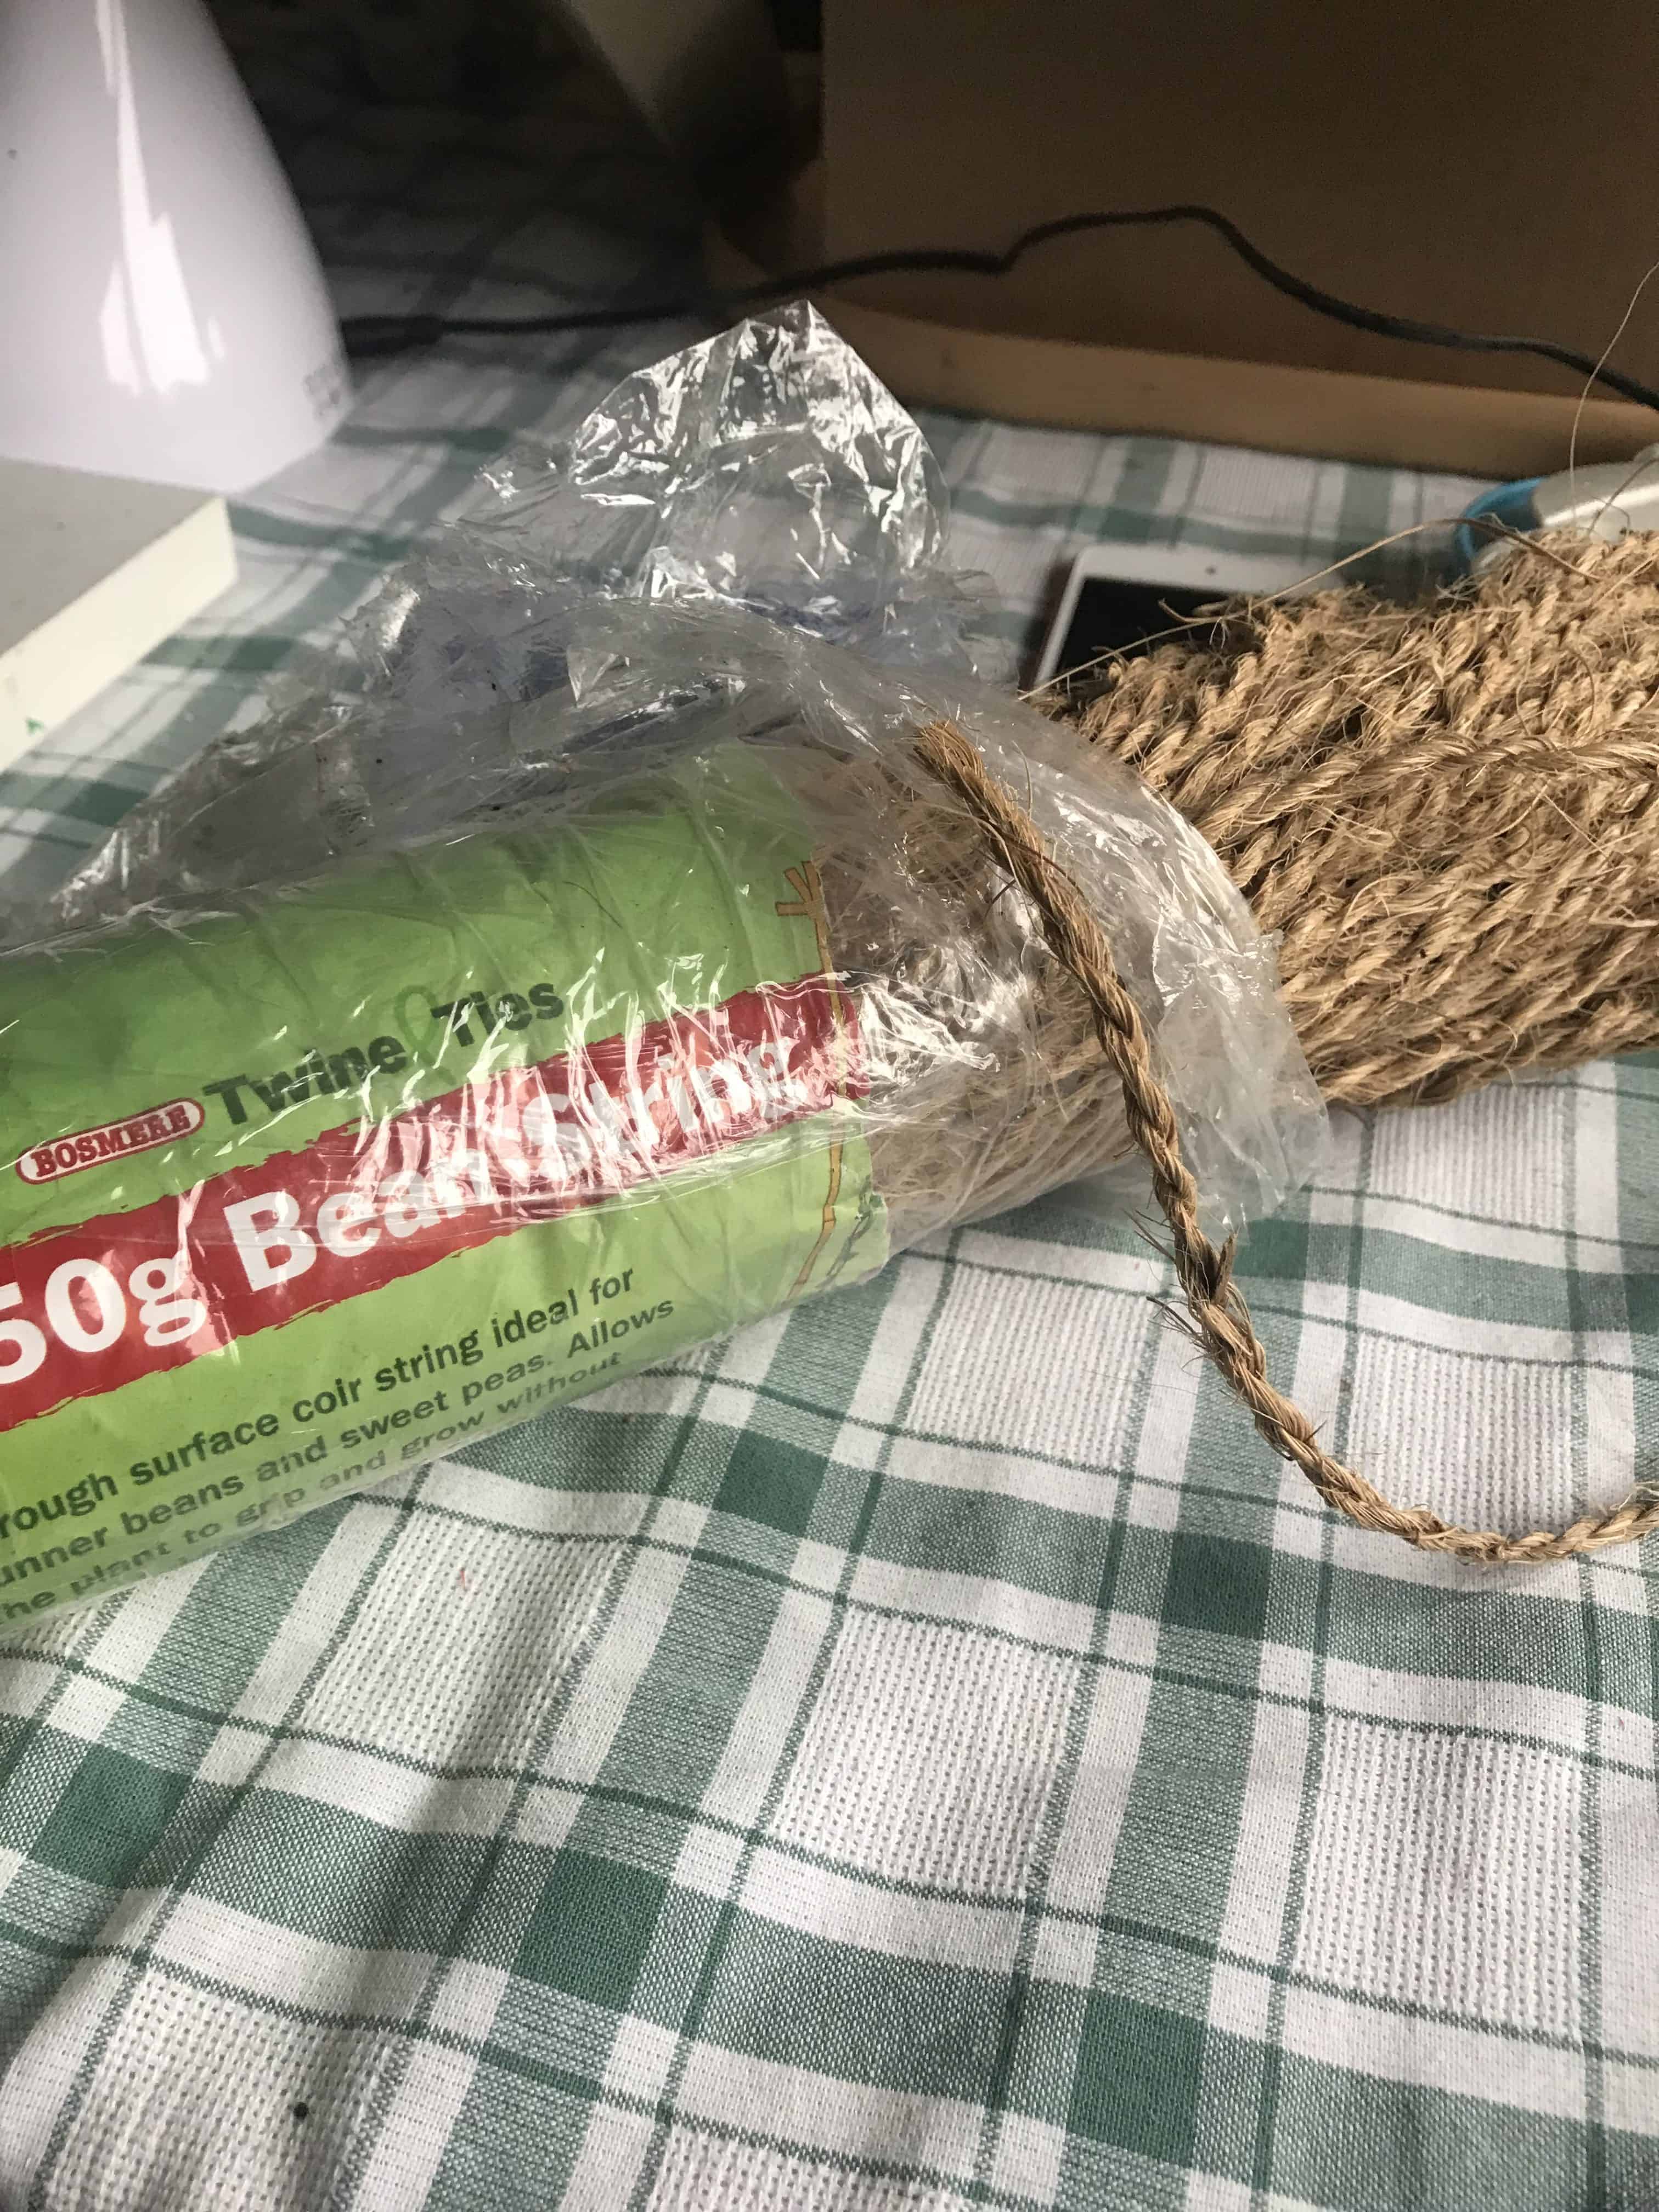
For the Nest
A Coffee Jar Lid
Step 1
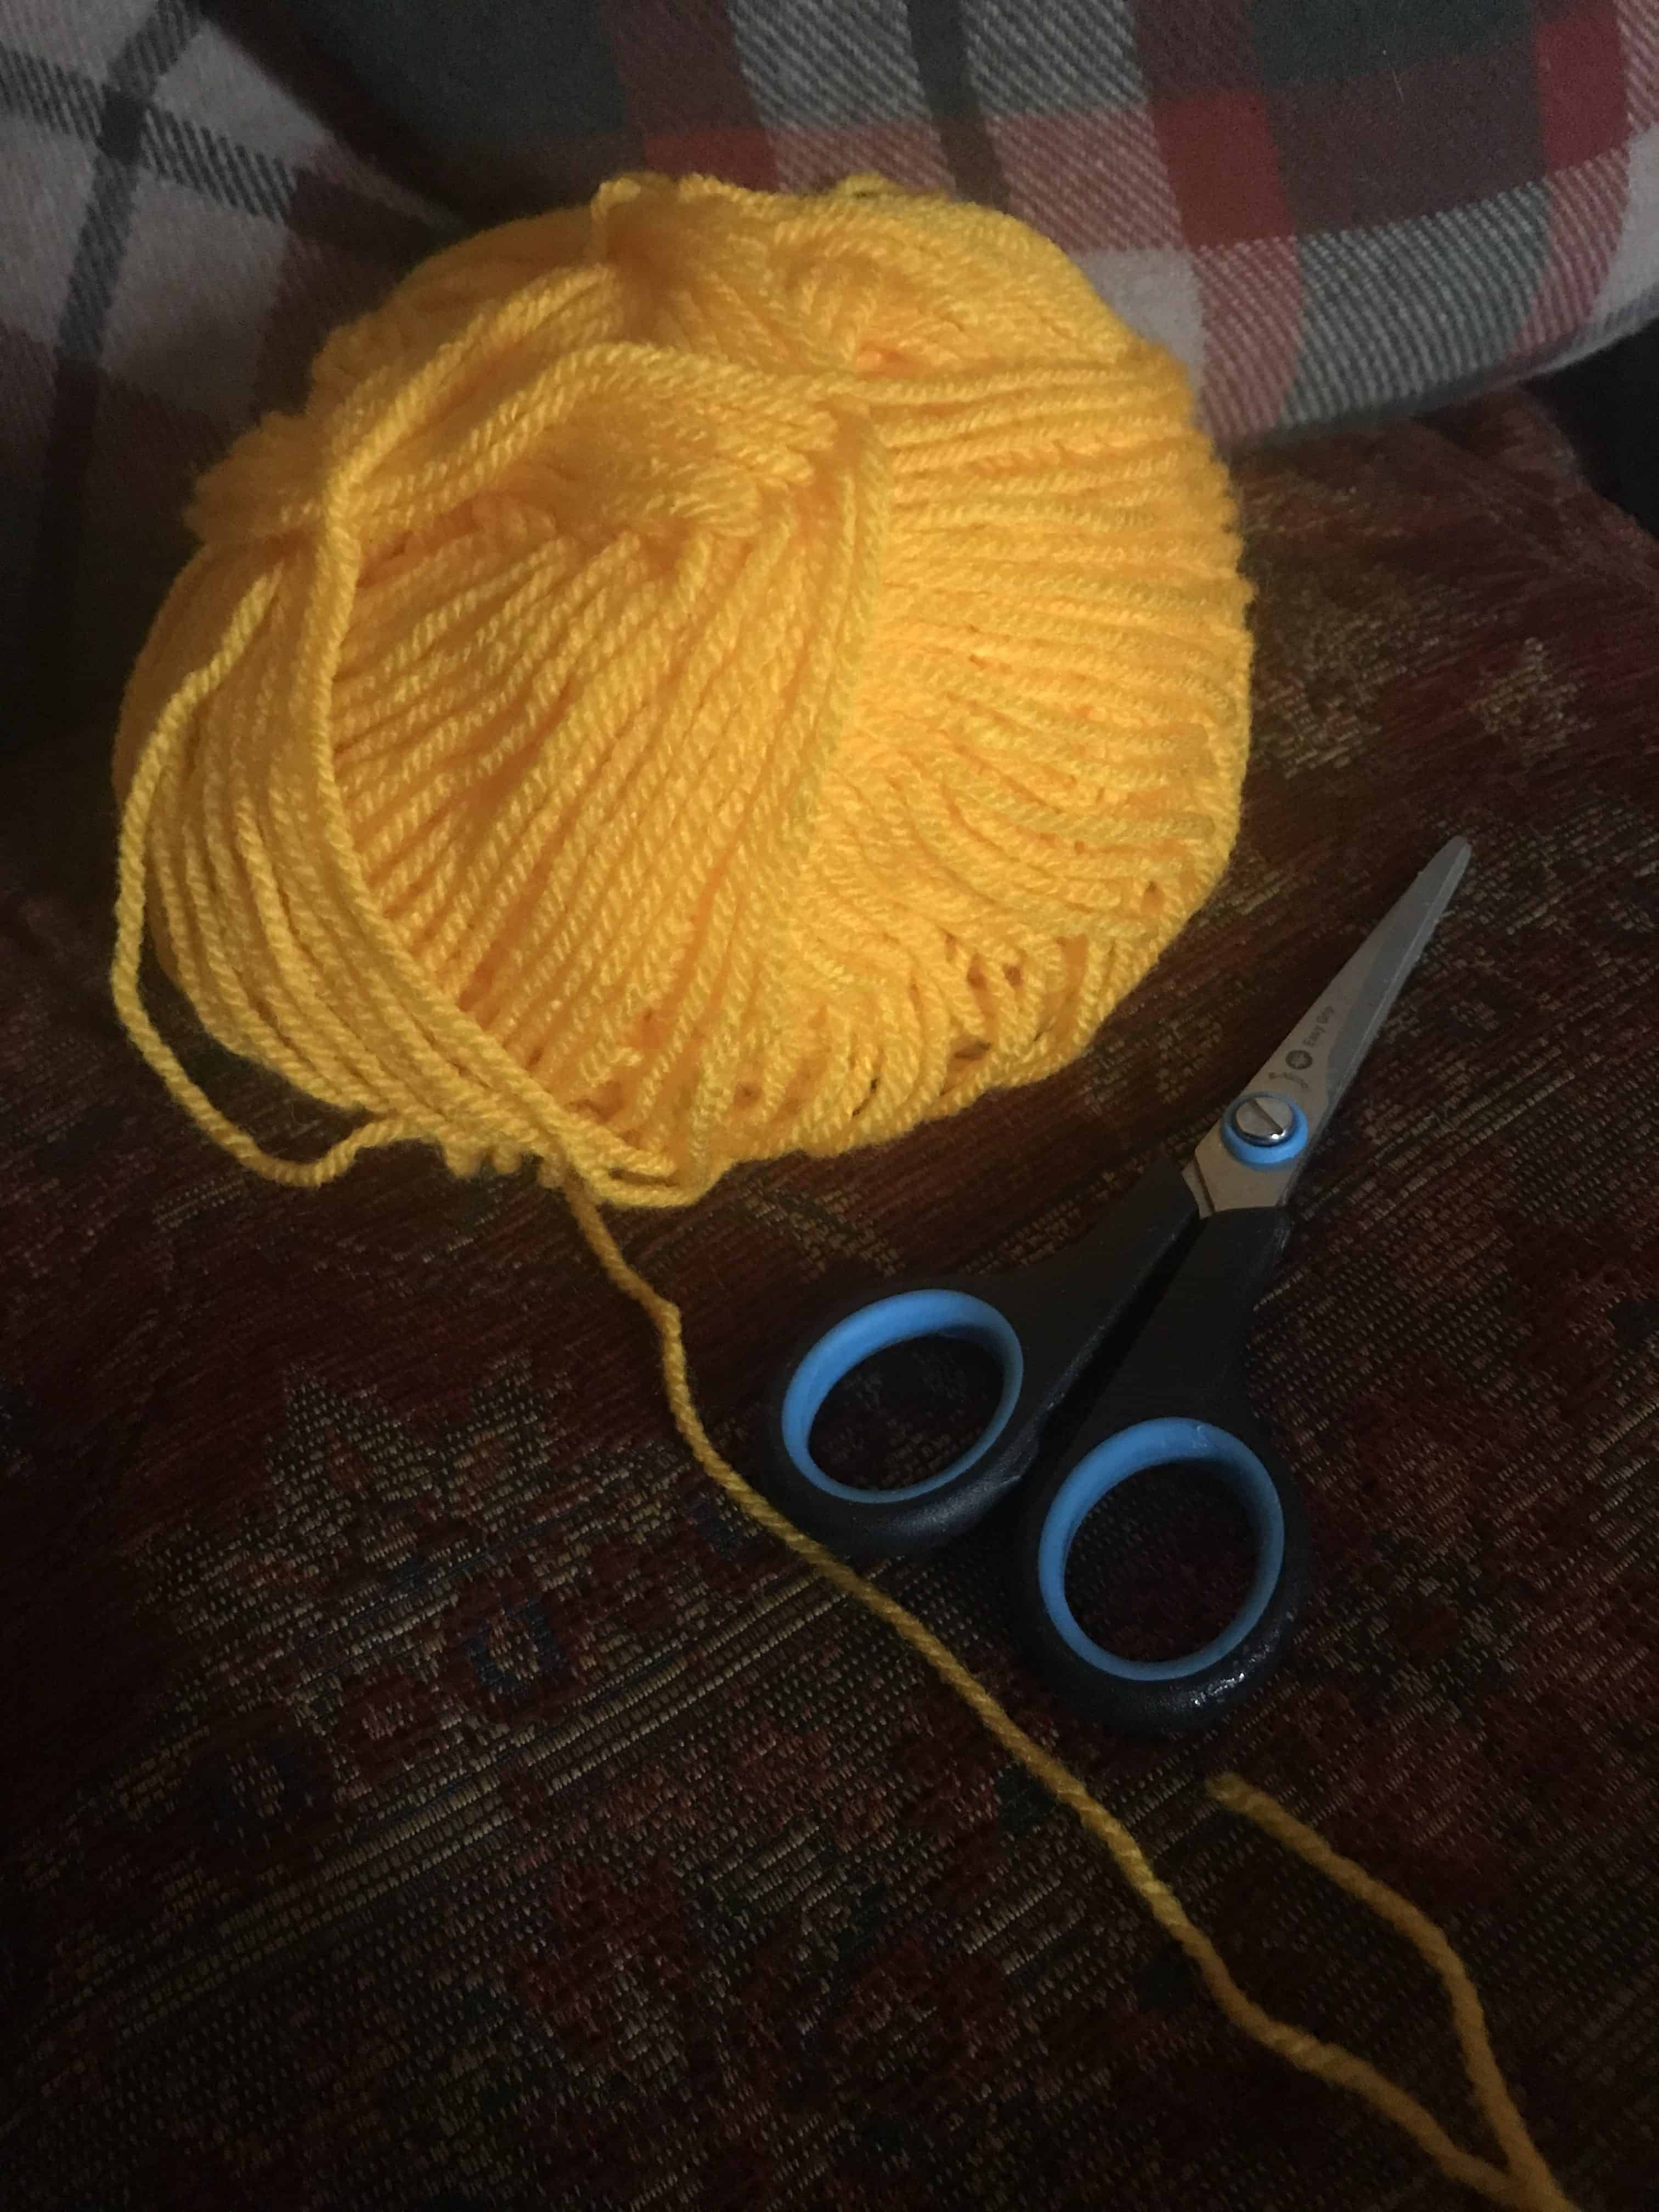
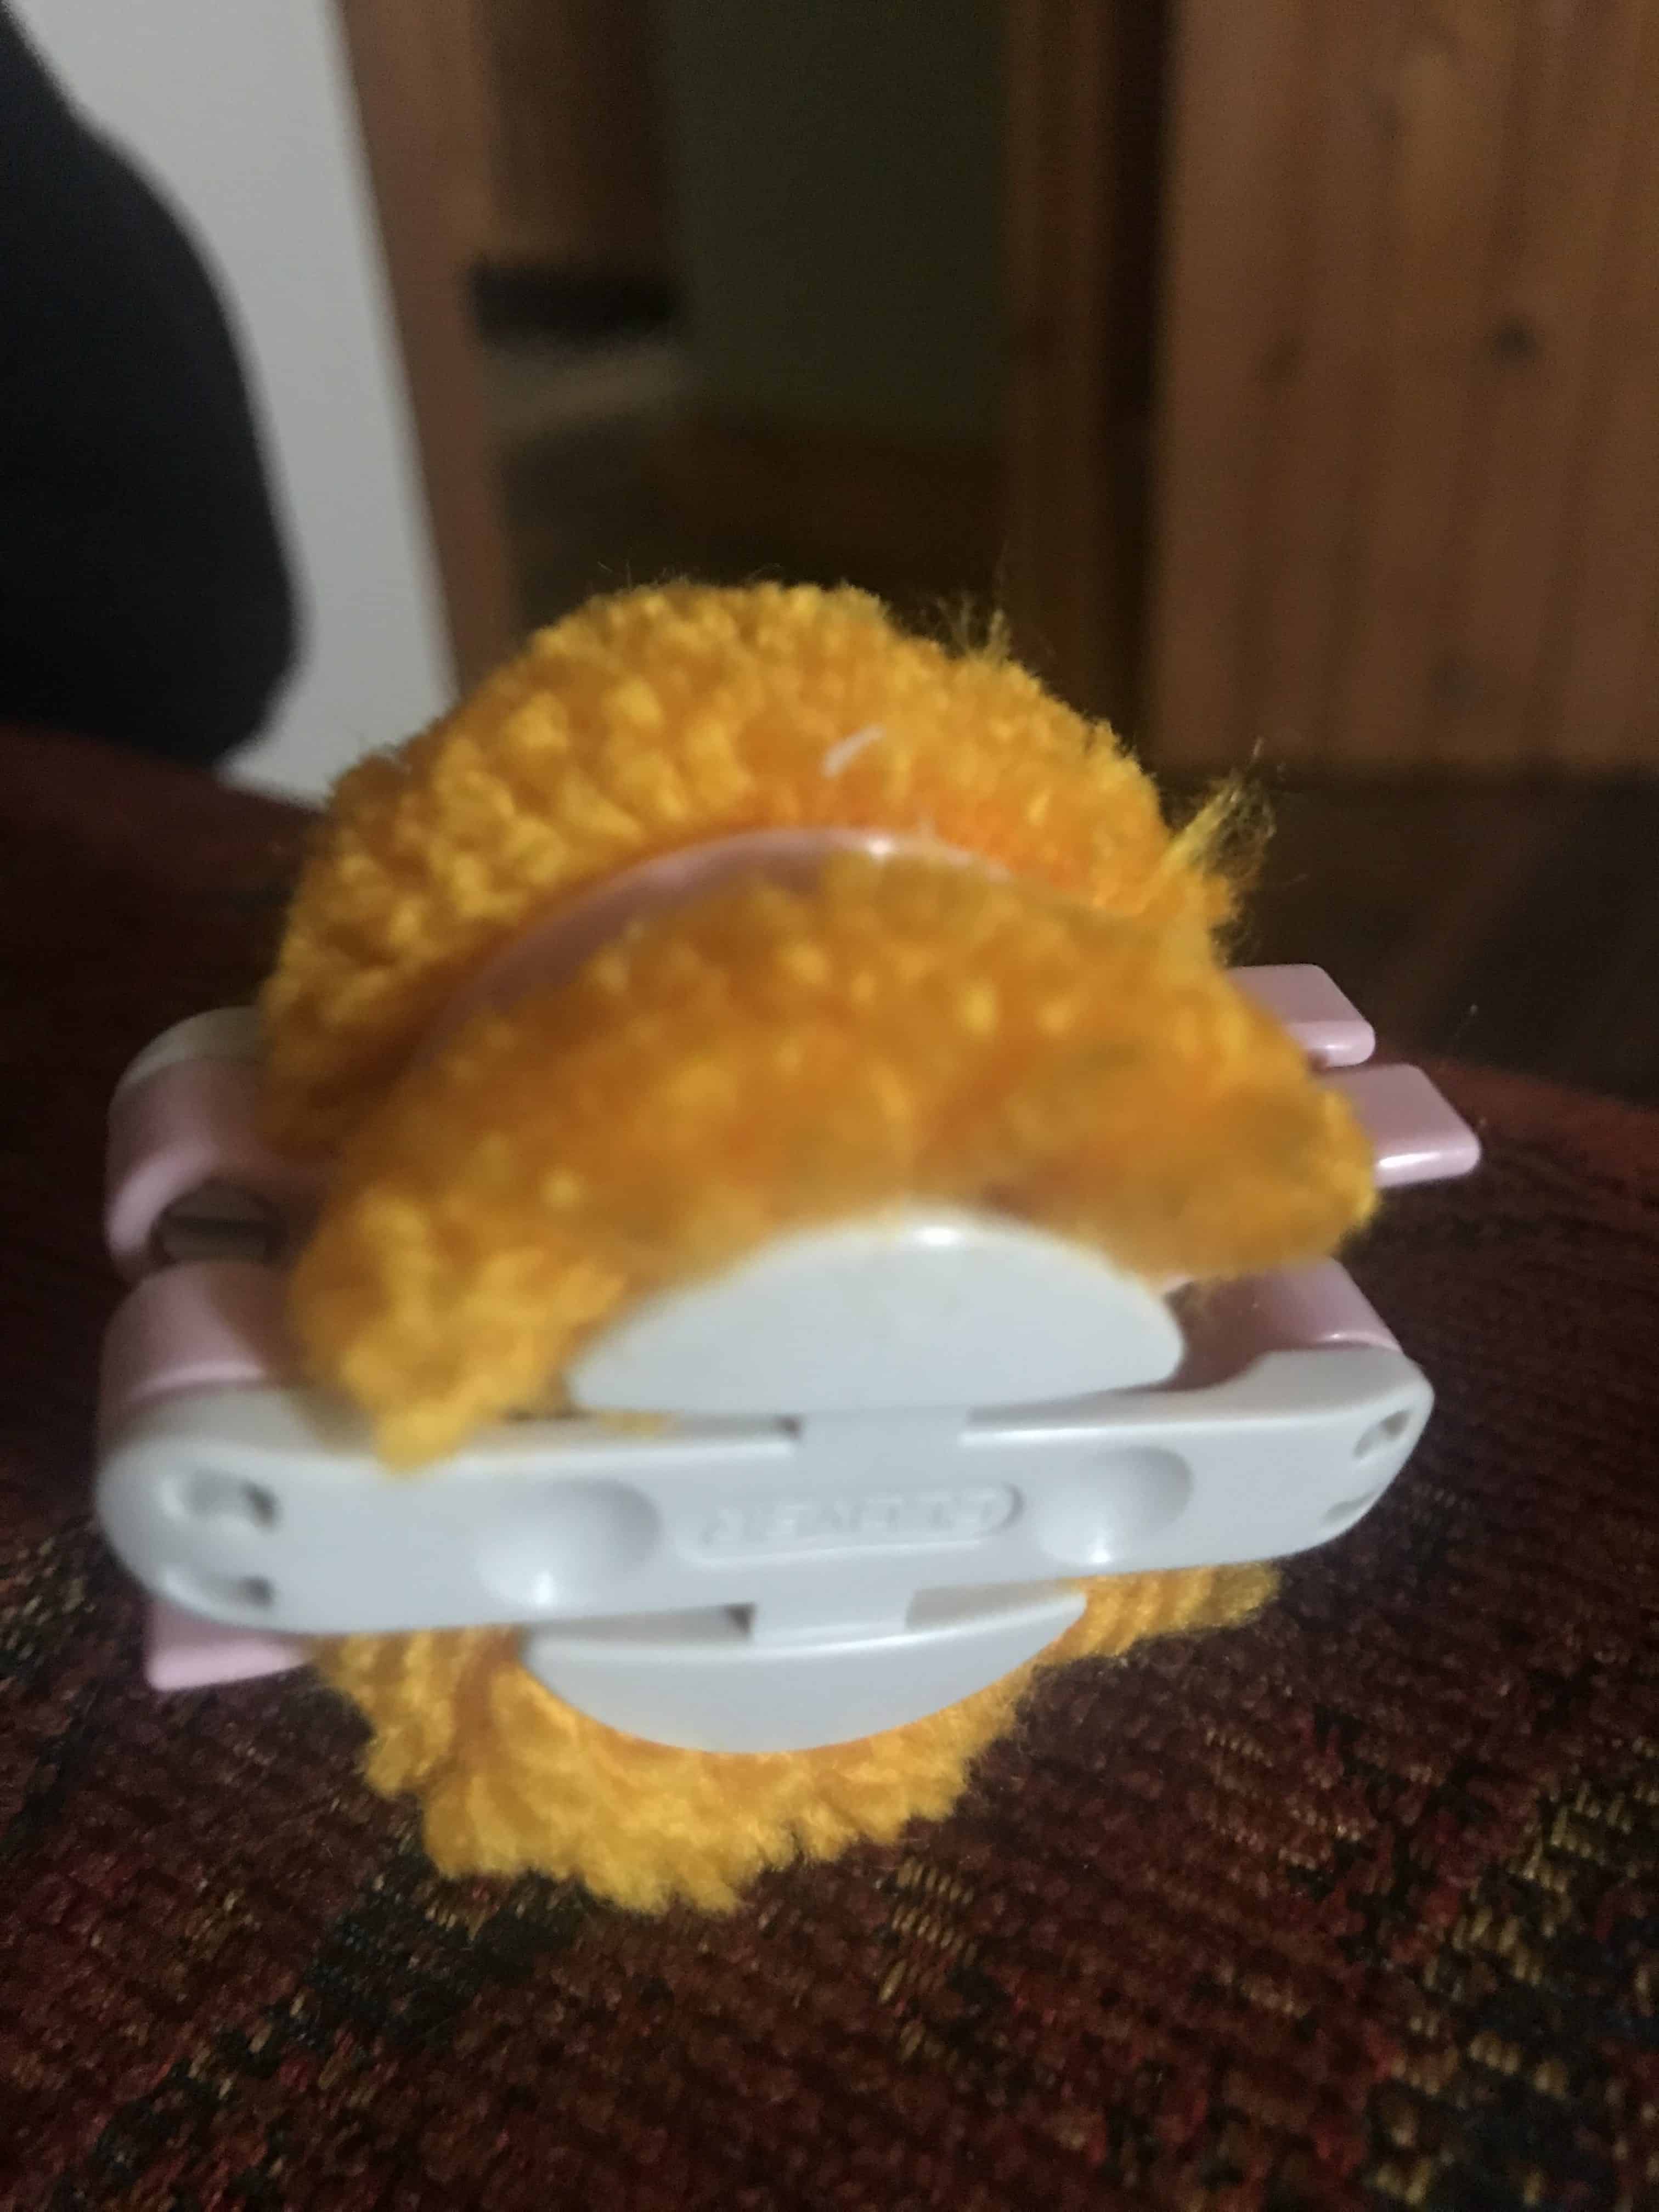
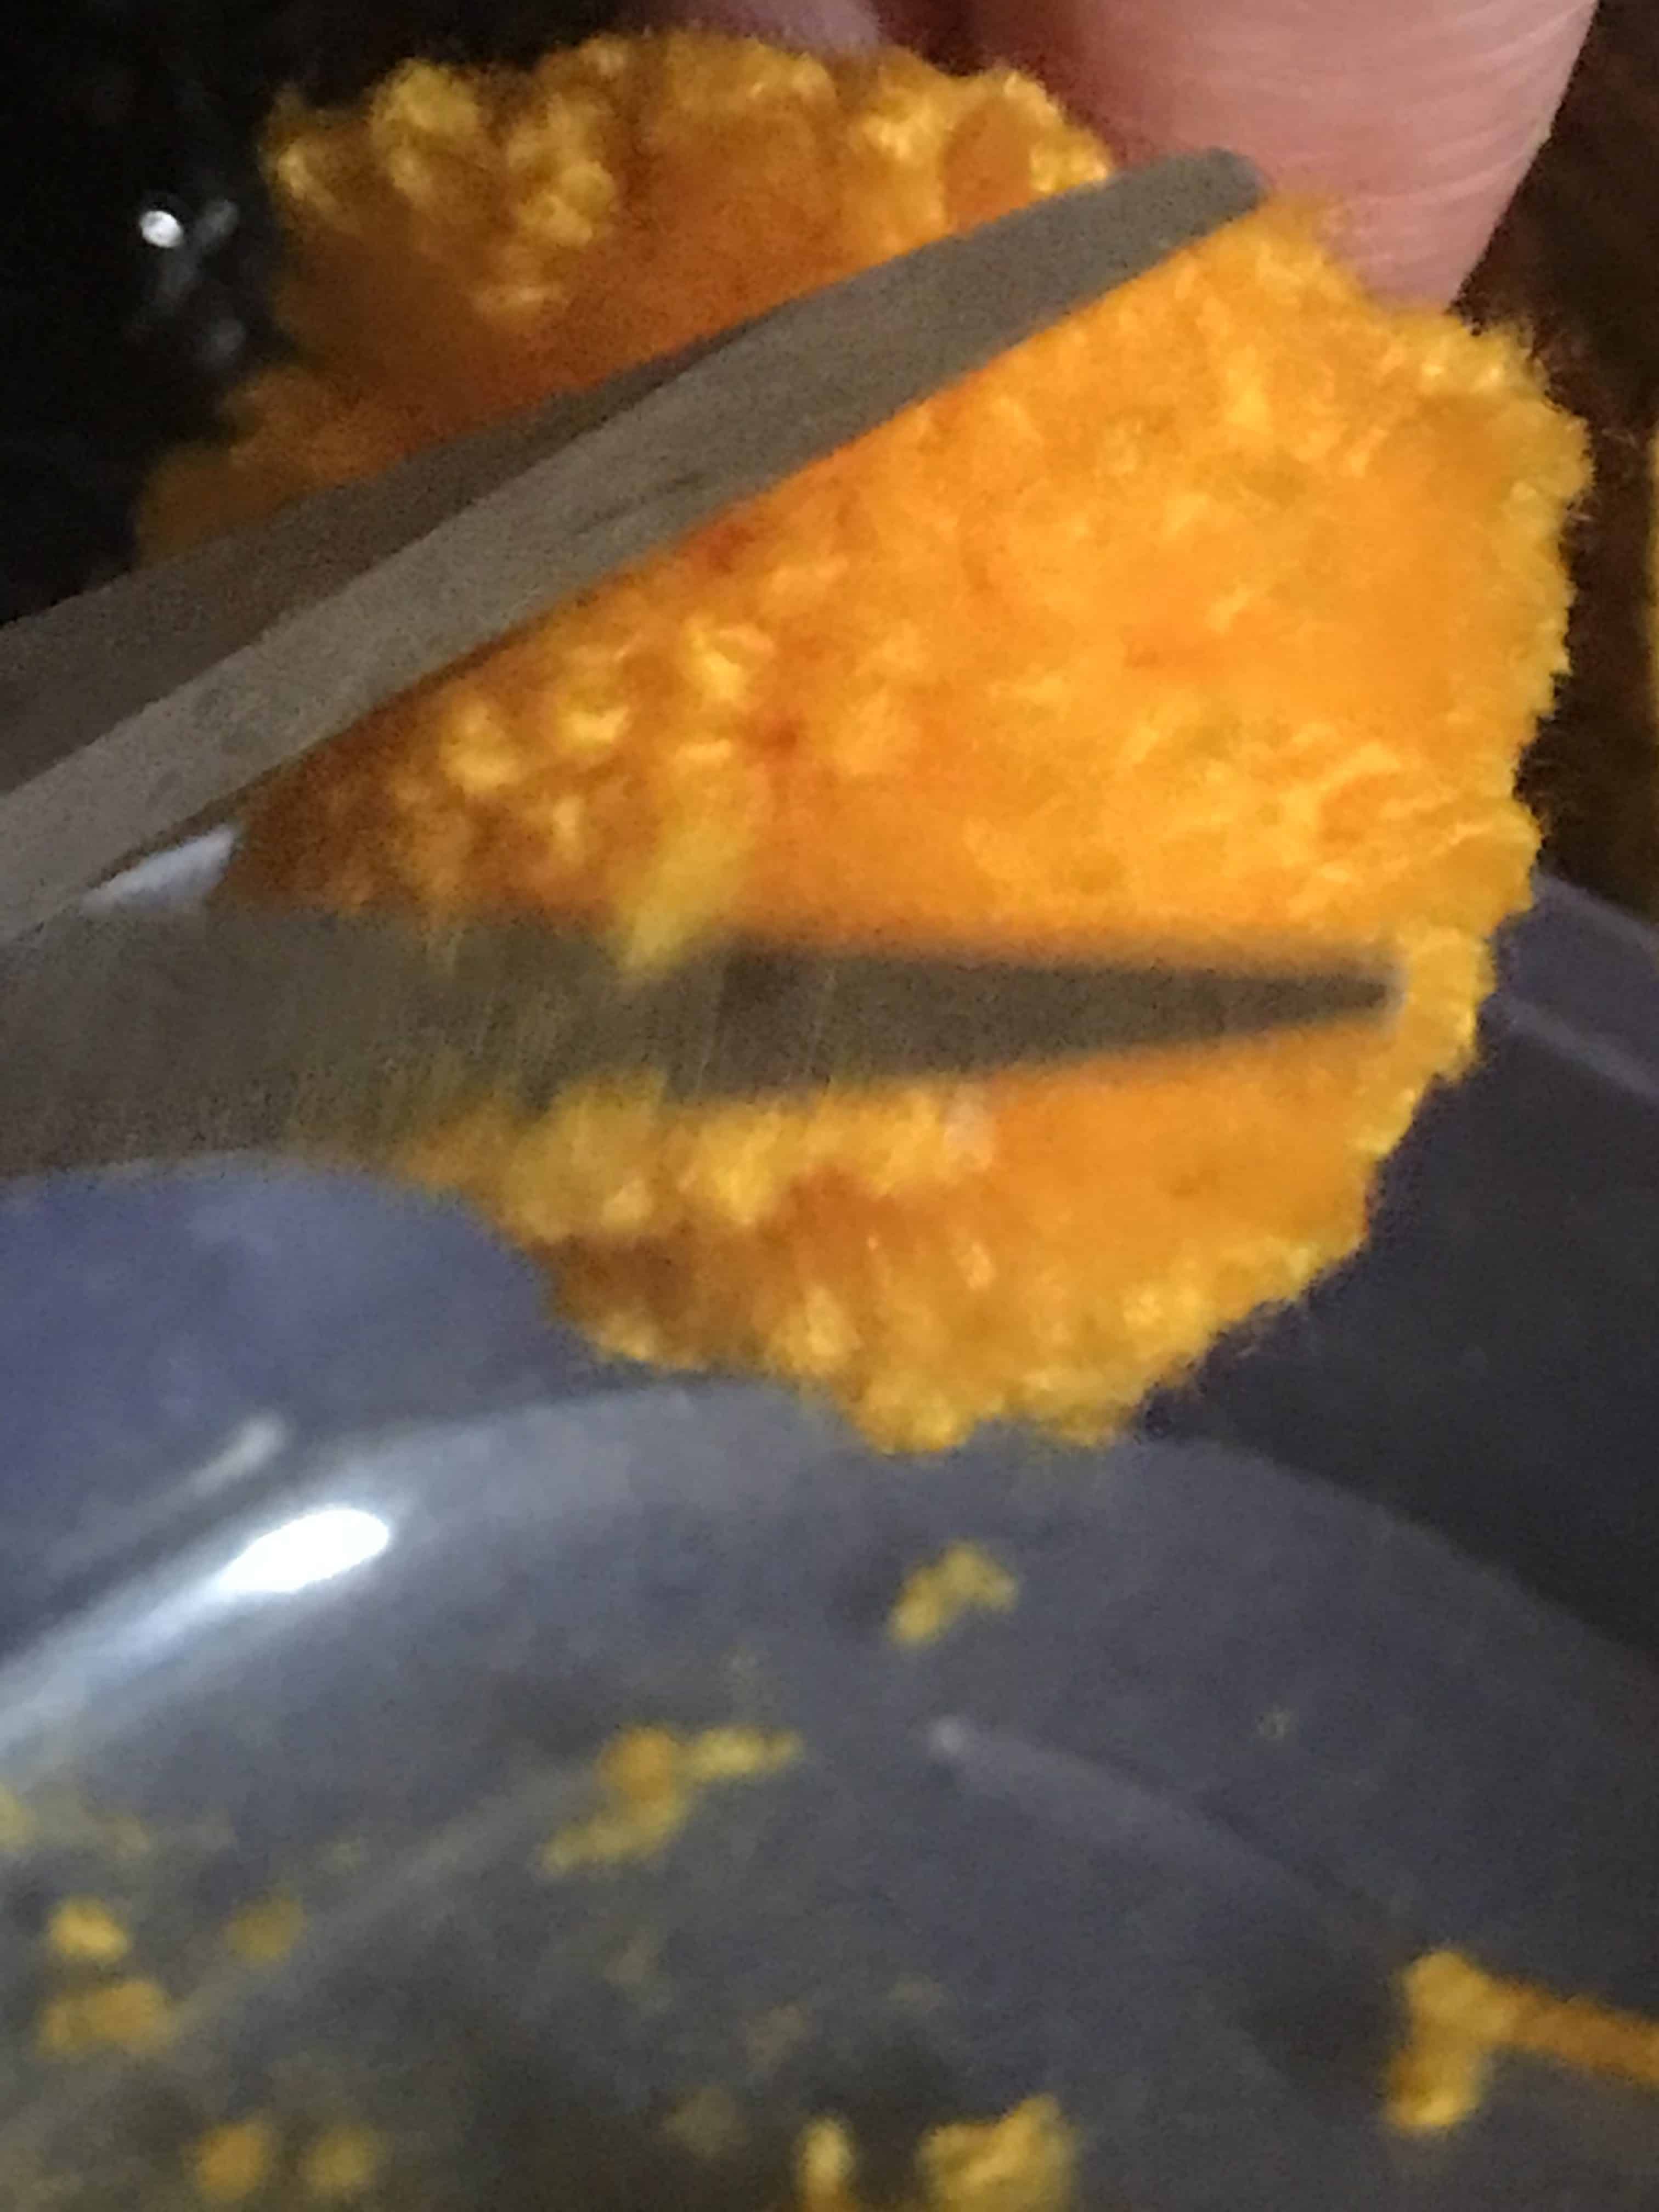
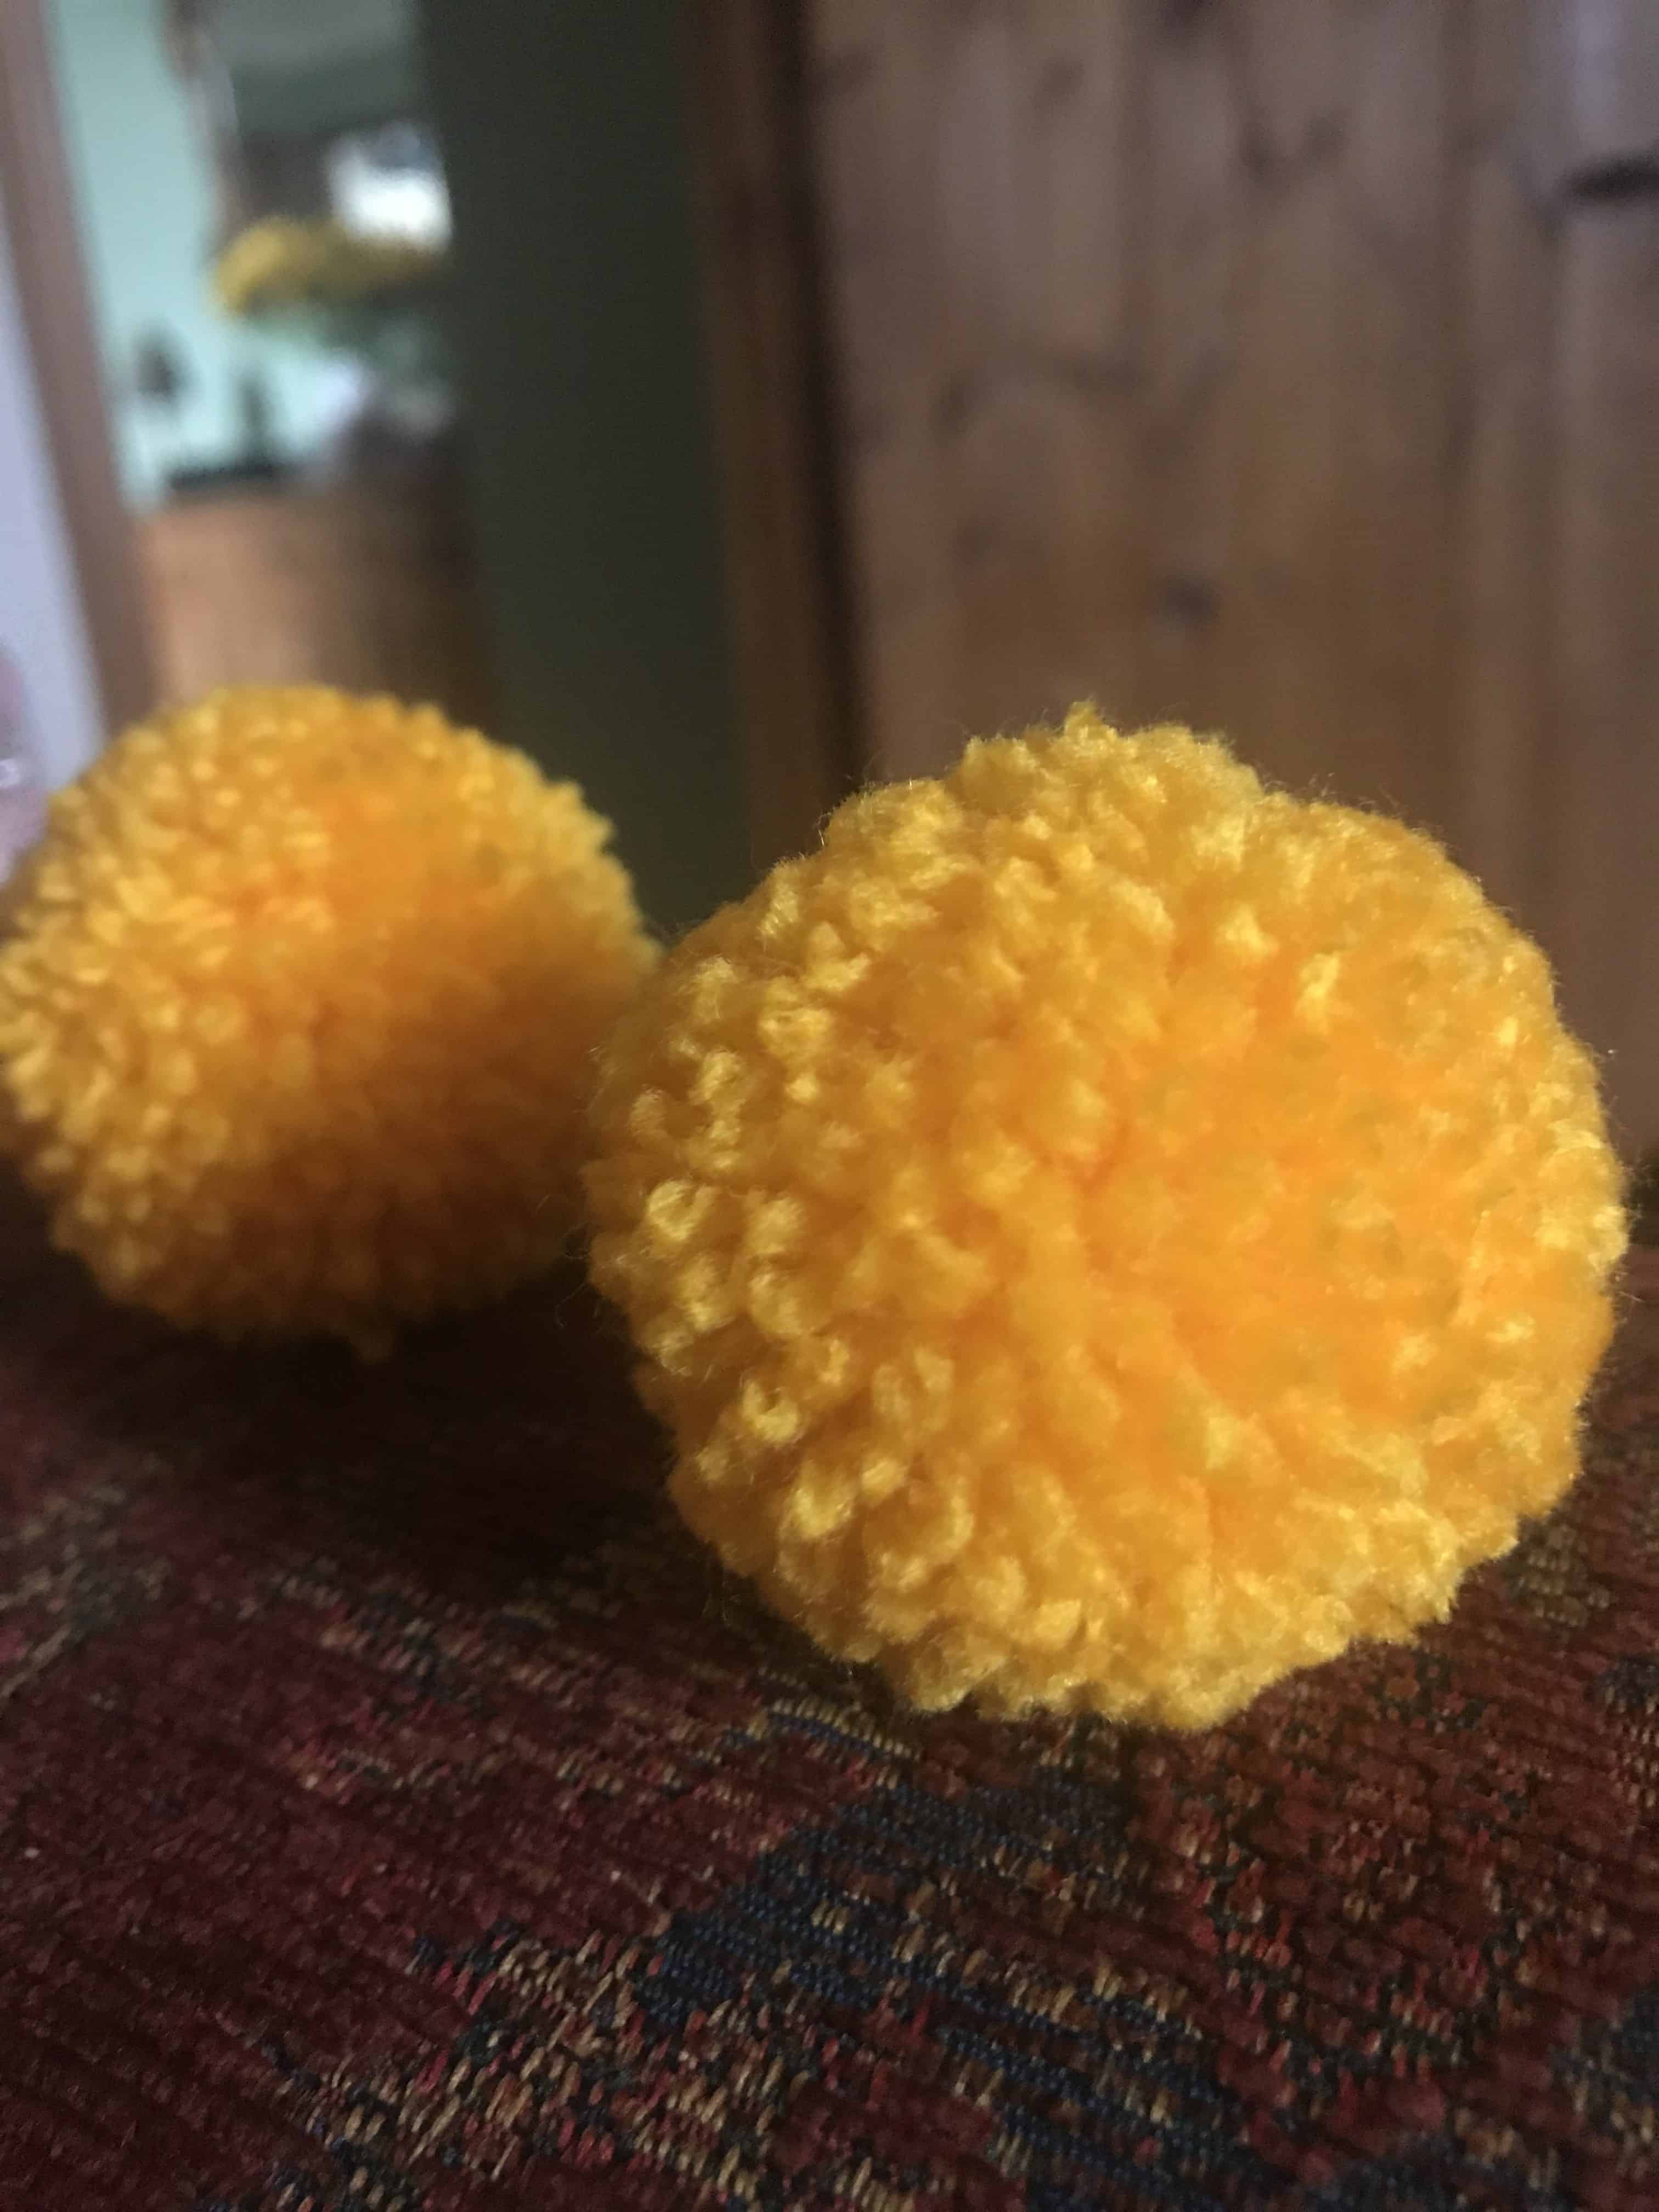
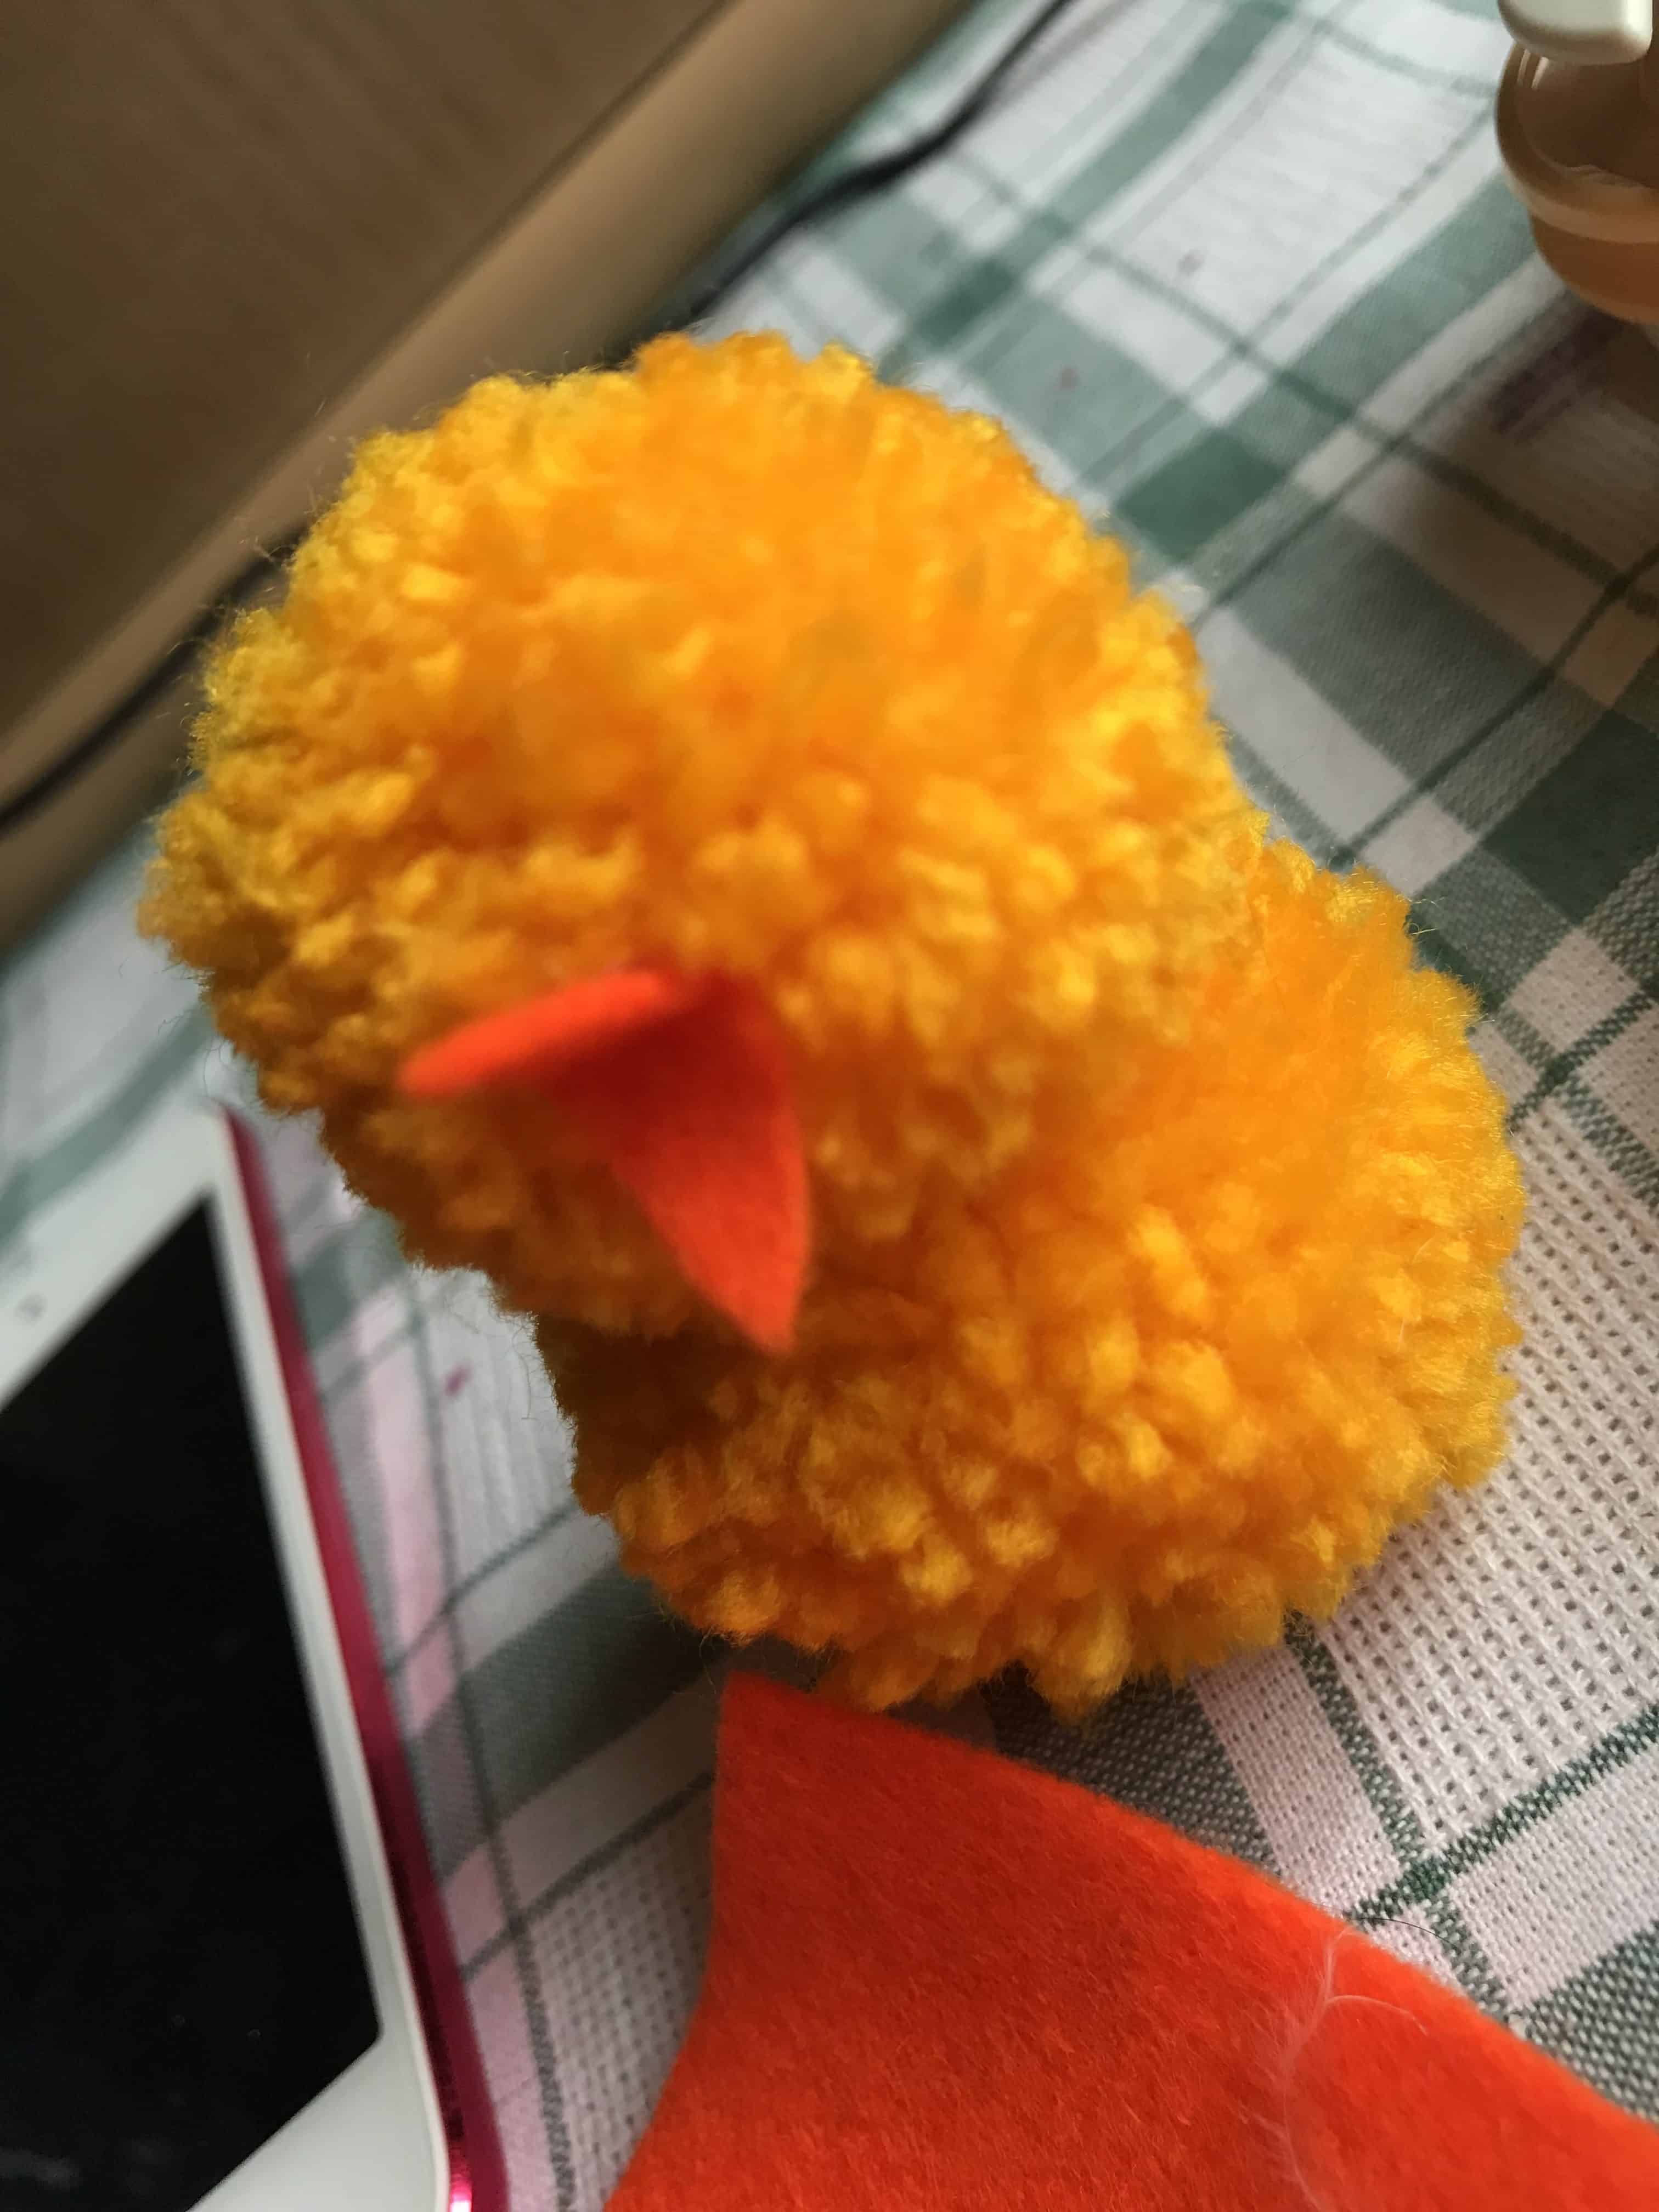
Make two Pom Poms, one slightly bigger than the other. If you have pom pom makers this is so fast and easy, but if not, use the cardboard method which you can find out how to do here with this awesomely easy tutorial from Ashley Marie. Once you have your pom poms, trim them up to make nice rounded shapes.
Step 2
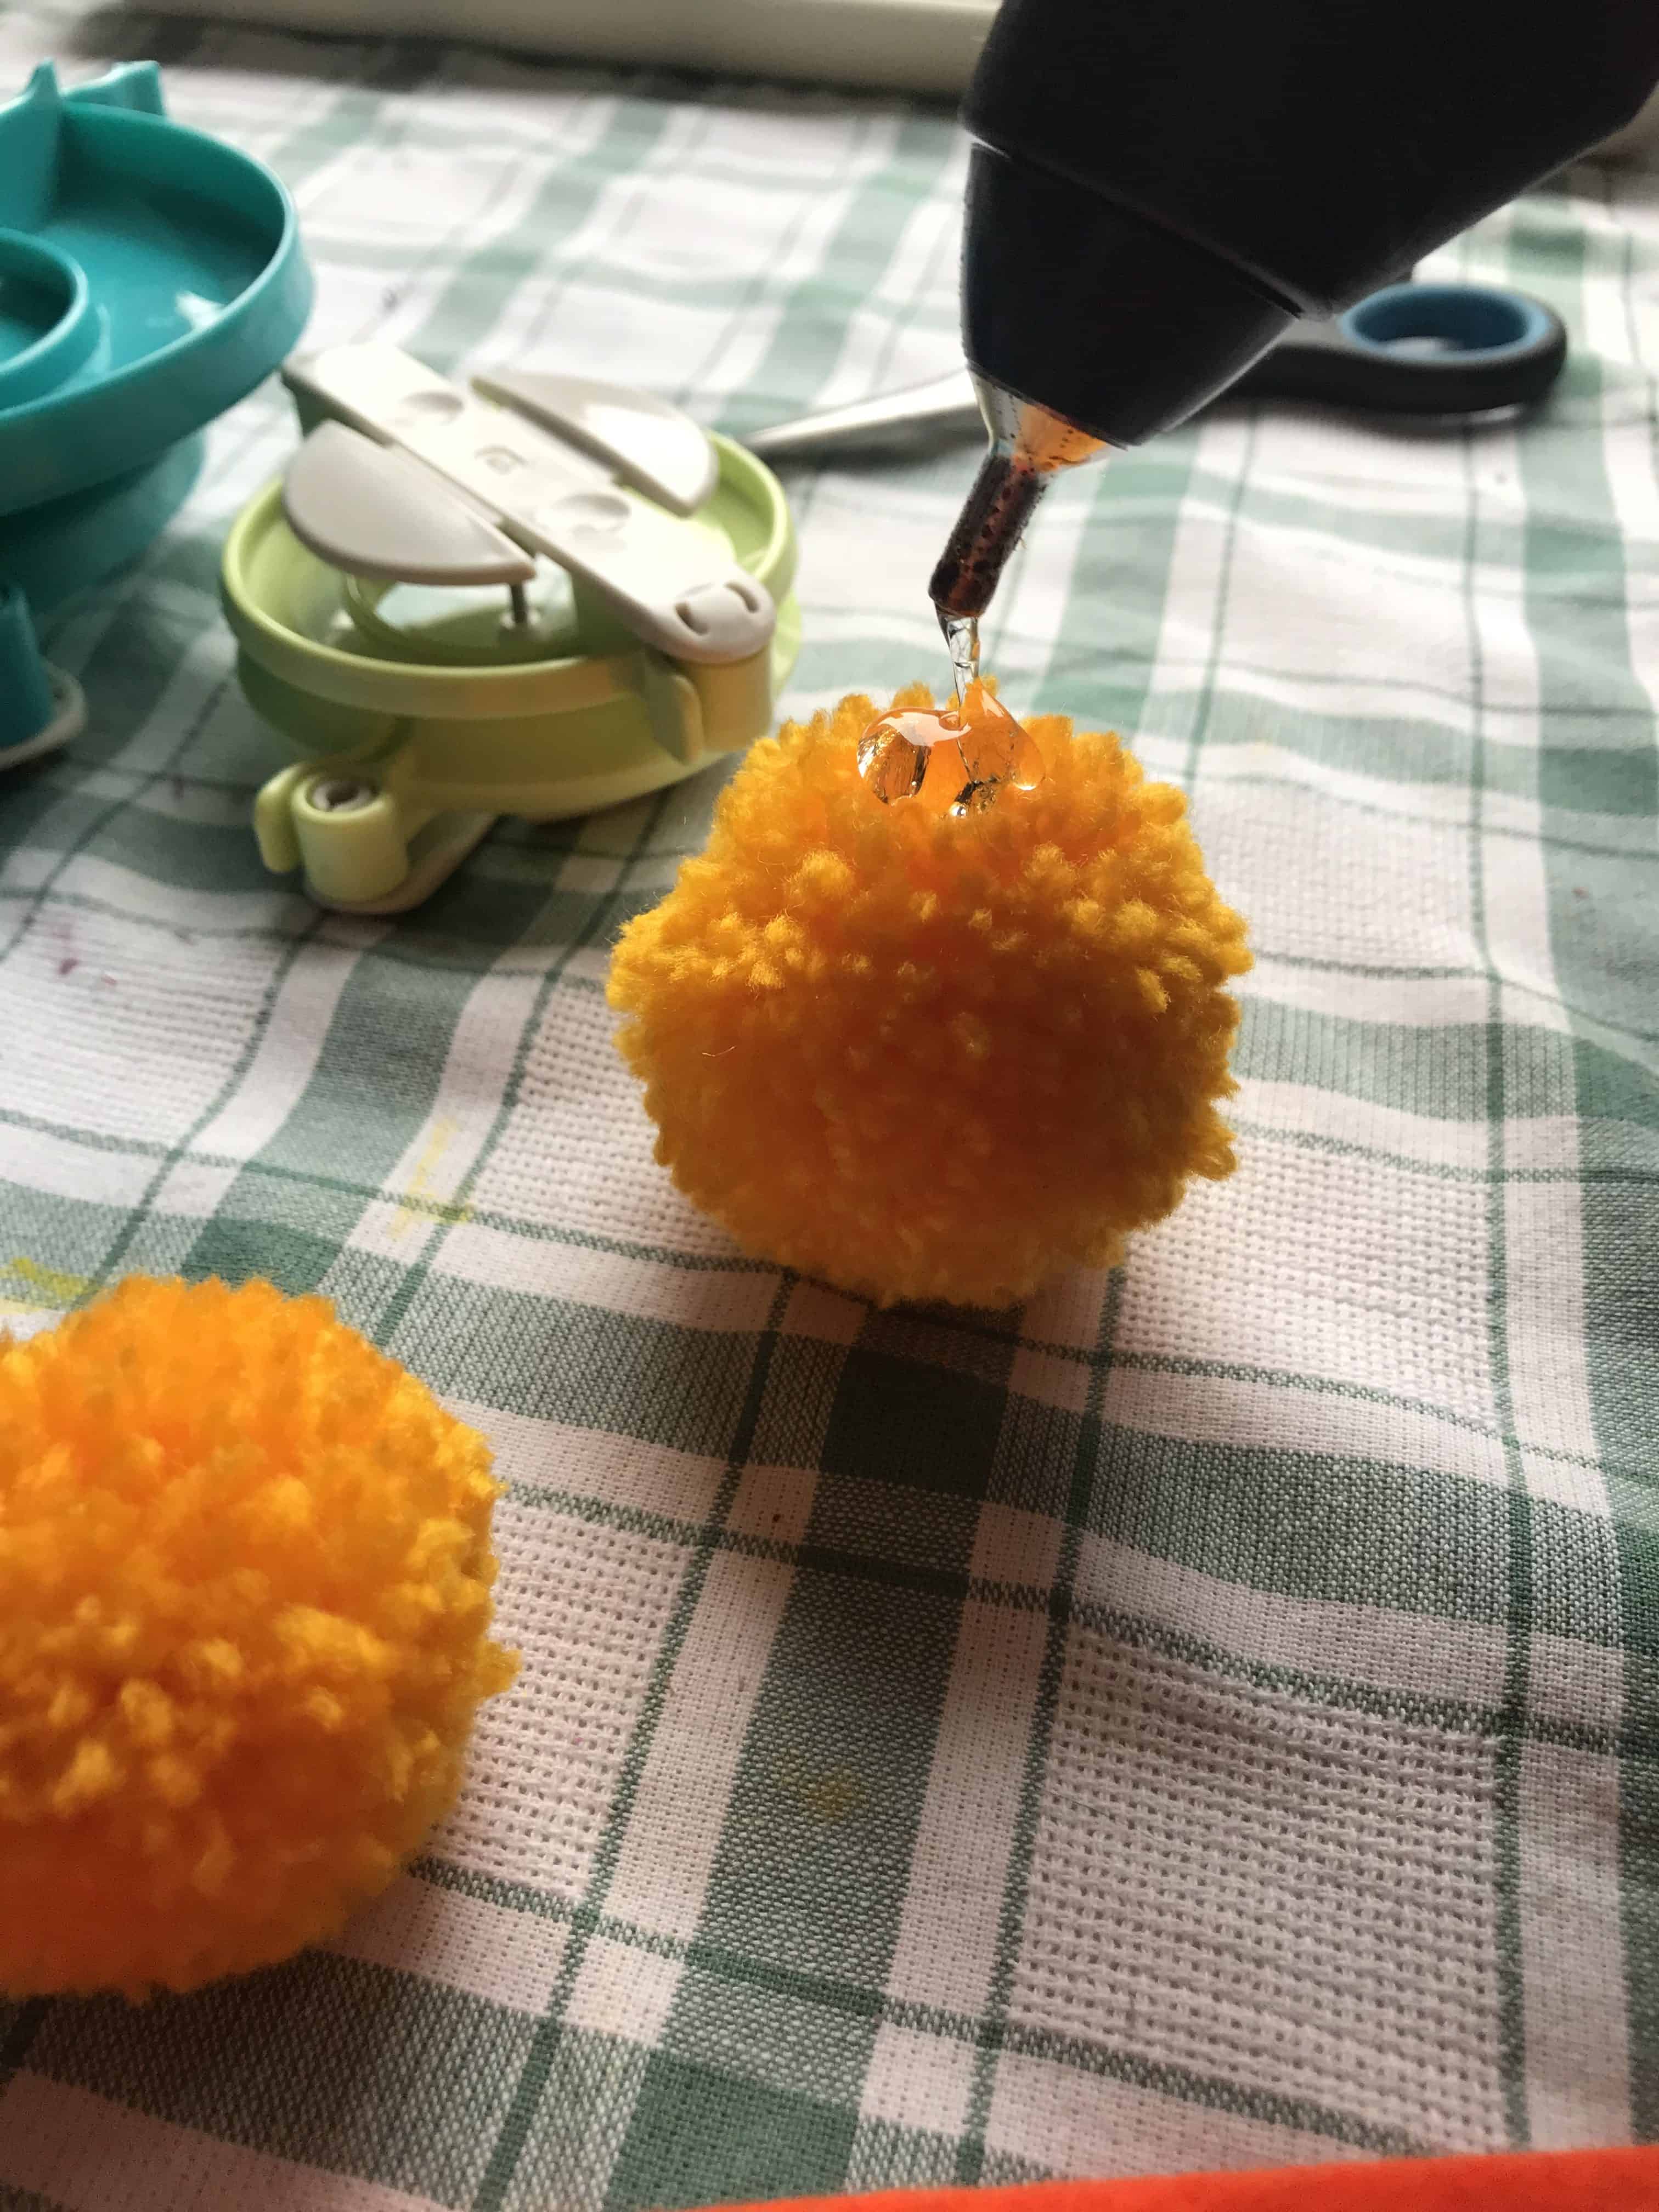
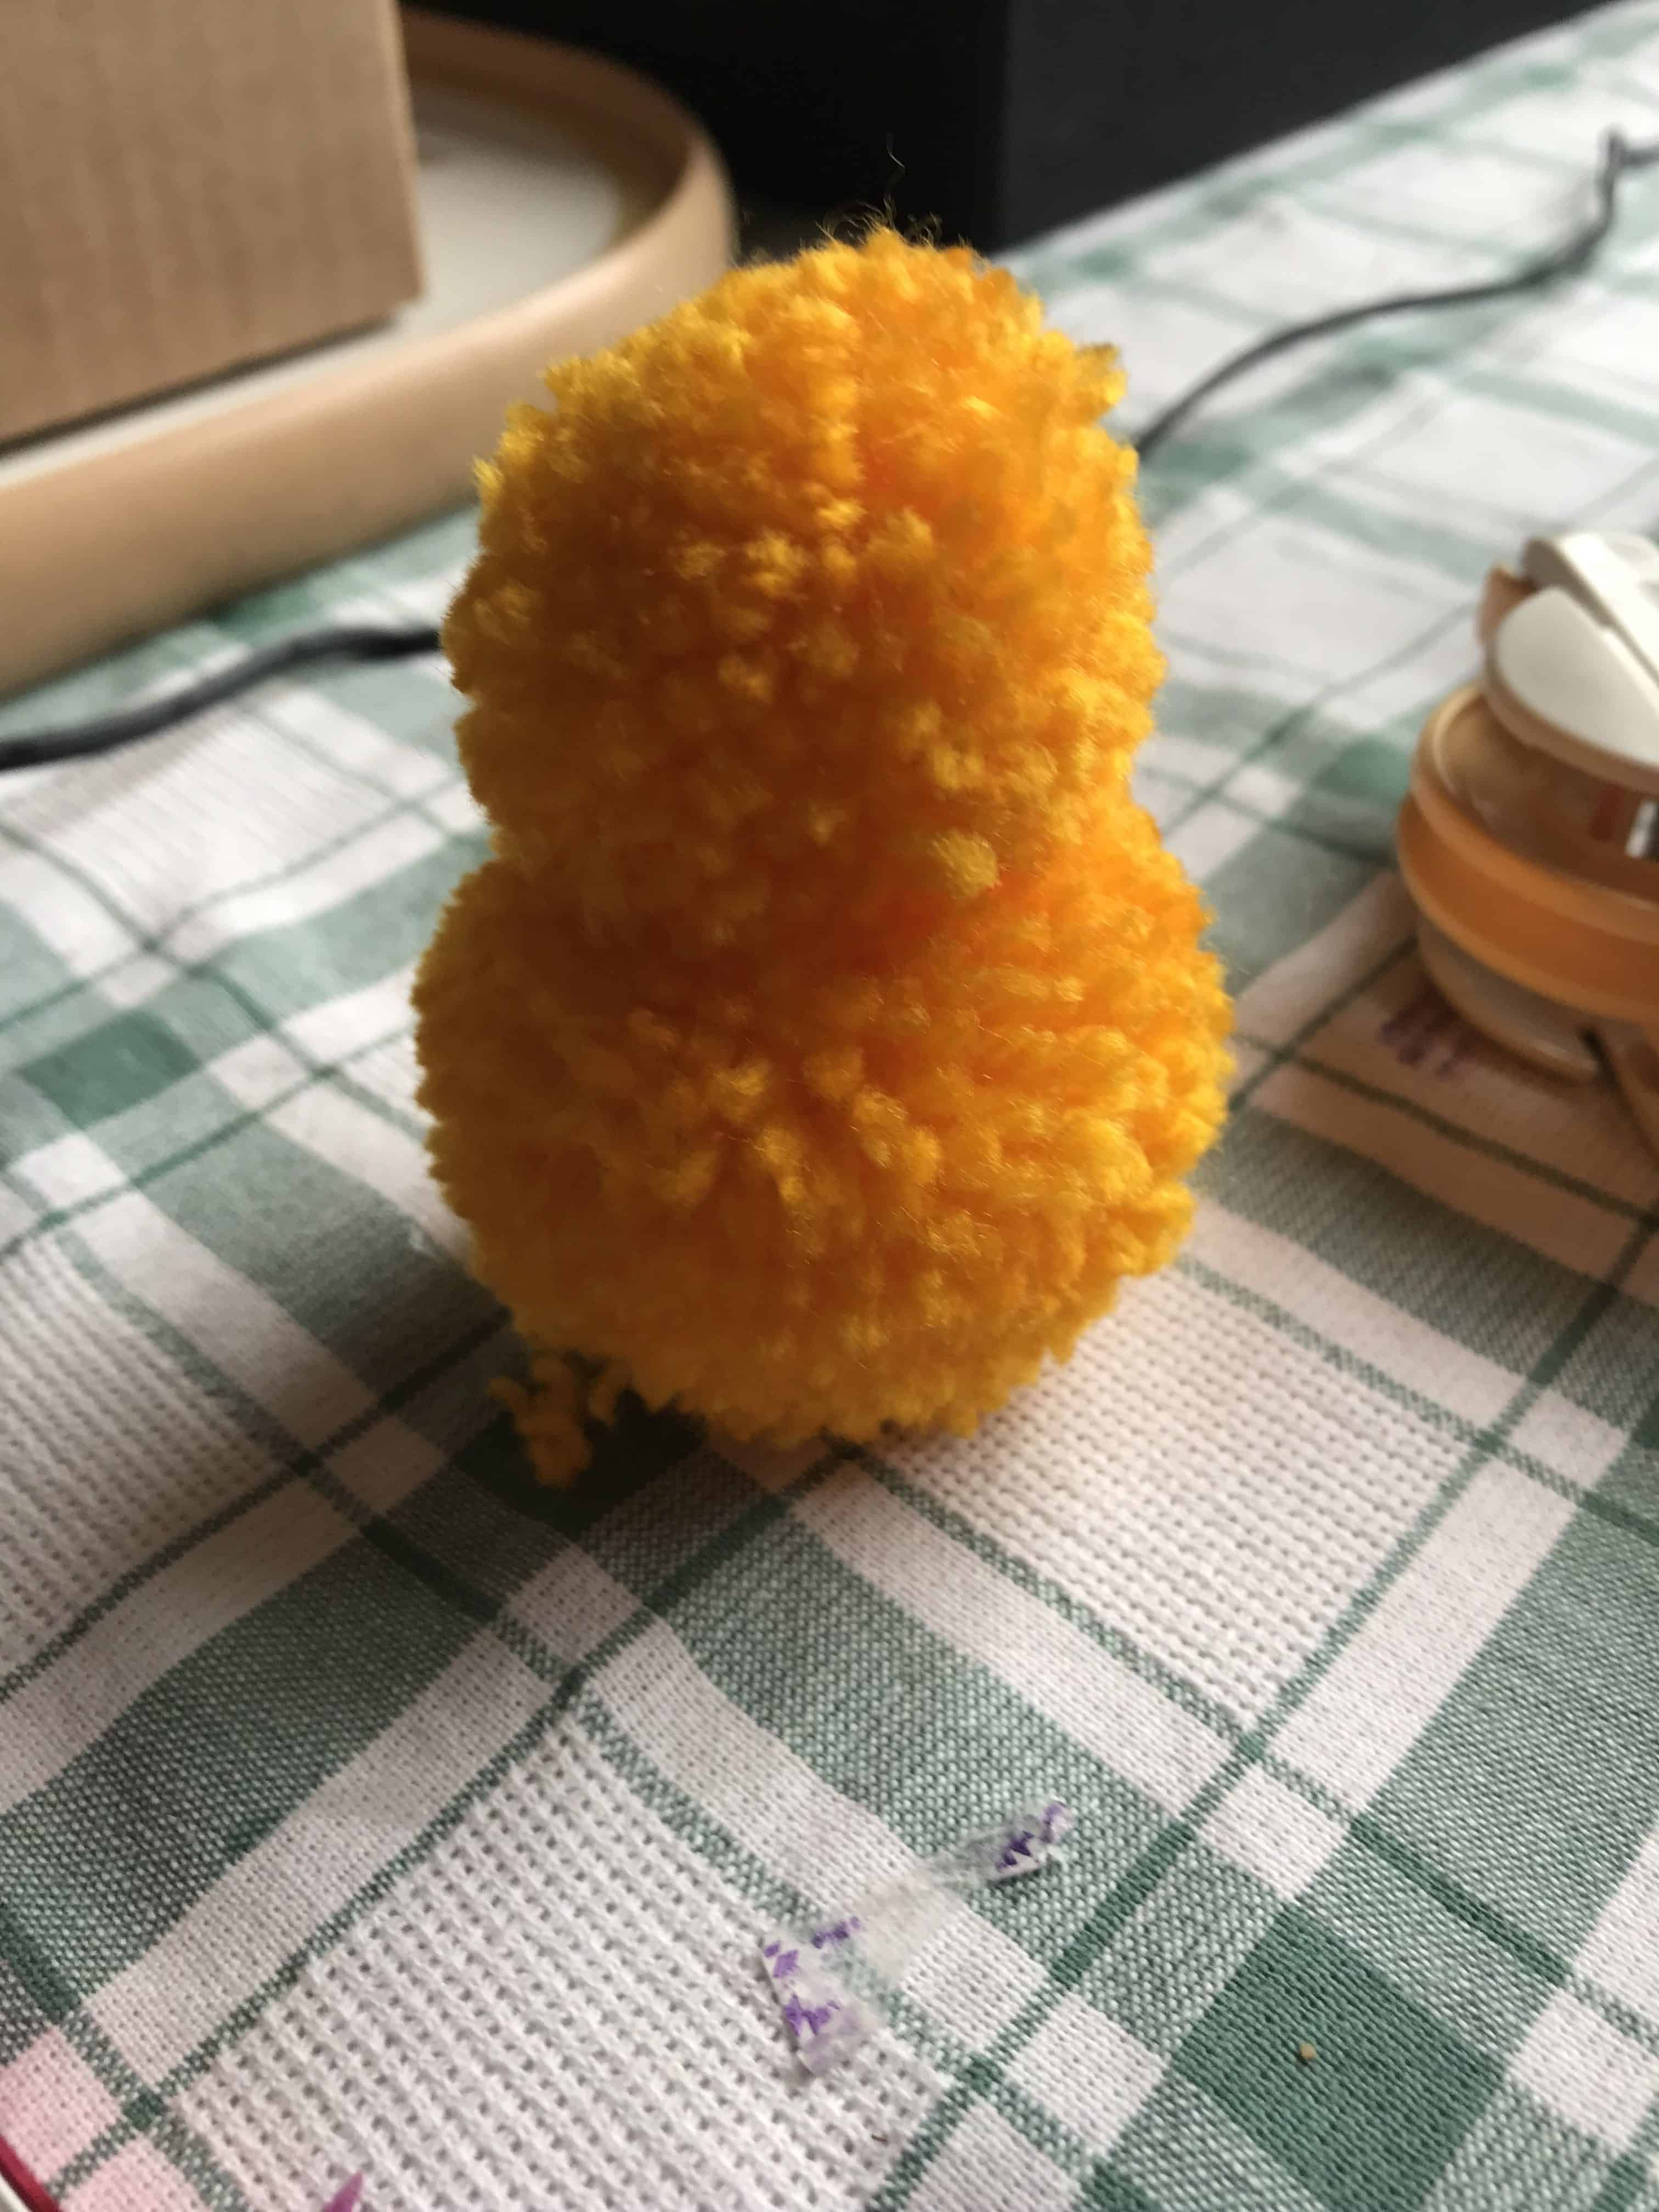
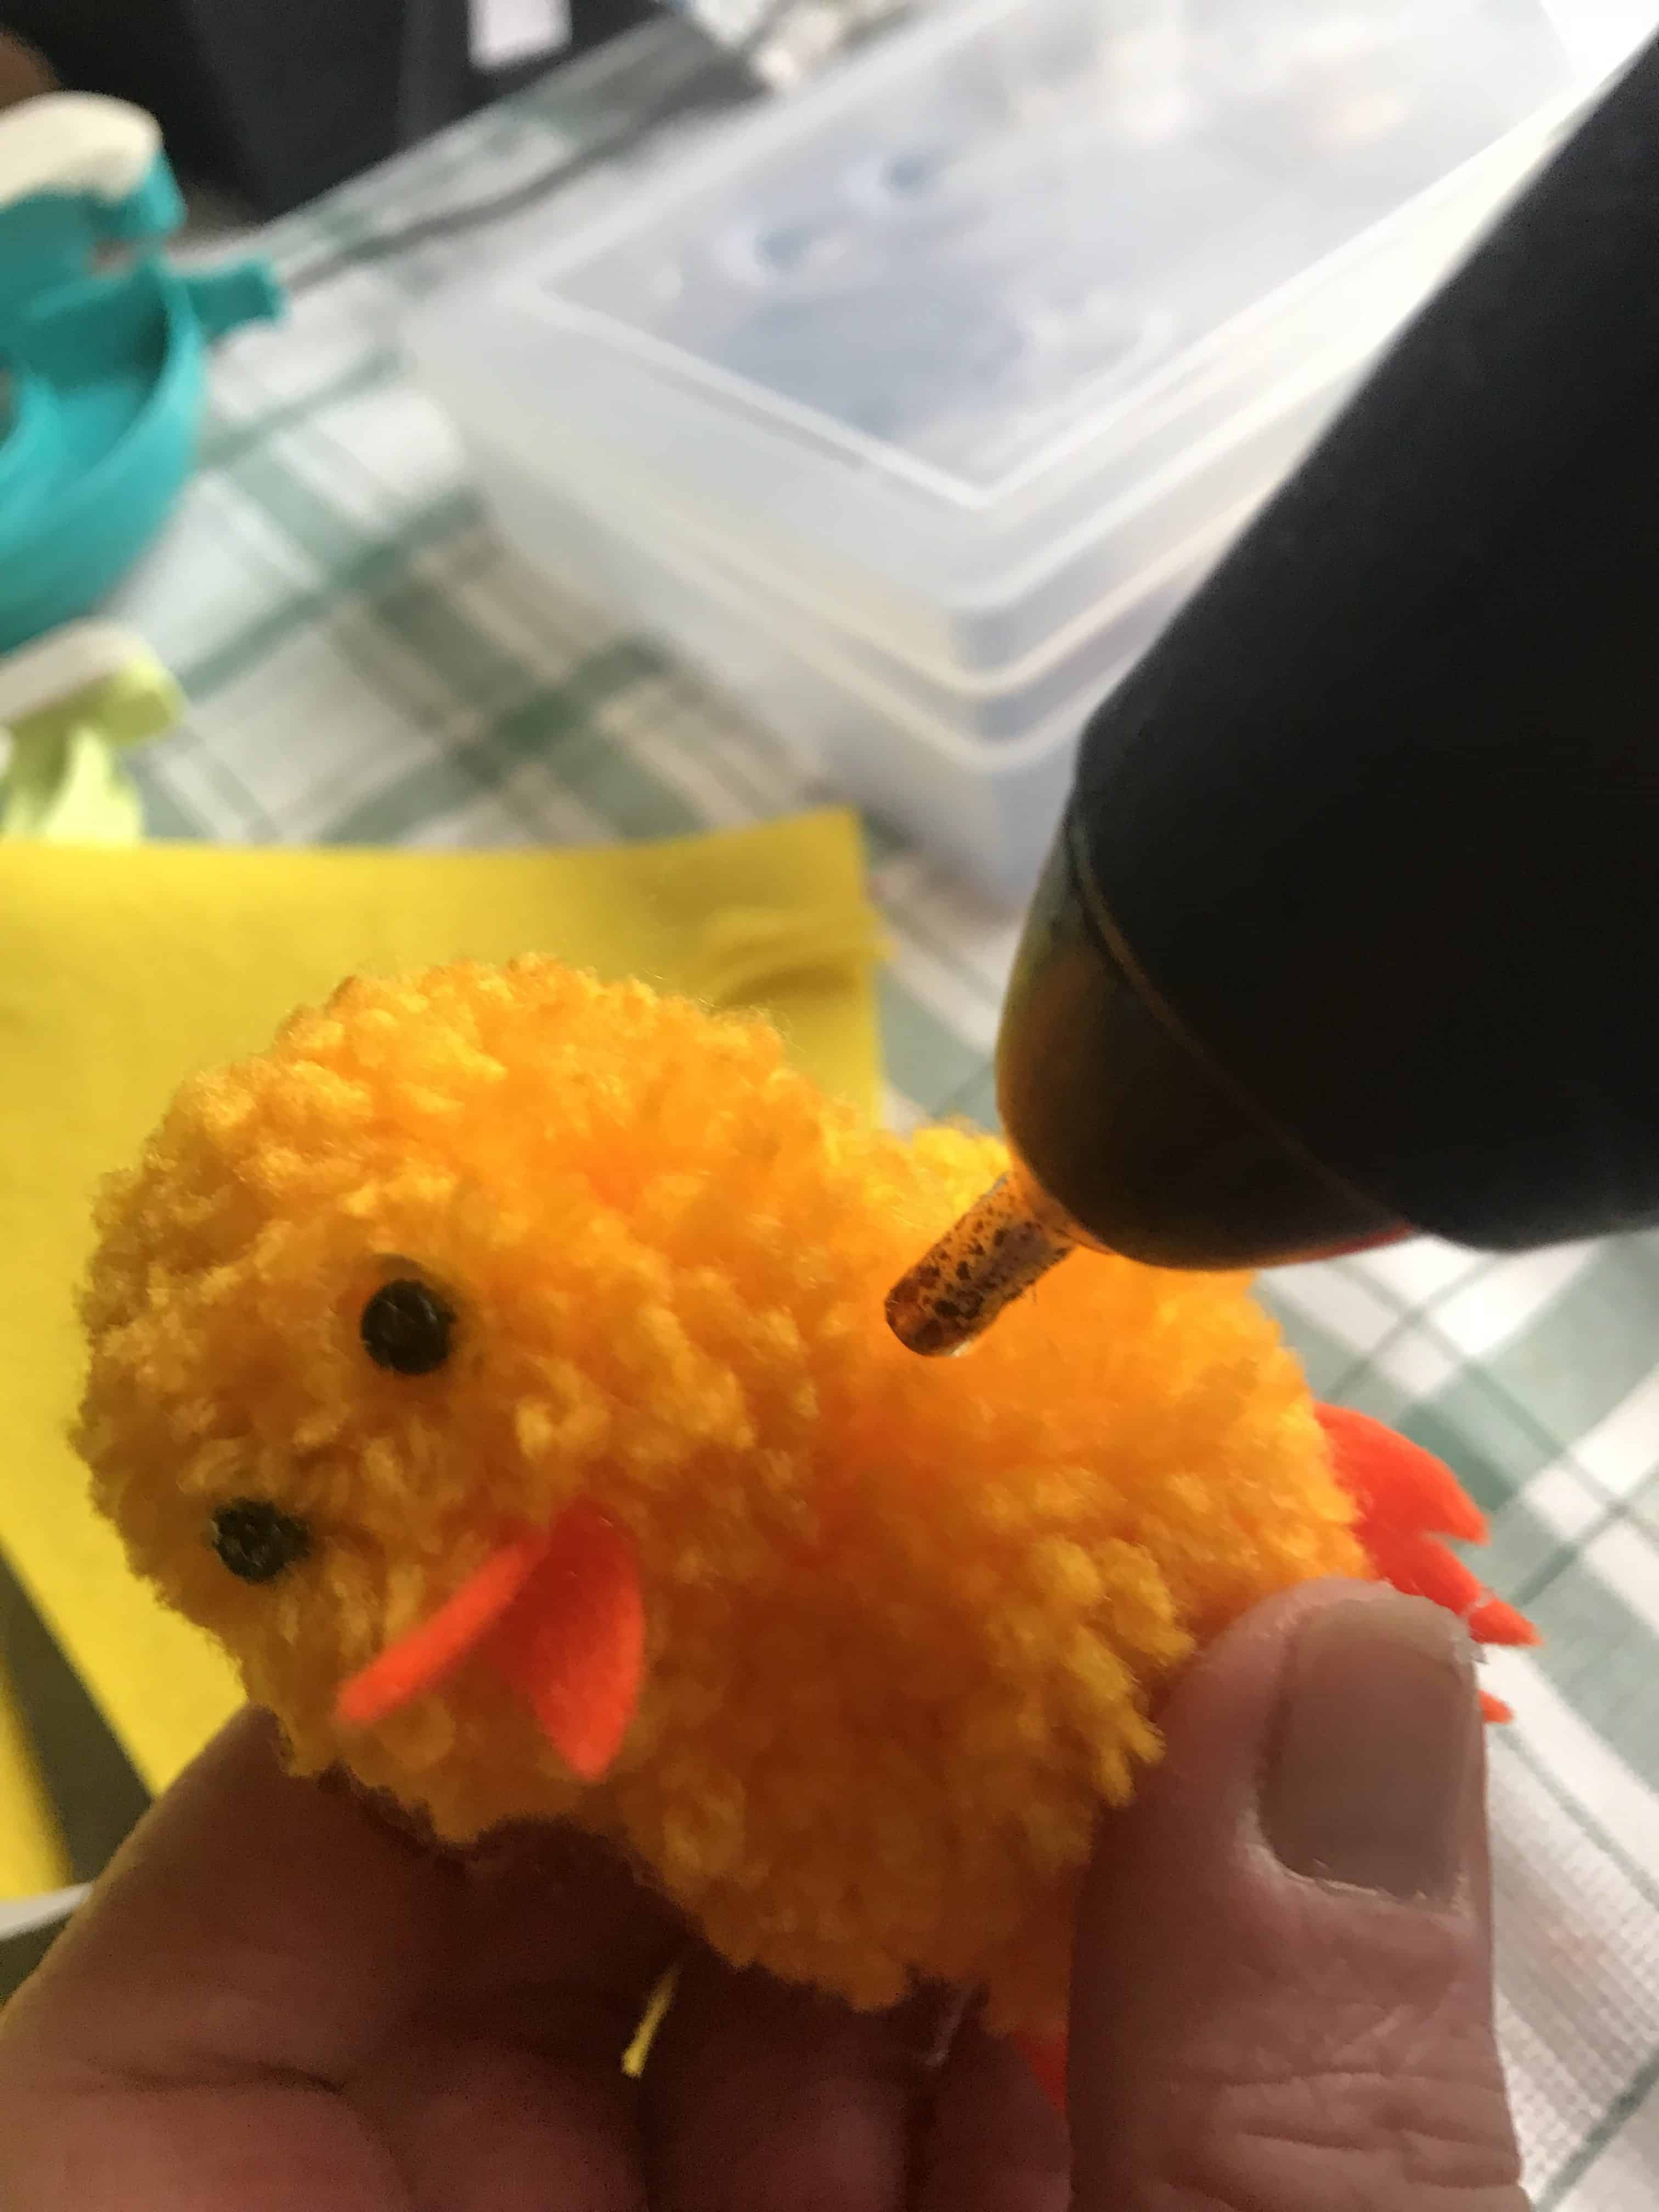
Blob glue on to the top of the larger pom pom. Stick the smaller pom pom on top.
Step 3
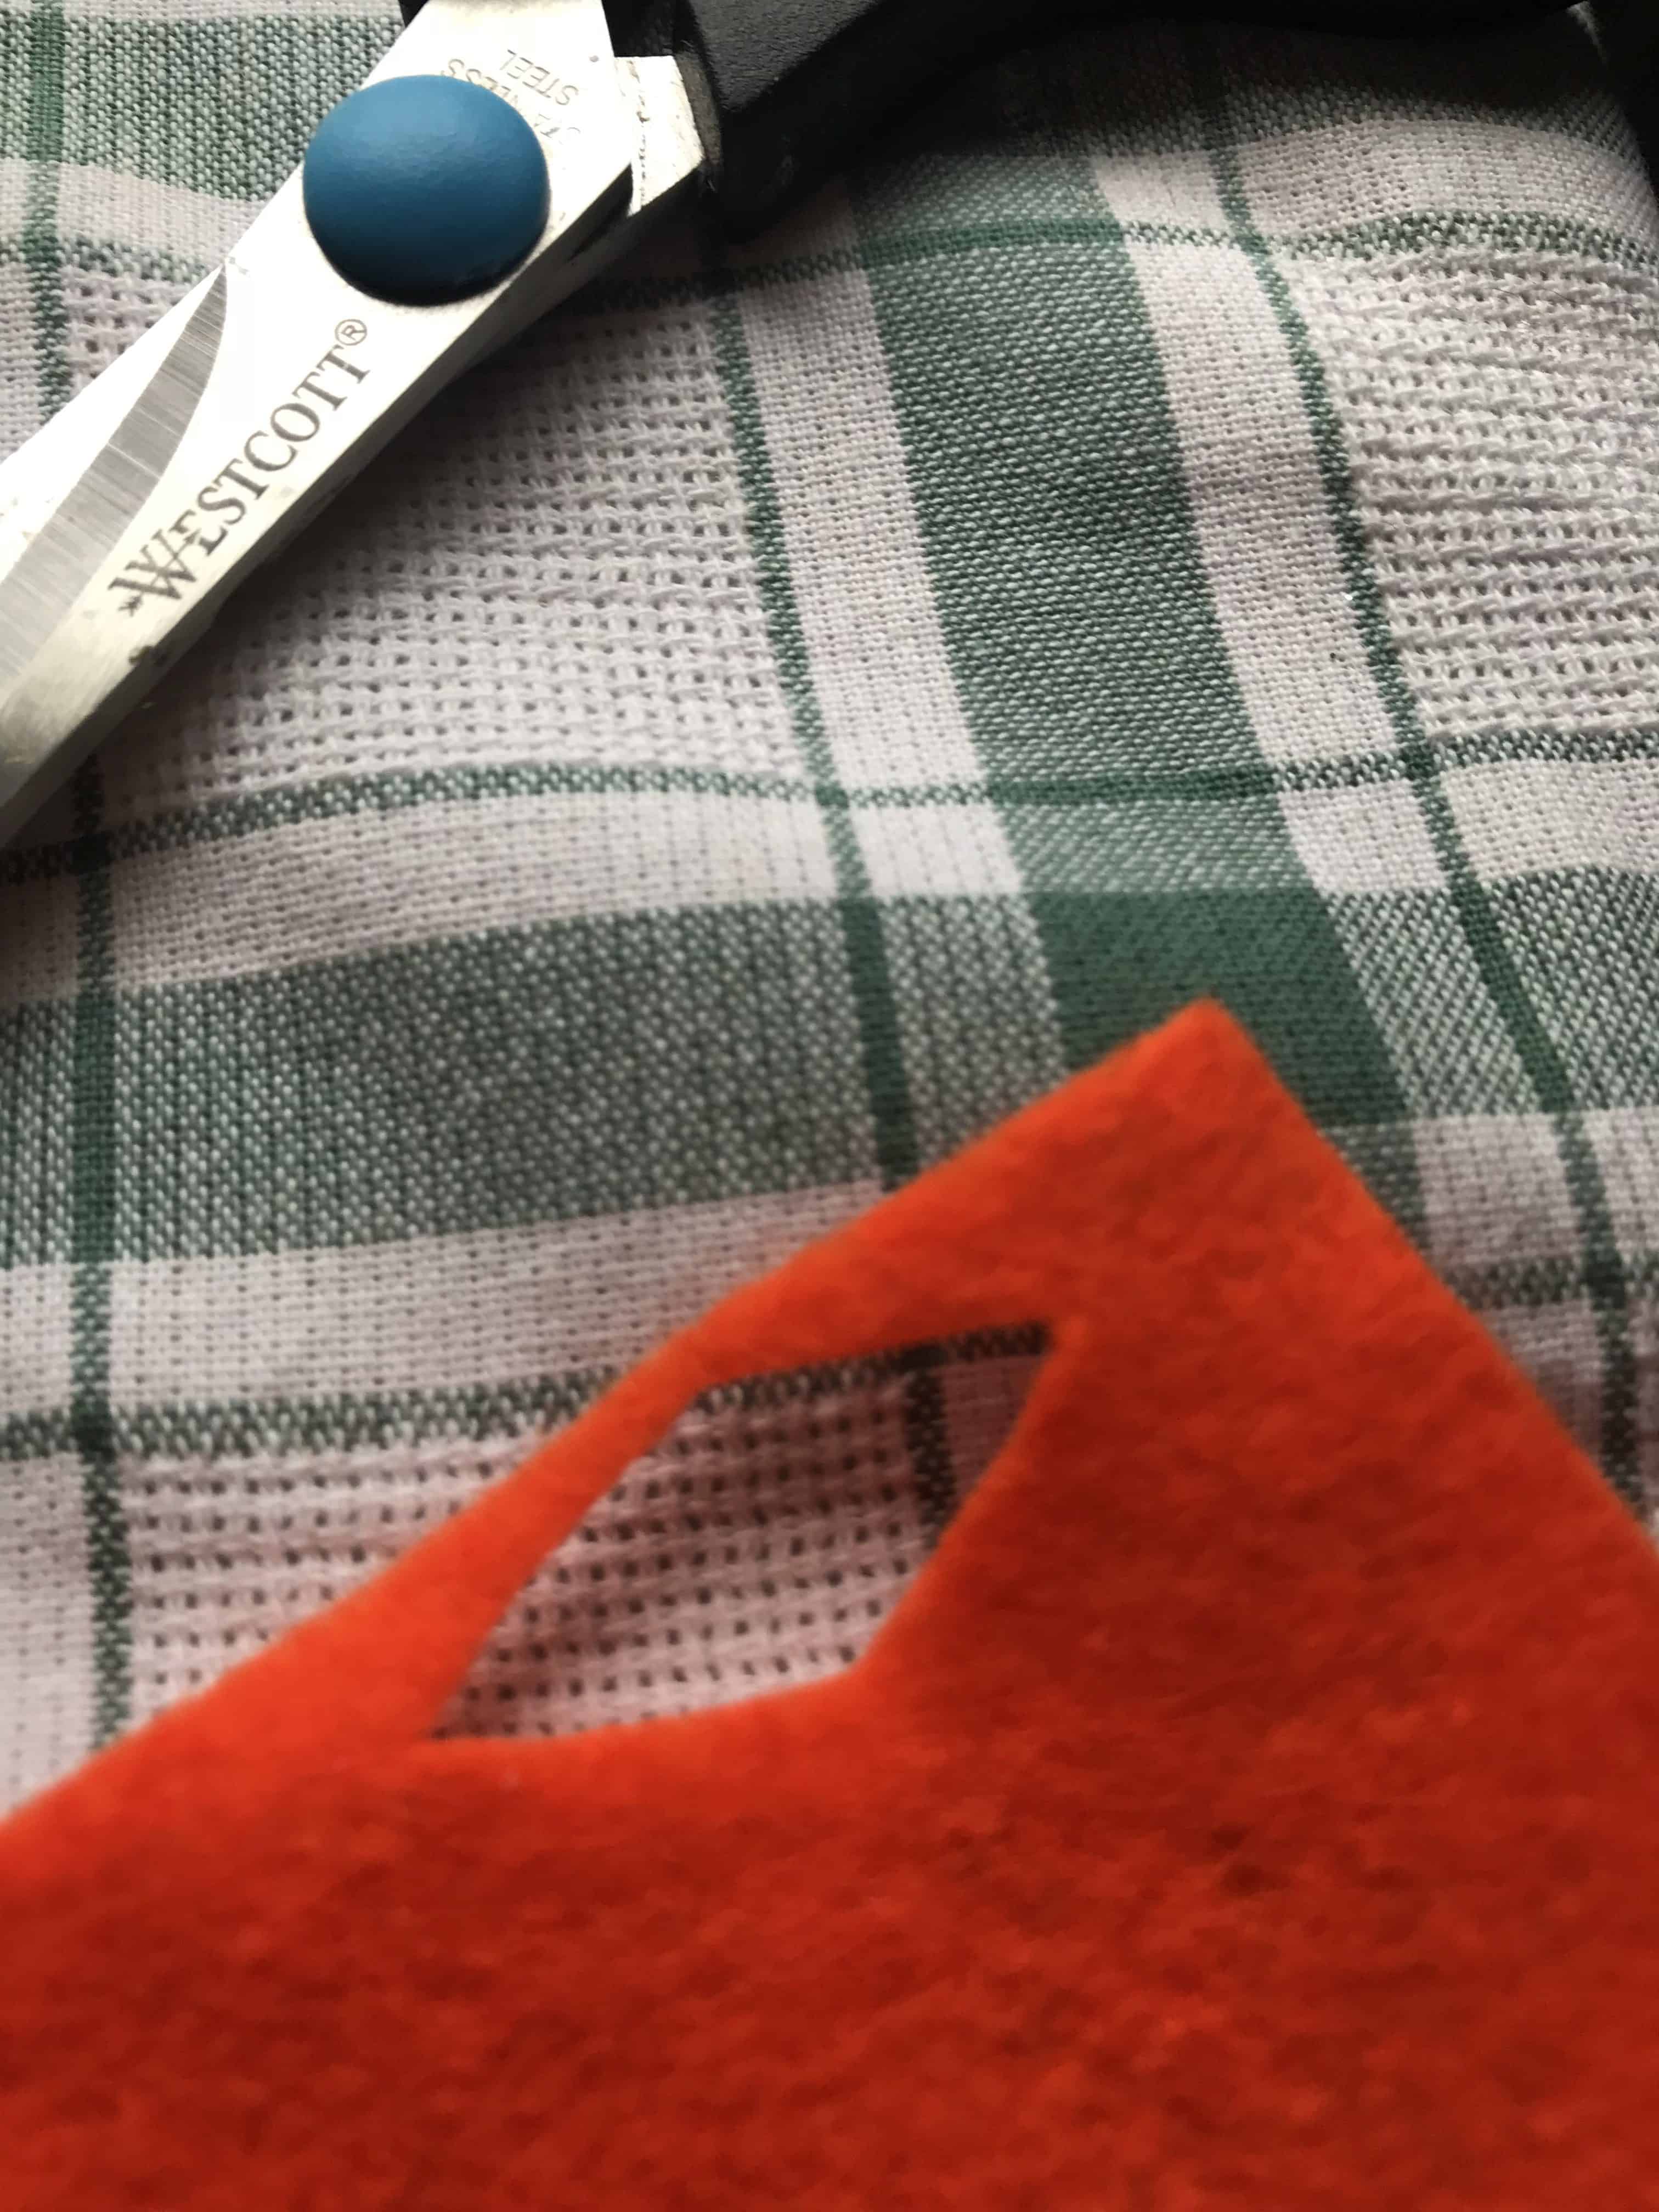
Cut out a diamond shape from the orange felt sheet. Fold it in half and pinch while you stick it on to the head of the chick as his beak.
Step 4
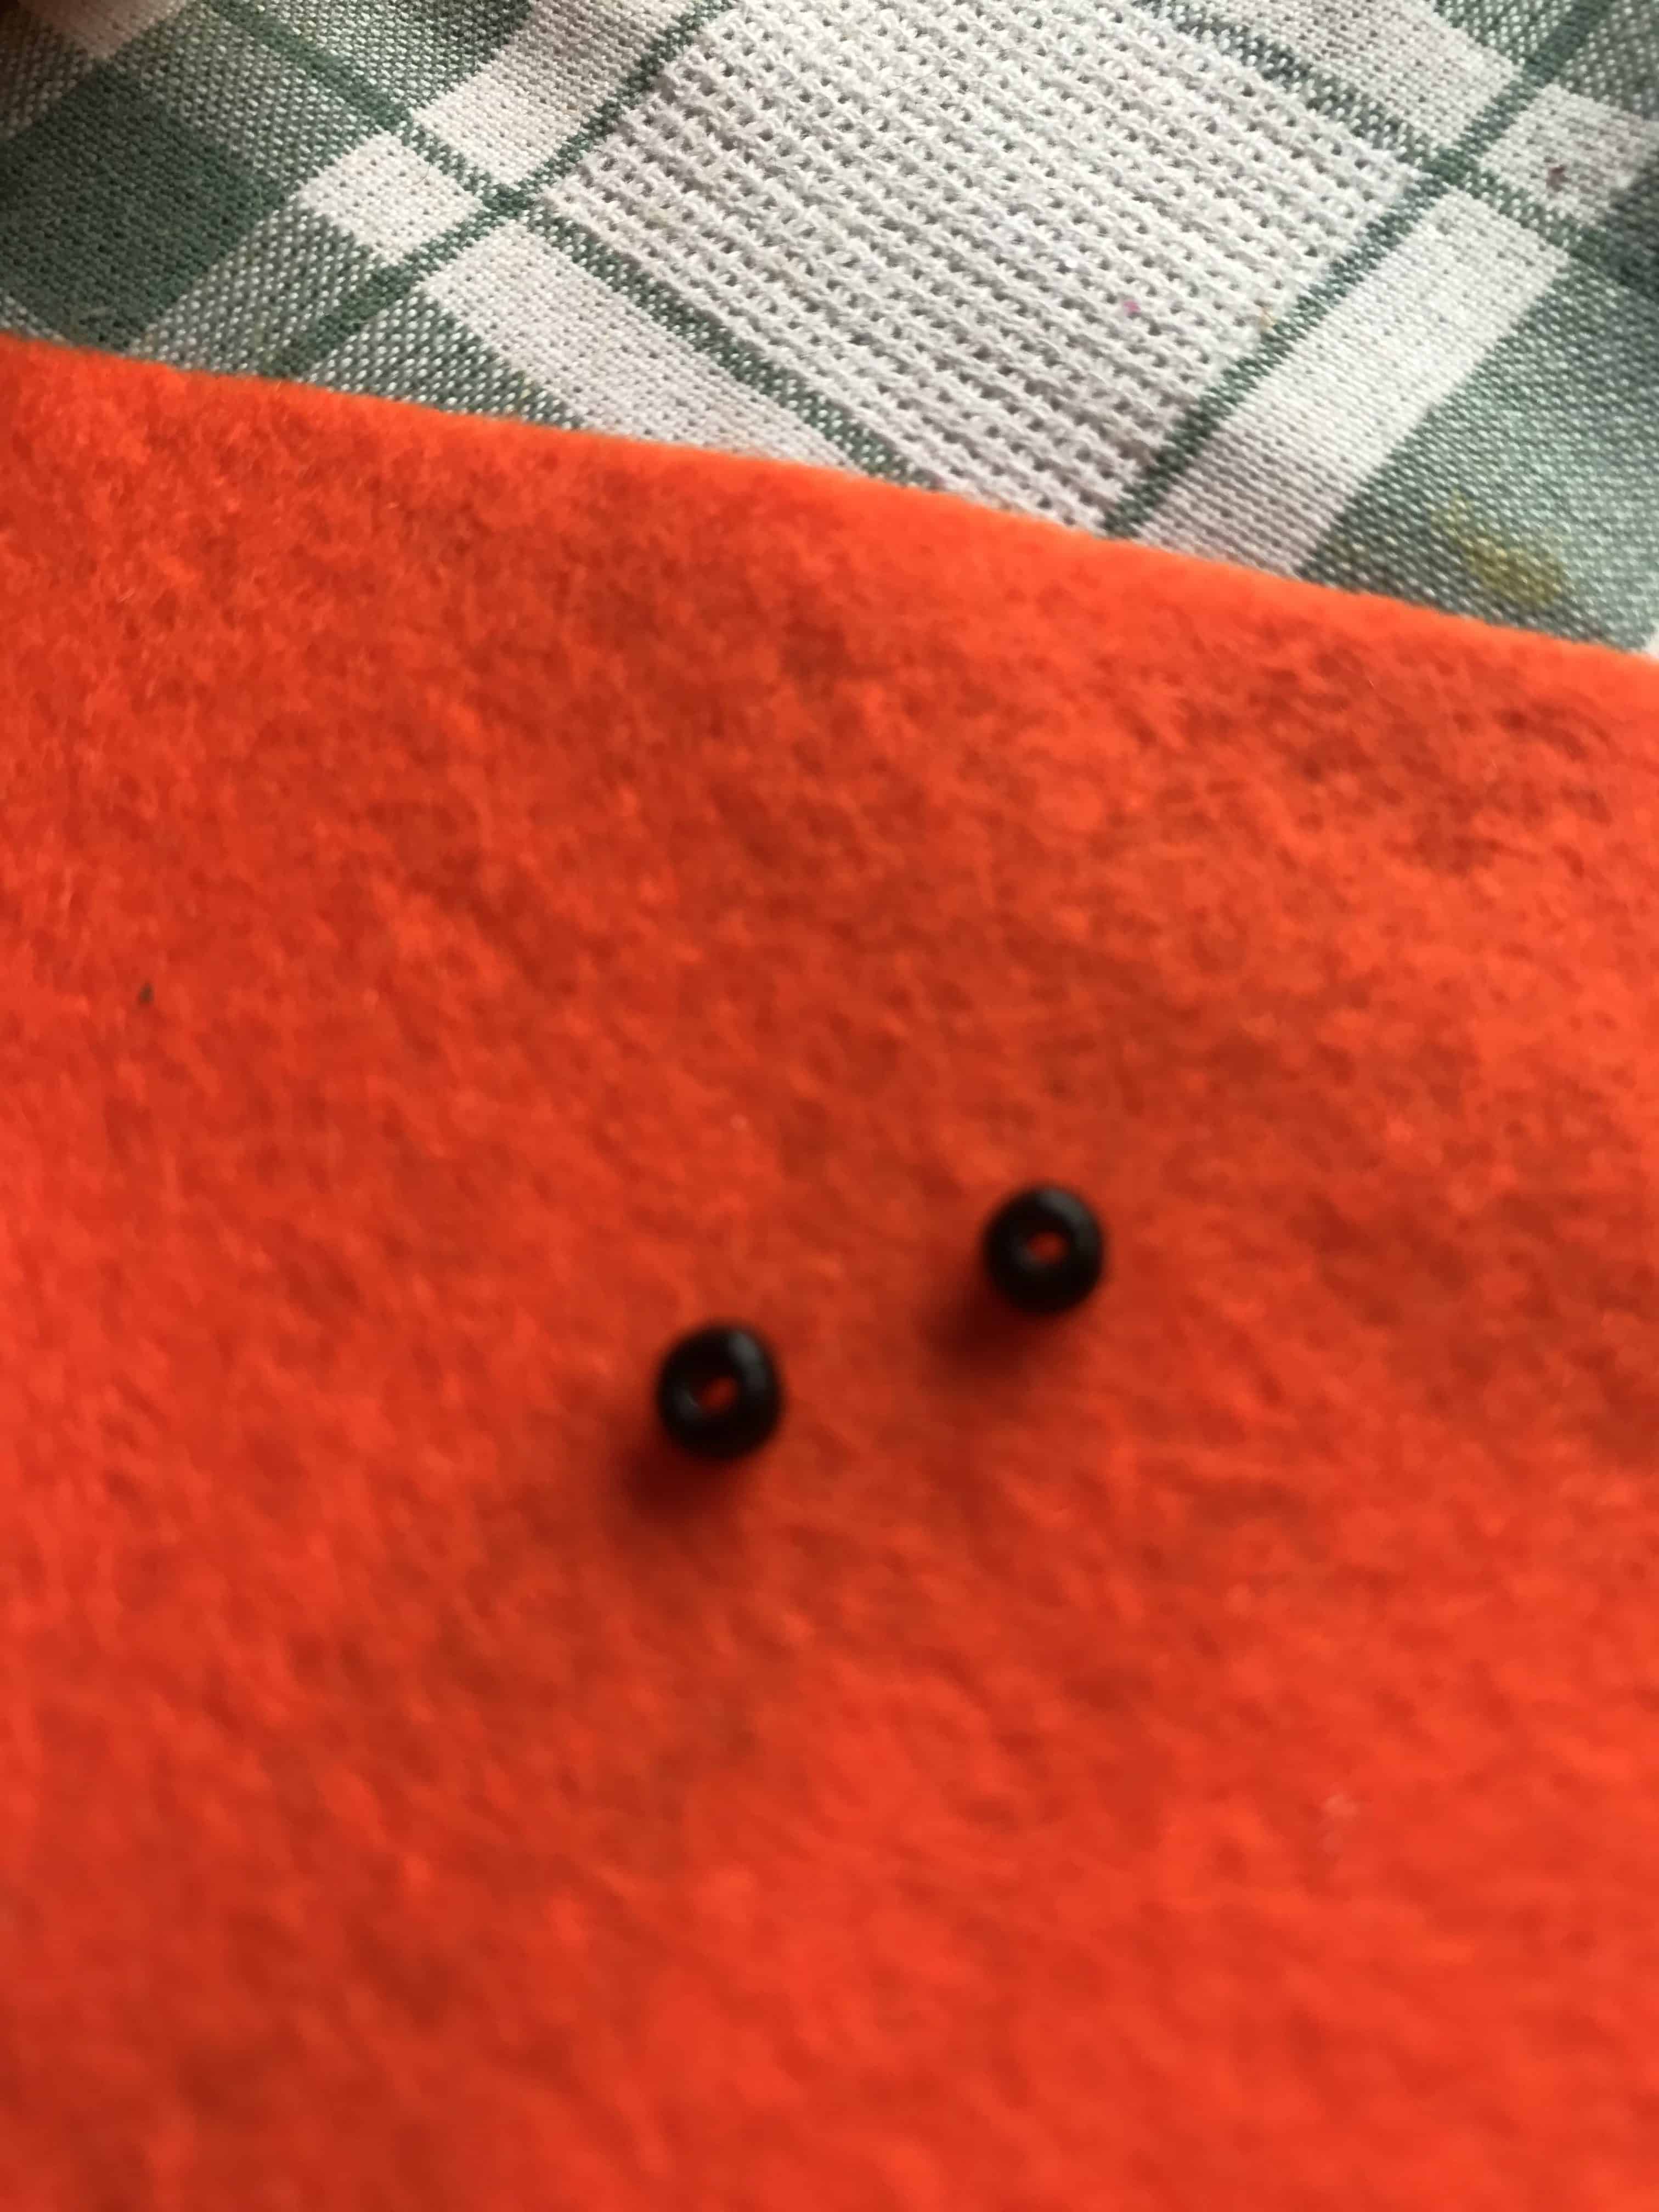
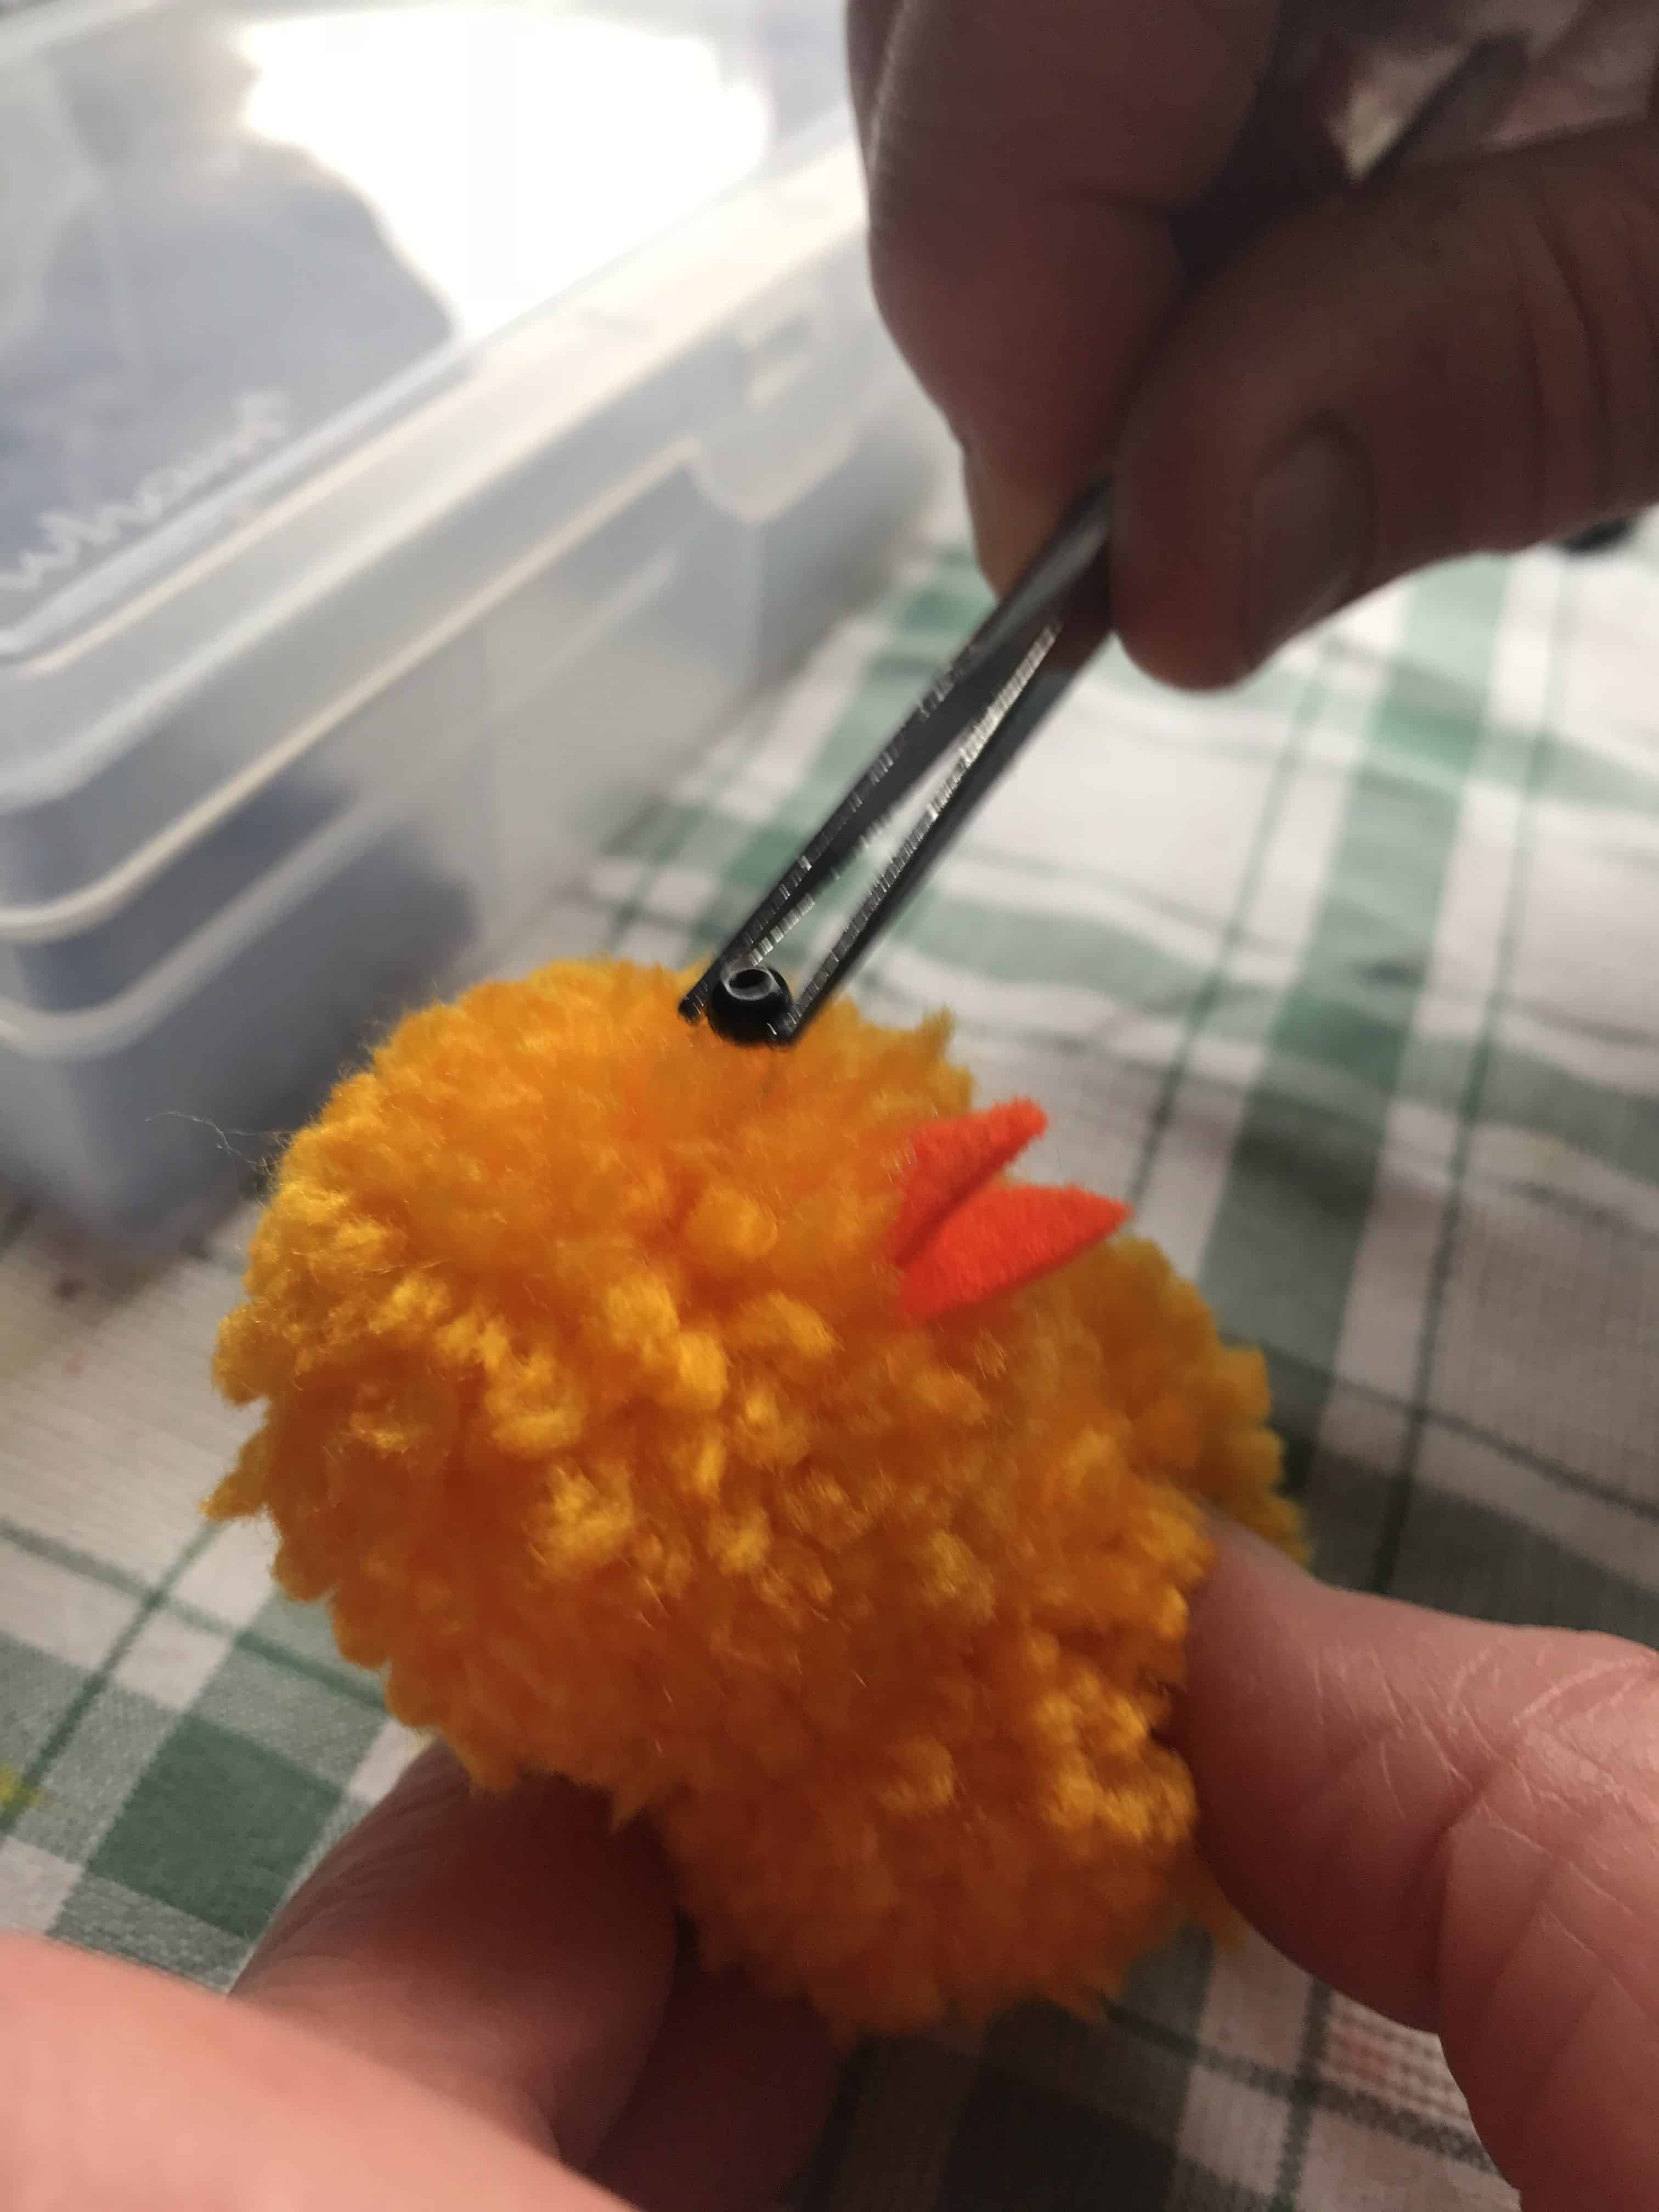
Now for his ‘beady’ eyes. Take two small black beads and glue them onto the chicks head. Use tweezers as this is very fiddly!
Step 5
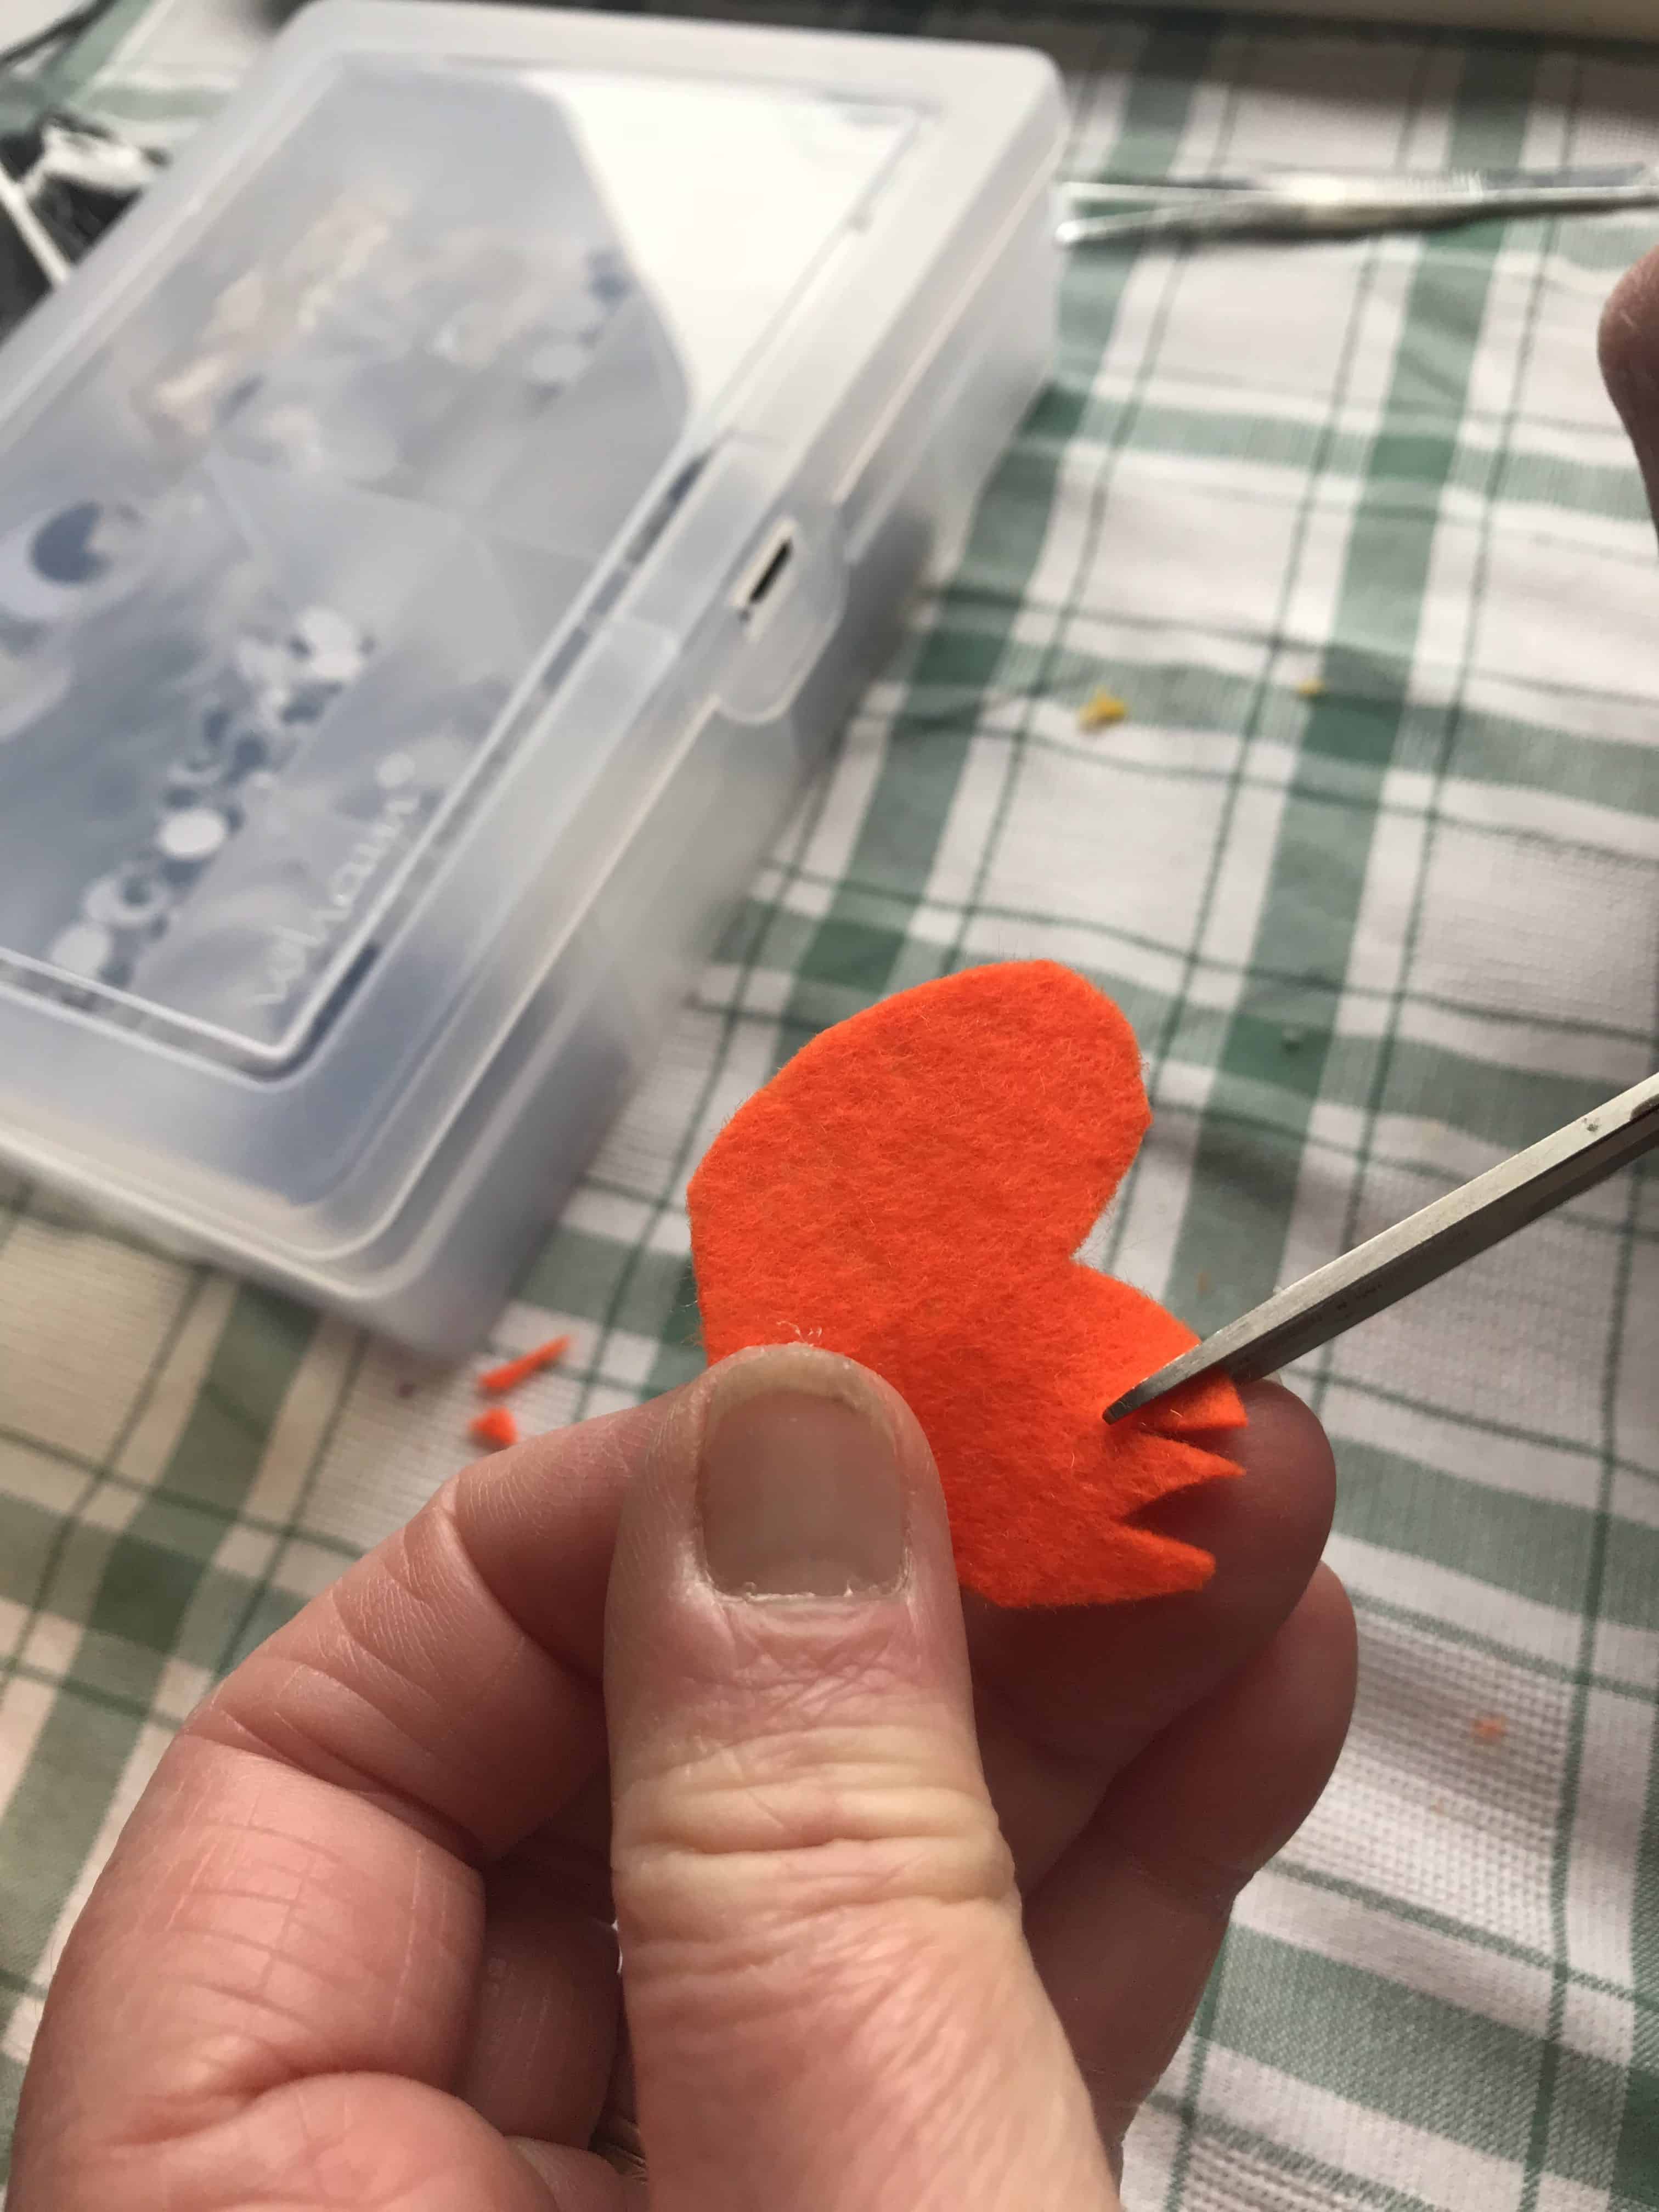
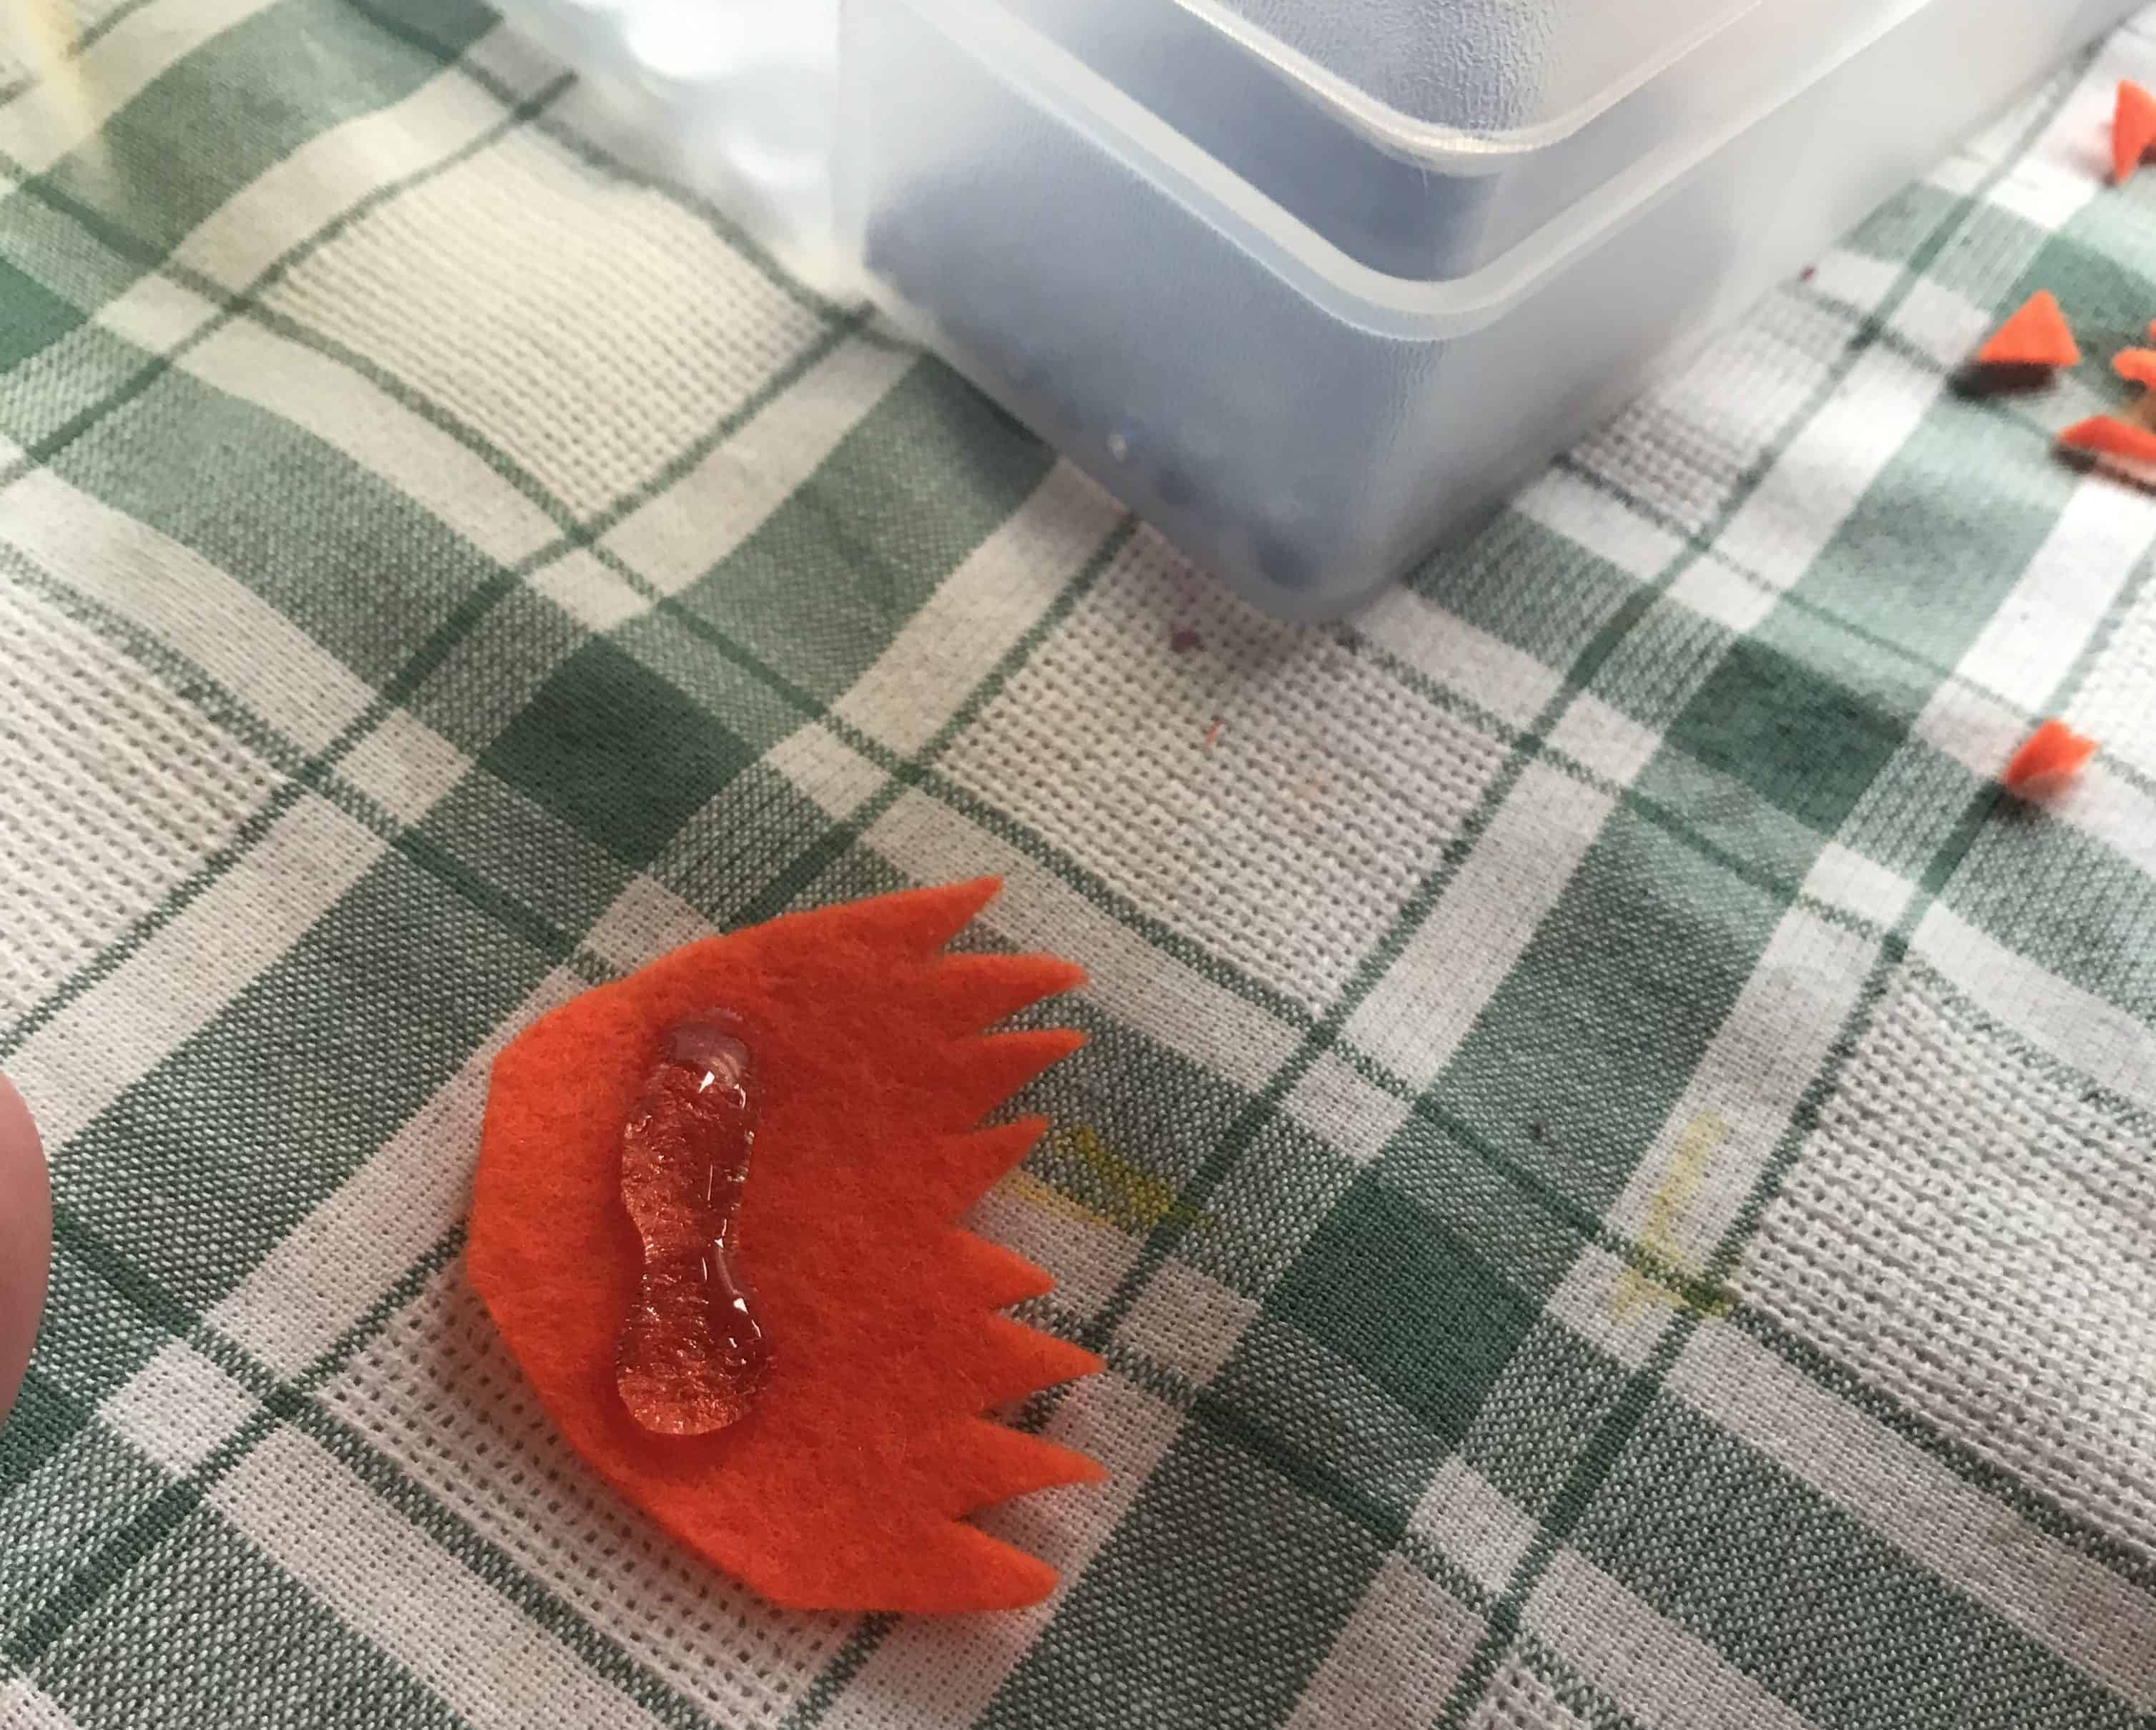
Using the orange felt, cut out a heart shape and snip out little triangles to make chick feet.
Step 6
Blob on some glue from the glue gun and stick the little chick on top.
Step 7
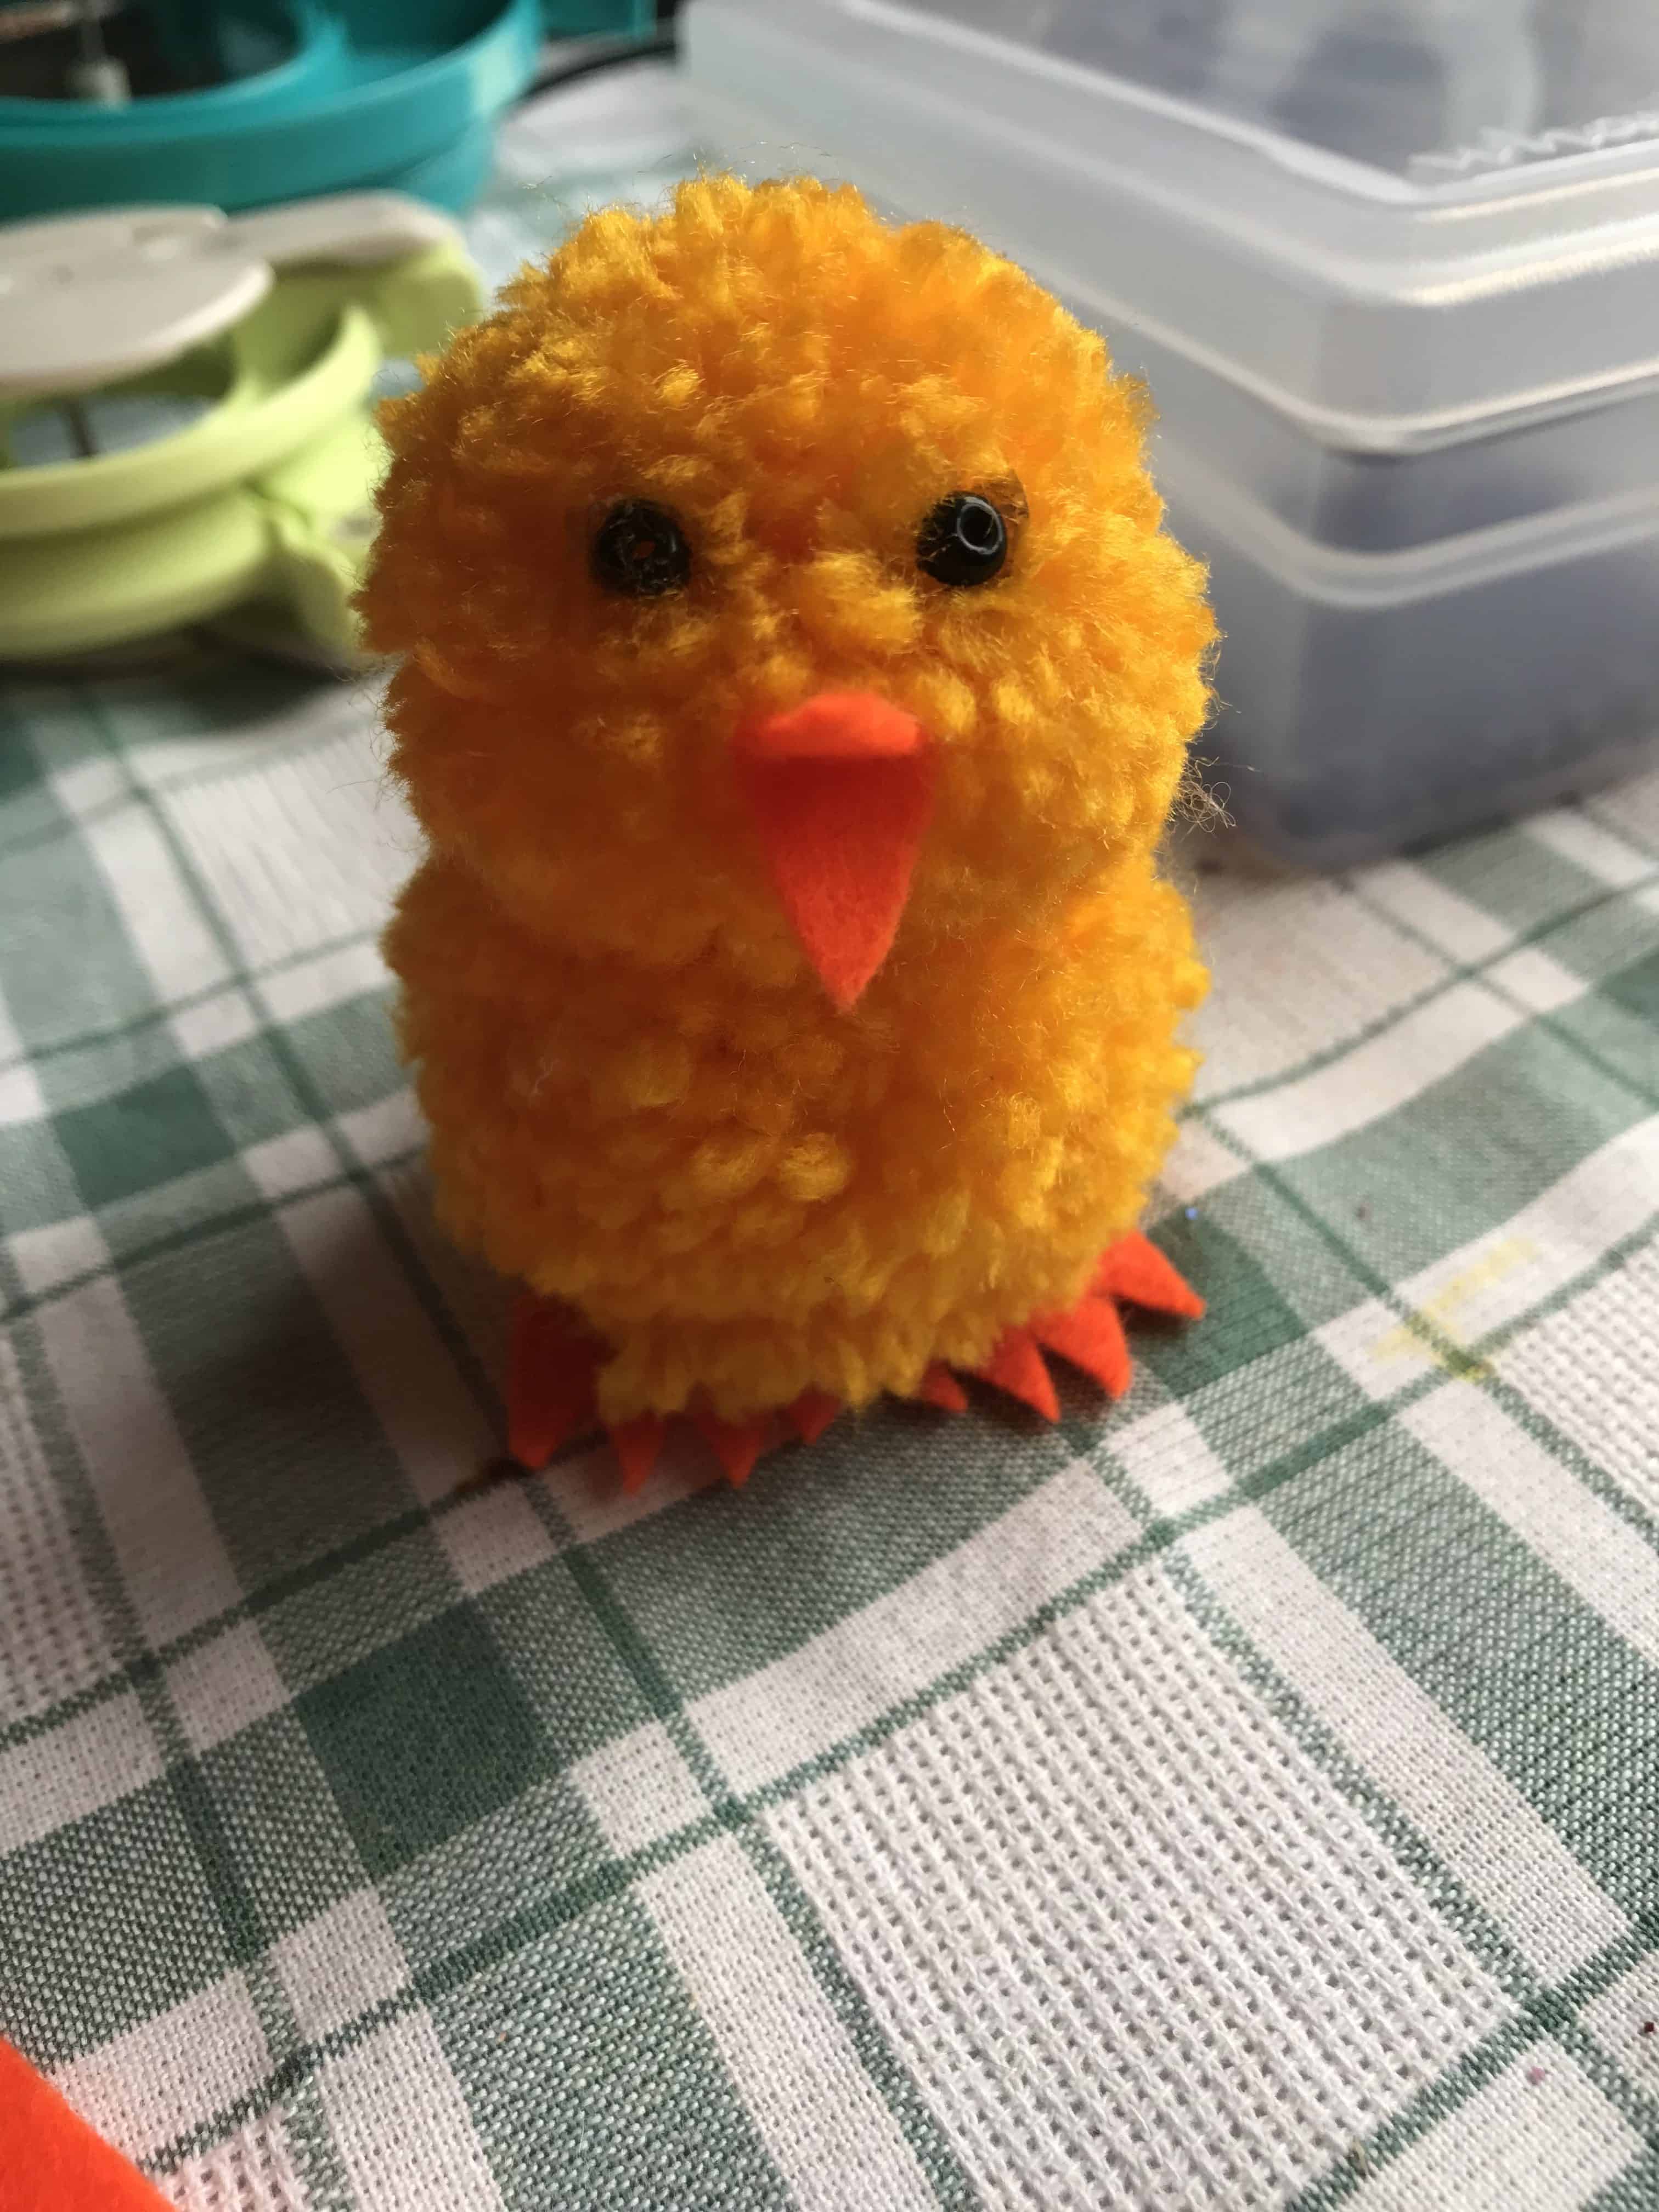
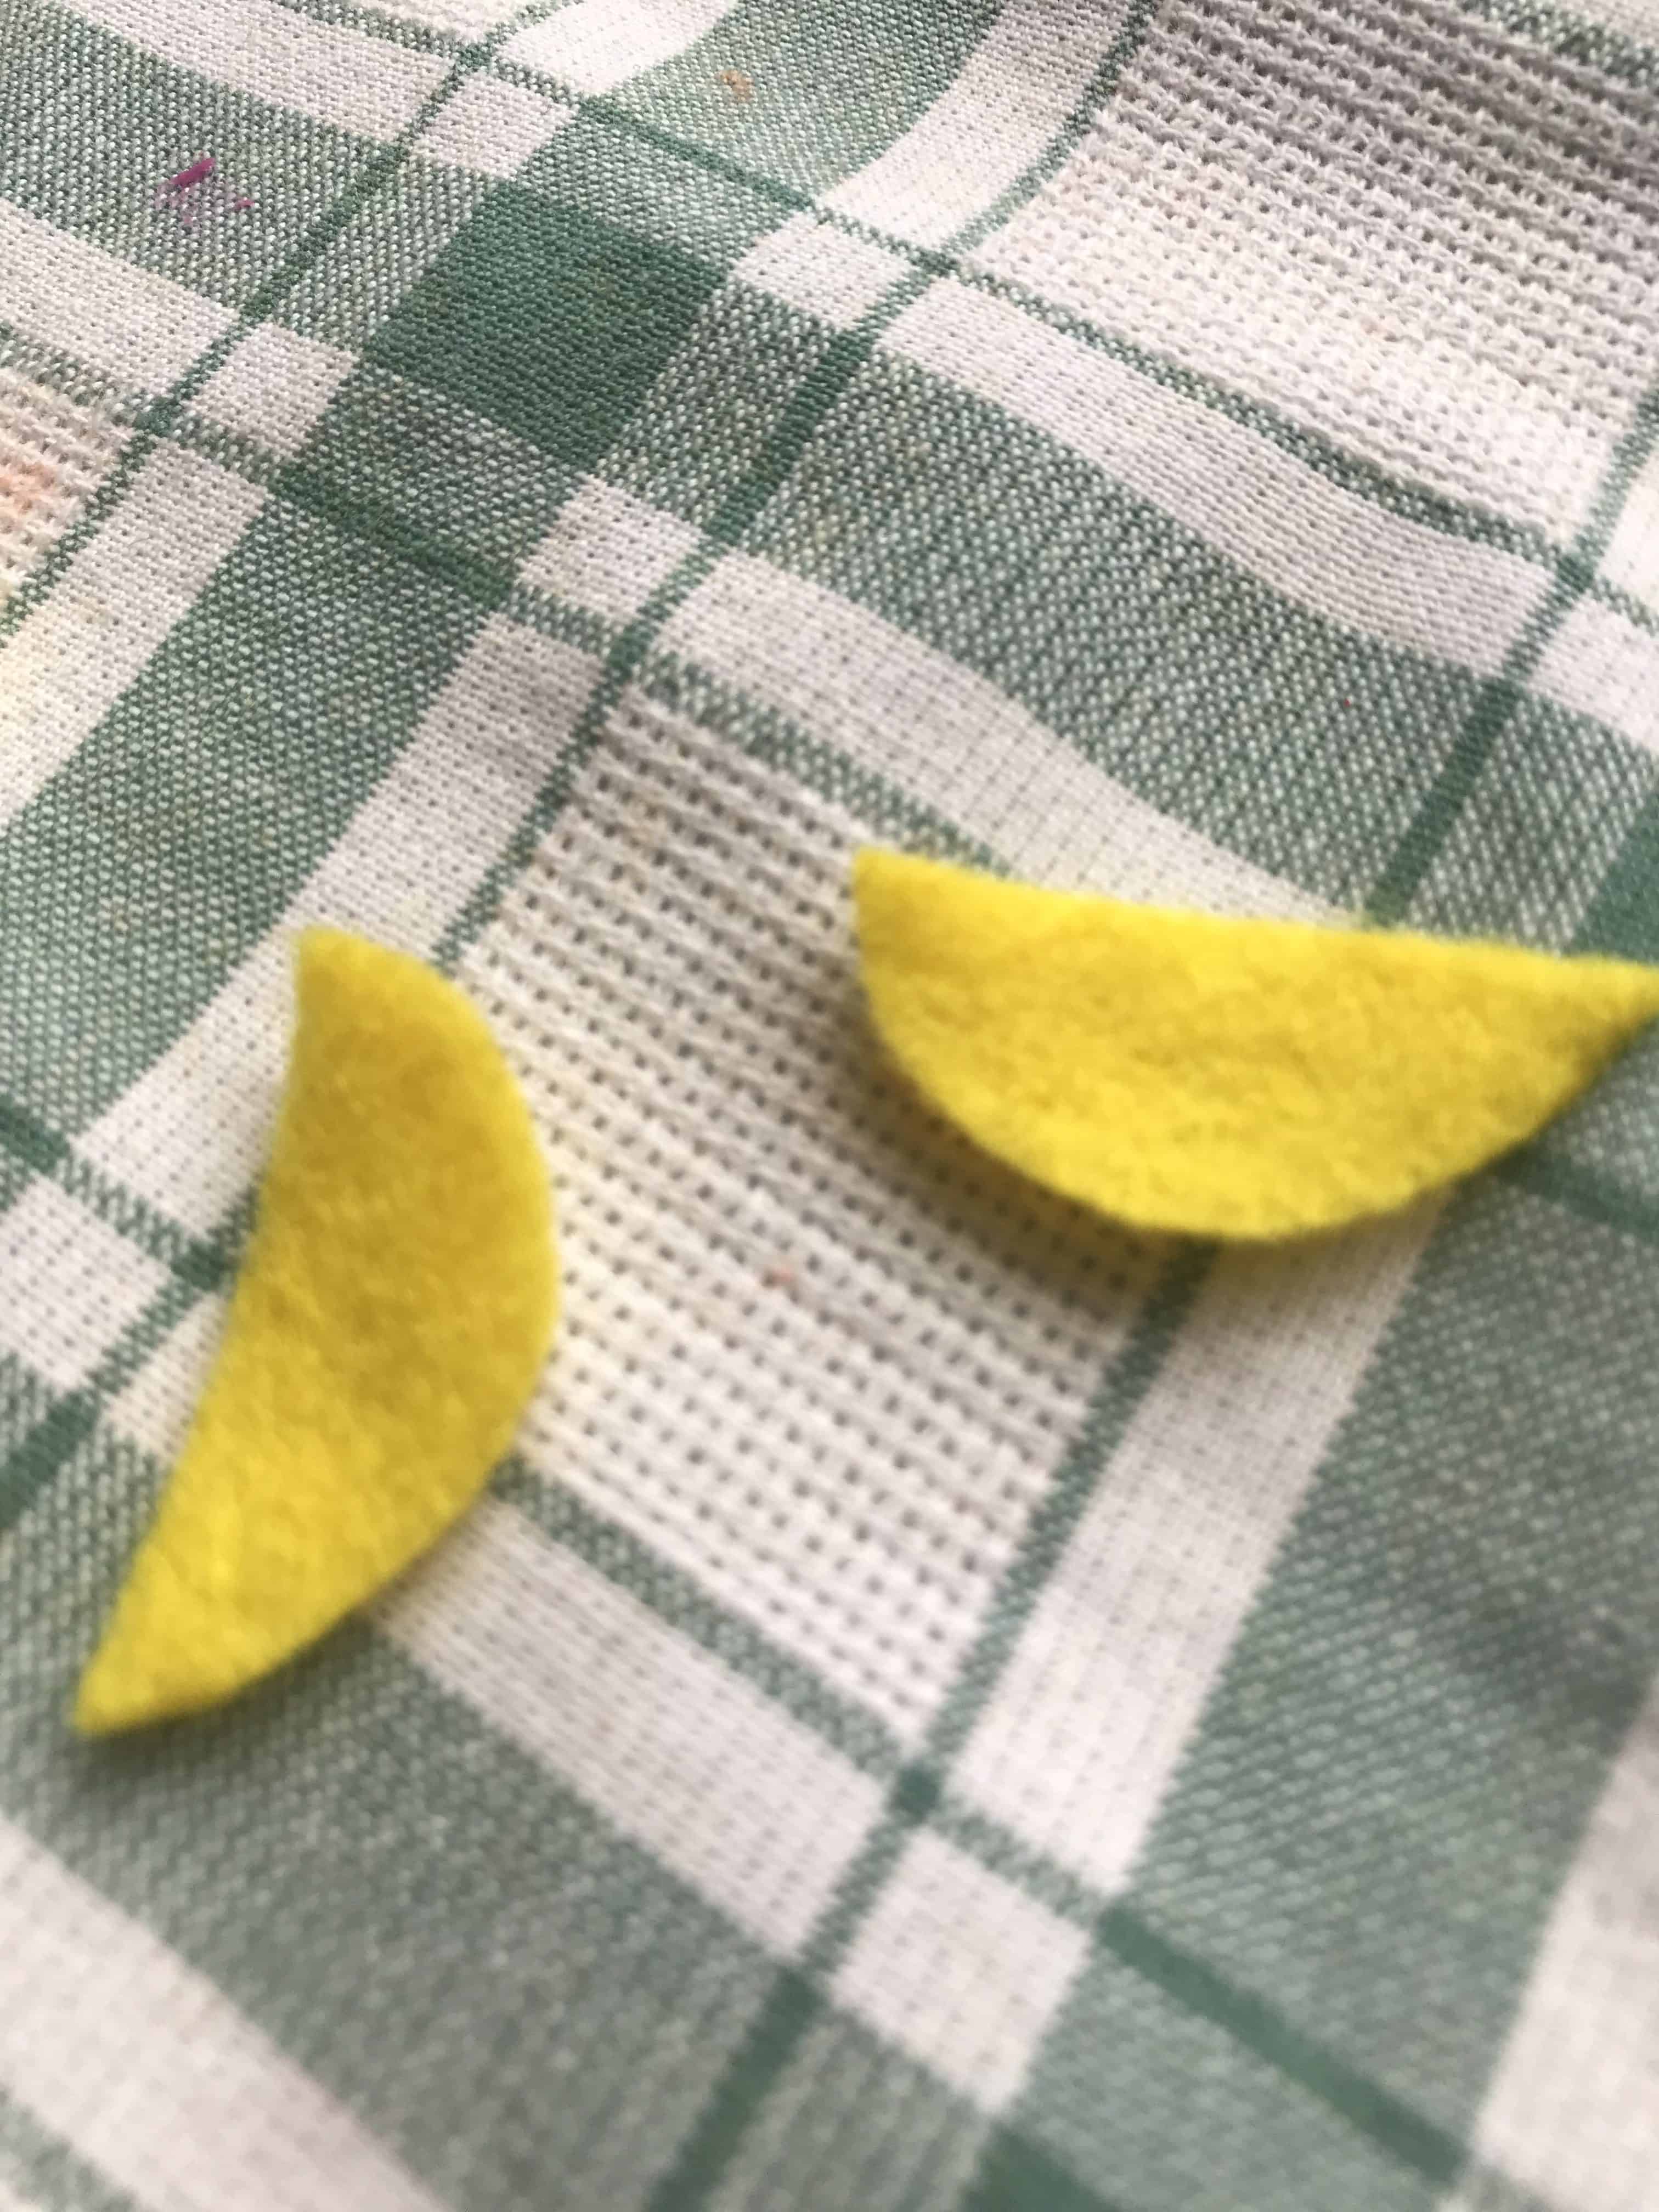
Using the yellow felt, cut out little semi circle shapes to use as wings & glue them onto the chick where his head meets his body.
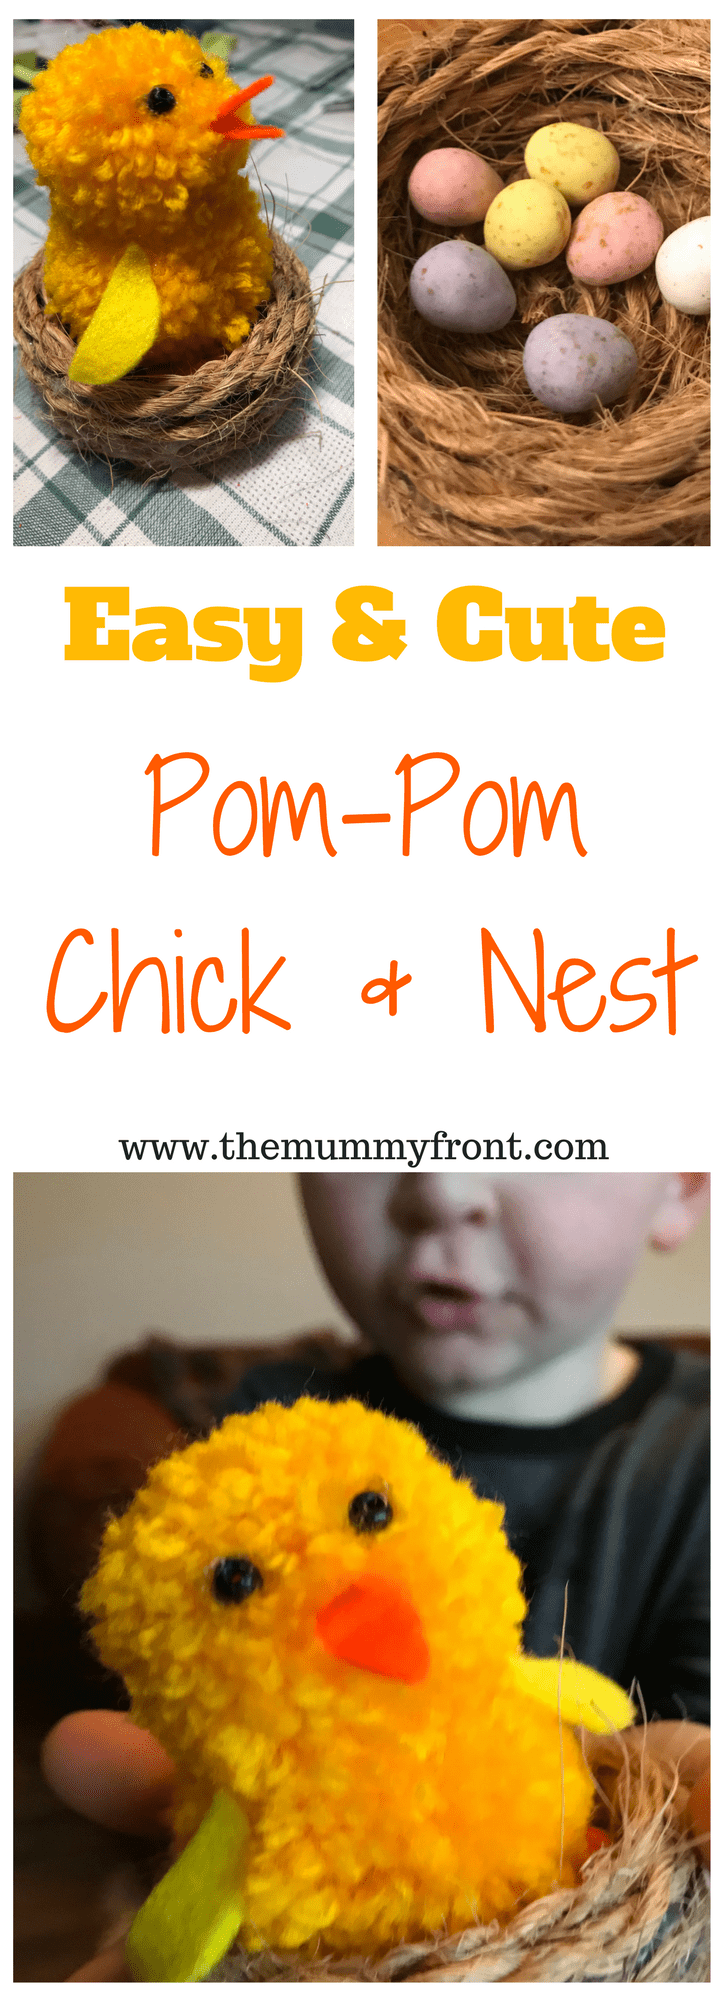
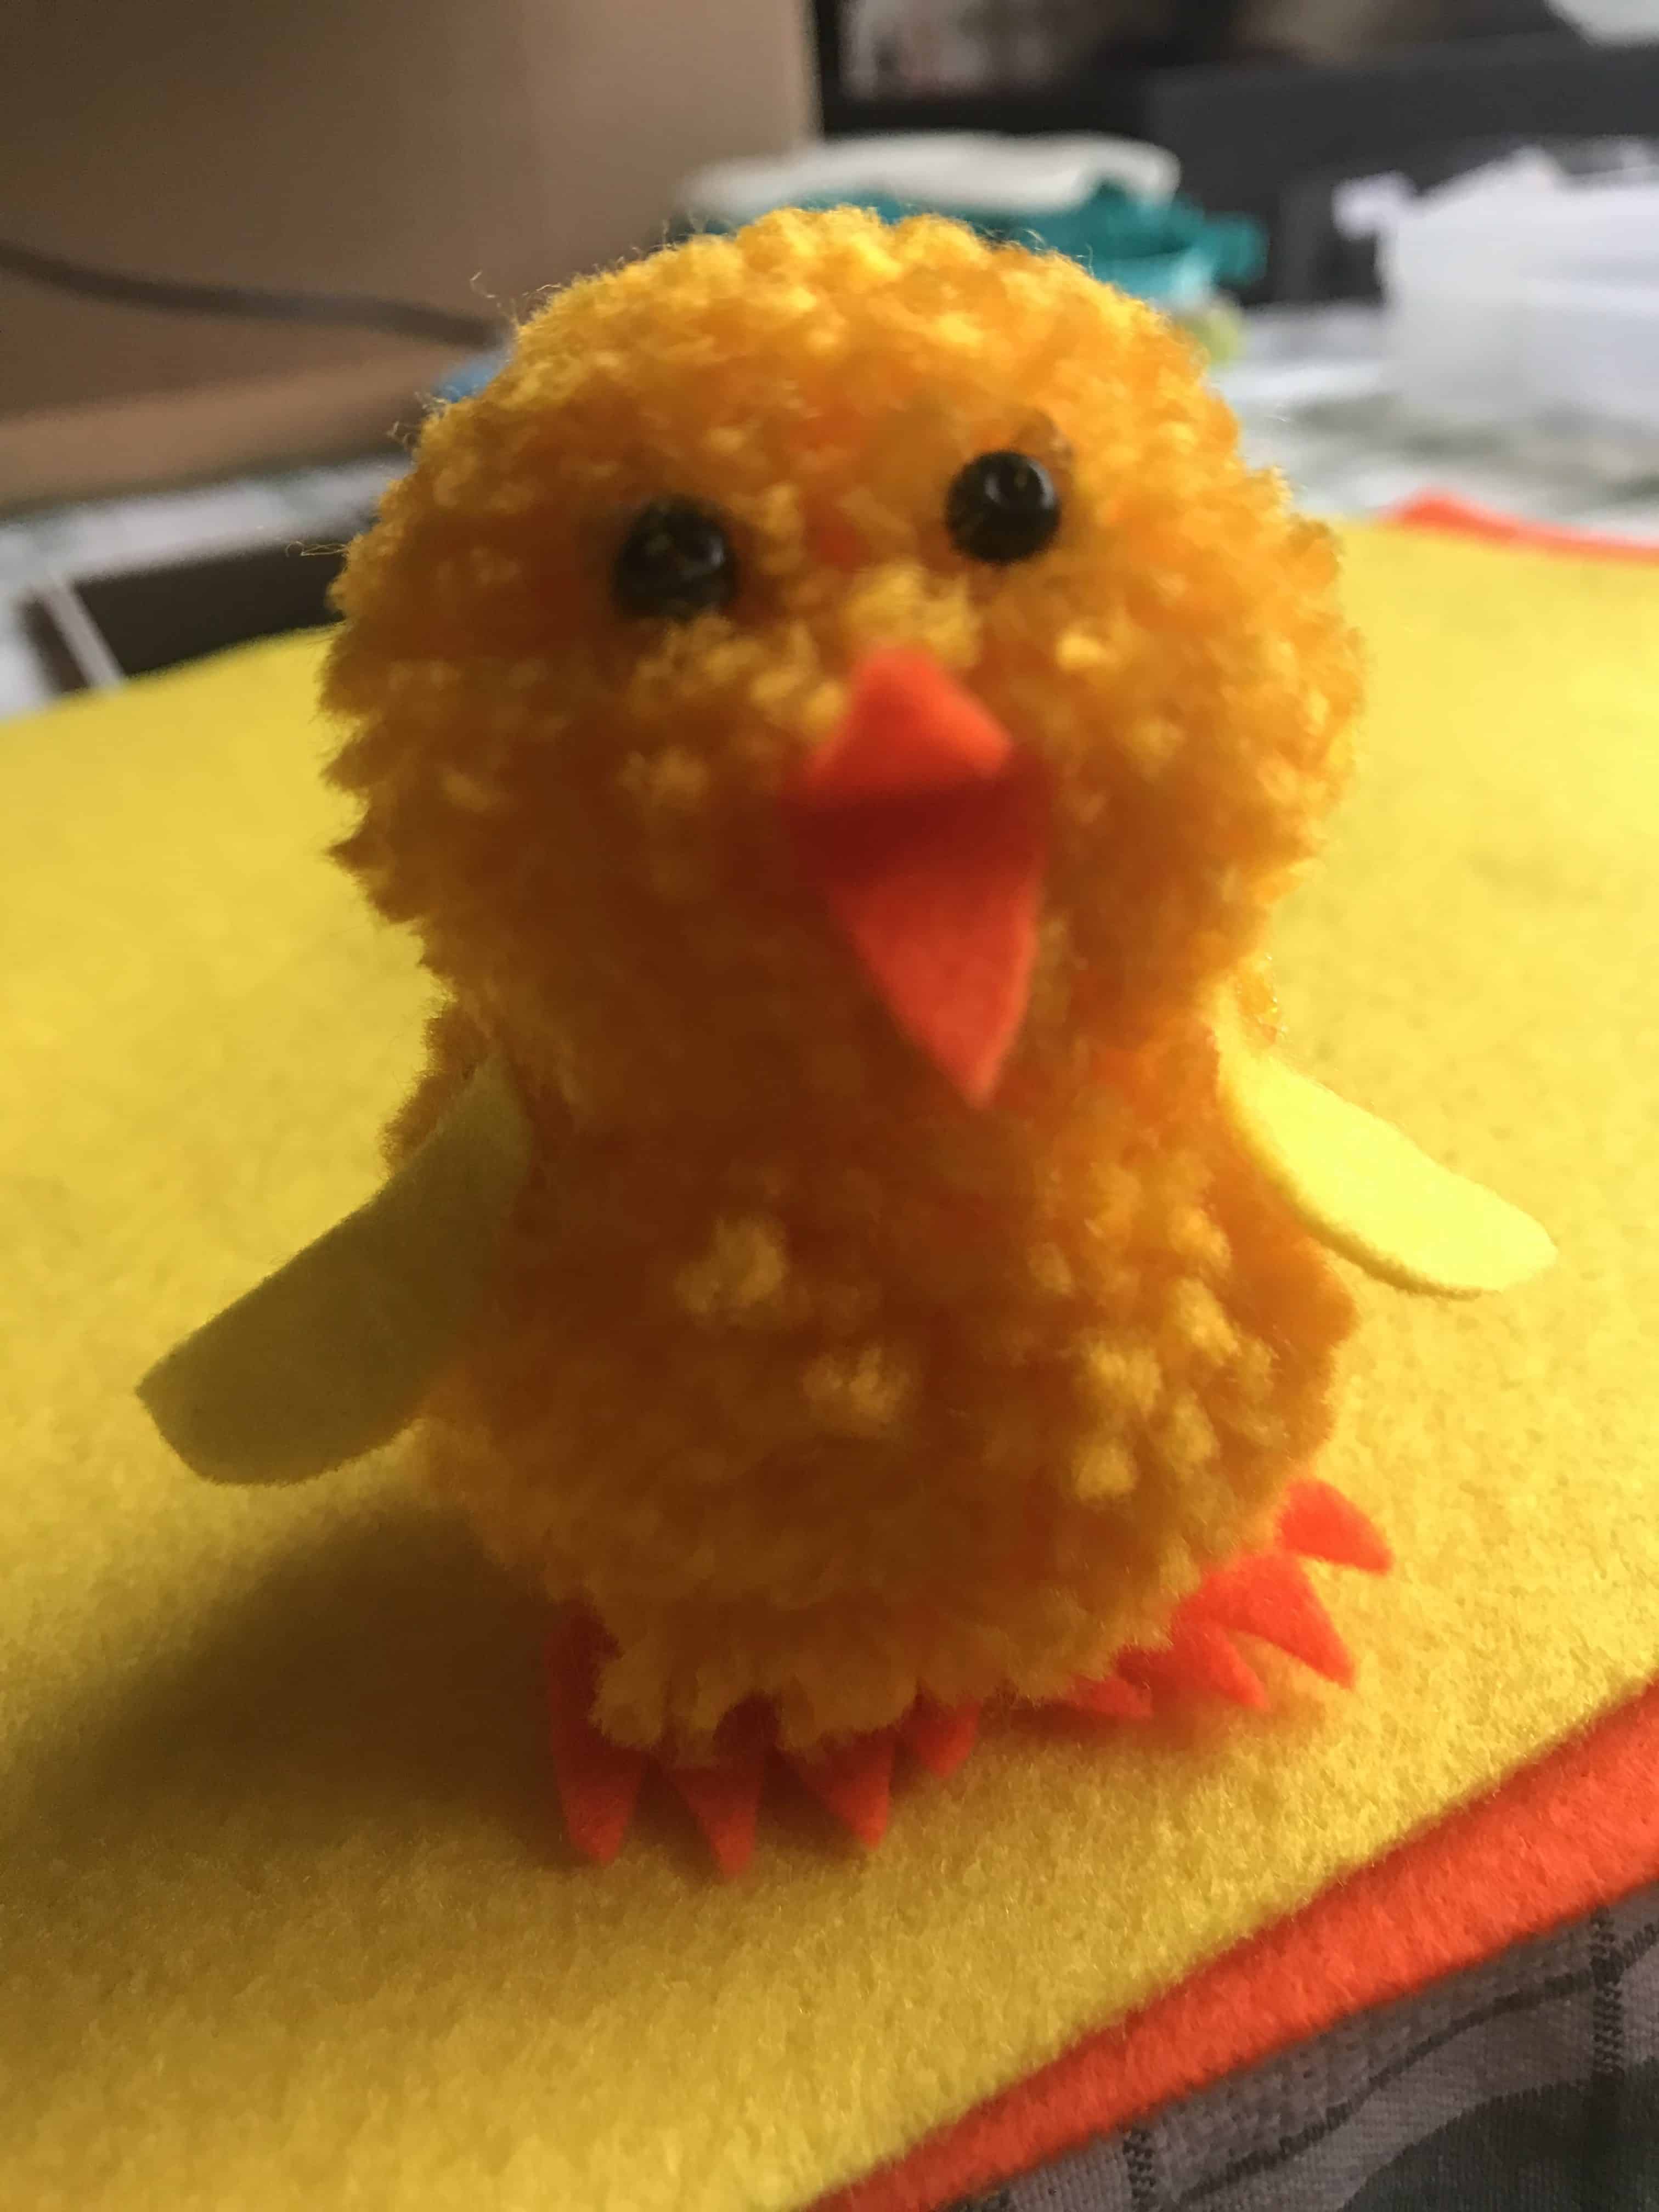
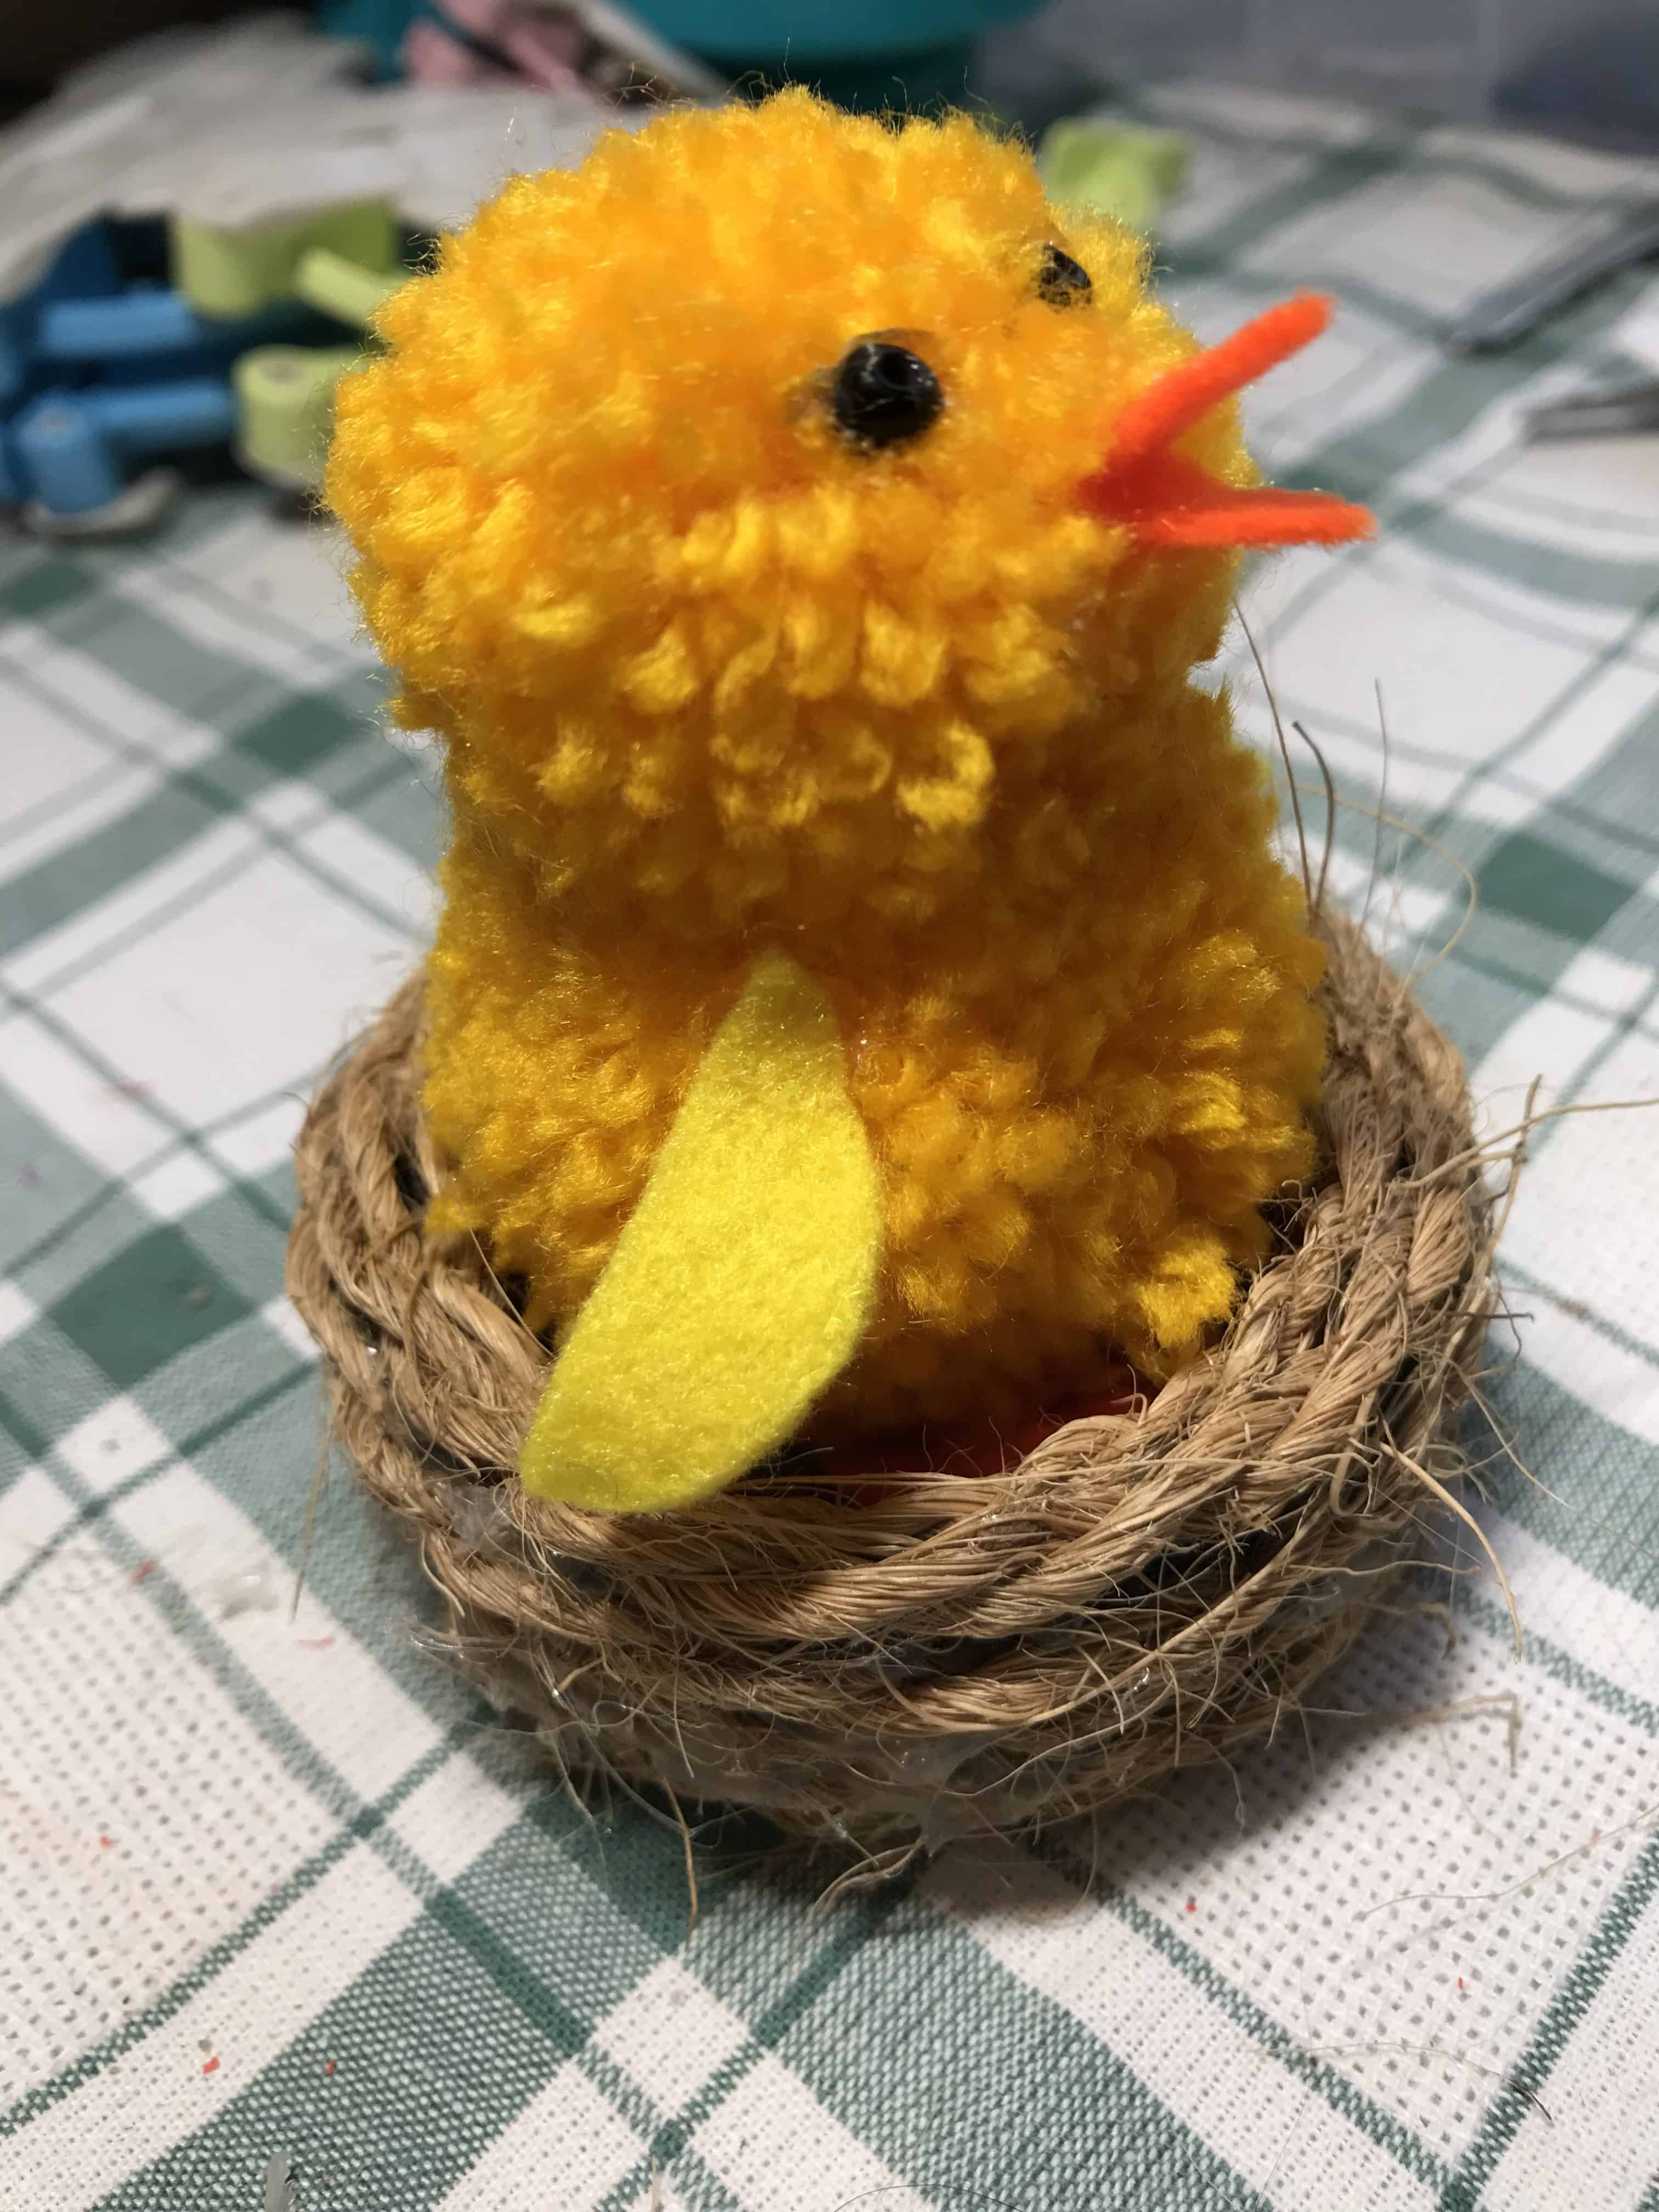
A Completed Chick…
Step 8
Blob some glue onto the bottom of the side of the coffee lid (does that even make sense?). Stick the end of the string into the glue & wait until it has set. Continue adding glue and wrapping the string around until you have covered the whole outer edge of the lid. Snip the string at this point.
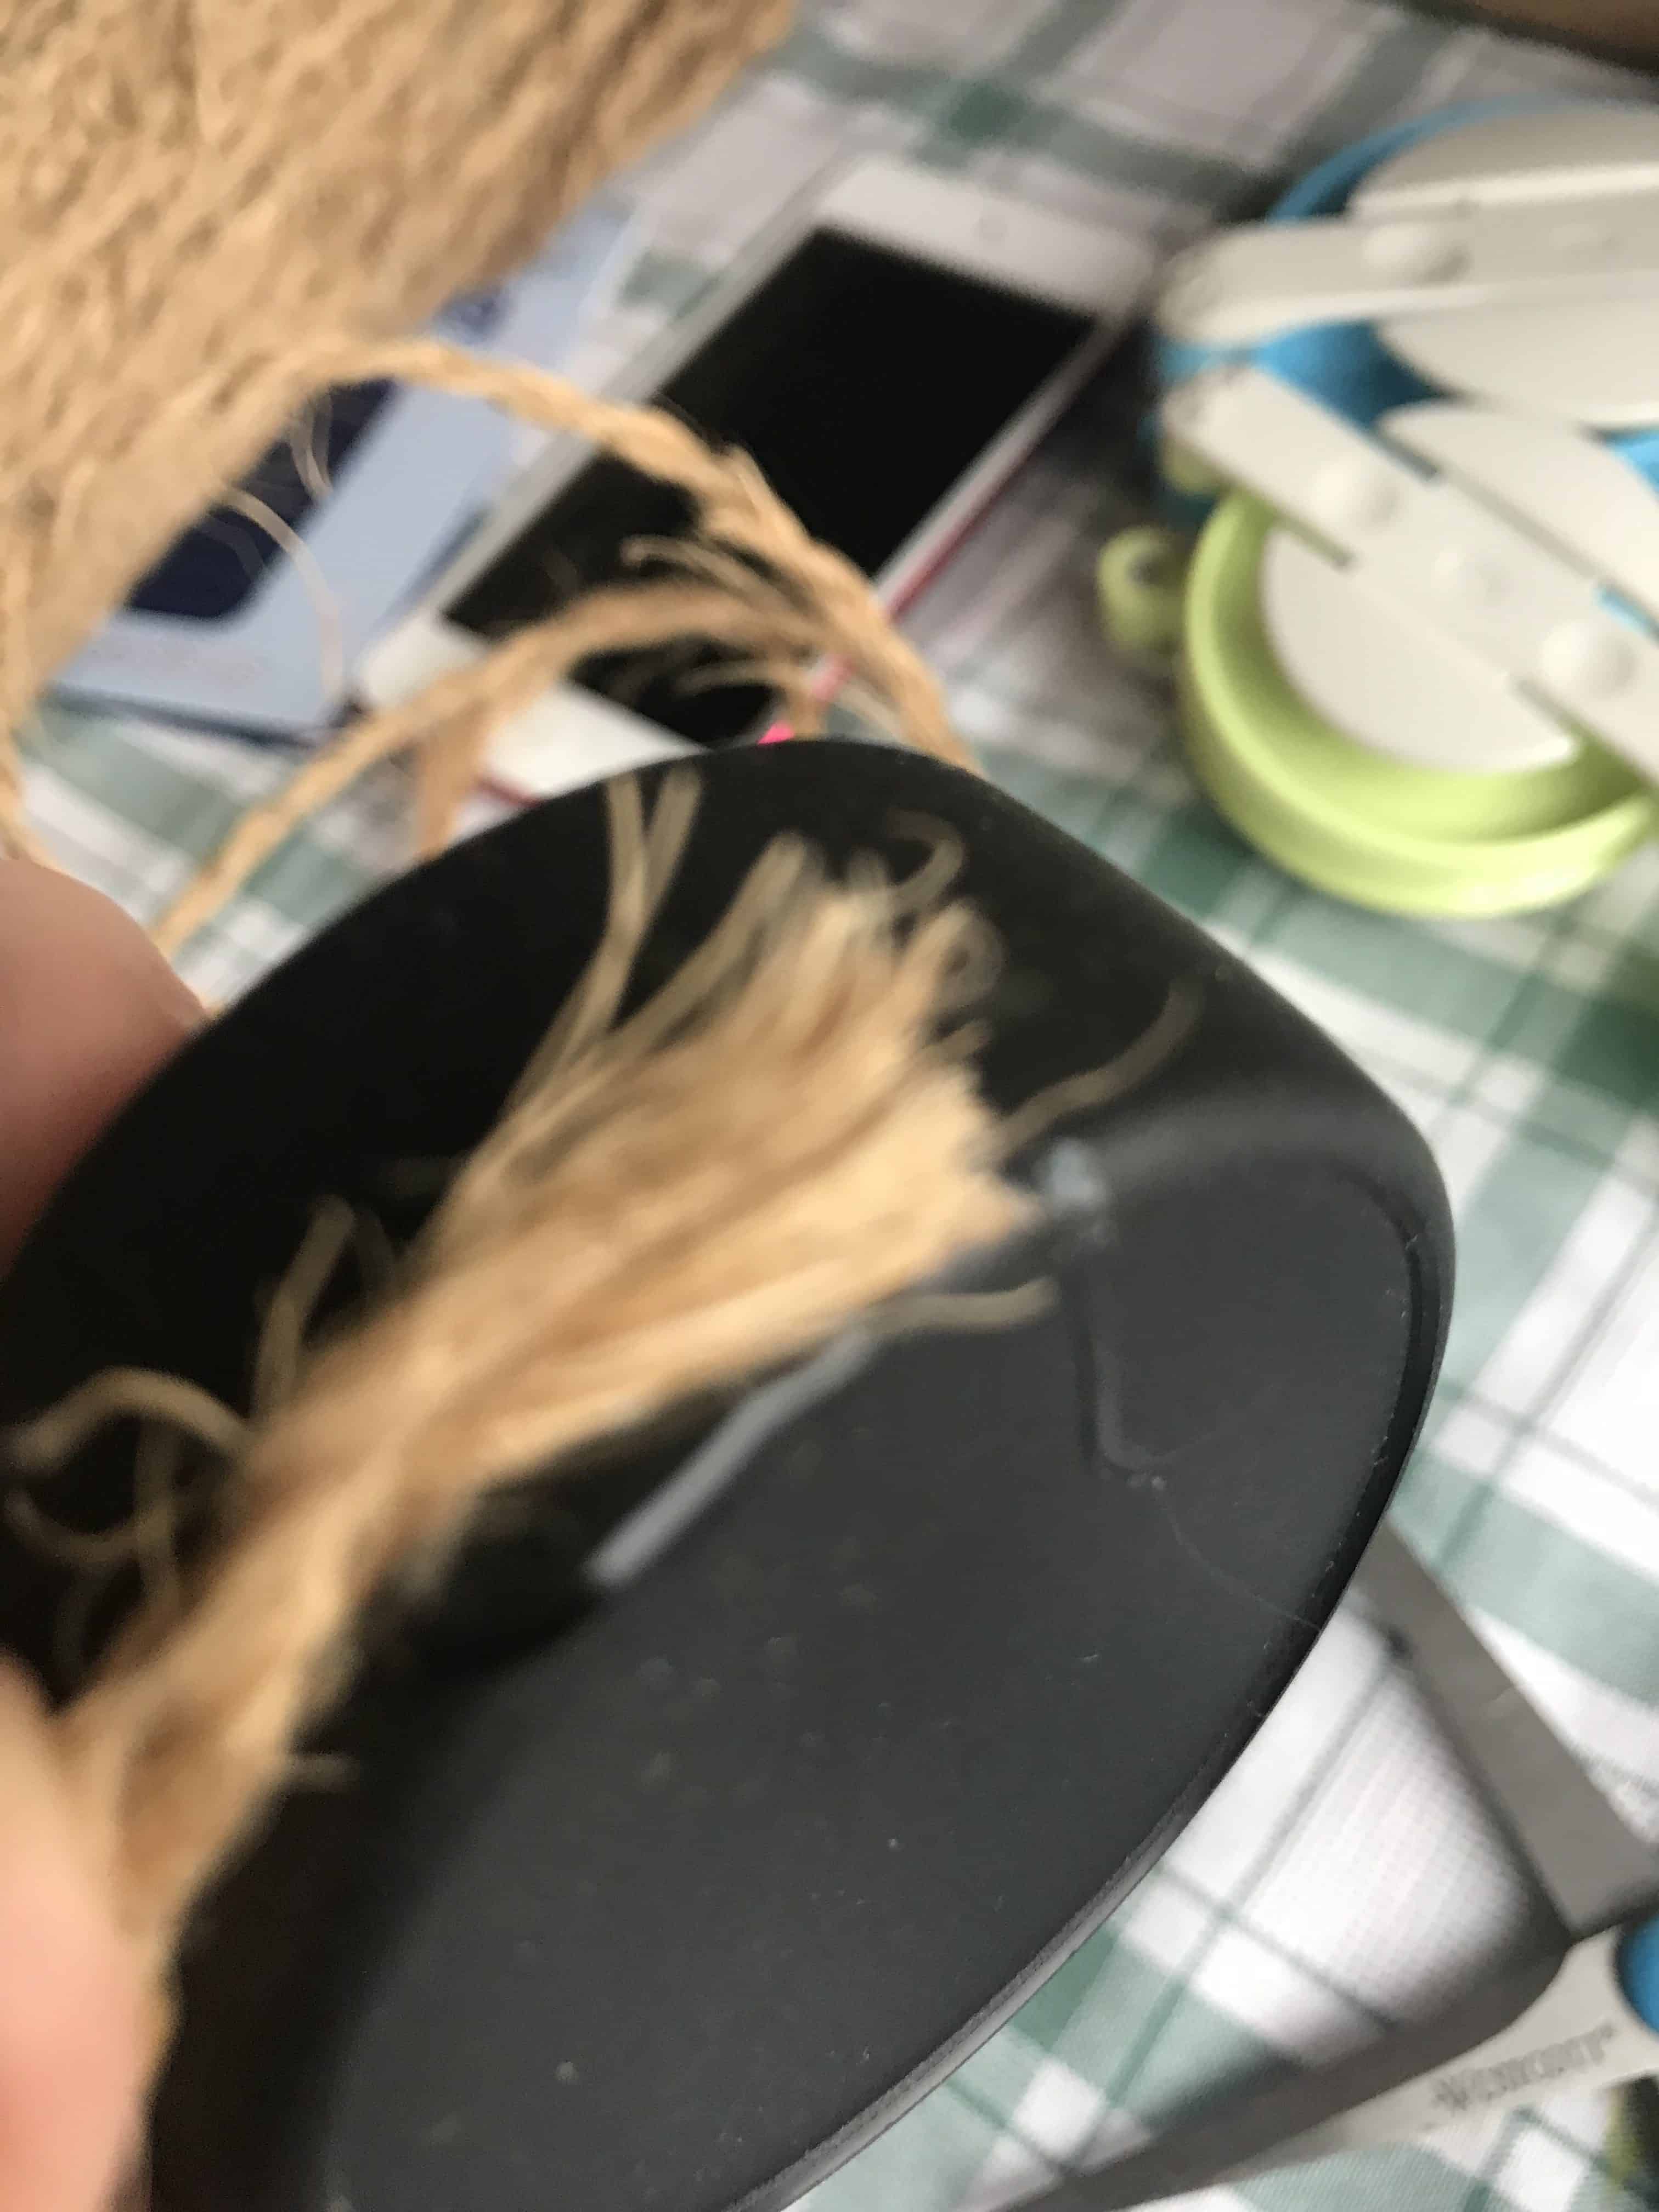
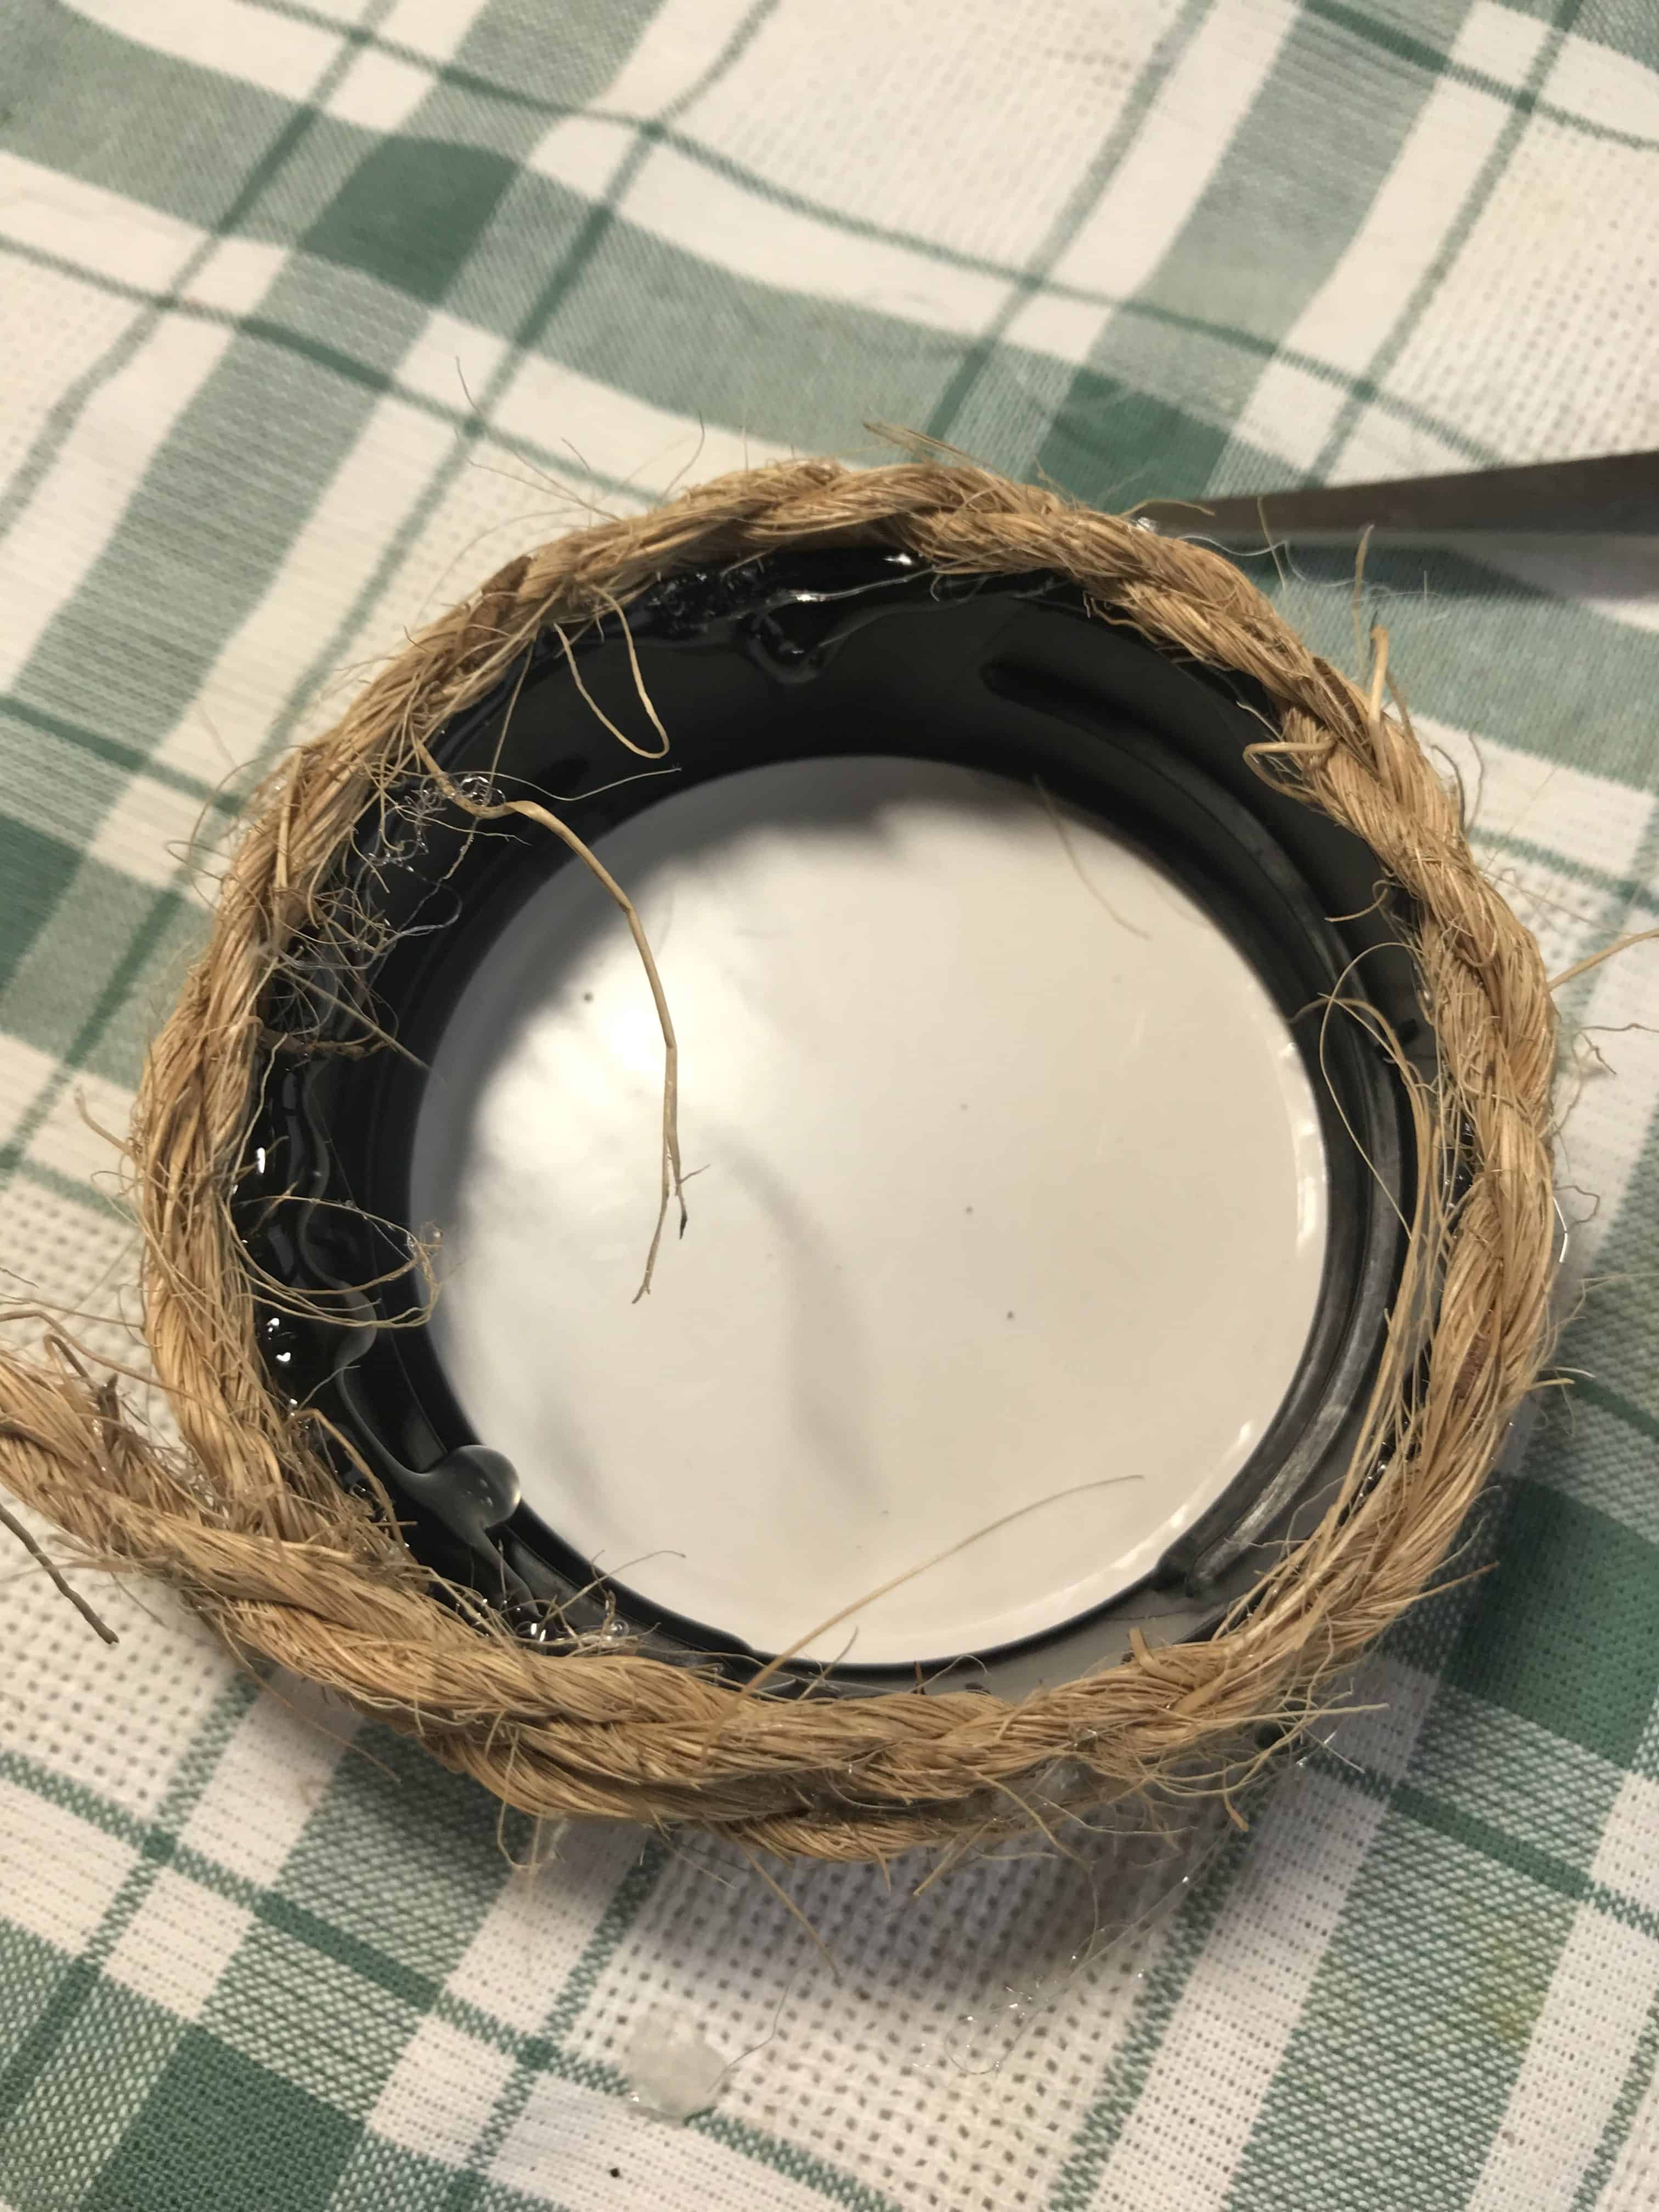
Step 9
Do the same for inside of the lid and the inner edge until the whole lid is covered.
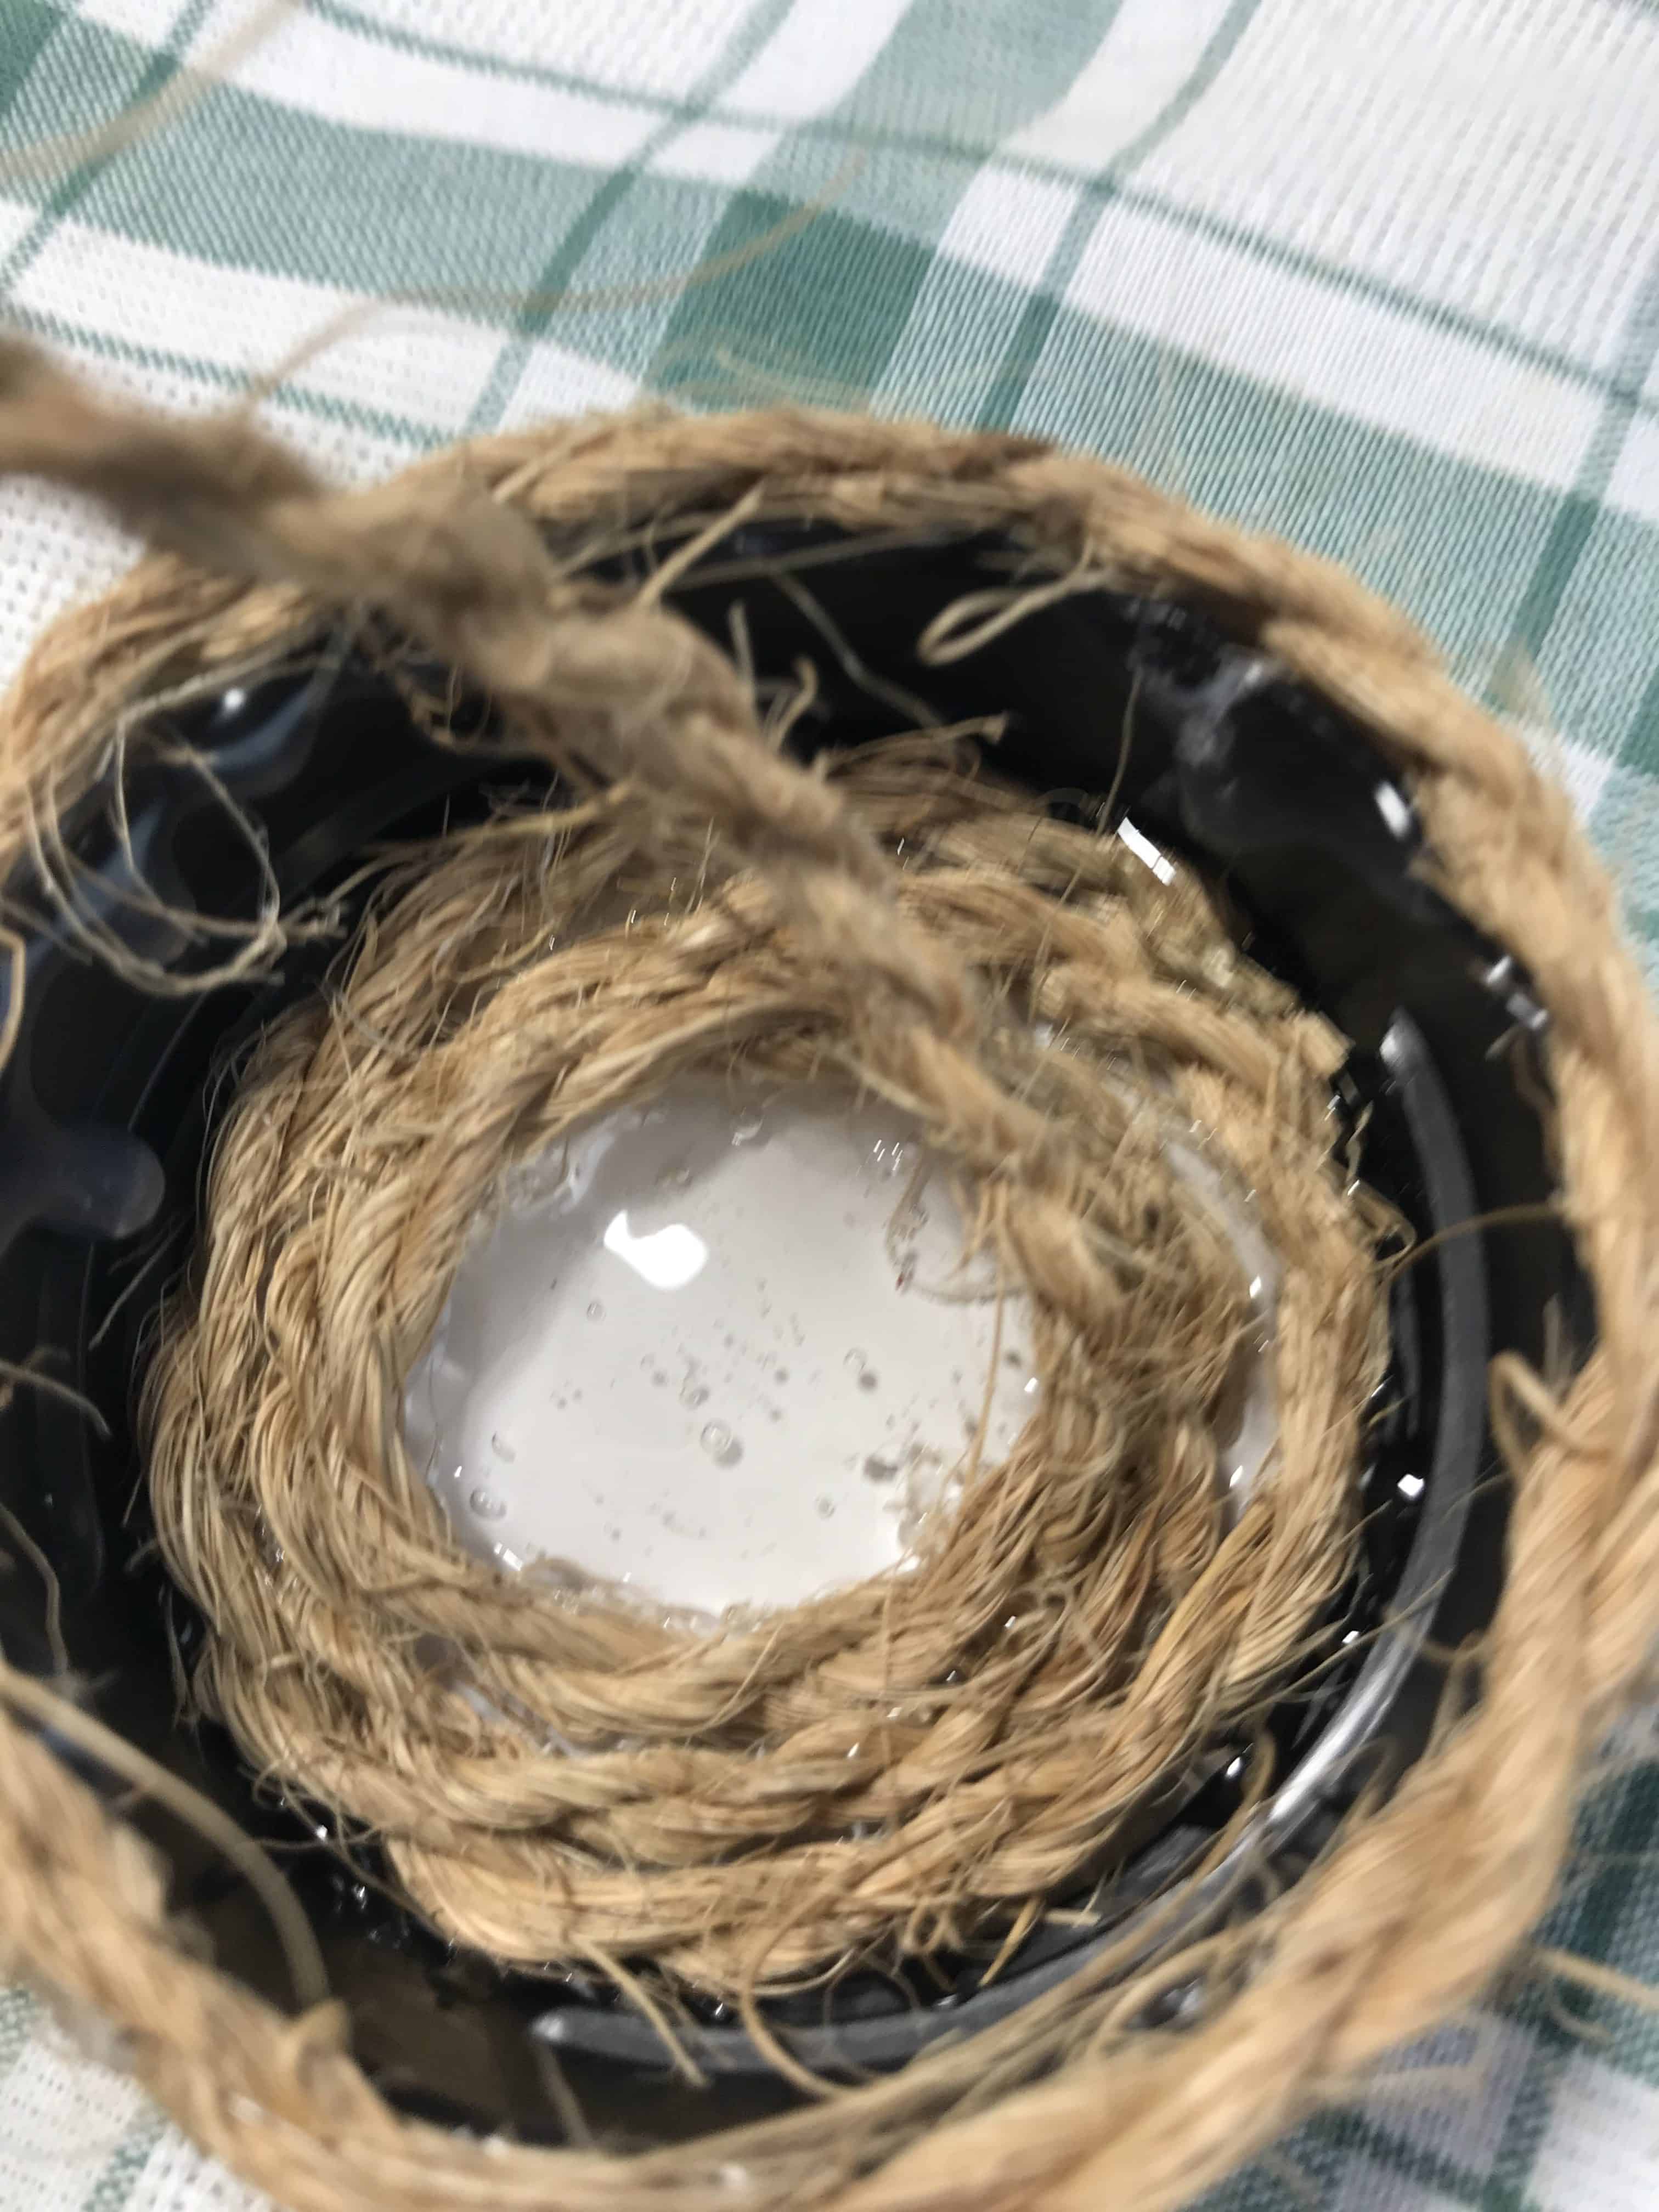
A Completed Nest…
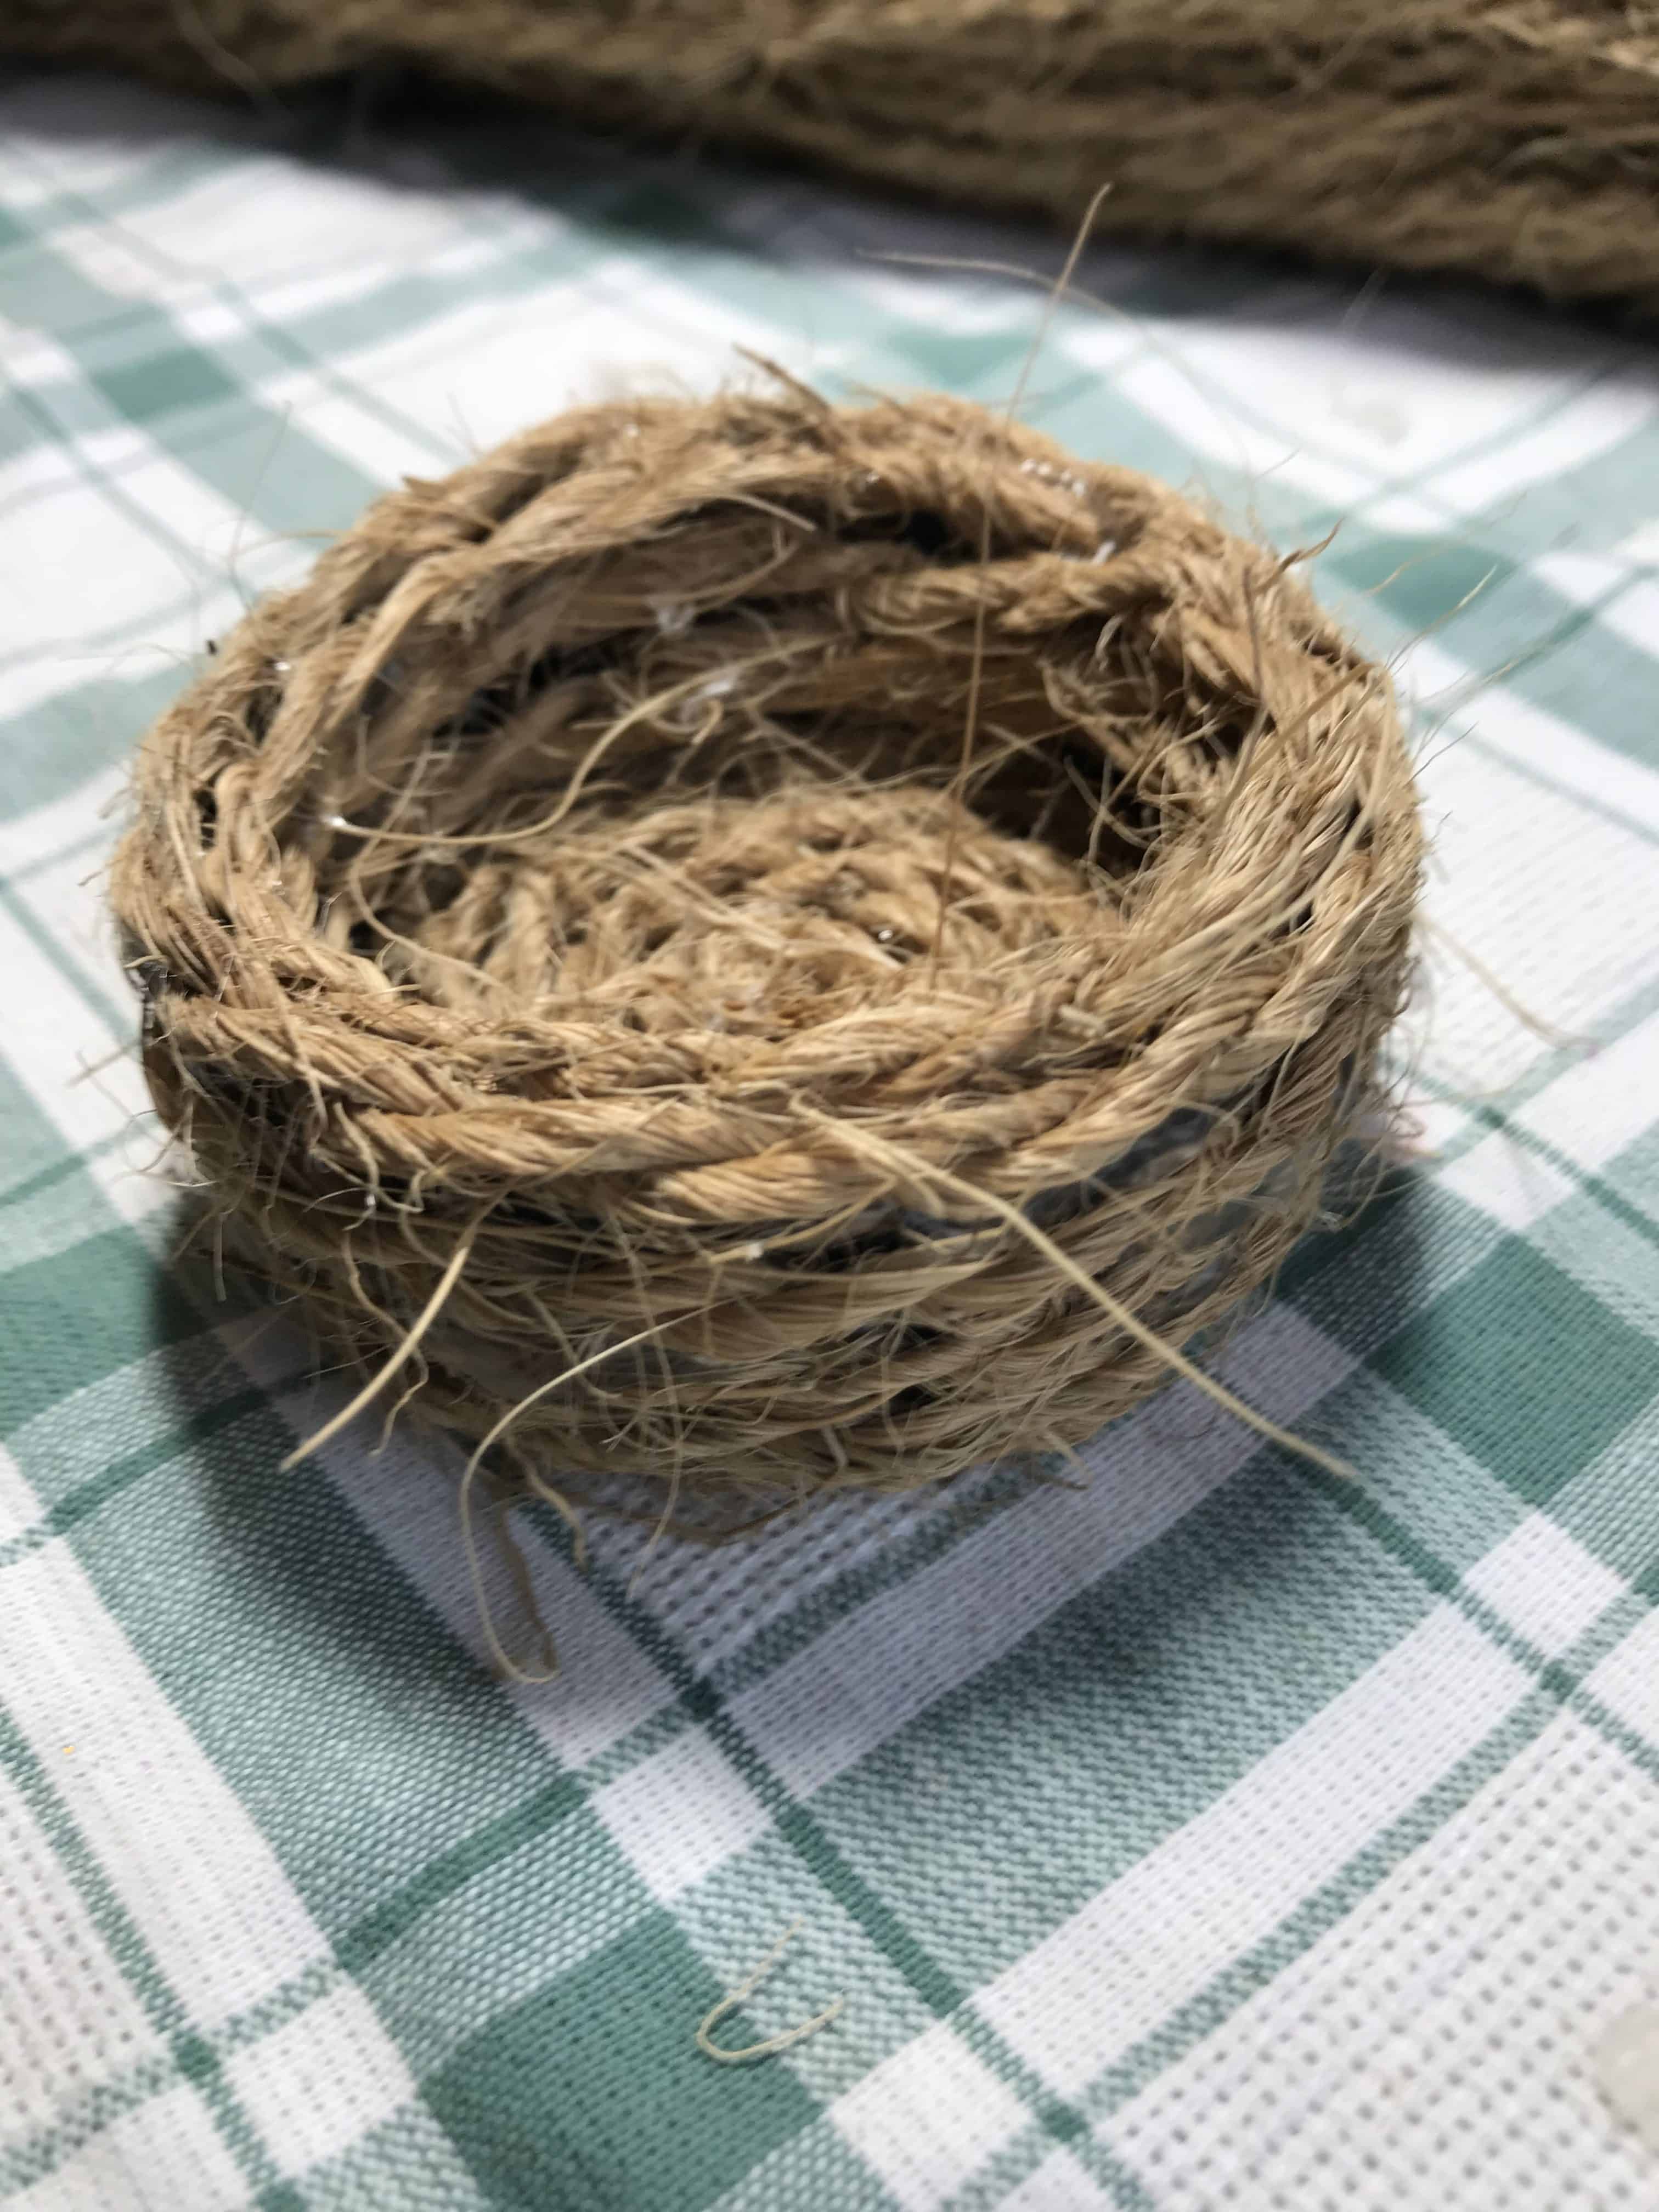
Step 10
Place little chick in his nest and enjoy 🙂
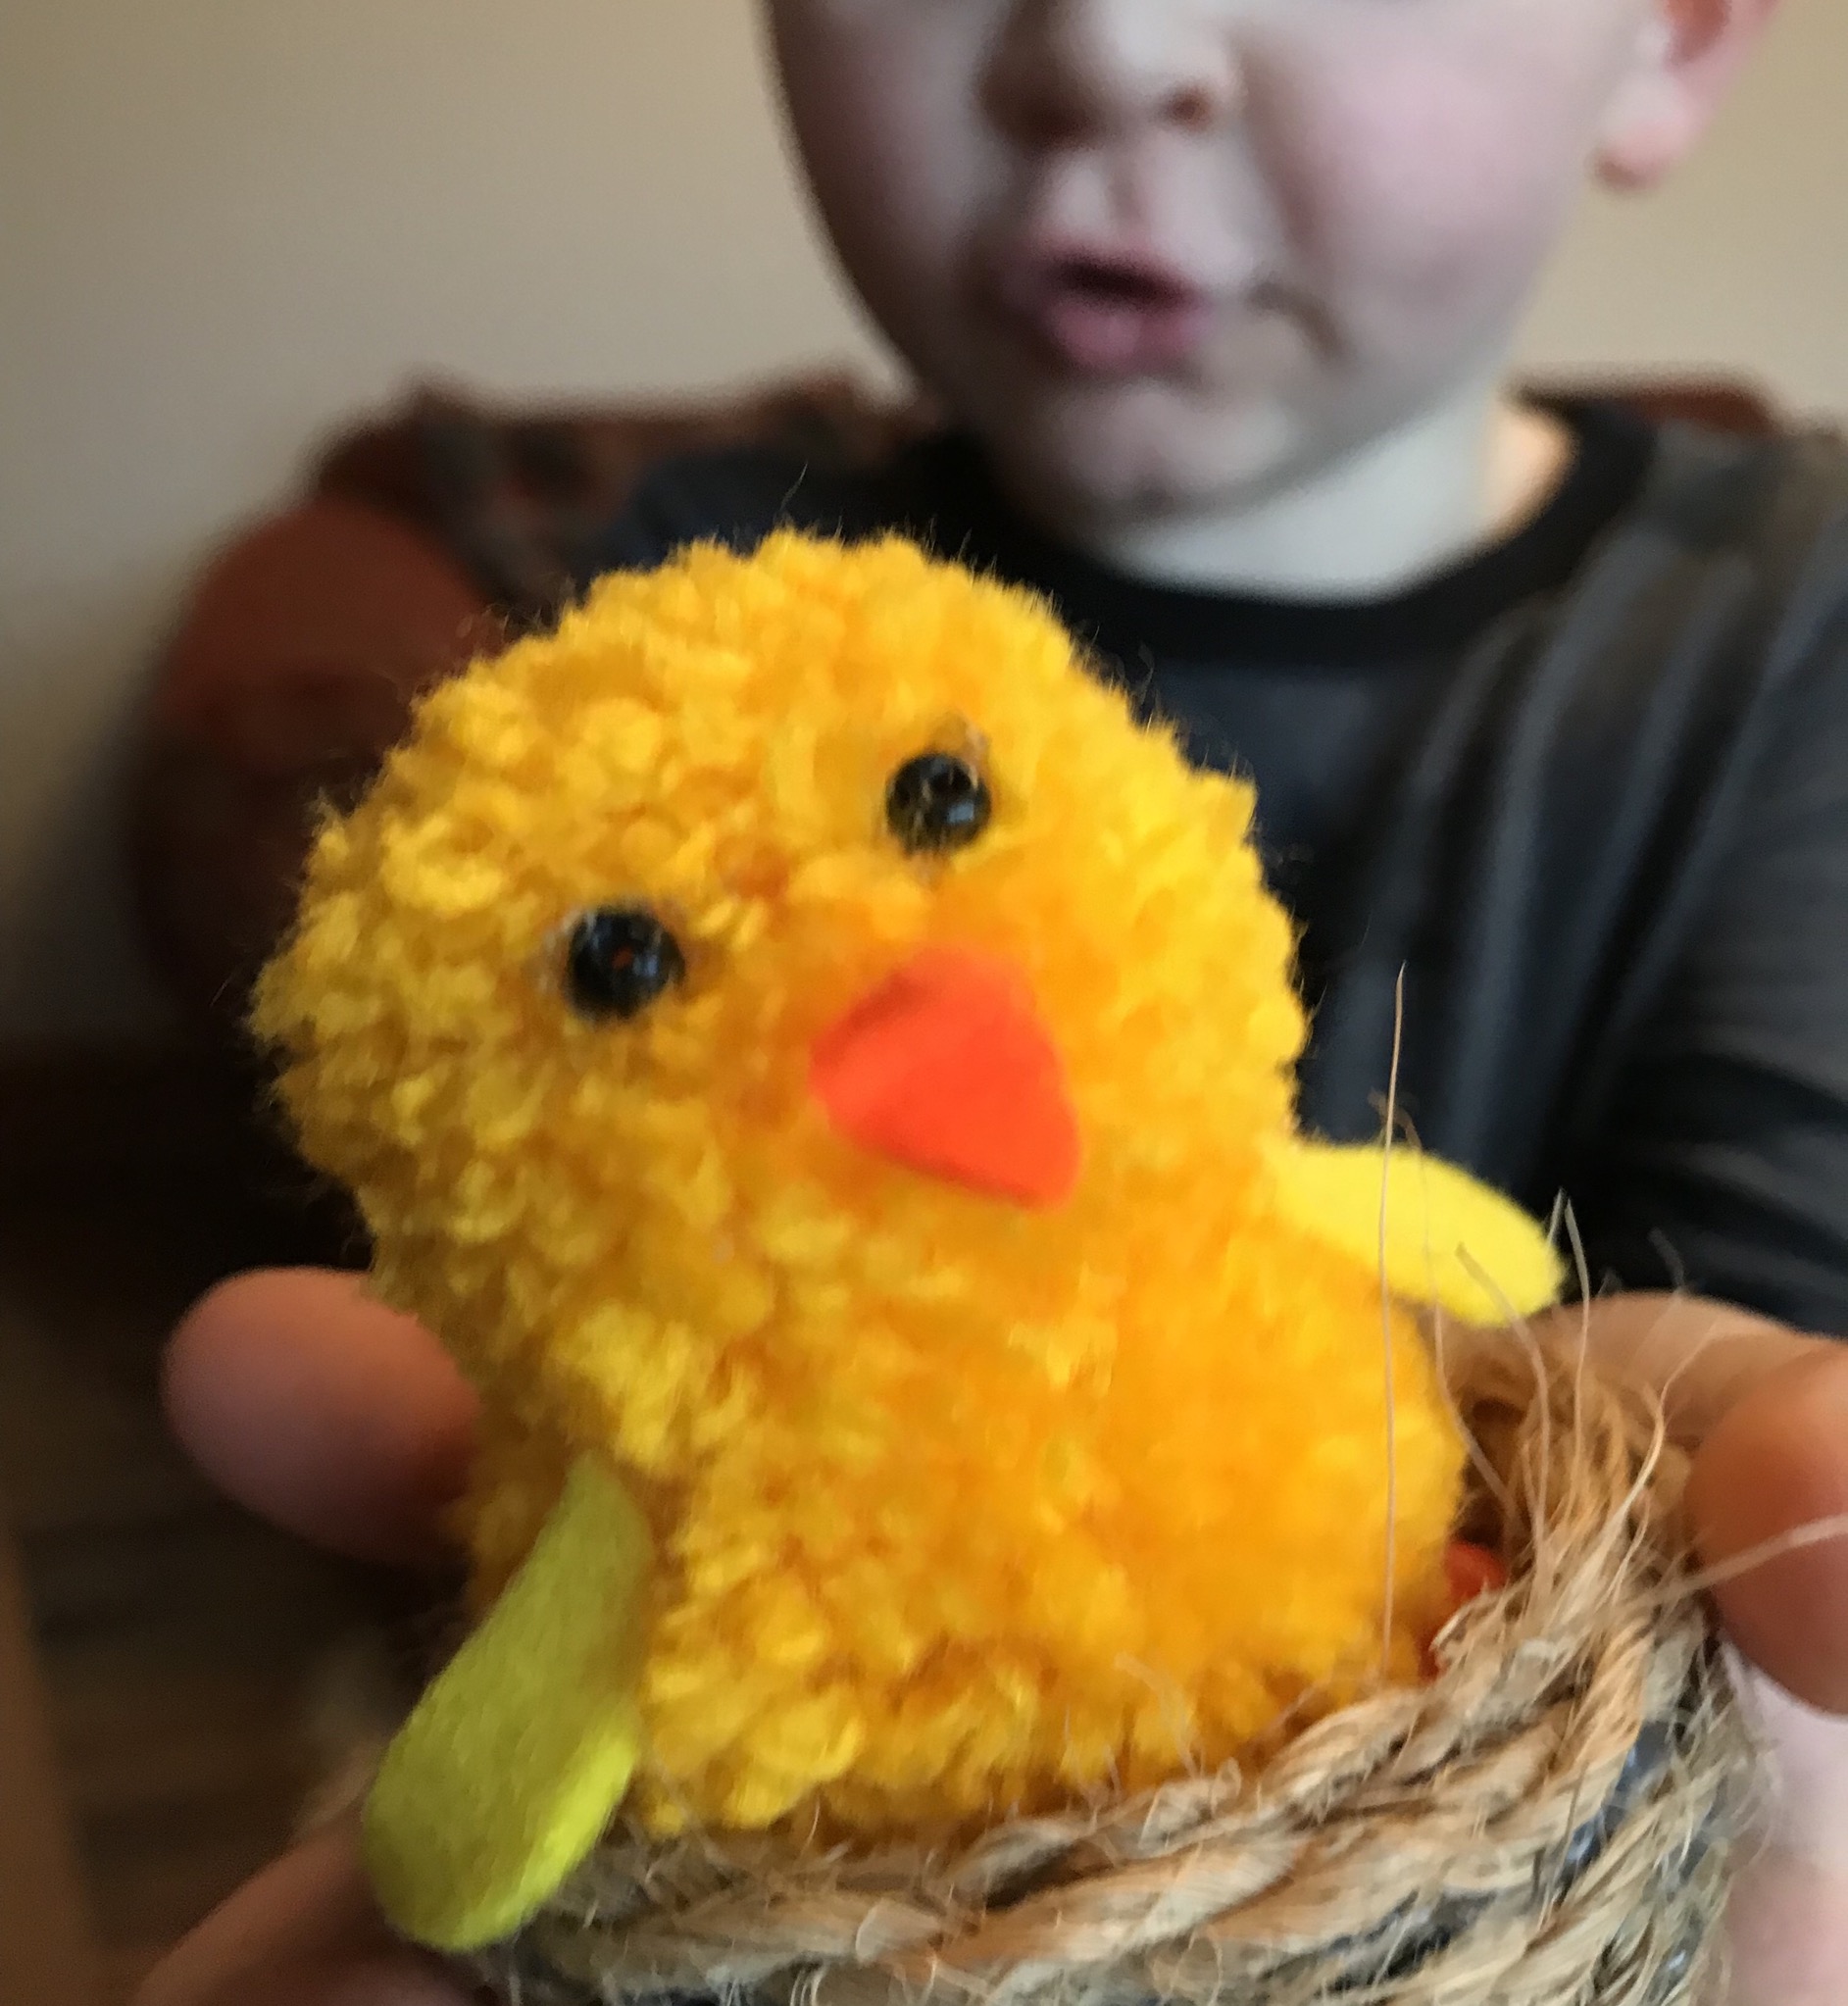
Meeting his new friend…
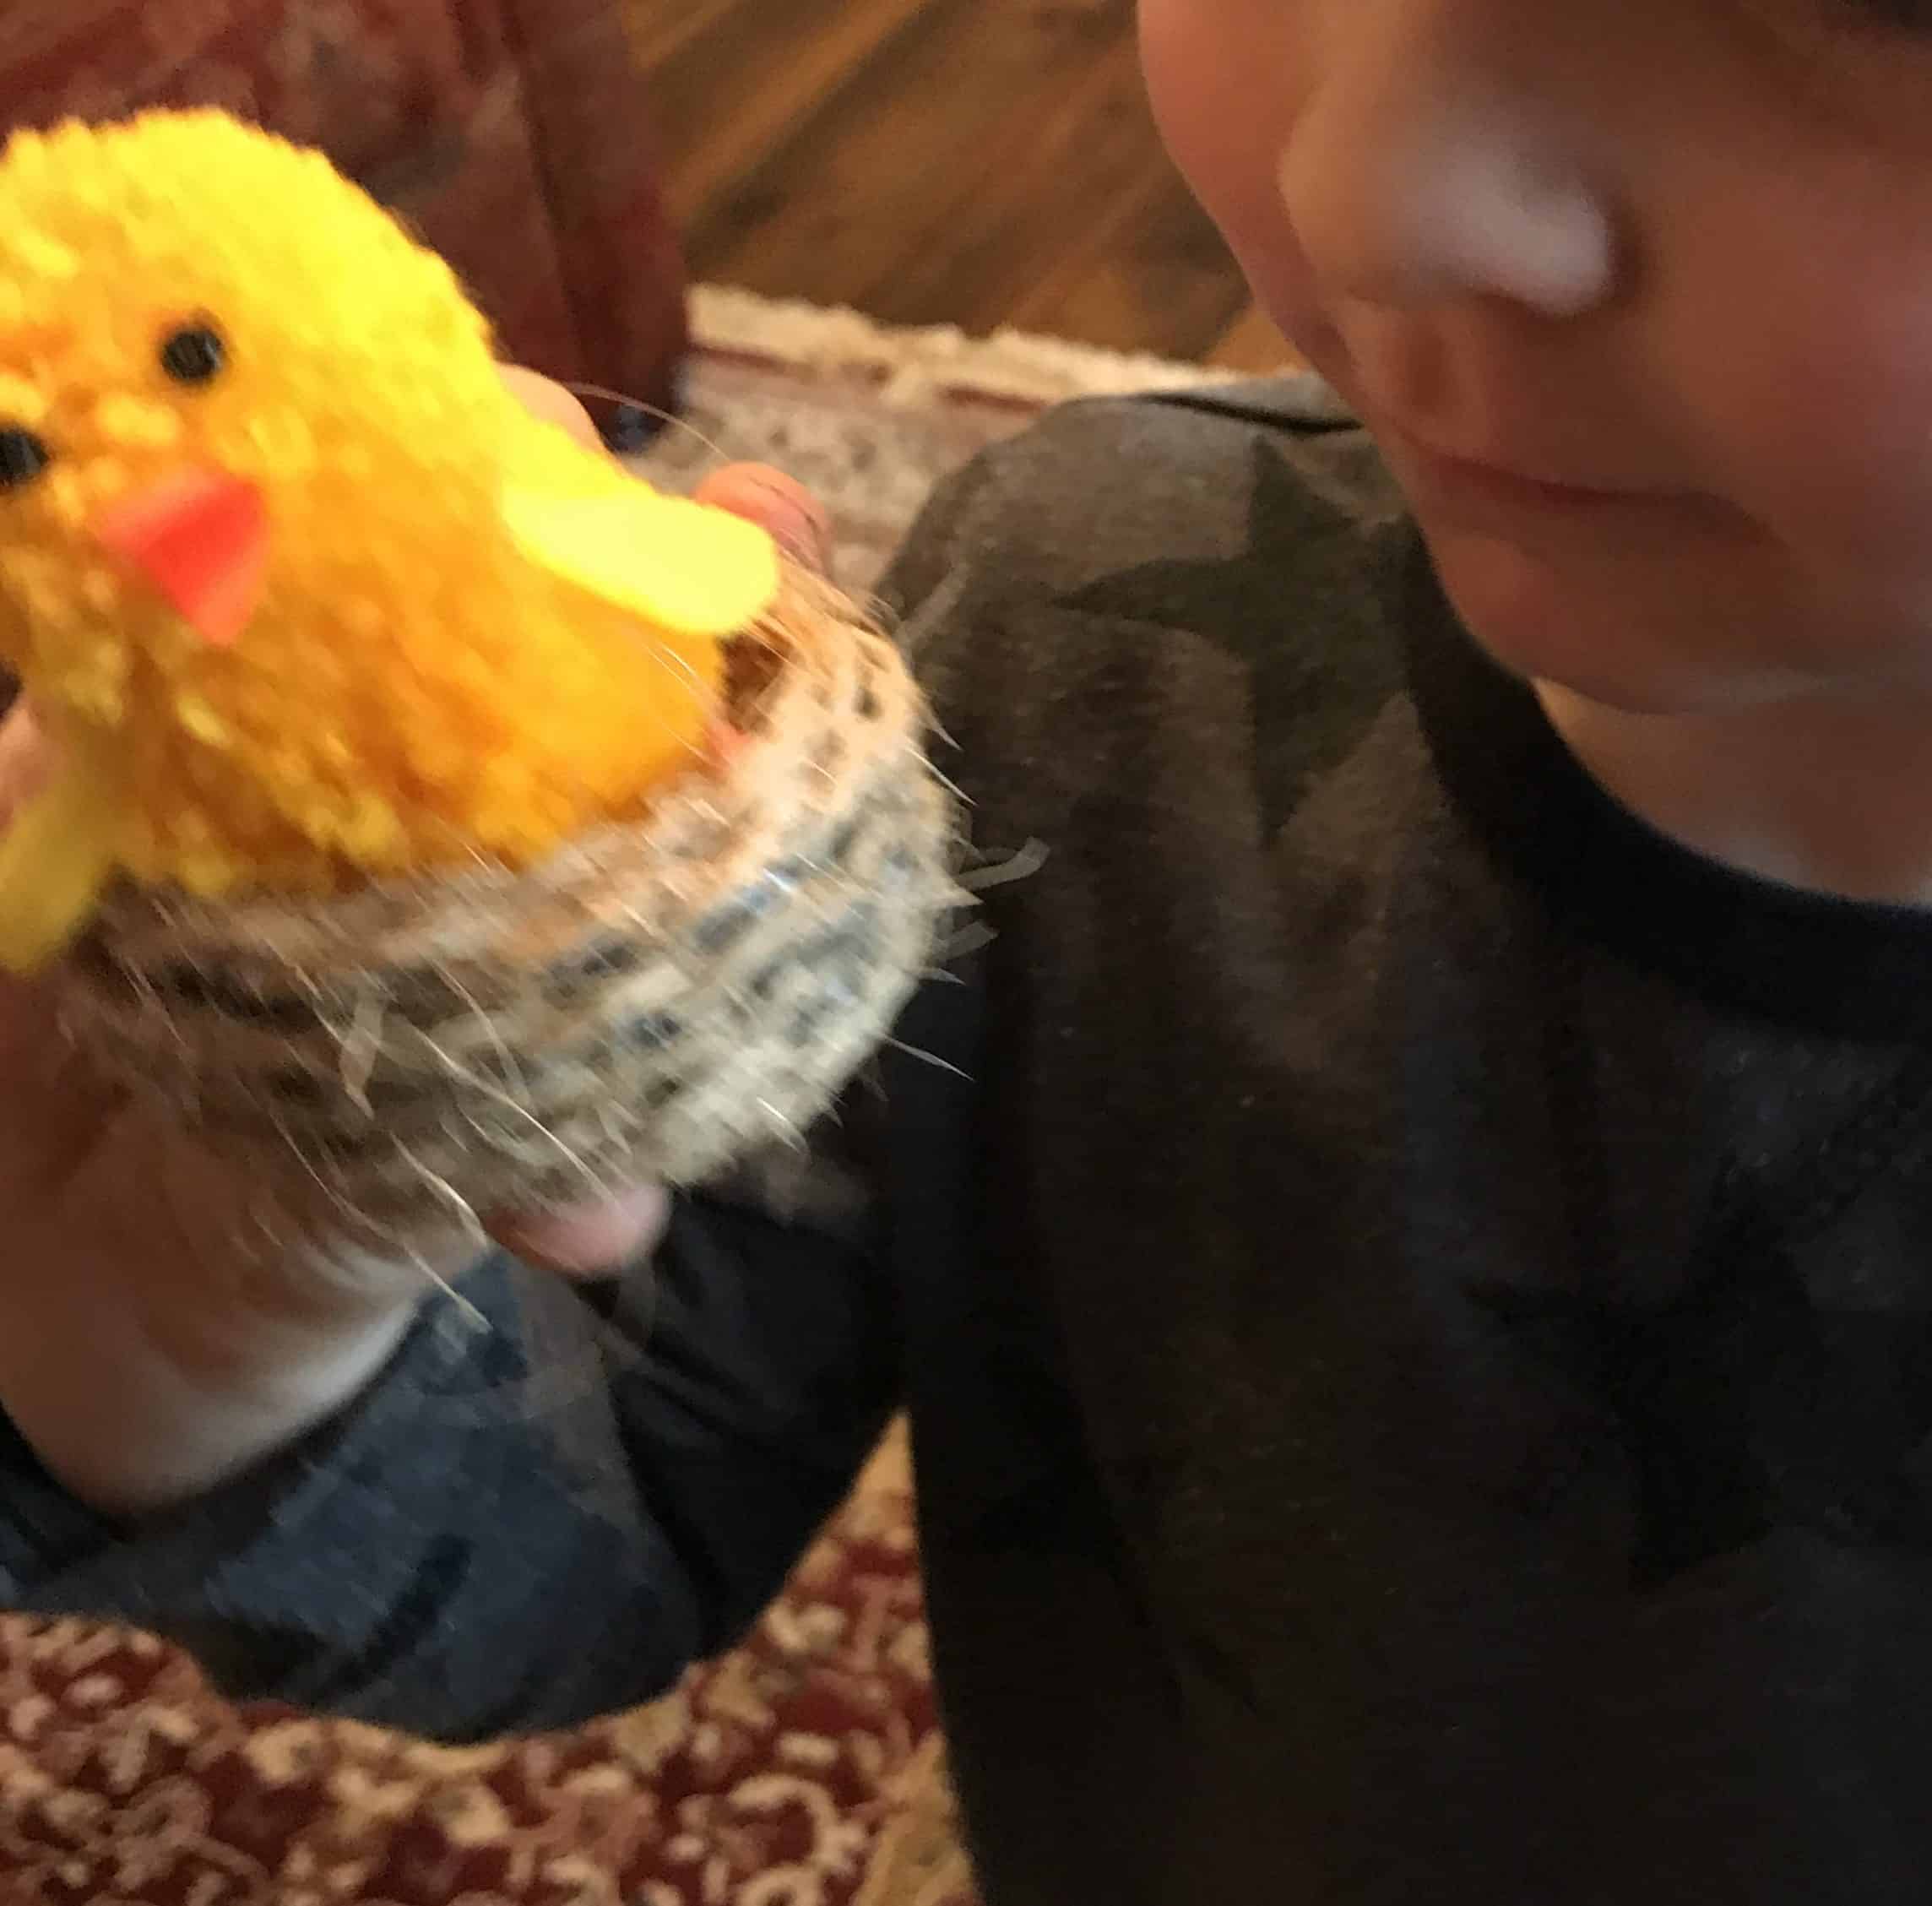
My little boy adores this chick so much, he takes him to bed every night! For an extra surprise you could add mini eggs to the nest for the chick to sit on… on this note, please only use mini mini eggs and be aware of the choking risk of full size mini eggs… if you don’t know already, check out this post from st John’s Ambulance now to find out what you should do if you experience a child choking, and this post here from a mum who has experienced having to deal with choking twice.
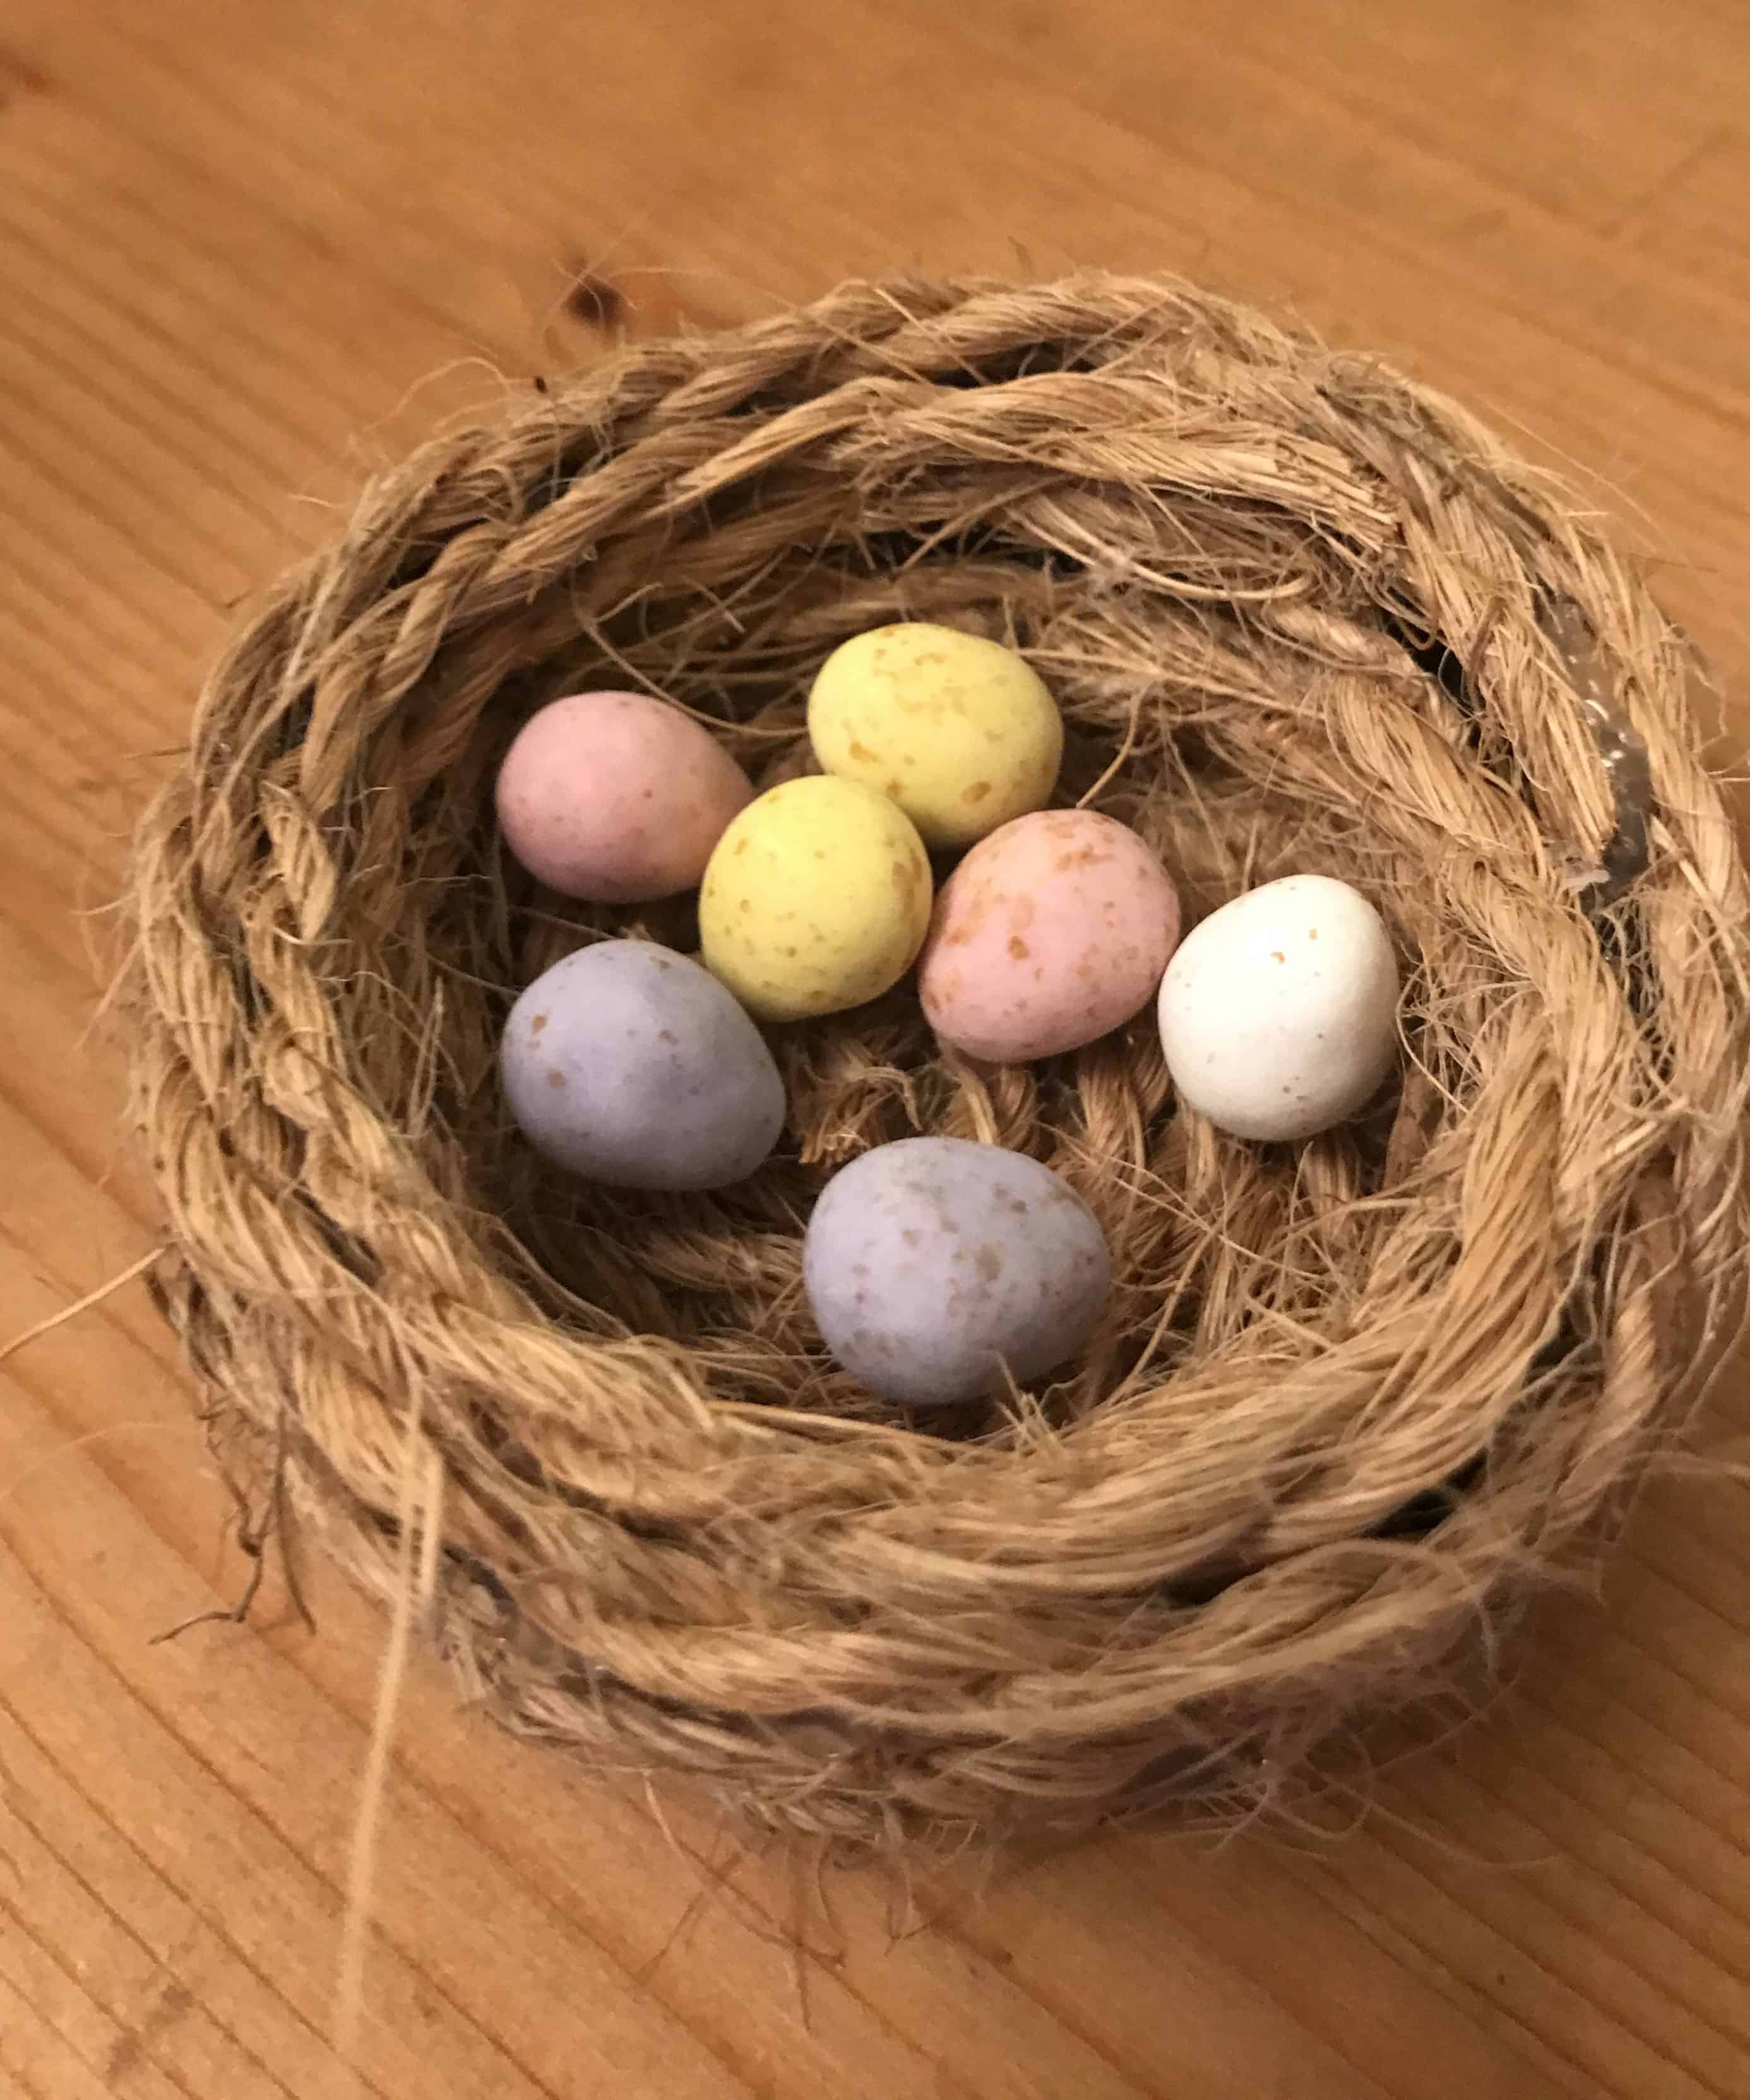
Little chick sitting on his eggs…
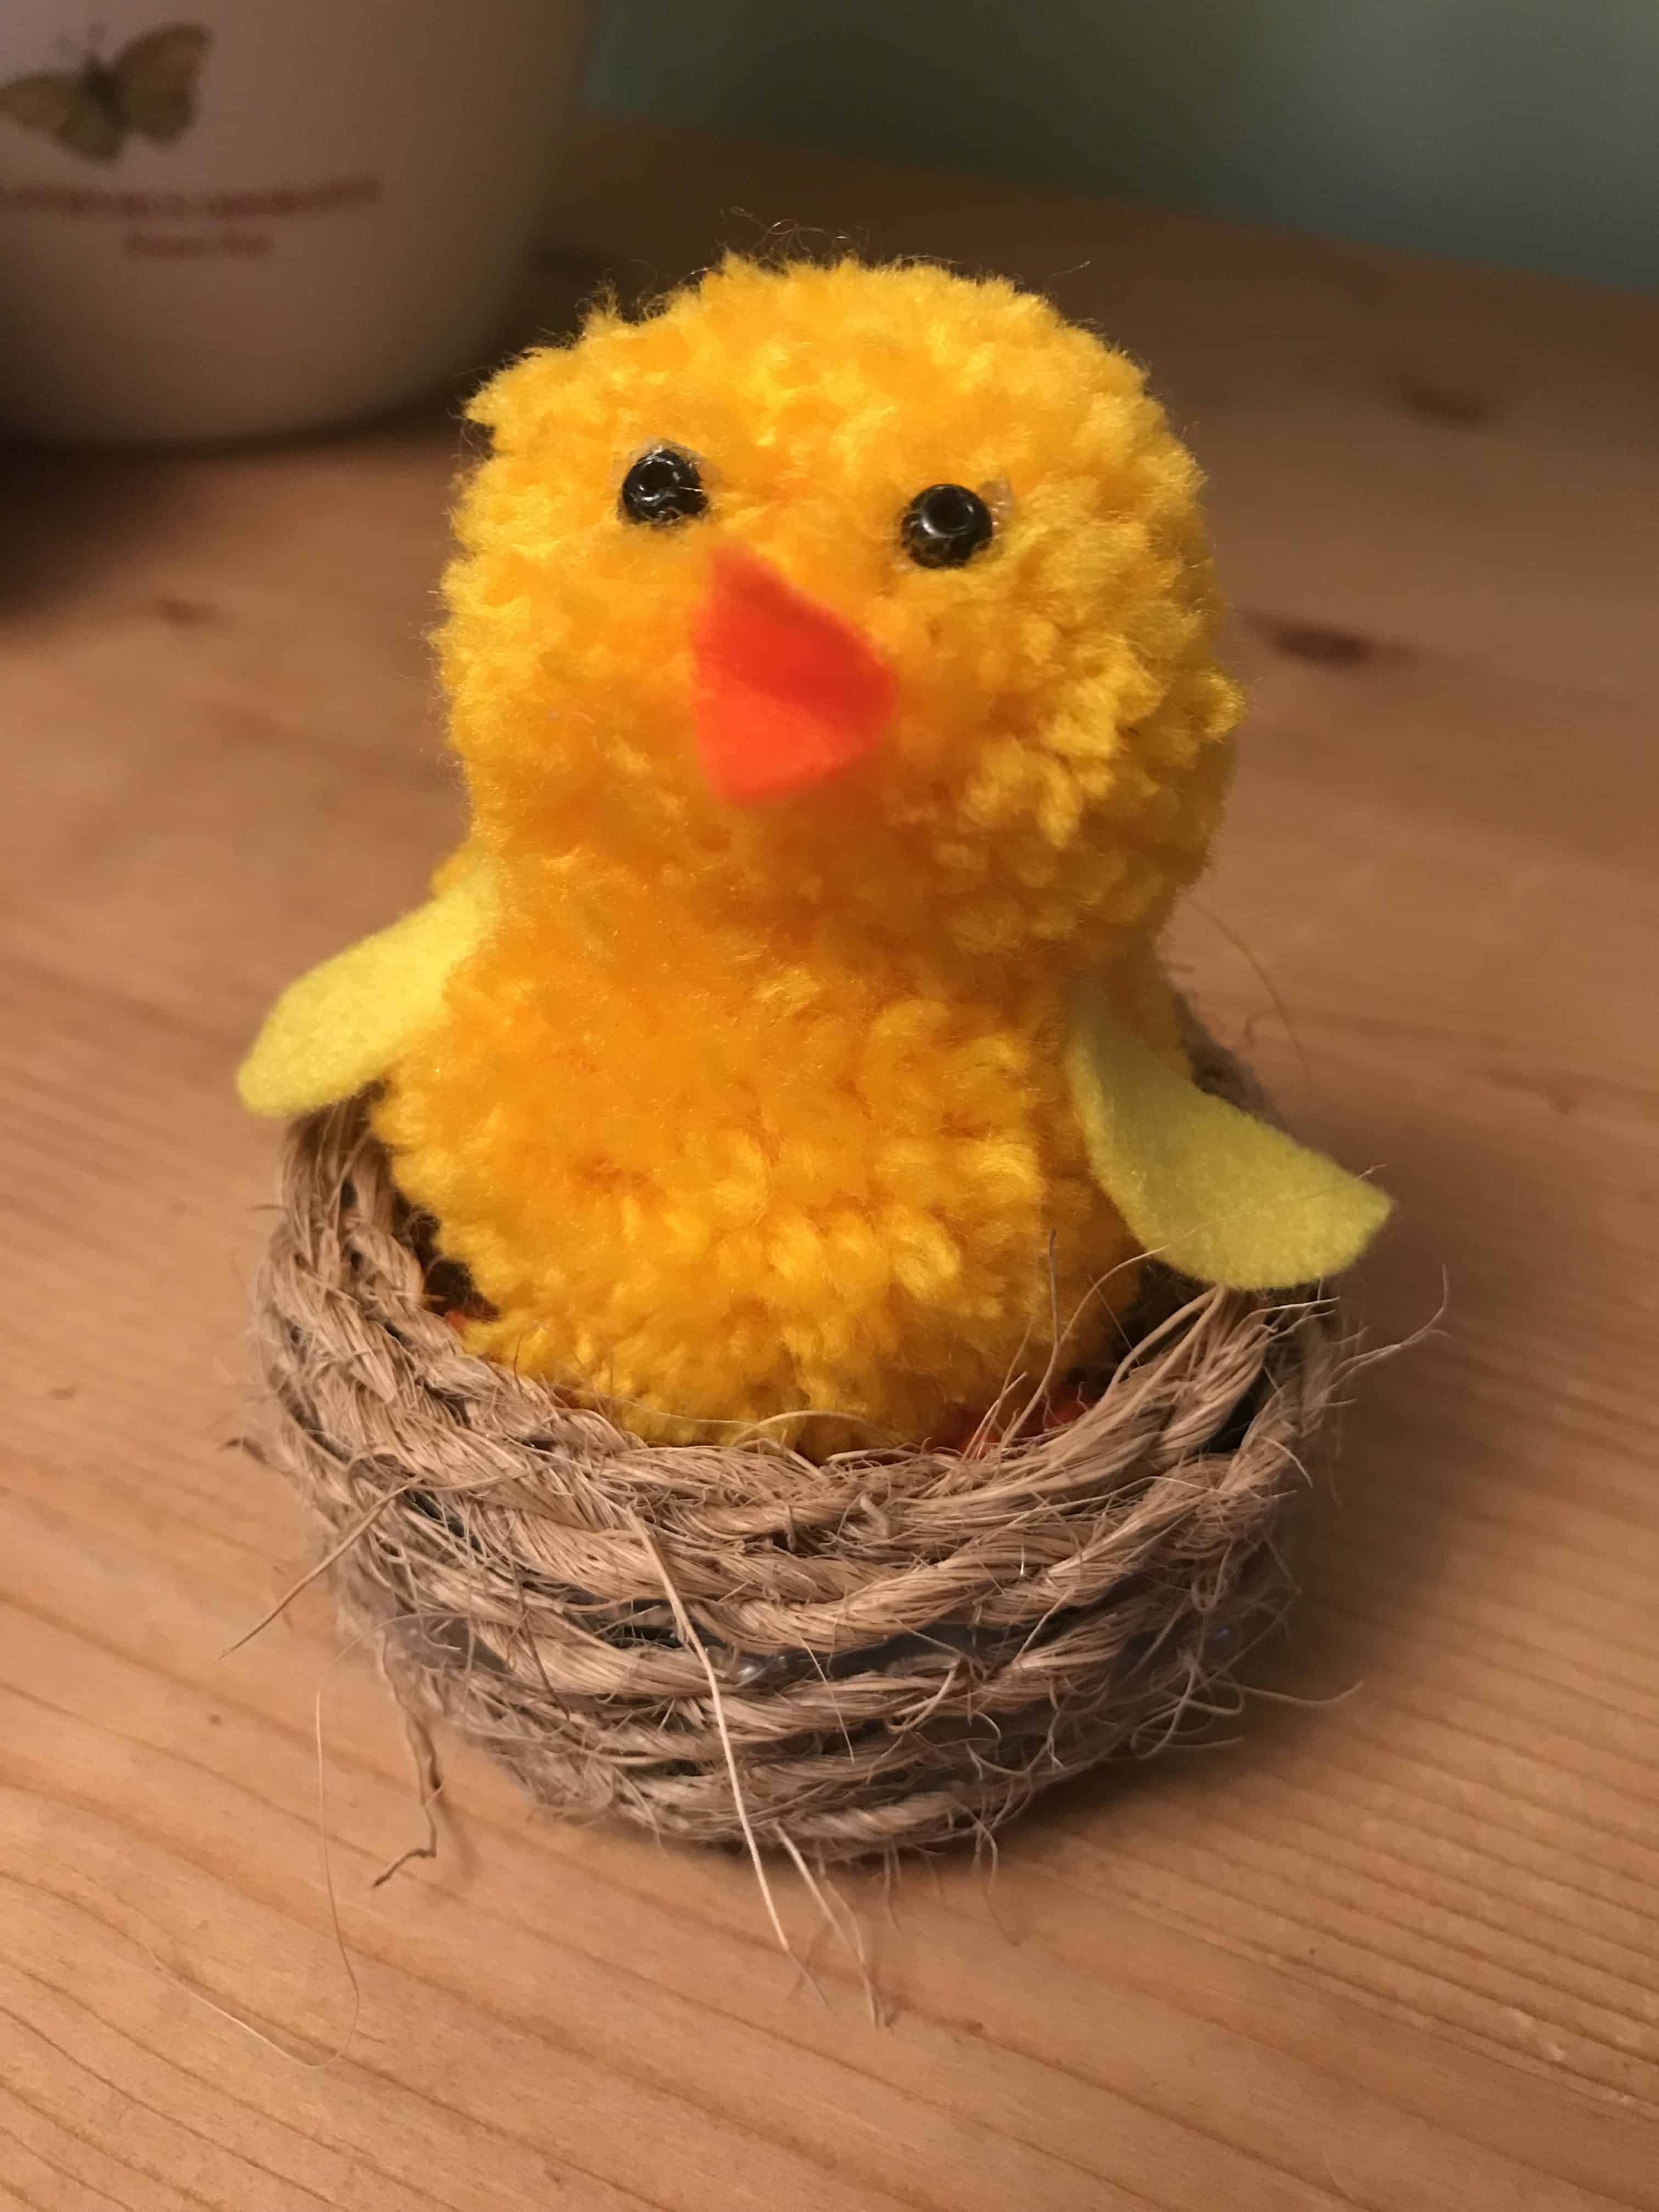
This activity was so fun and easy to do. My little boy has really taken his new chick ‘under his wing’ so it was a total result!