What could be better than receiving an adorable DIY Halloween gift?
Well, practically nothing actually…
After all, everyone loves Halloween and everyone loves receiving handmade gifts!
Put the two together and you have a winning combination that will make someone very happy this Halloween.
What DIY Halloween Gift Can I Give?
It can be really challenging to think of a DIY Halloween gift that people will love to receive…
But let’s start with the basics!
The best handmade Halloween gifts are…
- Unique
- Functional
- Budget-friendly
- Easy to make
- And a real pleasure to receive
Think it’s impossible to pull off?
It’s really not… I have the perfect handmade Halloween gift idea for you that you’ll love to make and others will love to receive!
Introducing…
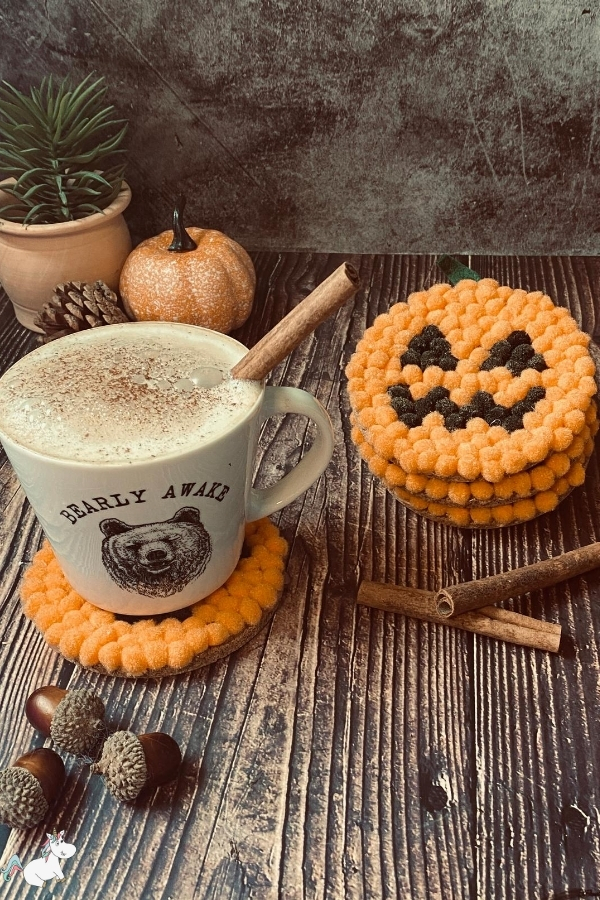
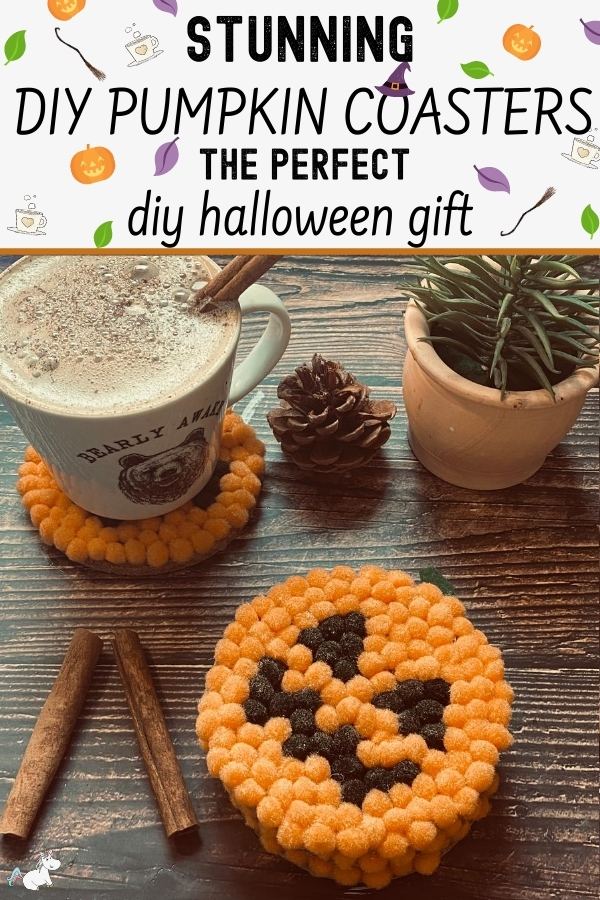
Pompom Halloween Pumpkin Coasters
This post may contain affiliate links. See my full disclosure here for more info.
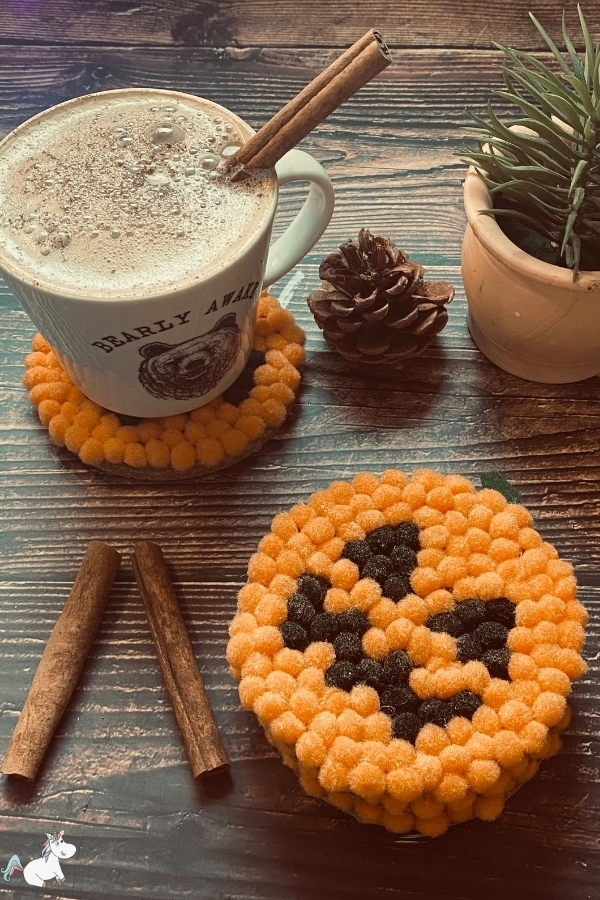
Who wouldn’t want to receive a set of these adorable pumpkin pompom Coasters?
Each one of these pumpkin coasters takes approximately 10 minutes to make and the materials needed are all cheap and easy to come by!
And the best part?
They’re a really useful gift that’s guaranteed to bring a smile to the face of the lucky person who receives a set!
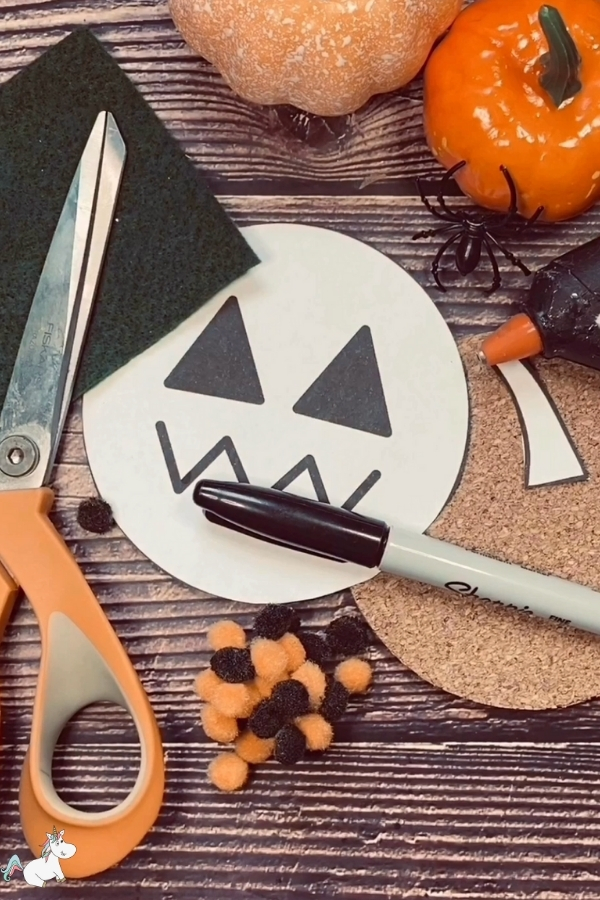
Materials
To make these adorable DIY pumpkin coasters you will need:
- Orange Pompoms (approximately 100 10mm pompoms per 100mm coaster)
- Black Pompoms (approximately 25 10mm pompoms per 100mm coaster)
- Green Felt
- Cork Coasters (100mm Diameter)
- Pumpkin Template (free with this tutorial, further details on how to get it are below)
Tools
- Scissors
- Glue Gun
- Sharpie
DIY Pumpkin Coasters Template
The very first thing you need to do to make this unique DIY Halloween gift is to download your pumpkin face template which is included FREE with this tutorial.
All you have to do is click here to sign up and I’ll send you over the secret password to the members-only area where you’ll find the template for these pumpkin coasters (and more crafts besides).
Already a member? Click here to go straight to the member area and enter your password (you can find this in your welcome email).
So now you have your DIY pumpkin coasters template… let’s get started!
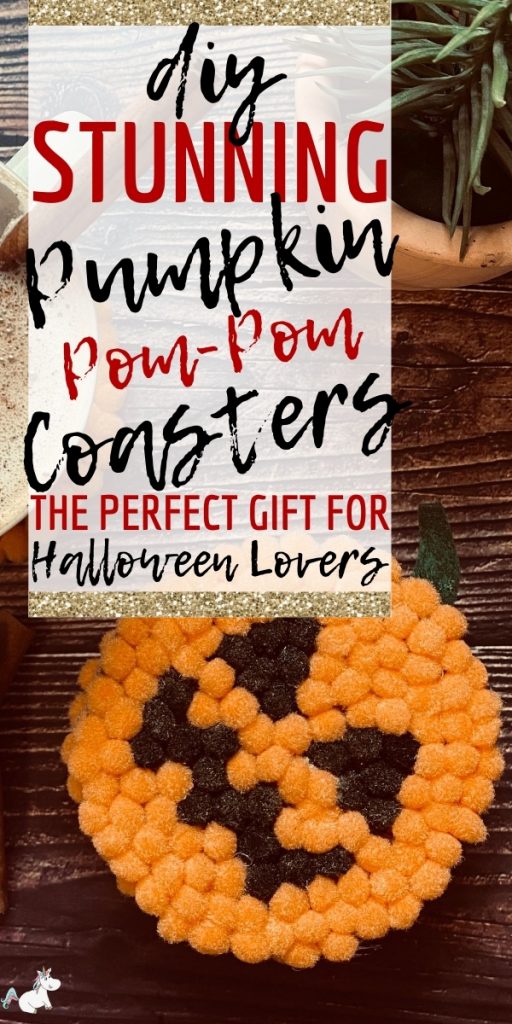
P.S. Don’t forget to click here or on the image below to quickly and easily save these cute DIY pumpkin coasters to Pinterest
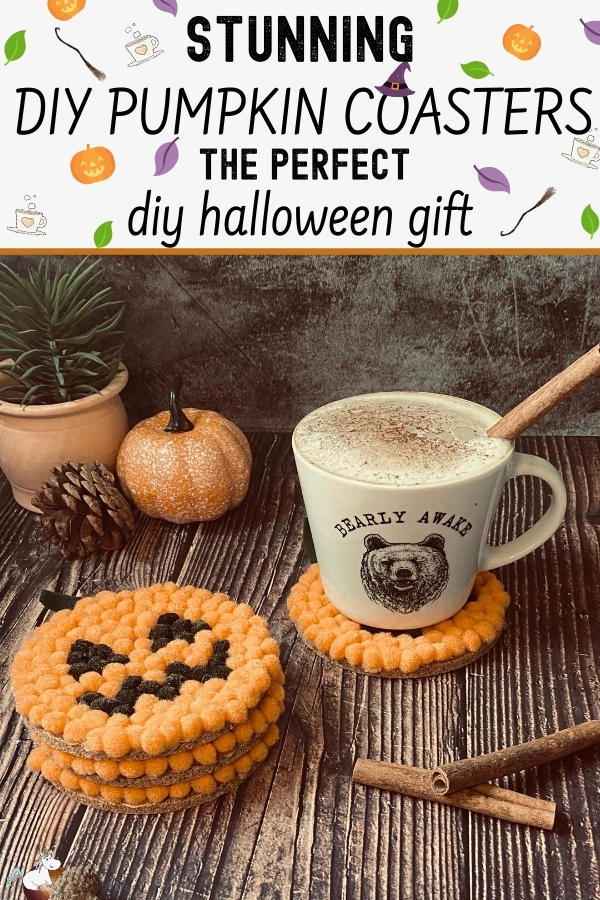
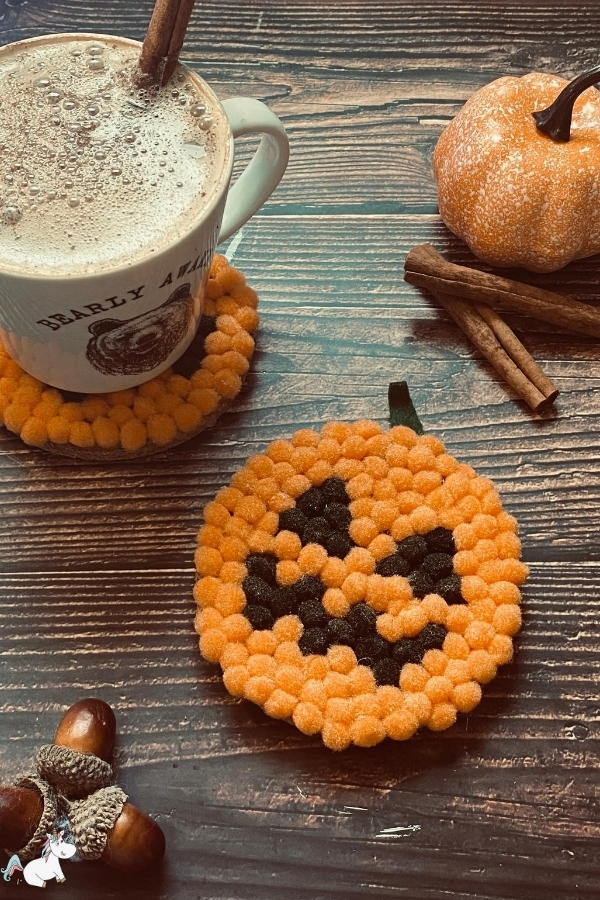
DIY Halloween Gift: Easy PomPom Pumpkin Coasters
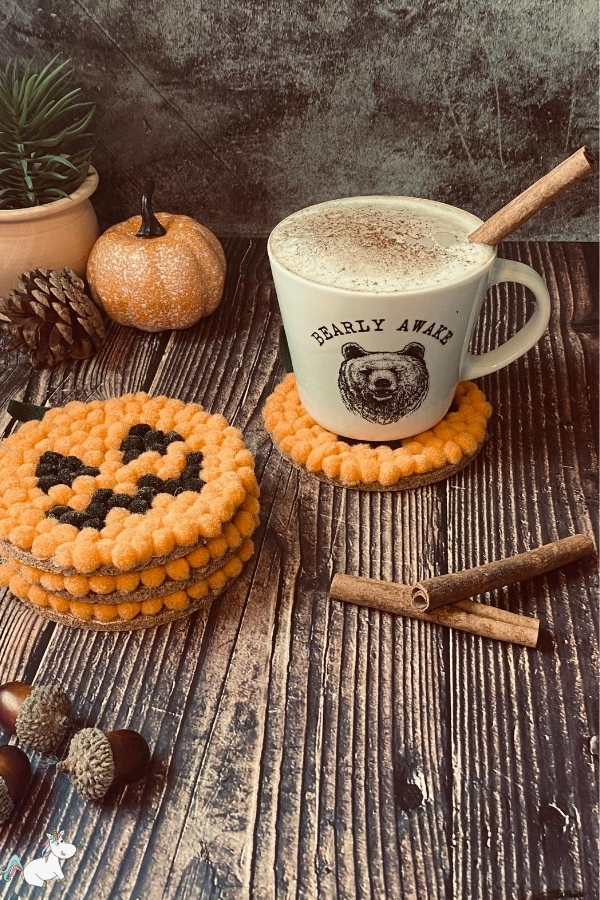
These adorable Pumpkin coasters (created with only a few simple supplies) make the perfect DIY Halloween gift that everyone would love to receive!
Materials
- Orange pompoms (approximately 100 per 100mm coaster)
- Black pompoms (approximately 25 per 100mm coaster)
- Cork Coasters (100mm diameter)
- Green Felt
Tools
- Glue gun
- Scissors
- Sharpie
Instructions
- Download, print, and cut out your FREE printable templates (Get them in the members-only area right here) and gather the rest of your supplies. Already a member? Visit the member area here and enter your password (found in your welcome email)

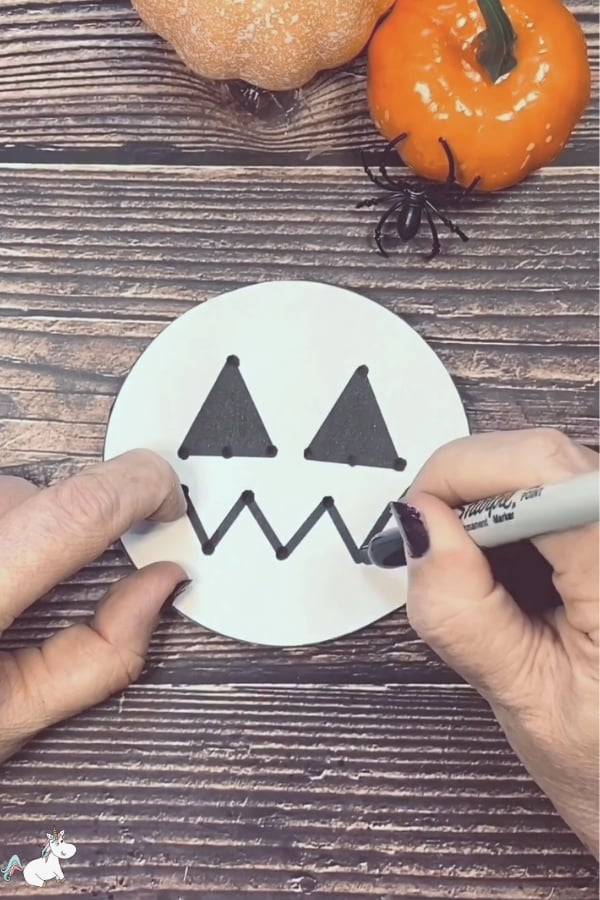
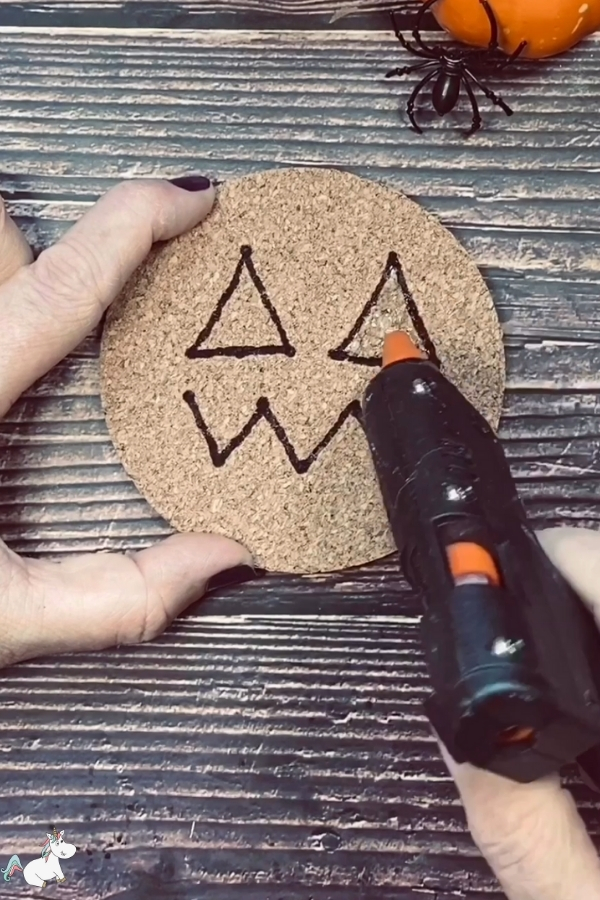
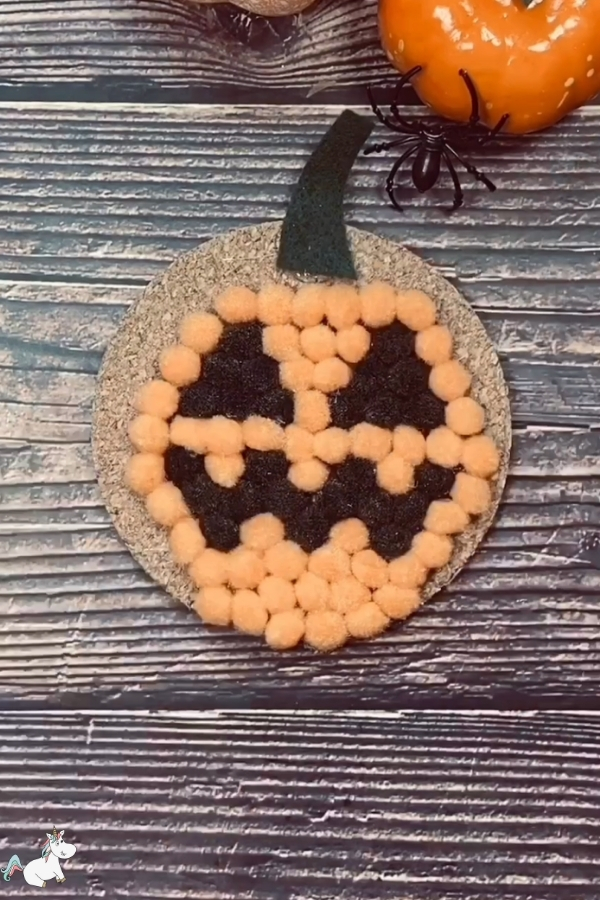
- Lay your pumpkin face template over your cork coaster and use a sharpie to apply pressure on the corners of the eyes and mouth of the face so the ink seeps through.
- Remove the template and join up the dots below to create the face of the pumpkin on your coaster.
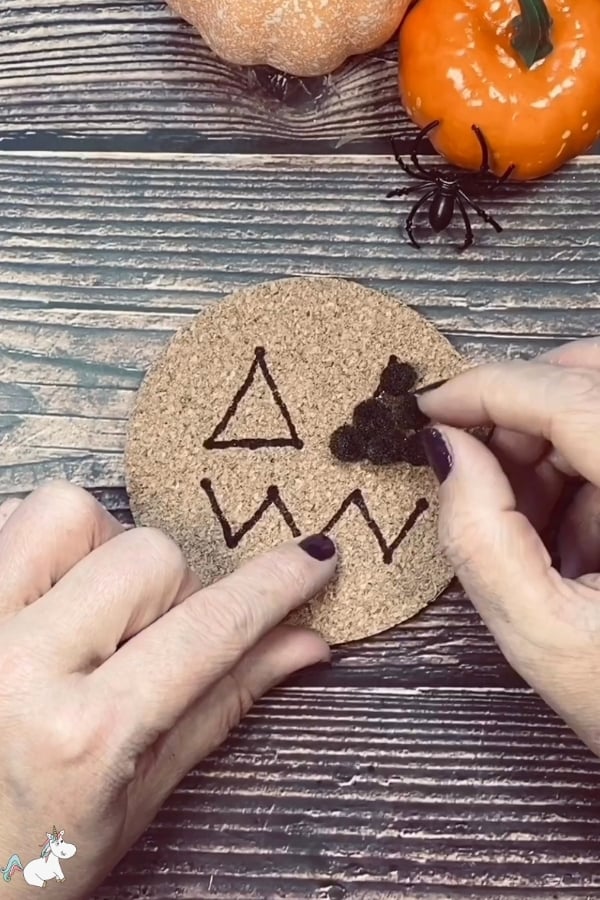
- Use your hot glue gun to begin securing pompoms to your coaster. Start with the black pompoms to create the eyes and mouth, using your drawing as a guide. Be sure to only add glue to the coaster in small sections as hot glue will dry rapidly.
- Cut out a small section of green felt for the pumpkin stalk using the template provided. Secure with hot glue to the top of the pumpkin.
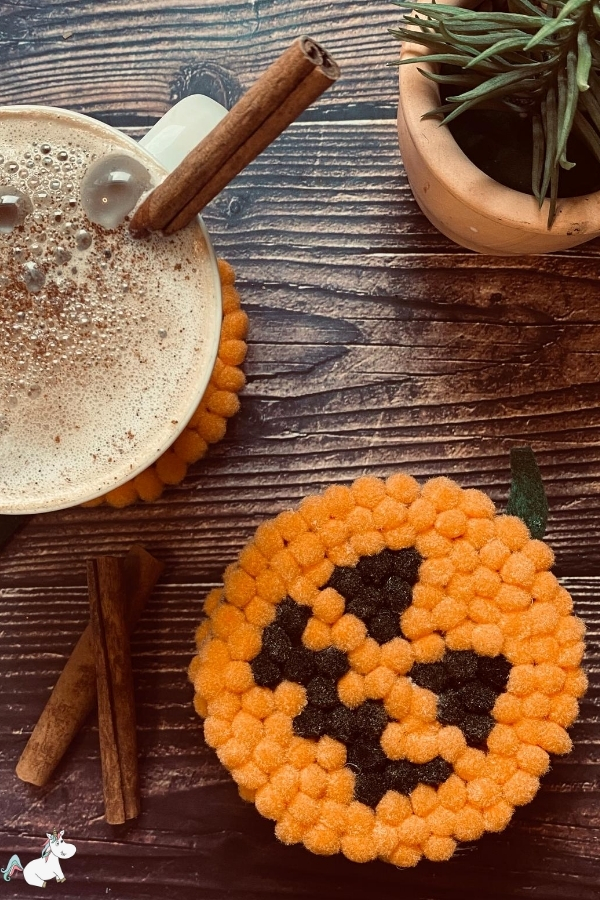
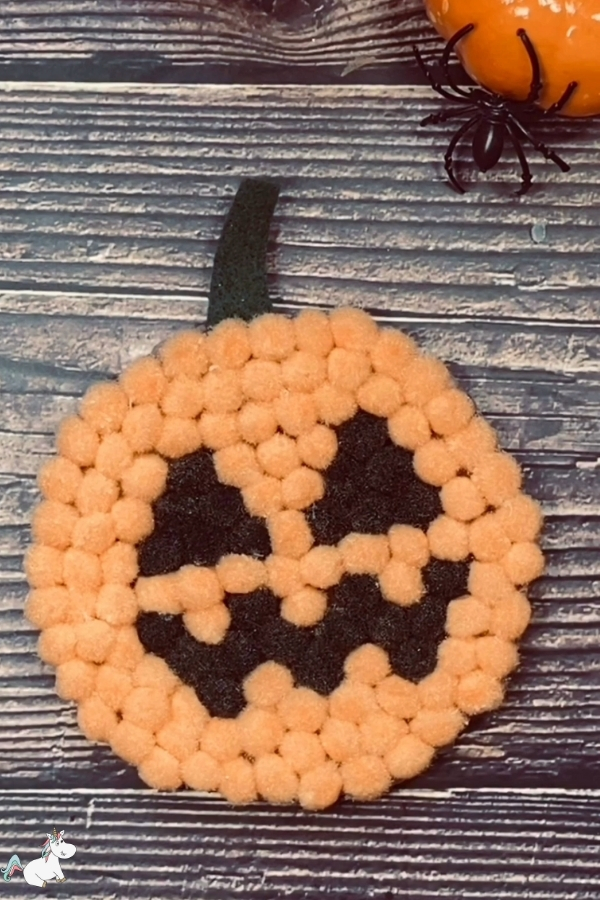
- Once you've completed the black pompoms and the stalk, move on to the orange pompoms, securing them in small sections at a time. Note: I started from the middle but I recommend starting from the outer edge so you can achieve a really neat circle around the edge.
- Lastly, stand back and marvel at your beautiful new pumpkin coaster!

Notes
* Take care when using a hot glue gun during this DIY. Applying pompoms can be quite fiddly and your fingers do come very close to glue.
Before You Go...
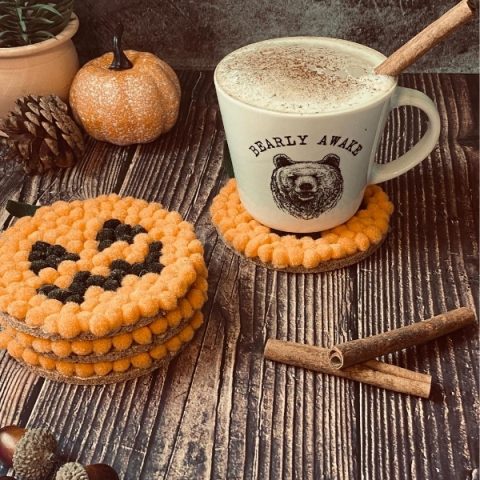
These adorable pompom pumpkin coasters make the perfect DIY Halloween gift idea when you’re looking for something useful, unique, and easy to make!
As you can see, the materials you need for this handmade gift are easy to come by and cheap too… win!
Have you enjoyed this craft? I would love to hear your thoughts in the comment section below…