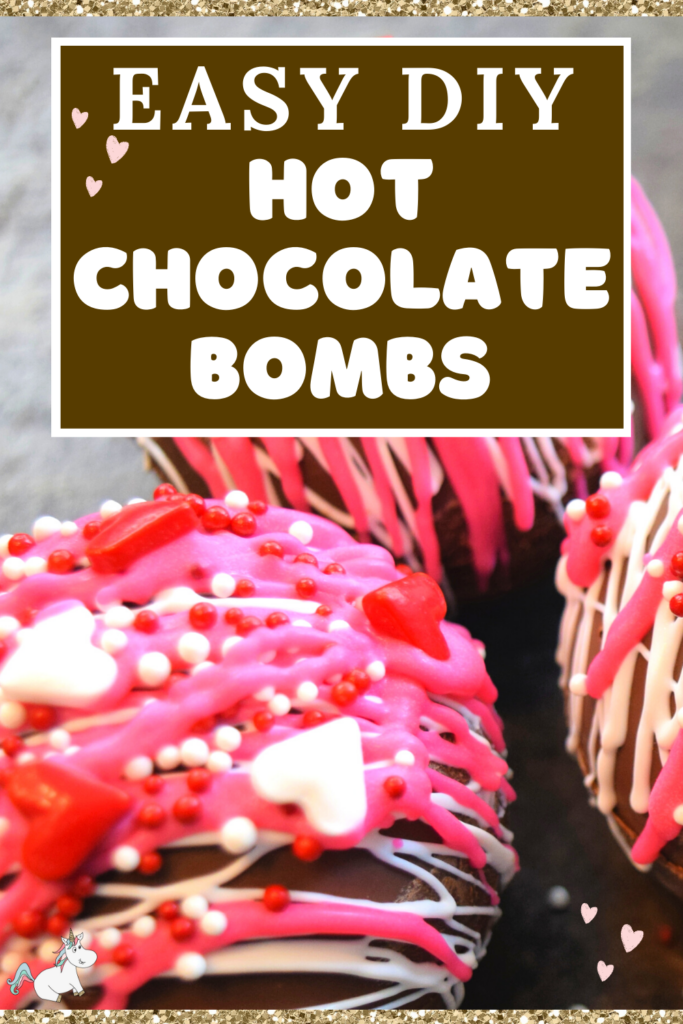
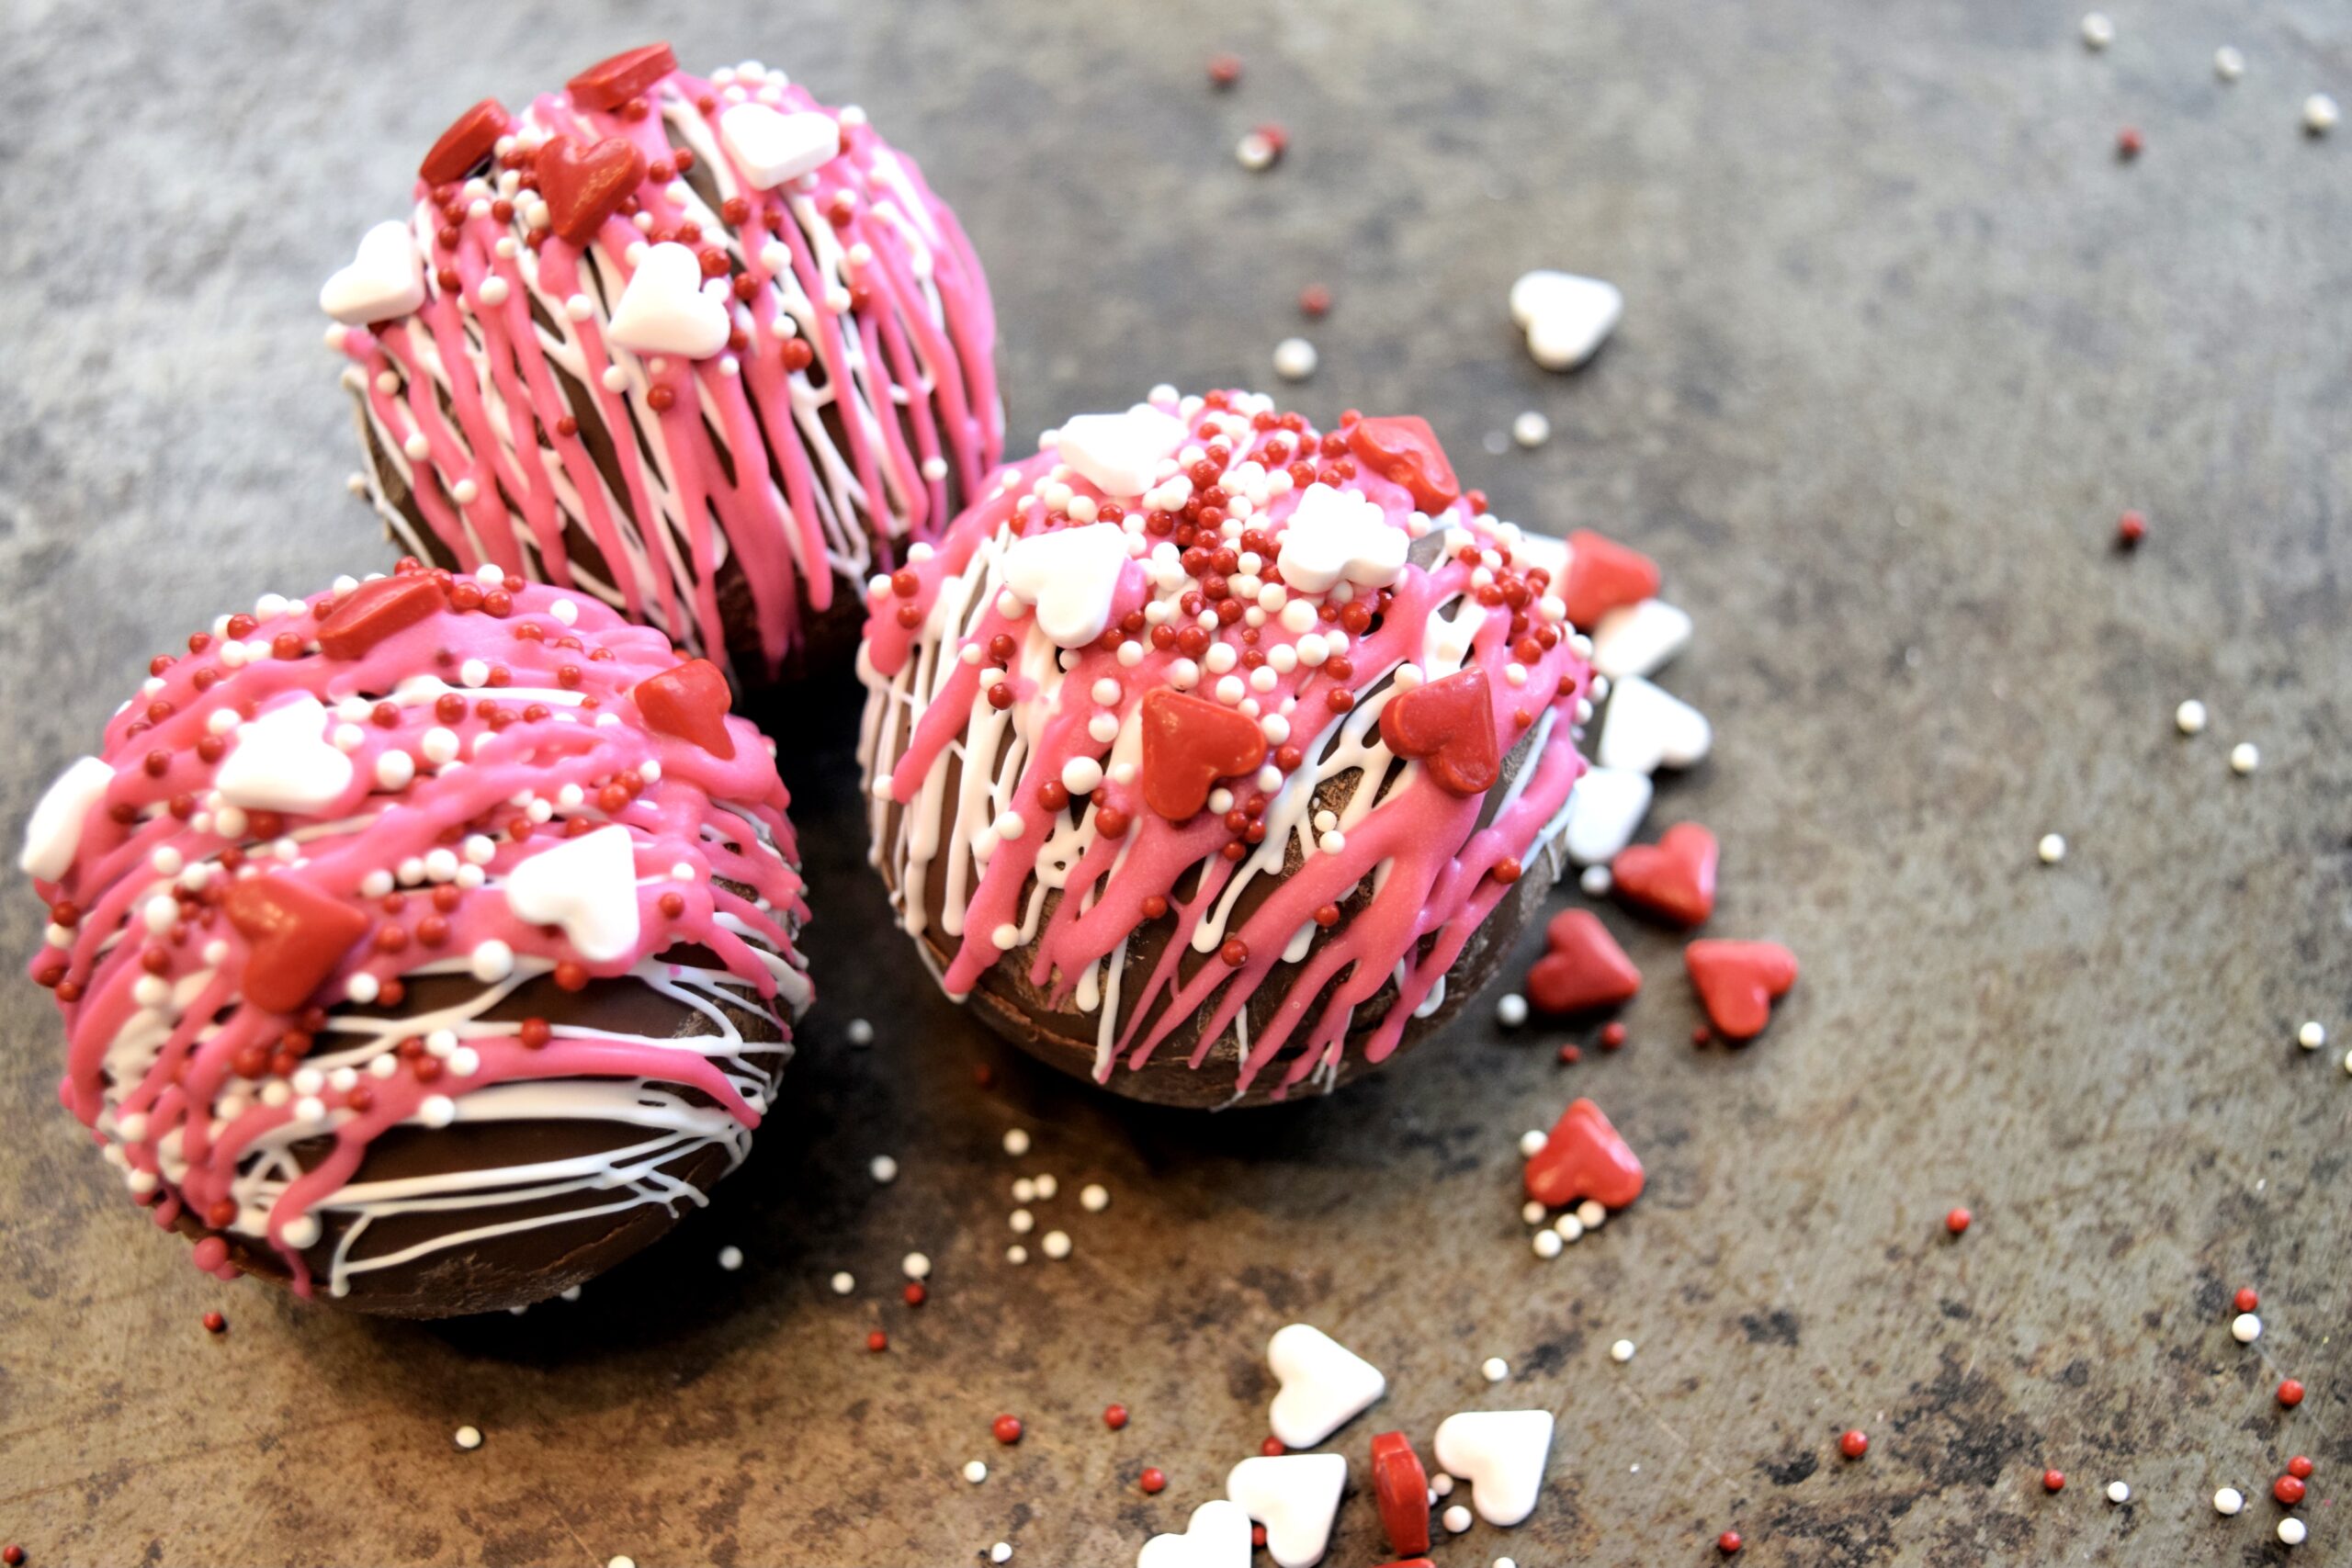
Learn how to make delicious hot chocolate bombs with this easy DIY hot chocolate bomb recipe made with mini marshmallows!
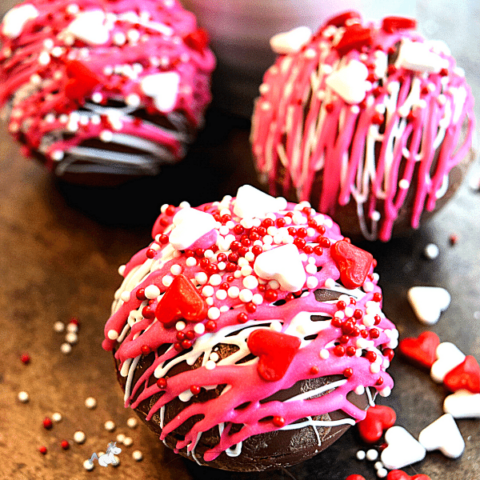
I promise you’ll have so much fun making your own chocolate bombs… and even more fun watching them melt in a mug of hot milk before sitting down to enjoy a decadent mug of hot choccy!
And guess what? They even make the perfect gift for both Christmas and even Valentine’s day!
Today, we’ve got some Valentine-themed hot chocolate bombs for you but you could easily switch up the sprinkles to any color of your choice!
P.S. Don’t lose these delish hot chocolate bombs by clicking here to quickly and easily save them to your fave Pinterest board!
This post may contain affiliate links. See my full disclosure here for more info.
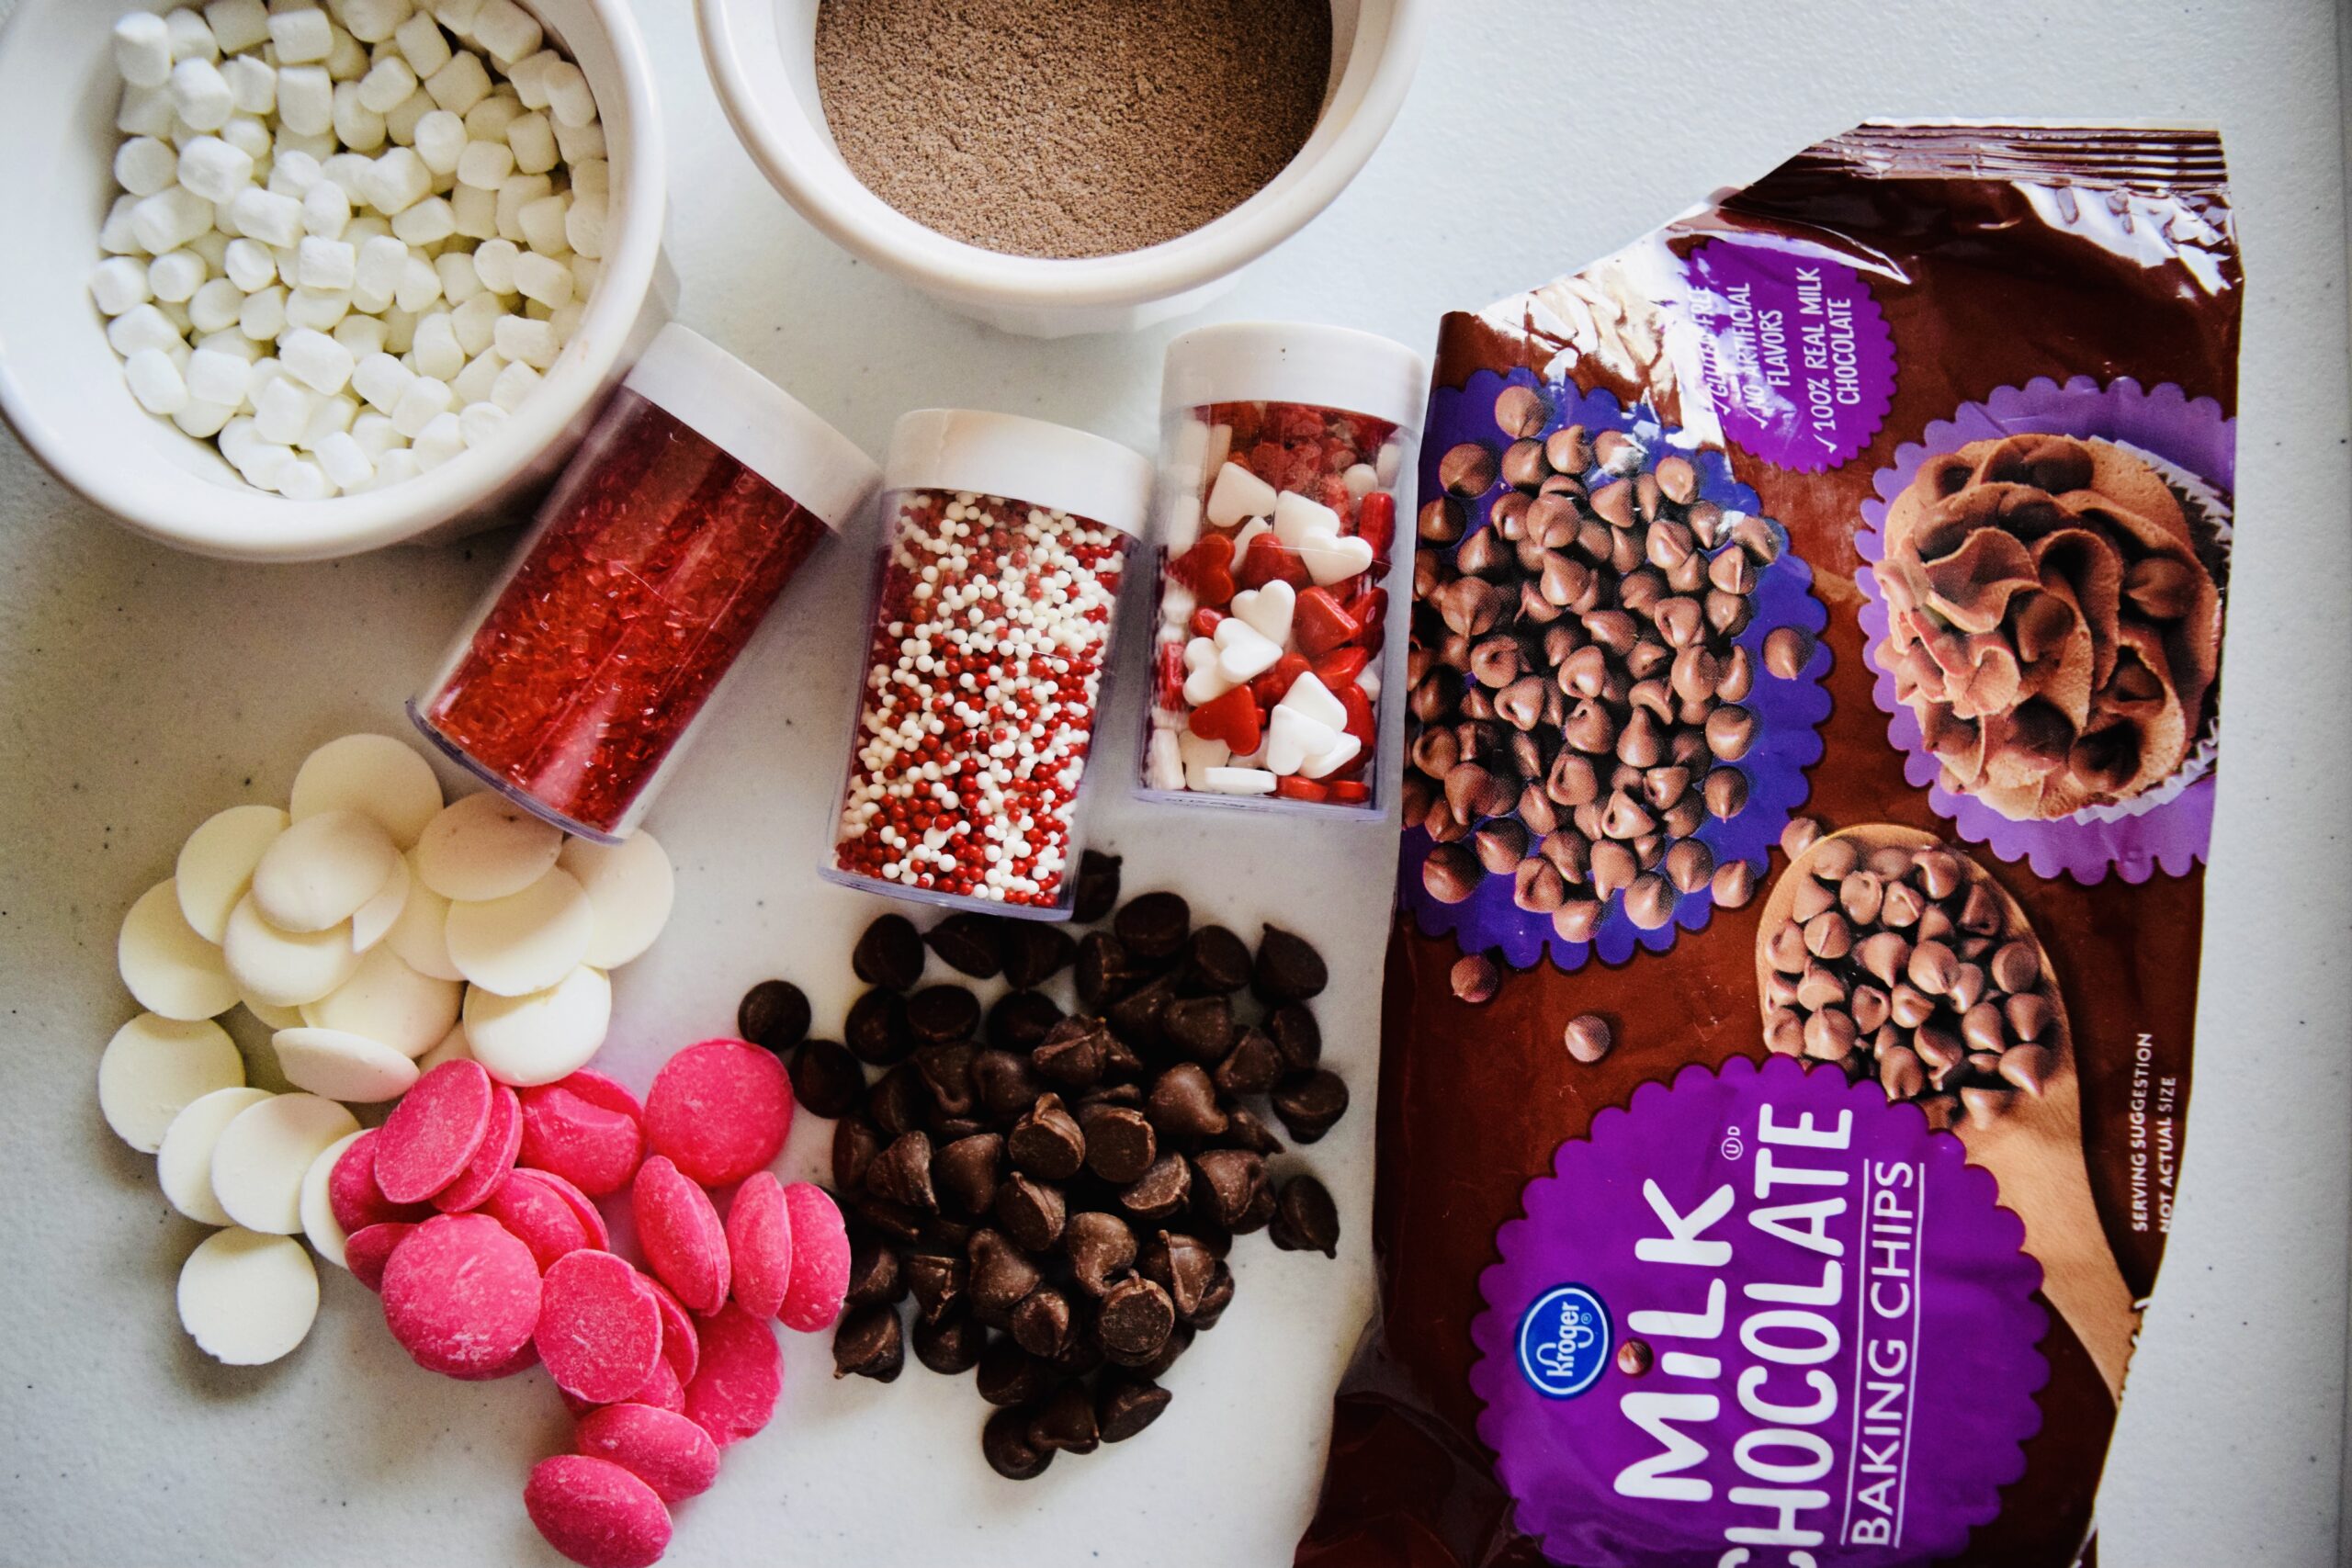
Hot Chocolate Bomb Ingredients
- 1 ½ Cups Chocolate Chips or Chocolate Melting Wafers
- ½ Cup Each White & Pink Melting Wafers (you can use white chocolate chips for the white drizzle if you prefer)
- Hot Chocolate Mix (approximately a tablespoon per bomb)
- Mini Marshmallows
- Valentine’s Day Sprinkles (or sprinkles of your choice)
Hot Chocolate Bomb Tools
- Silicone molds.
- Glass bowl
- Microwave
- Piping bag (optional)
How to Make DIY Hot Chocolate Bombs
DIY chocolate bombs are not only easy to make but they also have the WOW factor too! Here’s how to make yours…
Step 1
Gather your tools and ingredients
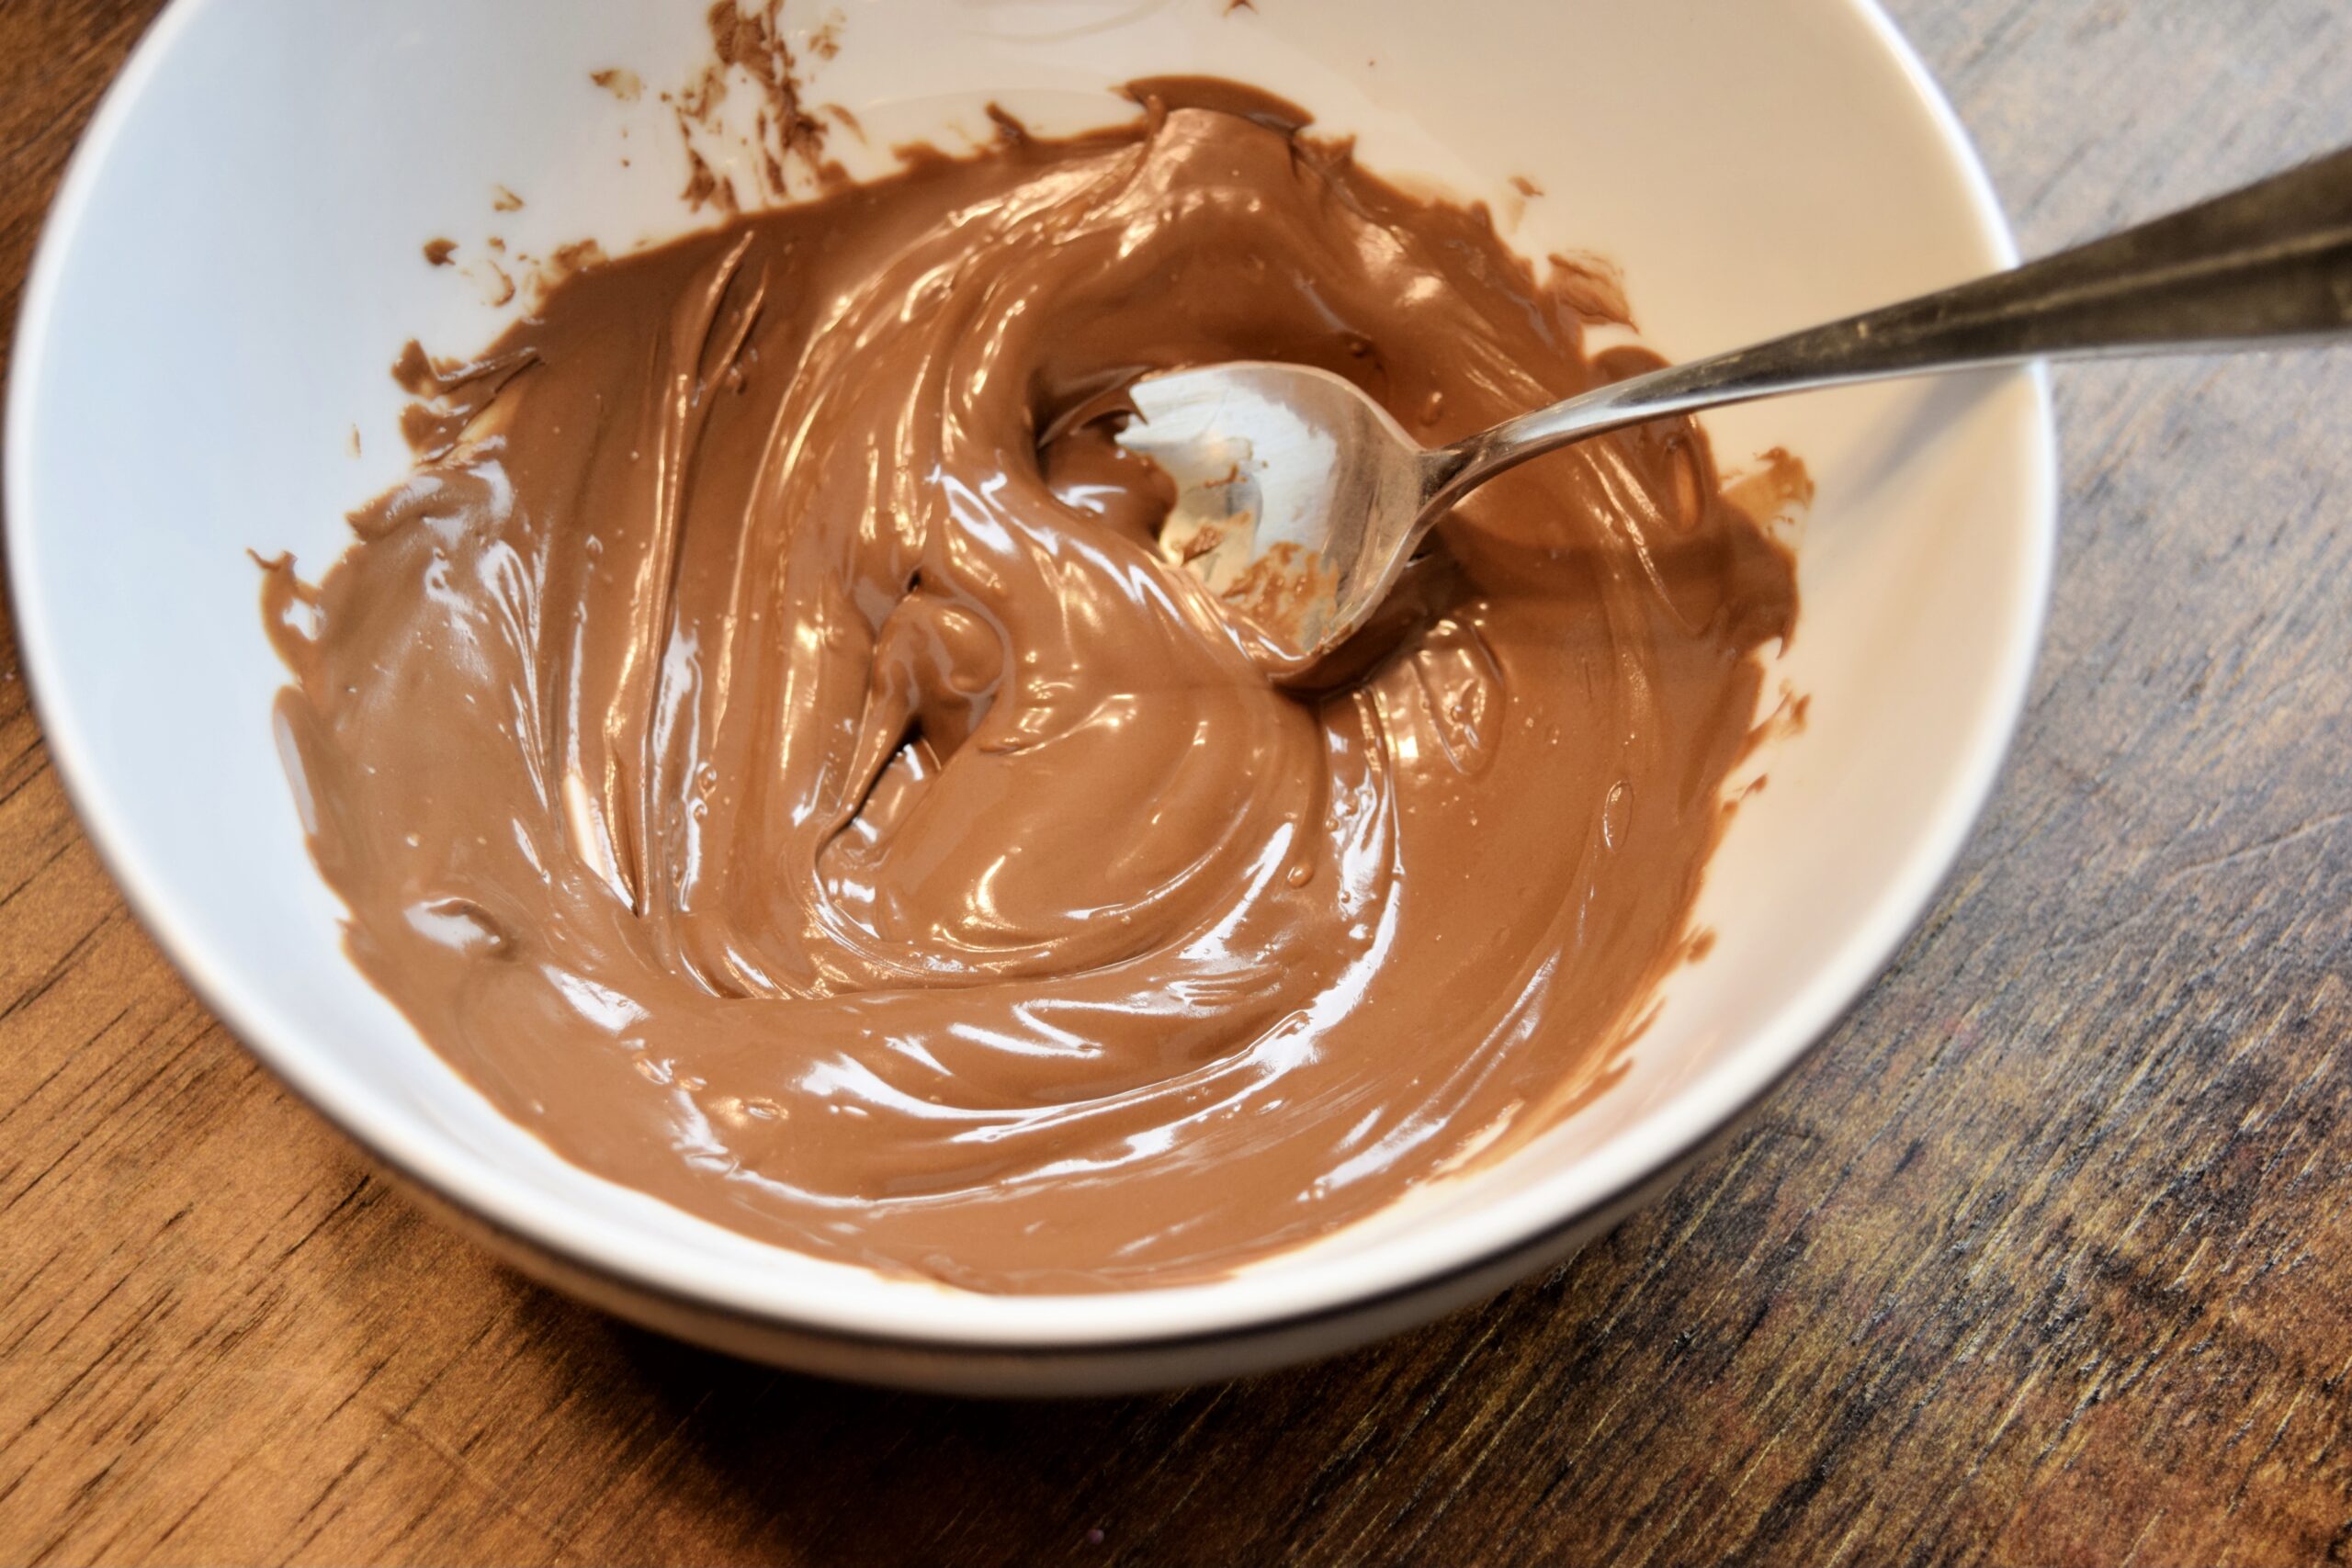
Step 2
Place your chocolate chips or wafers into a microwave-safe bowl and heat in the microwave in 30-second increments until your chocolate is melted and smooth. Sometimes chocolate can hold its shape even when melted so be sure to keep checking by stirring with a spoon.
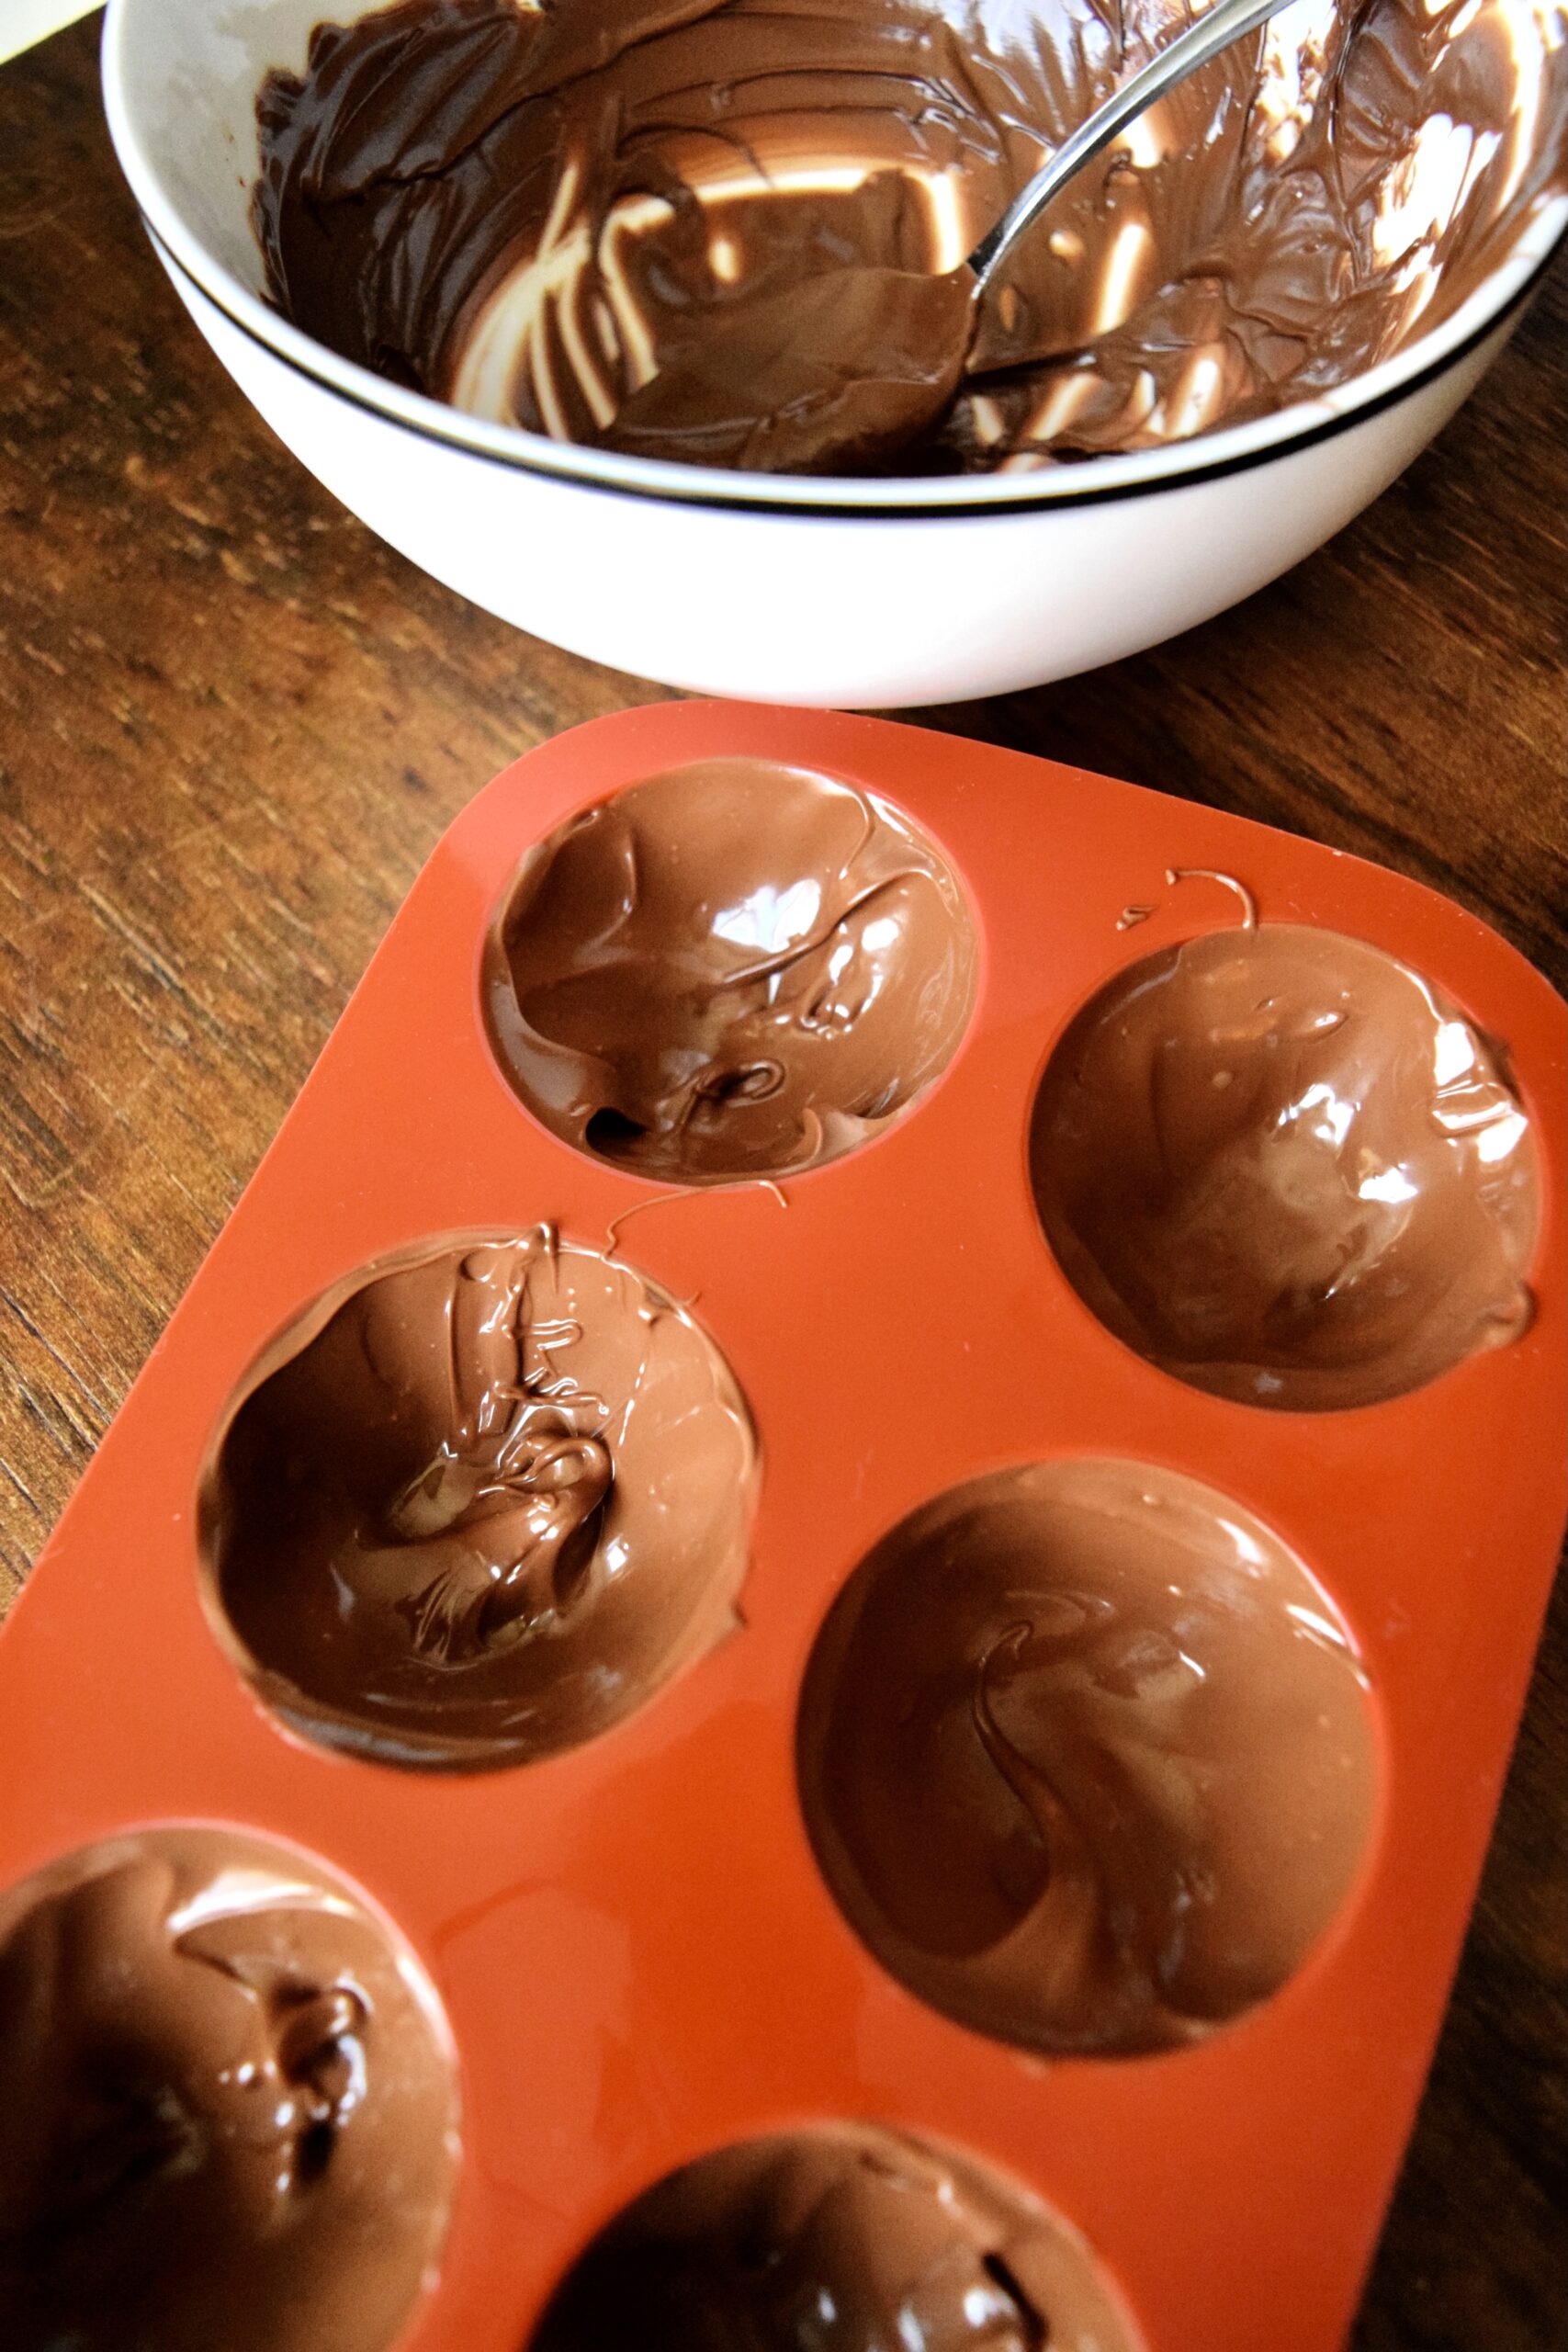
Step 3
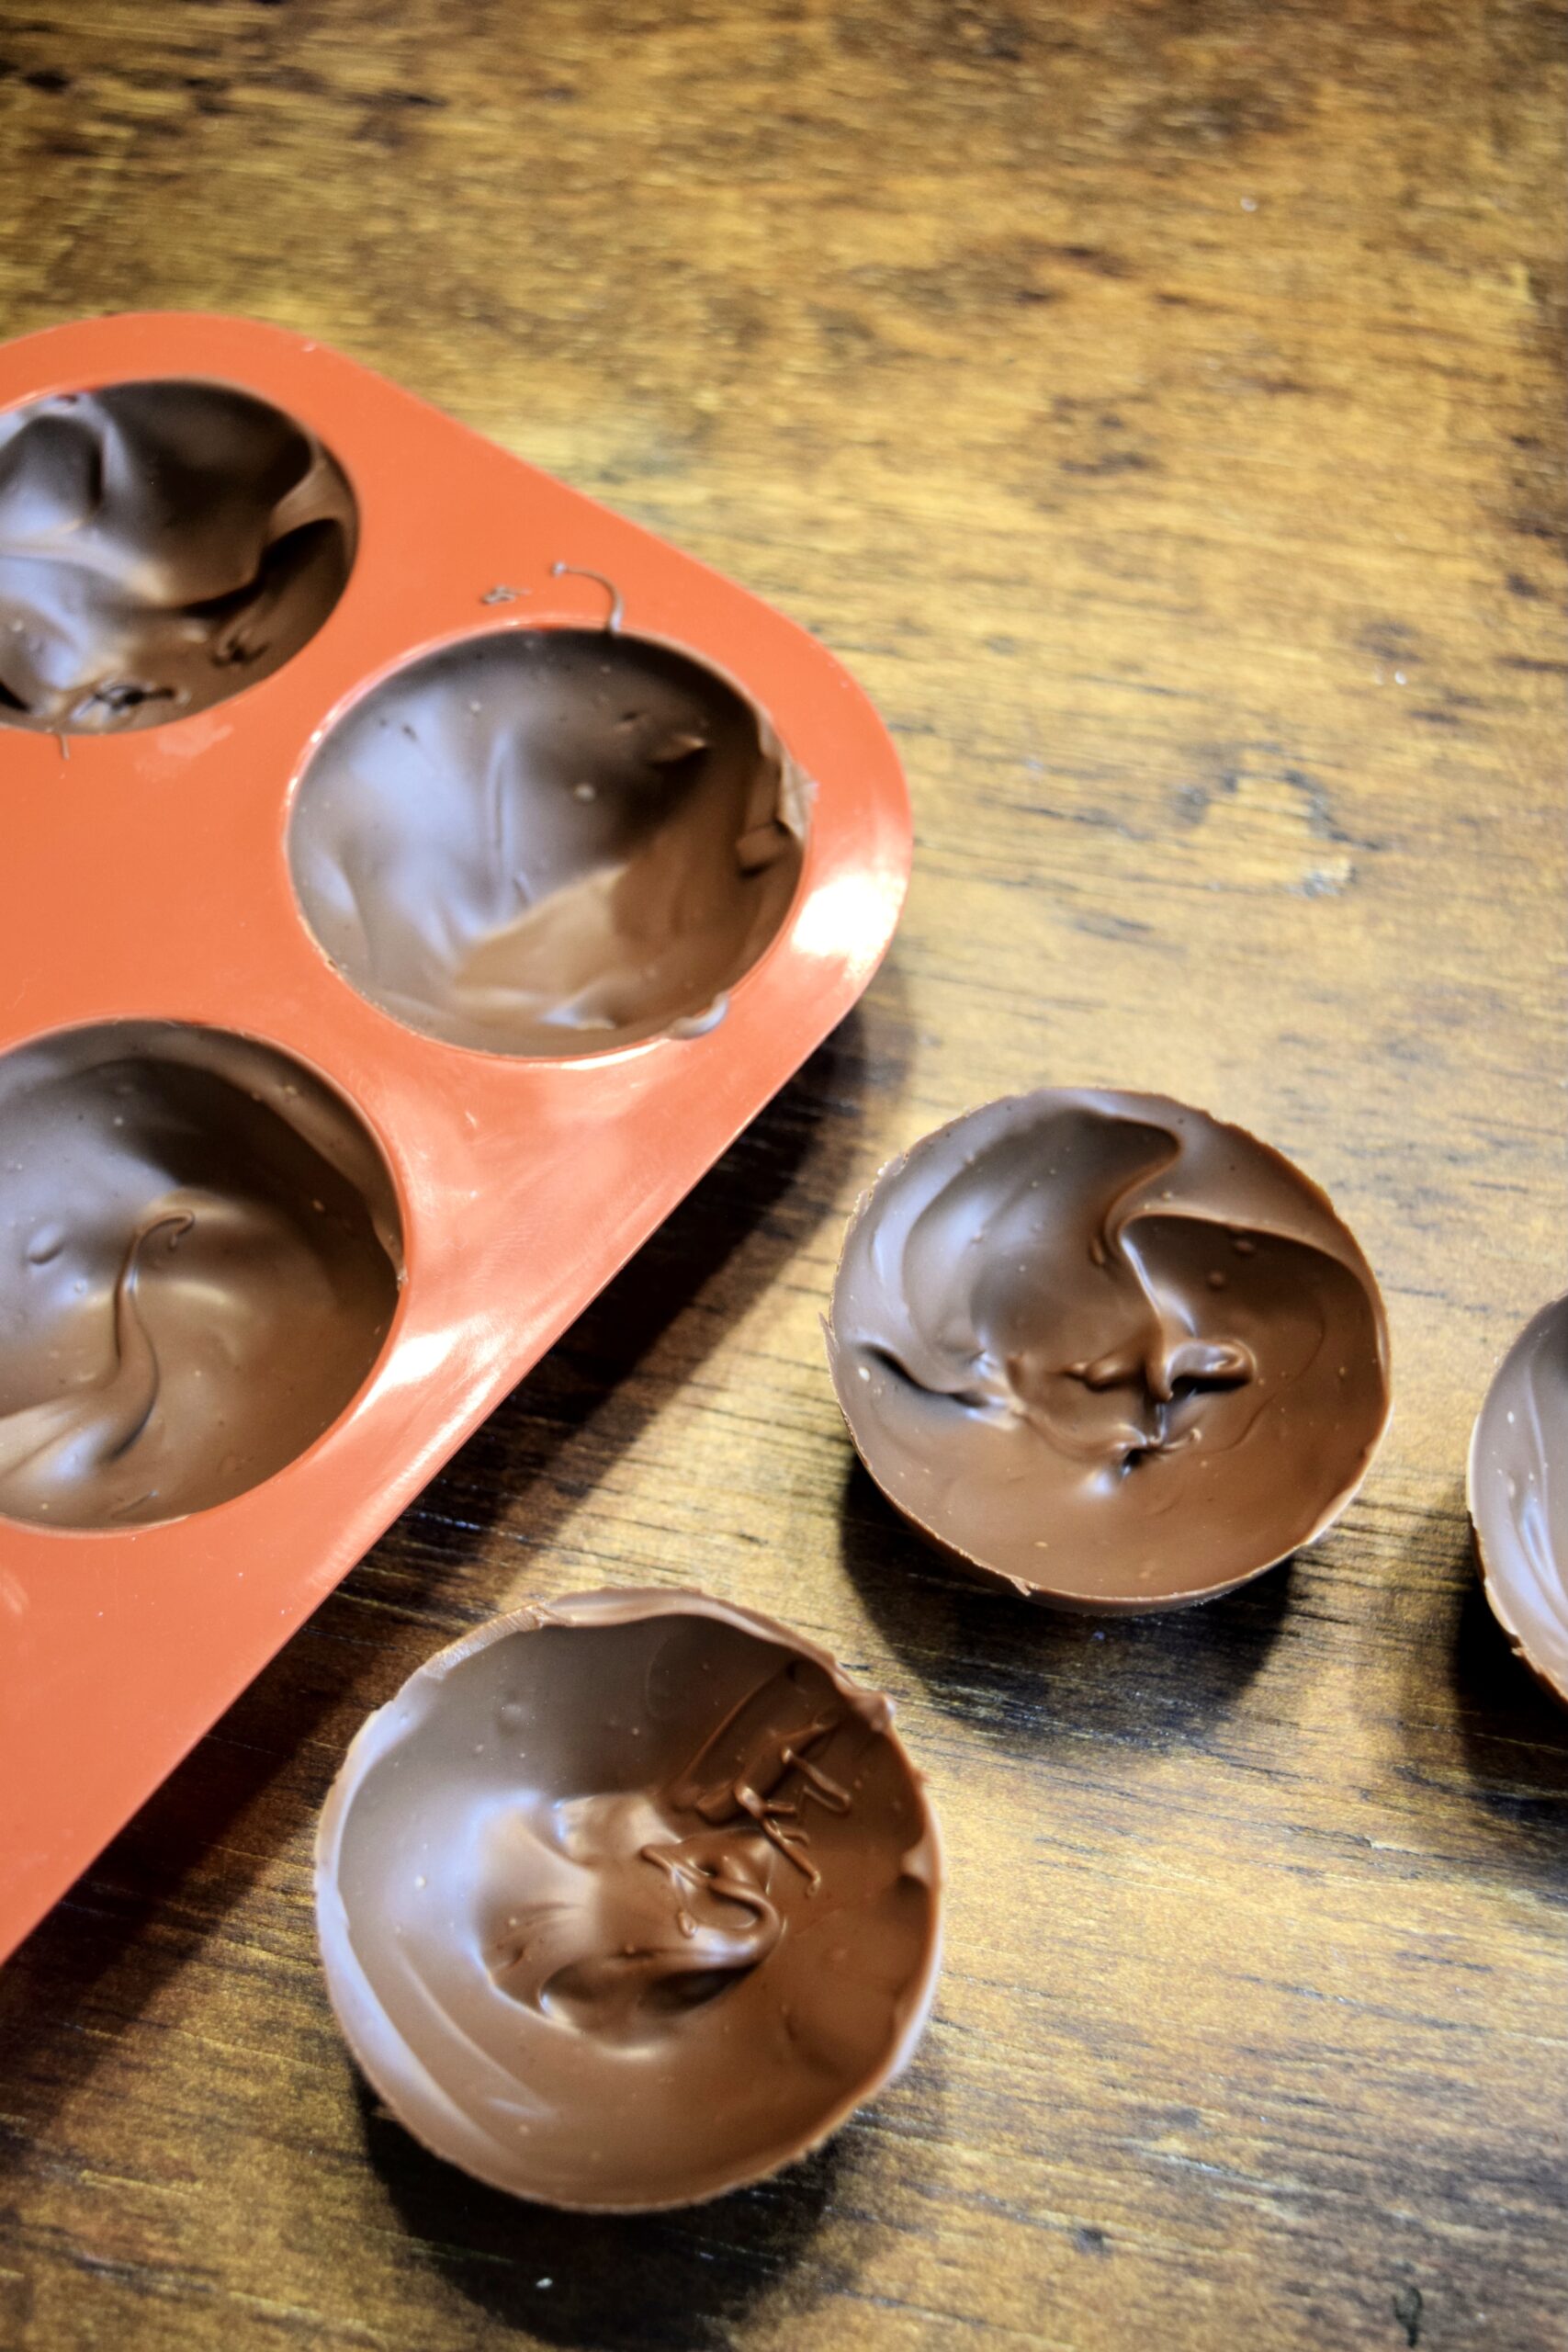
Once your chocolate has fully melted, coat your silicone molds, making sure that the sides and bottom are well coated.
Step 4
Place the chocolate-coated molds into the fridge for approximately 30 minutes to an hour to fully set. Once set, pop them gently out of the molds.
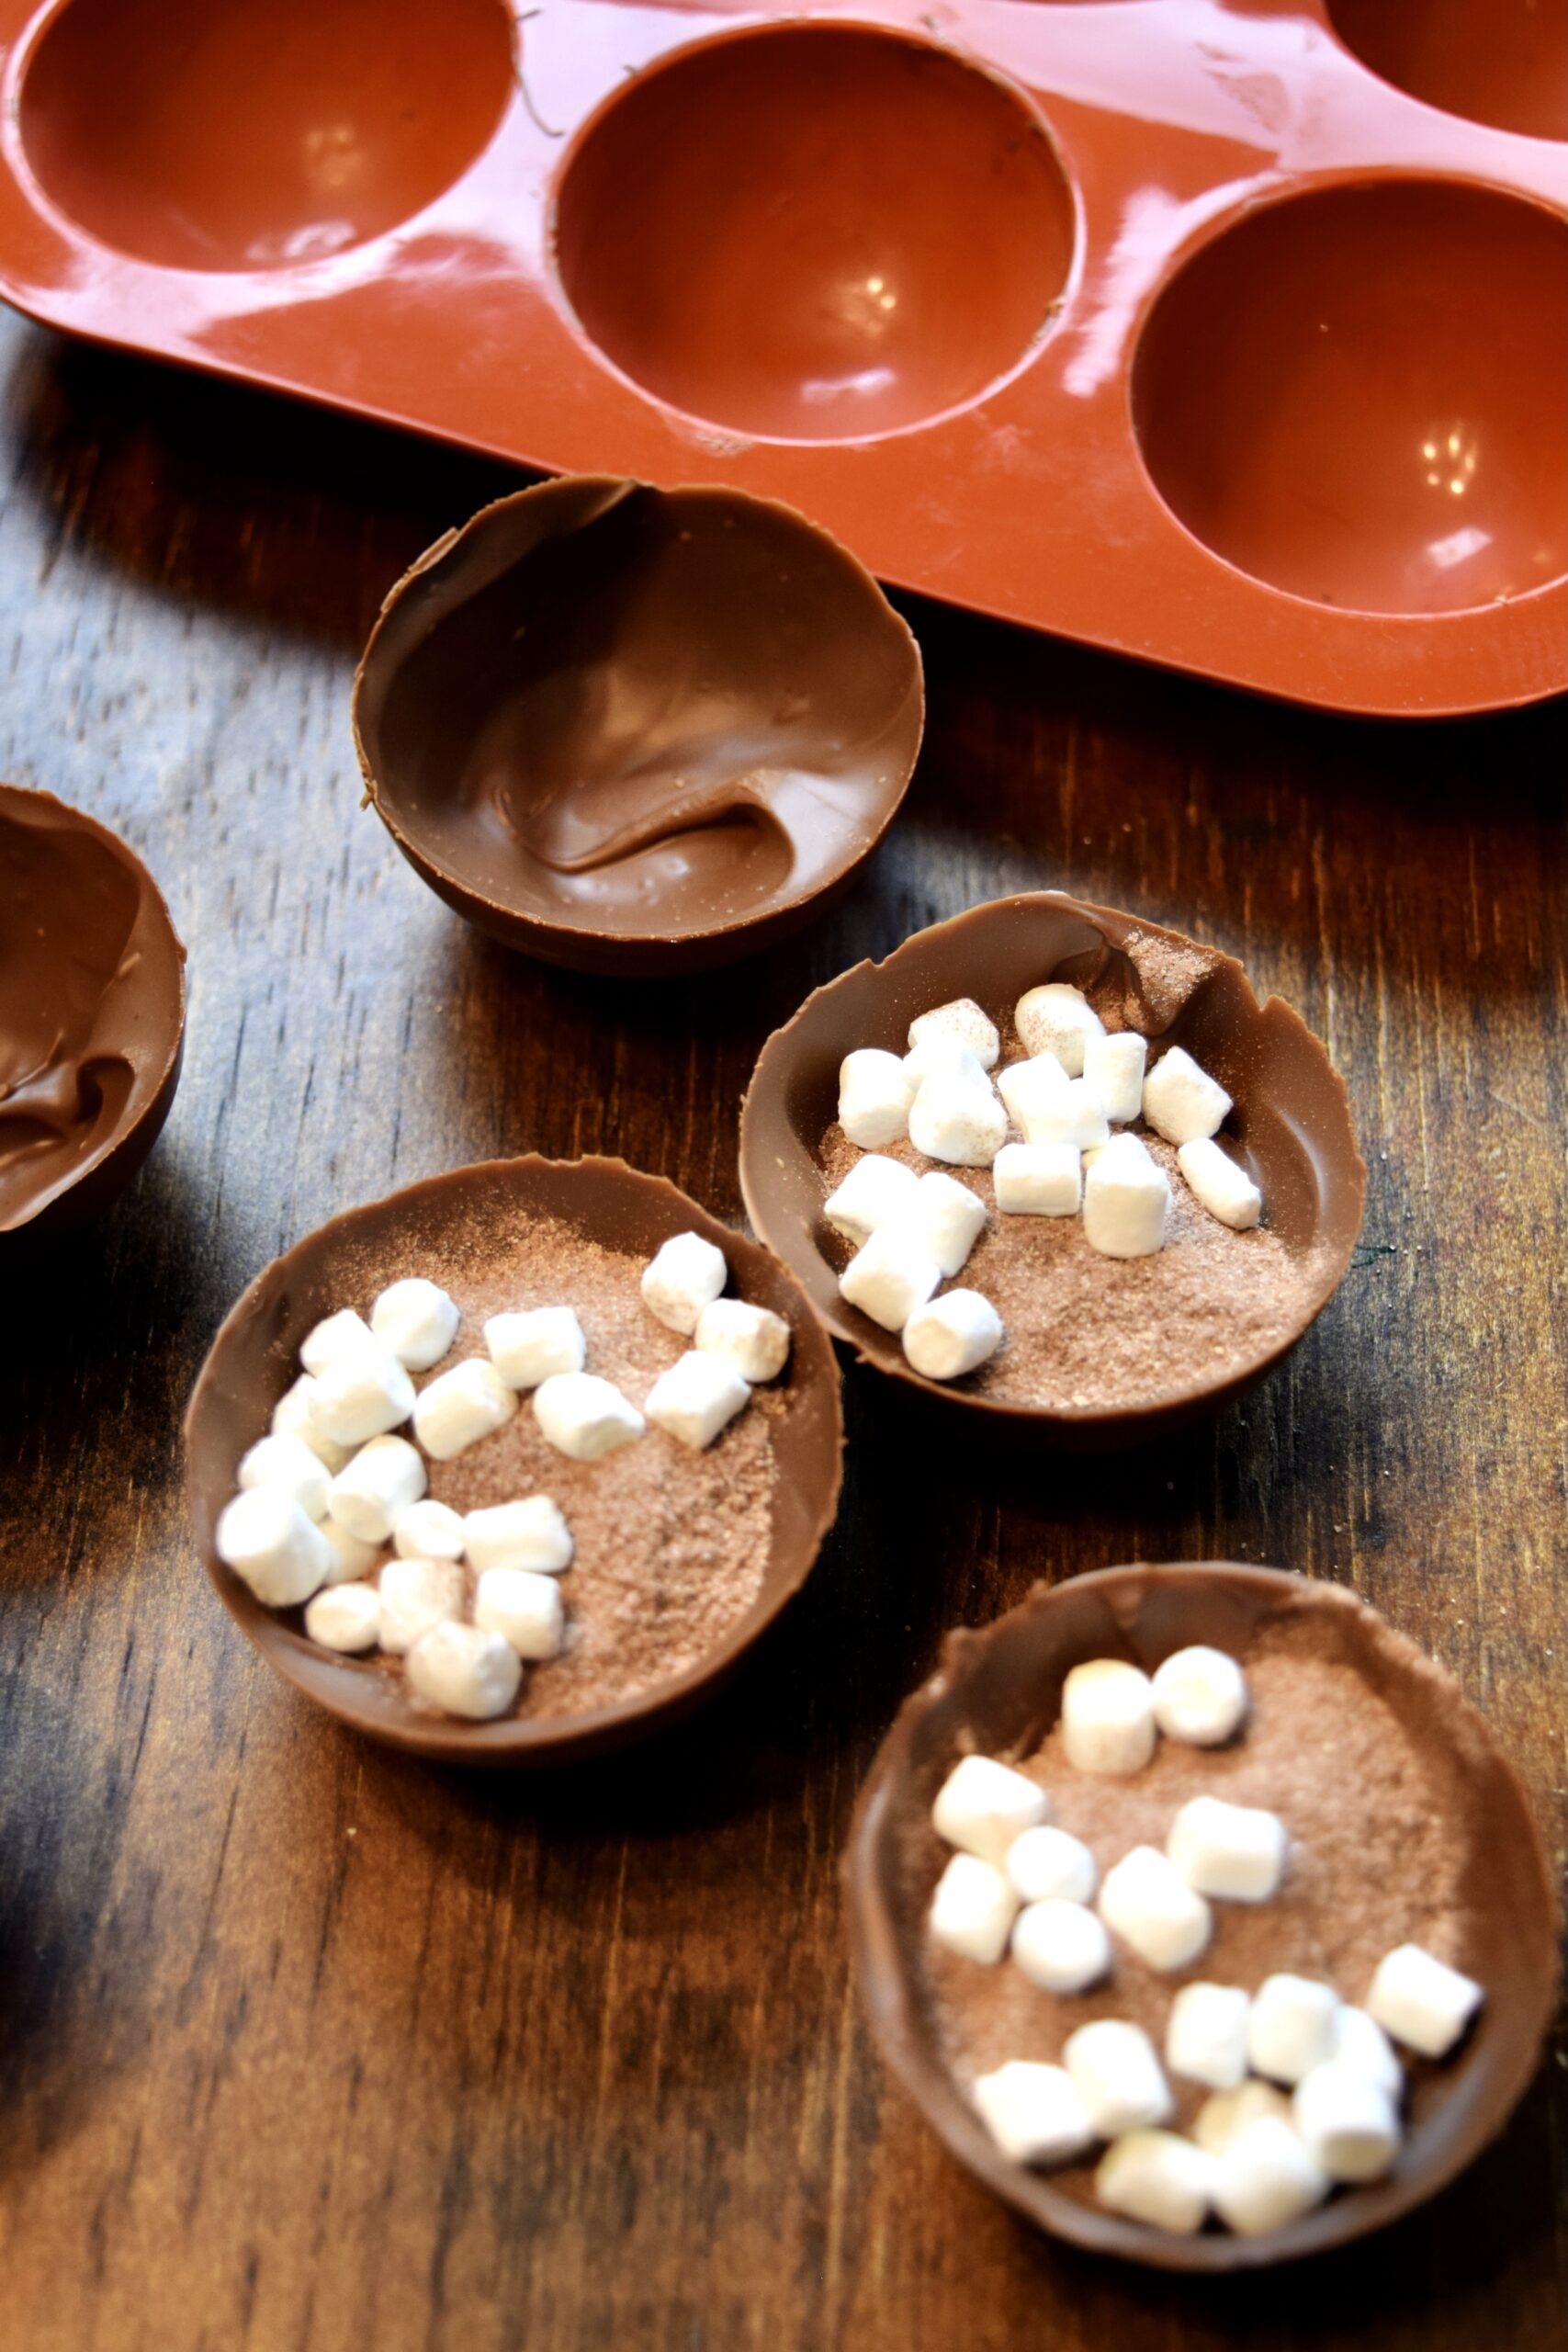
Step 5
Fill half of your chocolate shells with enough hot chocolate powder for one hot chocolate (refer to your packaging recommendations) and top with mini marshmallows.
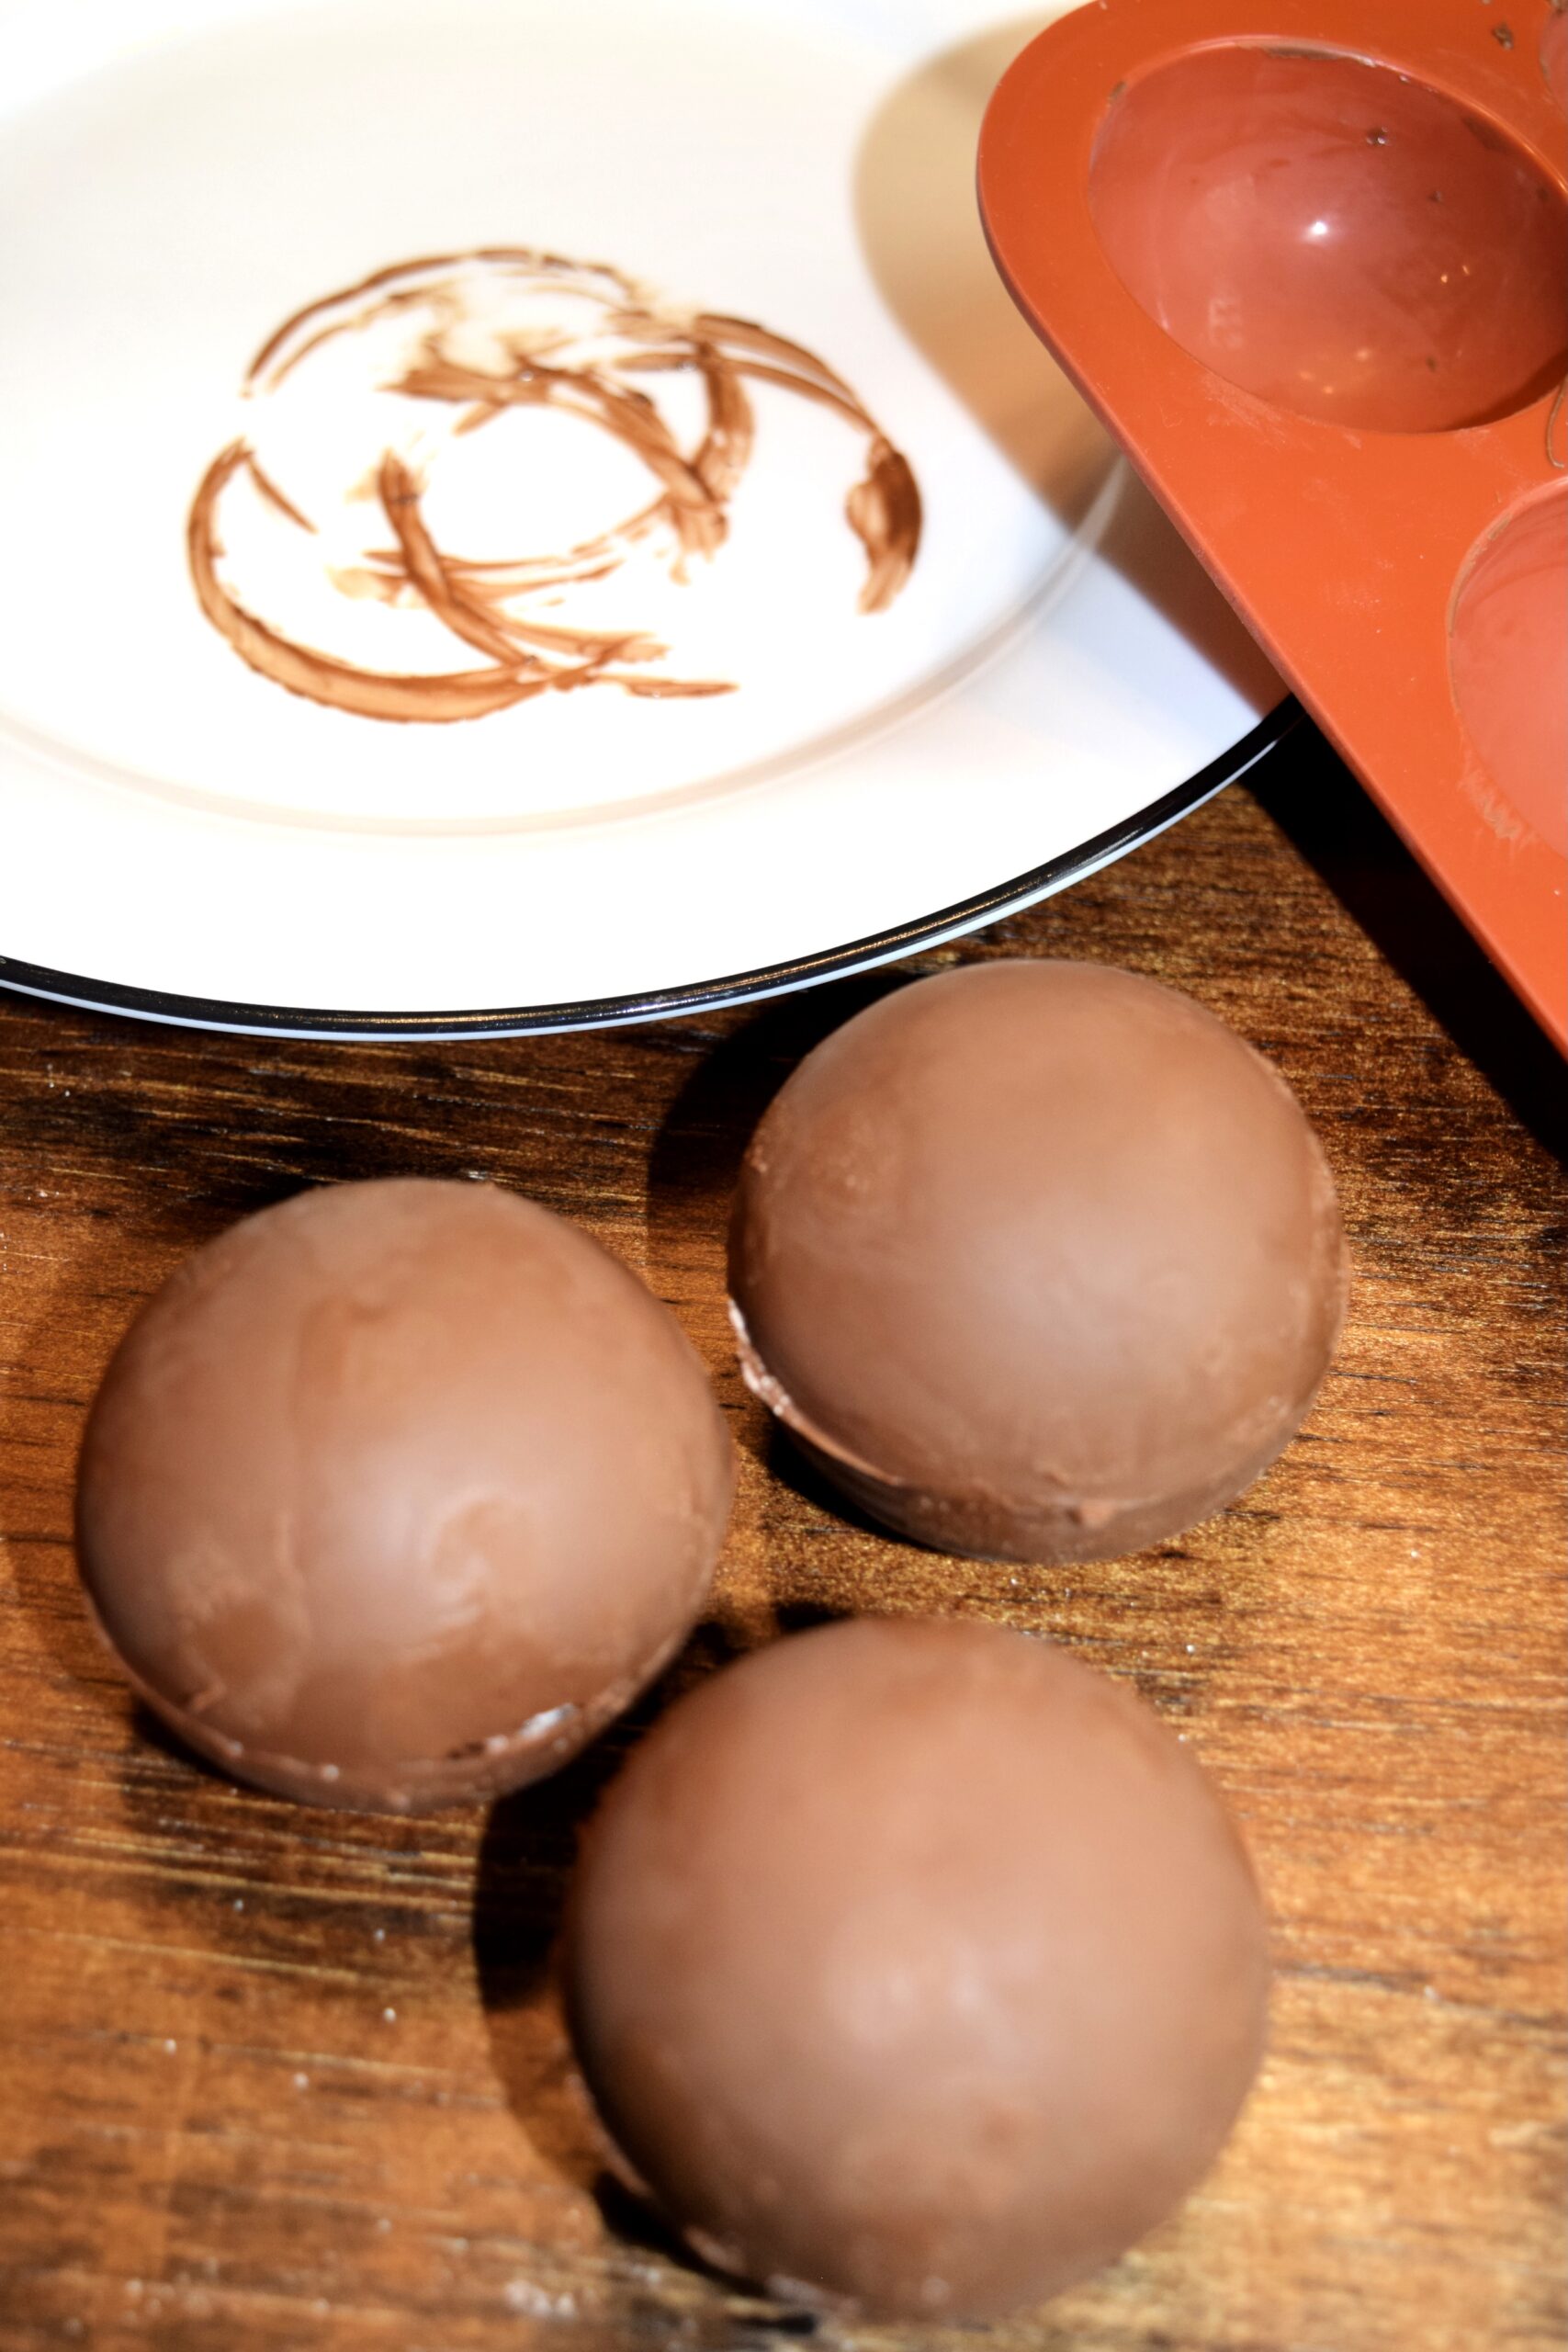
Step 6
To seal two halves of the chocolate bomb together, start by heating a plate in the microwave (or a pan on the stove) and gently place the rim of an empty half onto the heated surface to allow it to melt slightly. This should only take a few seconds. Once slightly melted place quickly onto the rim of a filled half and allow the chocolate to set.
Step 7
Melt the white chocolate wafers in the microwave as you did for the chocolate in step 2 and use a piping bag (or simply a spoon filled with melted chocolate) to drizzle onto the bomb. Allow to set and then repeat for the pink.
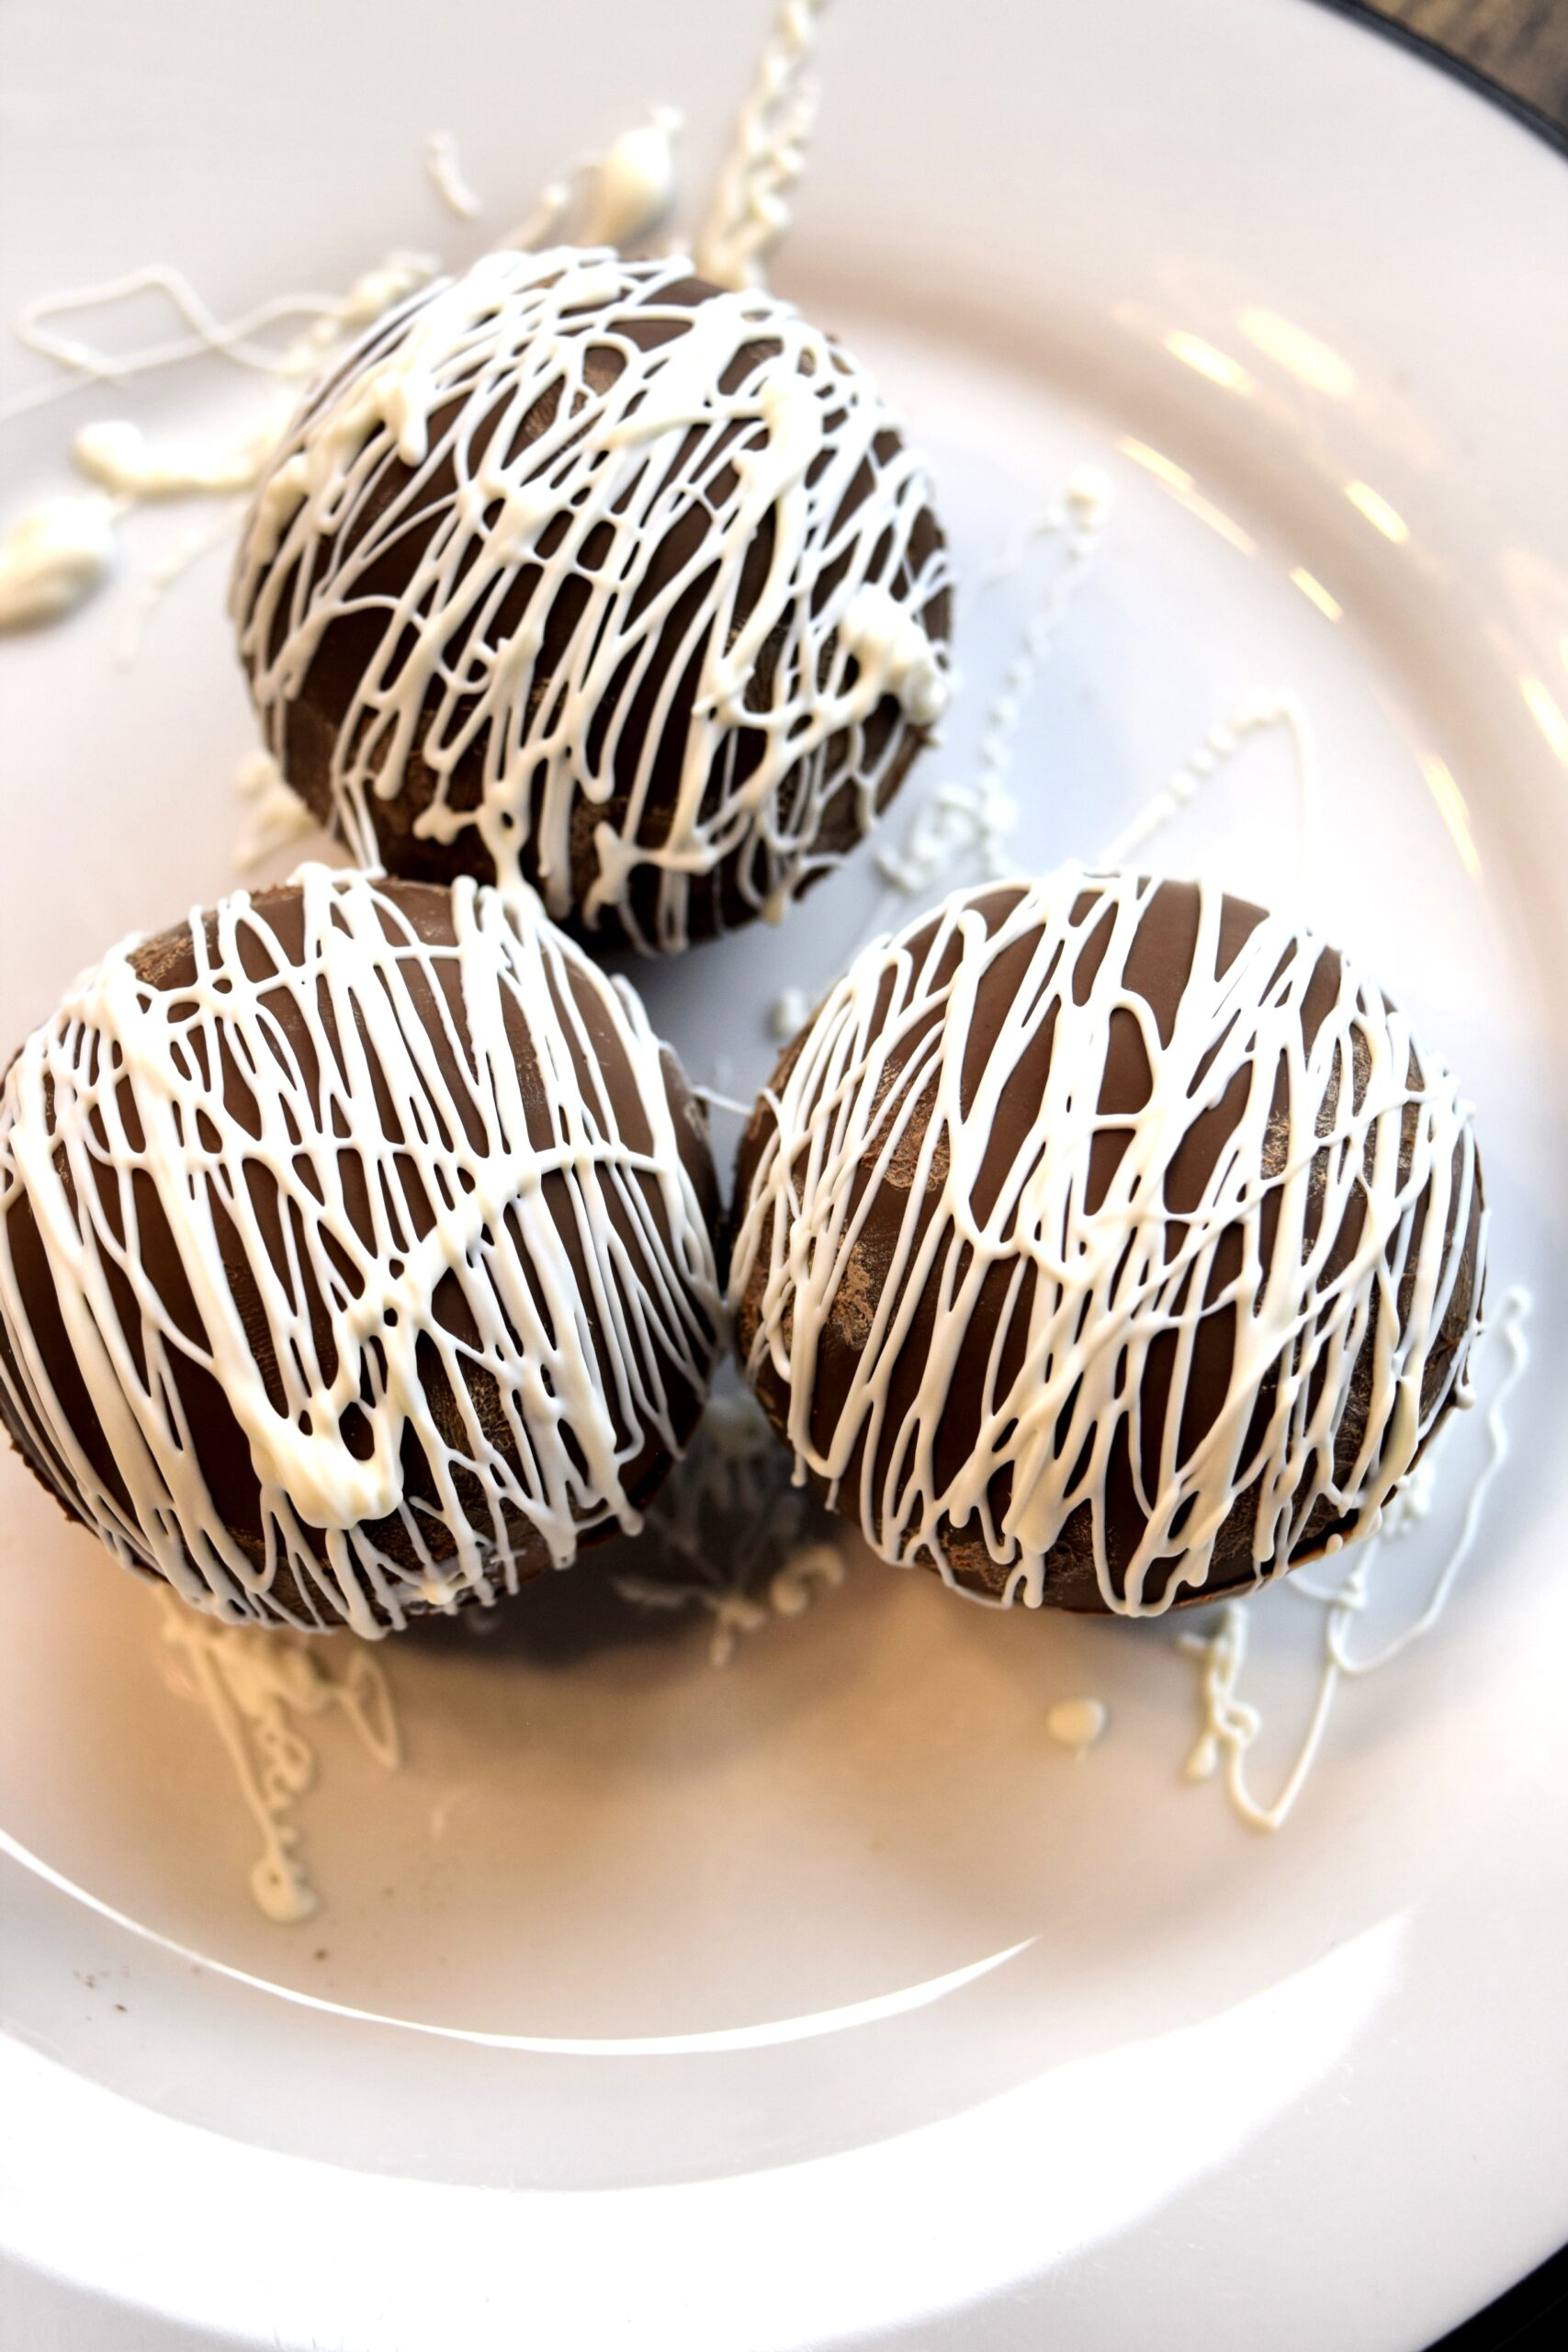
Step 8
Before the final drizzle sets apply your sprinkles and allow them to set once again.
Step 9
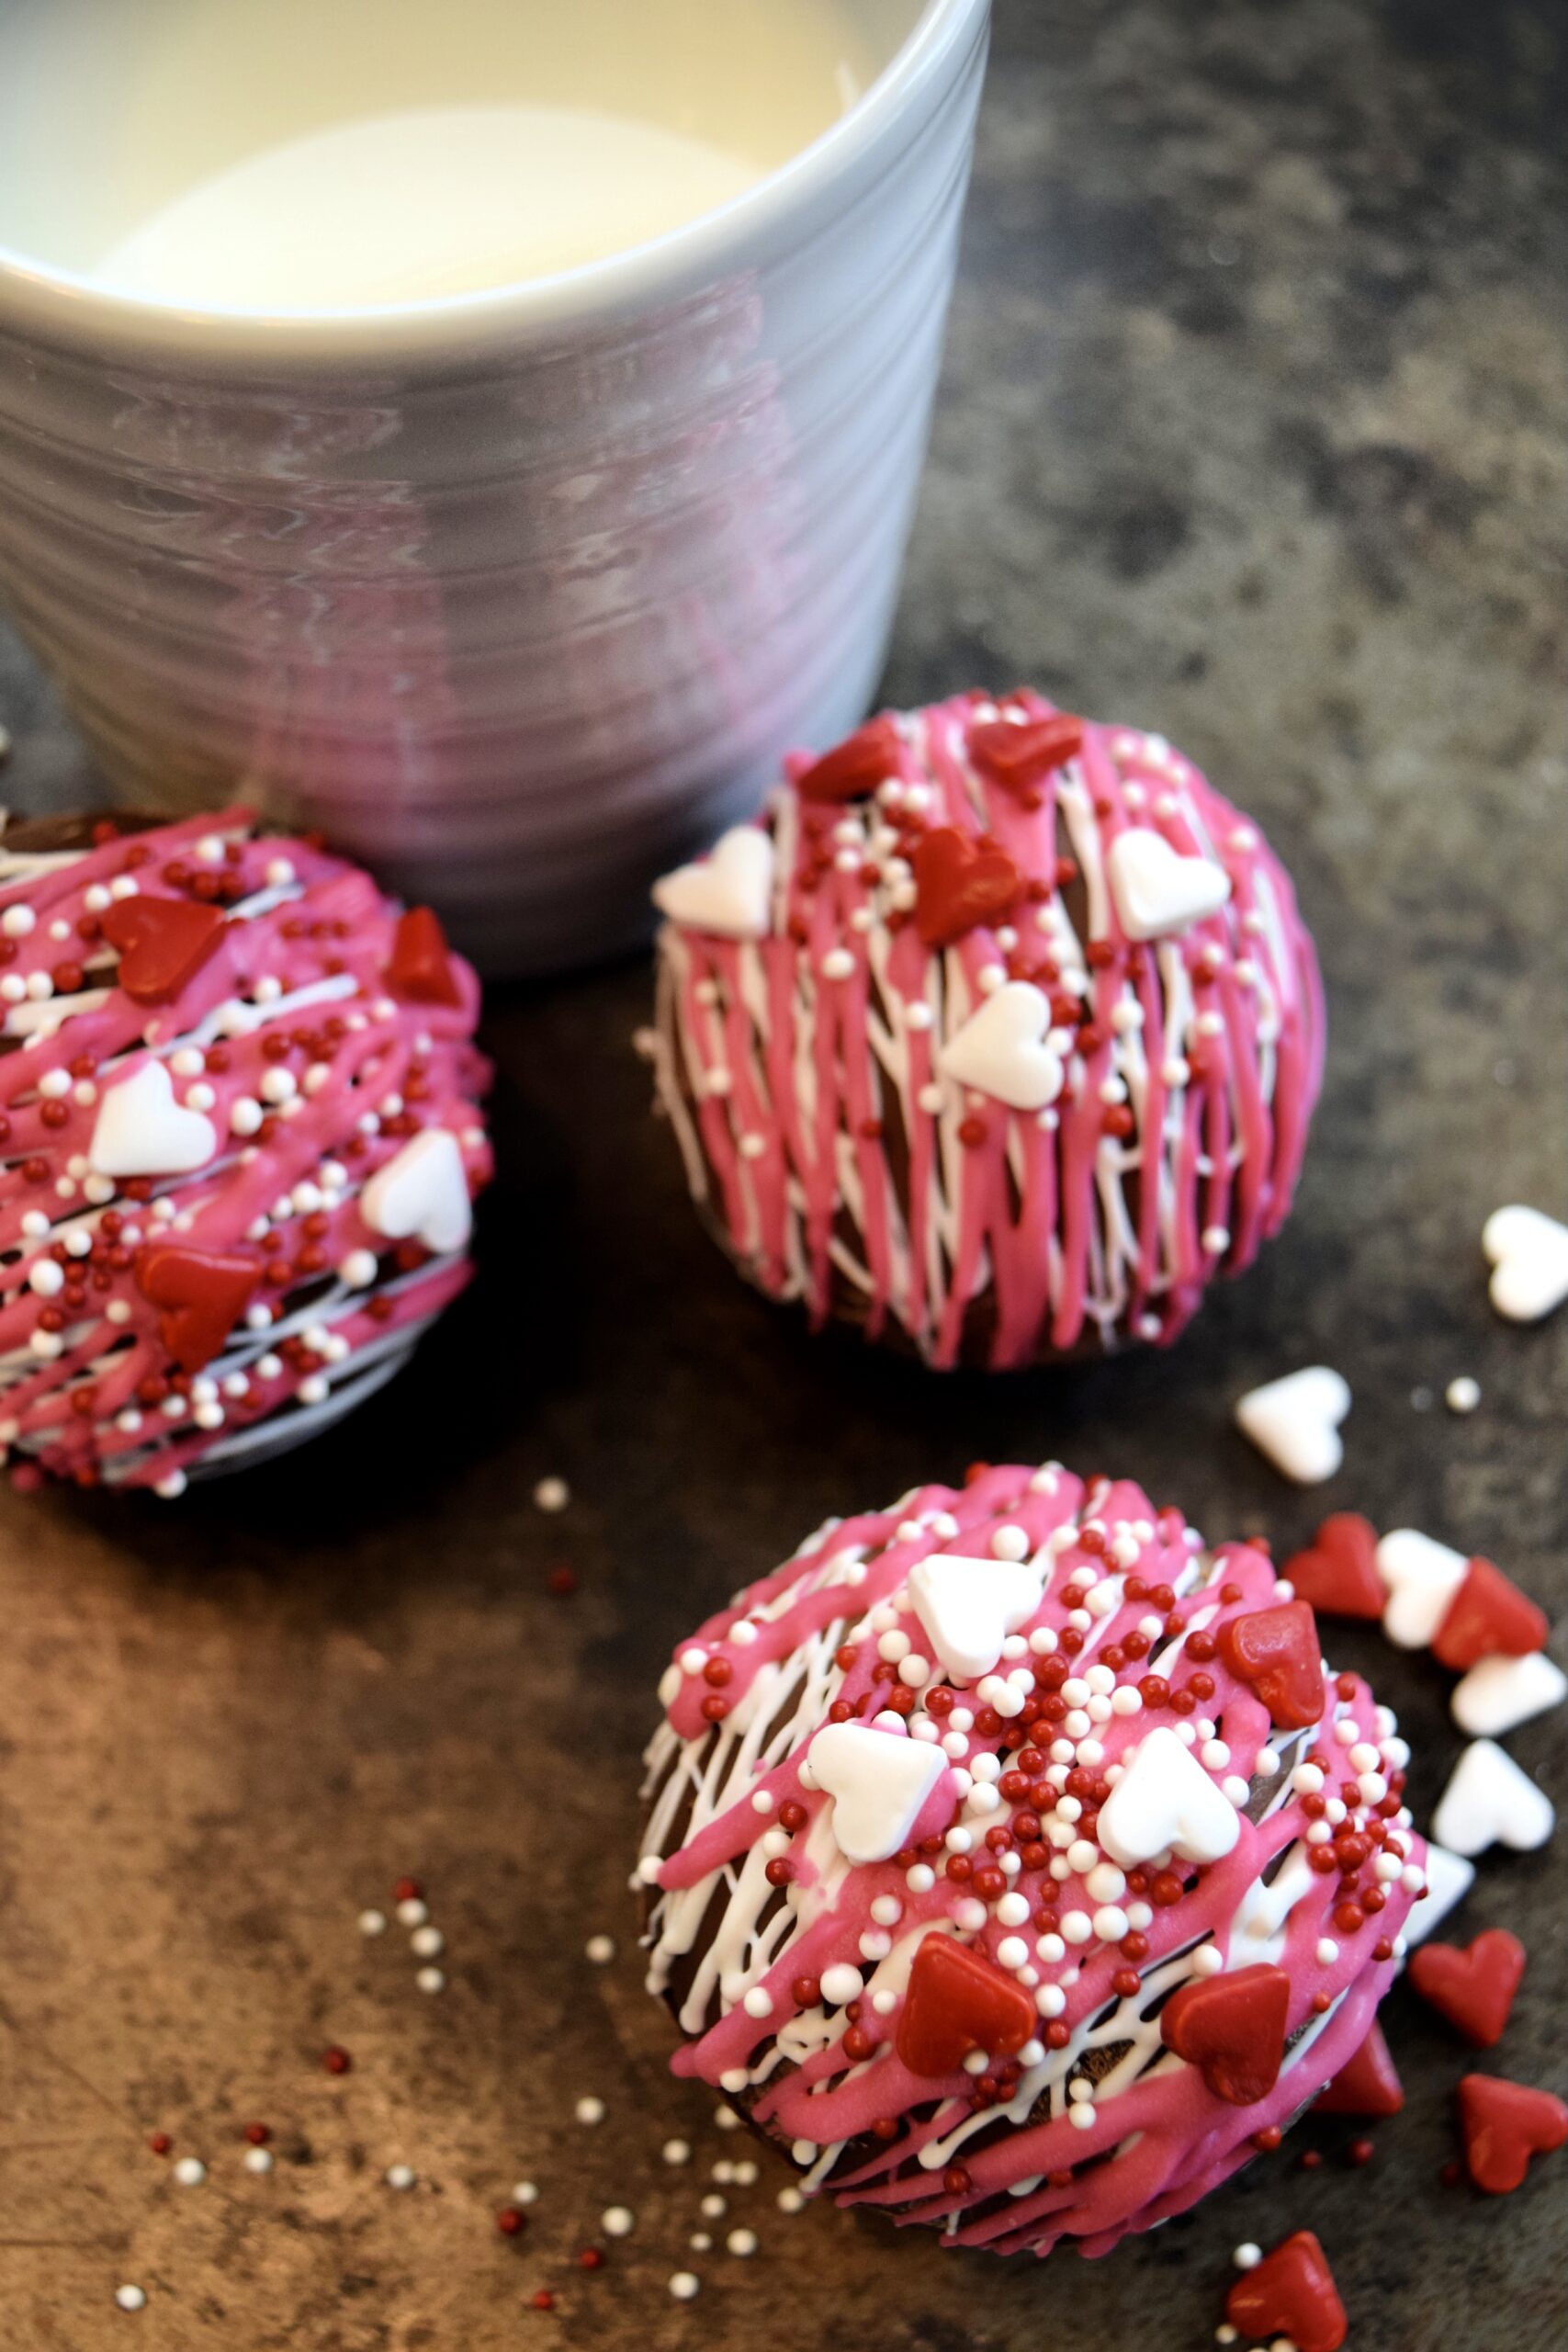
To make delicious hot chocolate add 1 hot chocolate bomb to a mug and pour 8-10 ounces of milk over the top. Stir until melted and enjoy!
Easy DIY Hot Chocolate Bombs
Indulge yourself with these delicious DIY hot chocolate bombs made with mini marshmallows!
Ingredients
- 1 ½ Cups Chocolate Chips or Chocolate Melting Wafers
- ½ Cup Each White & Pink Melting Wafers (you can use white chocolate chips for the white drizzle if you prefer)
- Hot Chocolate Mix (approximately a tablespoon per bomb)
- Mini Marshmallows
- Valentine’s Day Sprinkles (or sprinkles of your choice)
Instructions
- Gather your tools and ingredients

- Place your chocolate chips or wafers into a microwave-safe bowl and heat in the microwave in 30-second increments until your chocolate is melted and smooth. Sometimes chocolate can hold its shape even when melted so be sure to keep checking by stirring with a spoon.
- Once your chocolate has fully melted, coat your silicone molds, making sure that all of the sides and bottom are well coated.

- Place the chocolate-coated molds into the fridge for approximately 30 minutes to an hour to fully set. Once set, pop them gently out of the molds.
- Fill half of your chocolate shells with enough hot chocolate powder for one hot chocolate (refer to your packaging recommendations) and top with mini marshmallows.
- To seal two halves of the chocolate bomb together, start by heating a plate in the microwave (or a pan on the stove) and gently place the rim of an empty half onto the heated surface to allow it to melt slightly. This should only take a few seconds. Once slightly melted place onto the rim of a filled half and allow the chocolate to set.
- Melt the white chocolate wafers in the microwave as you did for the chocolate in step 2 and use a piping bag (or simply a spoon filled with melted chocolate) to drizzle onto the bomb. Allow to set and then repeat for the pink.
- Before the final drizzle sets apply your sprinkles and allow them to set once again.

- To make the hot chocolate add 1 hot chocolate bomb to a mug and pour 8-10 ounces of milk over the top. Stir until melted and enjoy!
