This easy slime recipe is a foolproof slime recipe I have found for making slime with my kids… and let me tell you… we have made a lot of slimes over the past year!
When you first venture into making slime, you can quickly realize that an easy slime recipe is not so easy to come by & sometimes even finding the right slime ingredients is a nightmare.
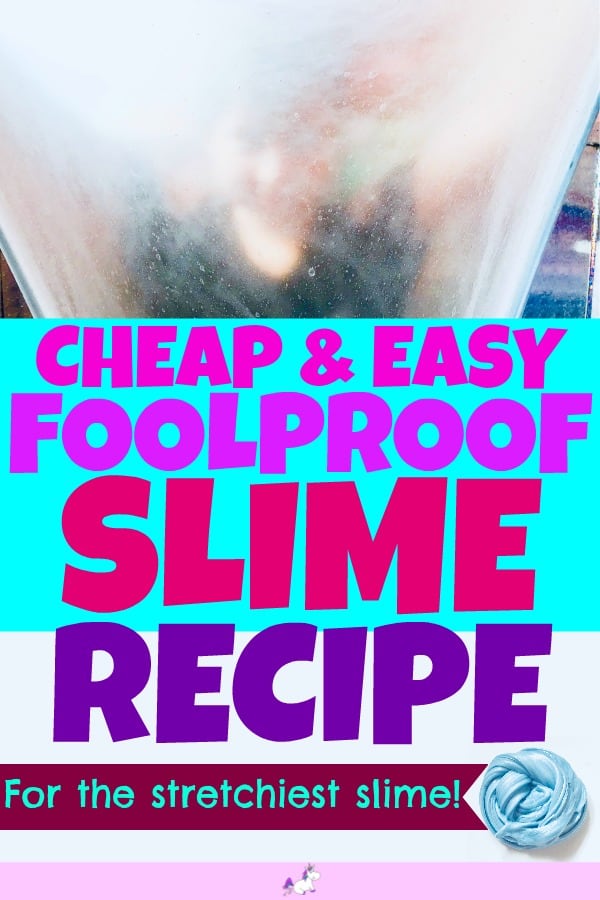
Haven’t got time to read this now? You can Click here to pin it for later
Our Latest Slime Video
Click Here To Check Out Our Halloween Slime Jars Tutorial
This post may contain affiliate links. See my full disclosure here for more info.
An Easy Slime Recipe For Kids
It’s easy to make mistakes when making slime & often your result just never seems to be the same as the recipes you’re following…. which is really frustrating & can end up being a costly waste of money.
But making slime doesn’t have to be hard, complicated or costly… which is great because kids love making slime right?!
The recipe I have for you below is honestly the best slime recipe we have ever used if you’re not using a pre-made activator solution & turns making slime into a pleasurable mess, rather than a frustrating mess!
It’s also a super easy slime recipe that kids can follow along by themselves.
The Right Slime Ingredients
There are so many slime ingredients to use these days that the whole slime making thing has become really complicated… you really want to make these things as simple as you can especially as this is for kids… so try this easy slime recipe and if it doesn’t work… all you need to do is try a different glue.
The glue you use is what makes and breaks slime.
We have tried this exact recipe with a few different types of glue and one of them failed miserably so it simply must have been that particular glue… I recommend this glue here for foolproof results.
So first things first… you need to gather your ingredients to make slime…
You will need…
- School Glue/PVA Glue… this is the one we used
- Bicarbonate of soda for you Brits out there or Baking soda for everyone else
- Hand moisturizer… any is fine
- Activator… we used this one
Foolproof Slime Instructions
Step 1
Pour approximately 250ml or 1 cup of glue into a bowl.
Step 2
Add approximately half a teaspoon of the baking soda/bicarbonate of soda… you really don’t need to add a lot of this.
All it does is helps you to use less of the activator… too much will end up giving you a slime that rips & tears rather than a stretchy slime… which is the best slime obviously.
Step 3
Add in approximately 2 tablespoons of hand moisturizer… this will help you achieve a super stretchy slime that lasts for ages!
Step 4… Optional
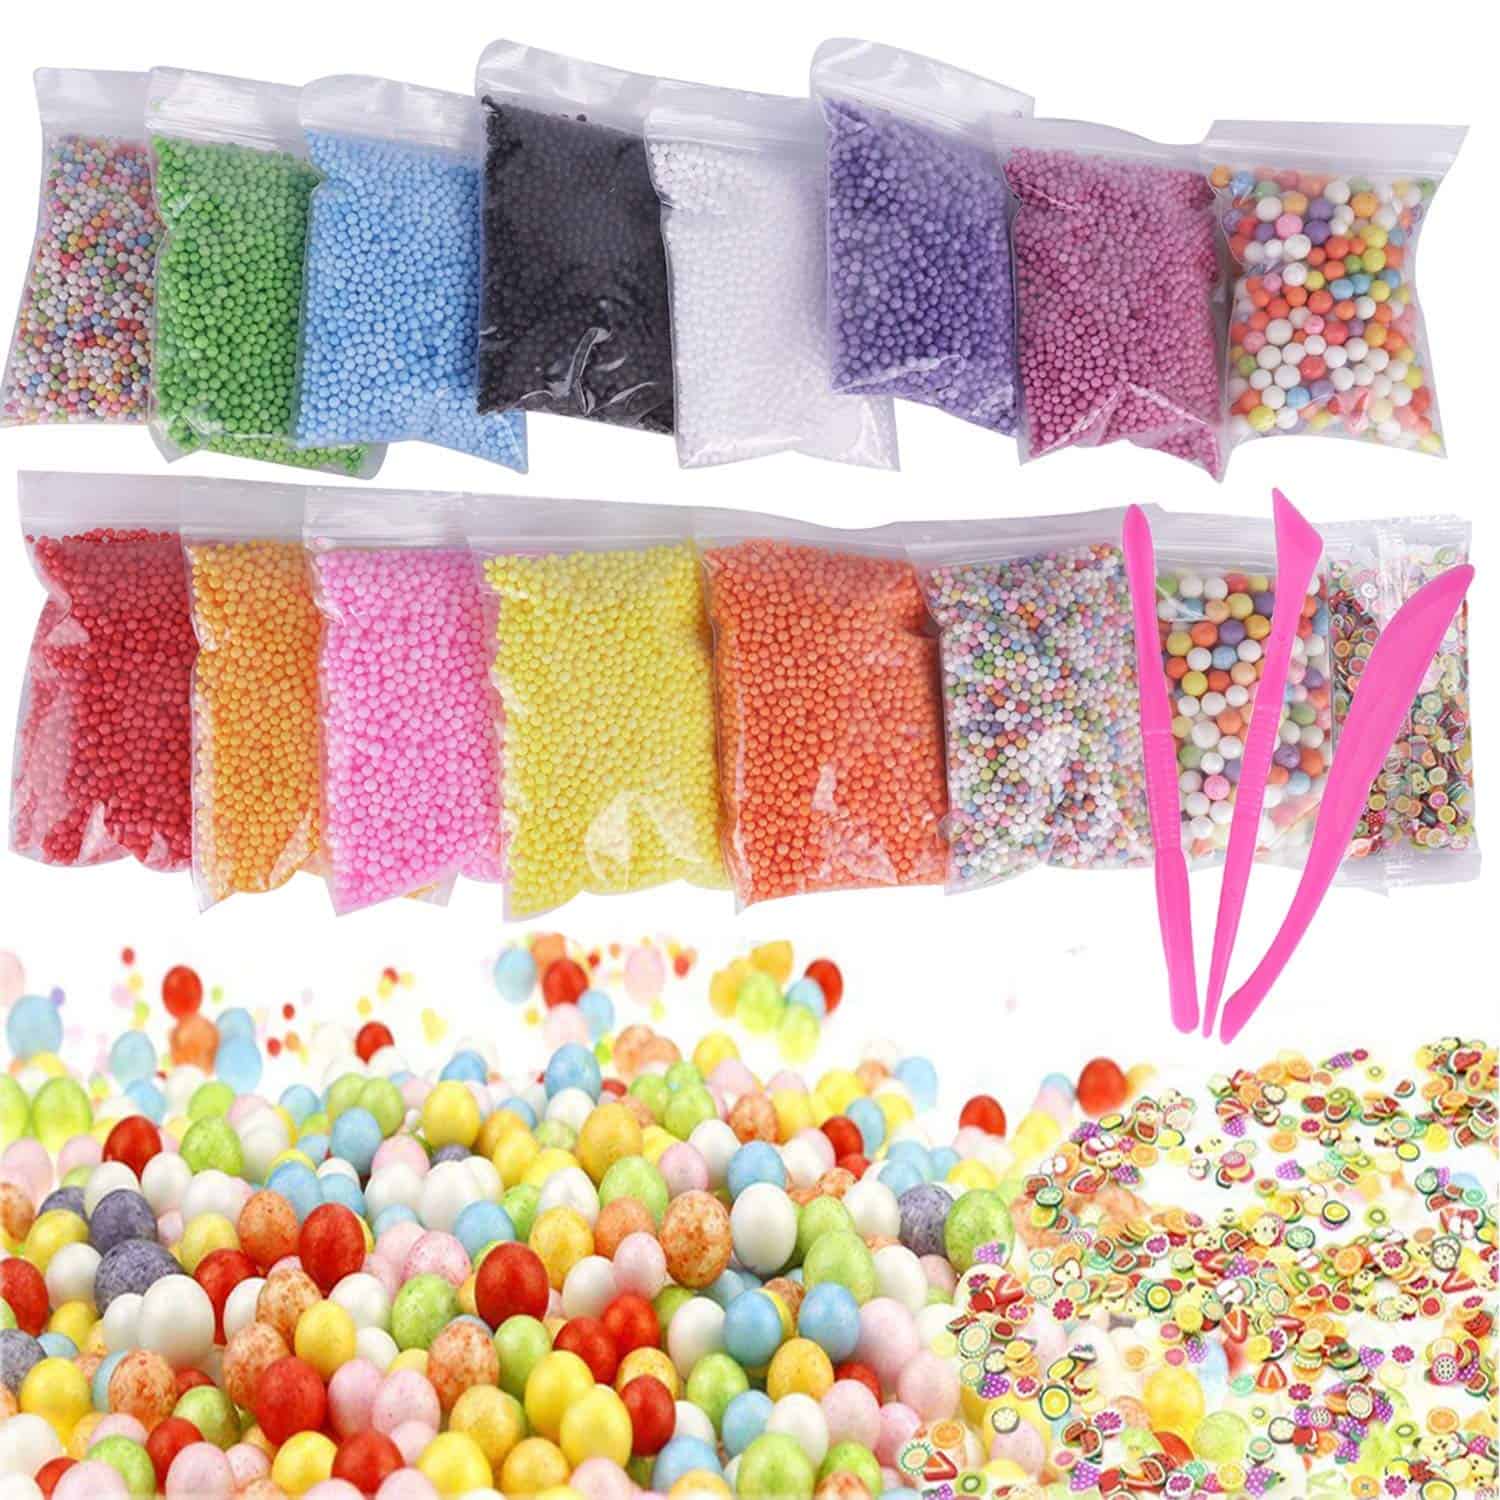
At this point, you can add in a blob of food coloring & glitter… this is totally optional but really this is what makes the slime awesome.
We use this set to jazz up our slimes.
Step 5
Now, all that’s left to do is add your activator… a little bit at a time.
Pro Tip
A little bit goes a long way here but if you find you add too much and your slime is tearable, you can simply add more hand moisturizer to fix it.
Keep adding the activator and mix well between additions.
Eventually, you’ll be able to get your hands in there and begin stretching the slime.
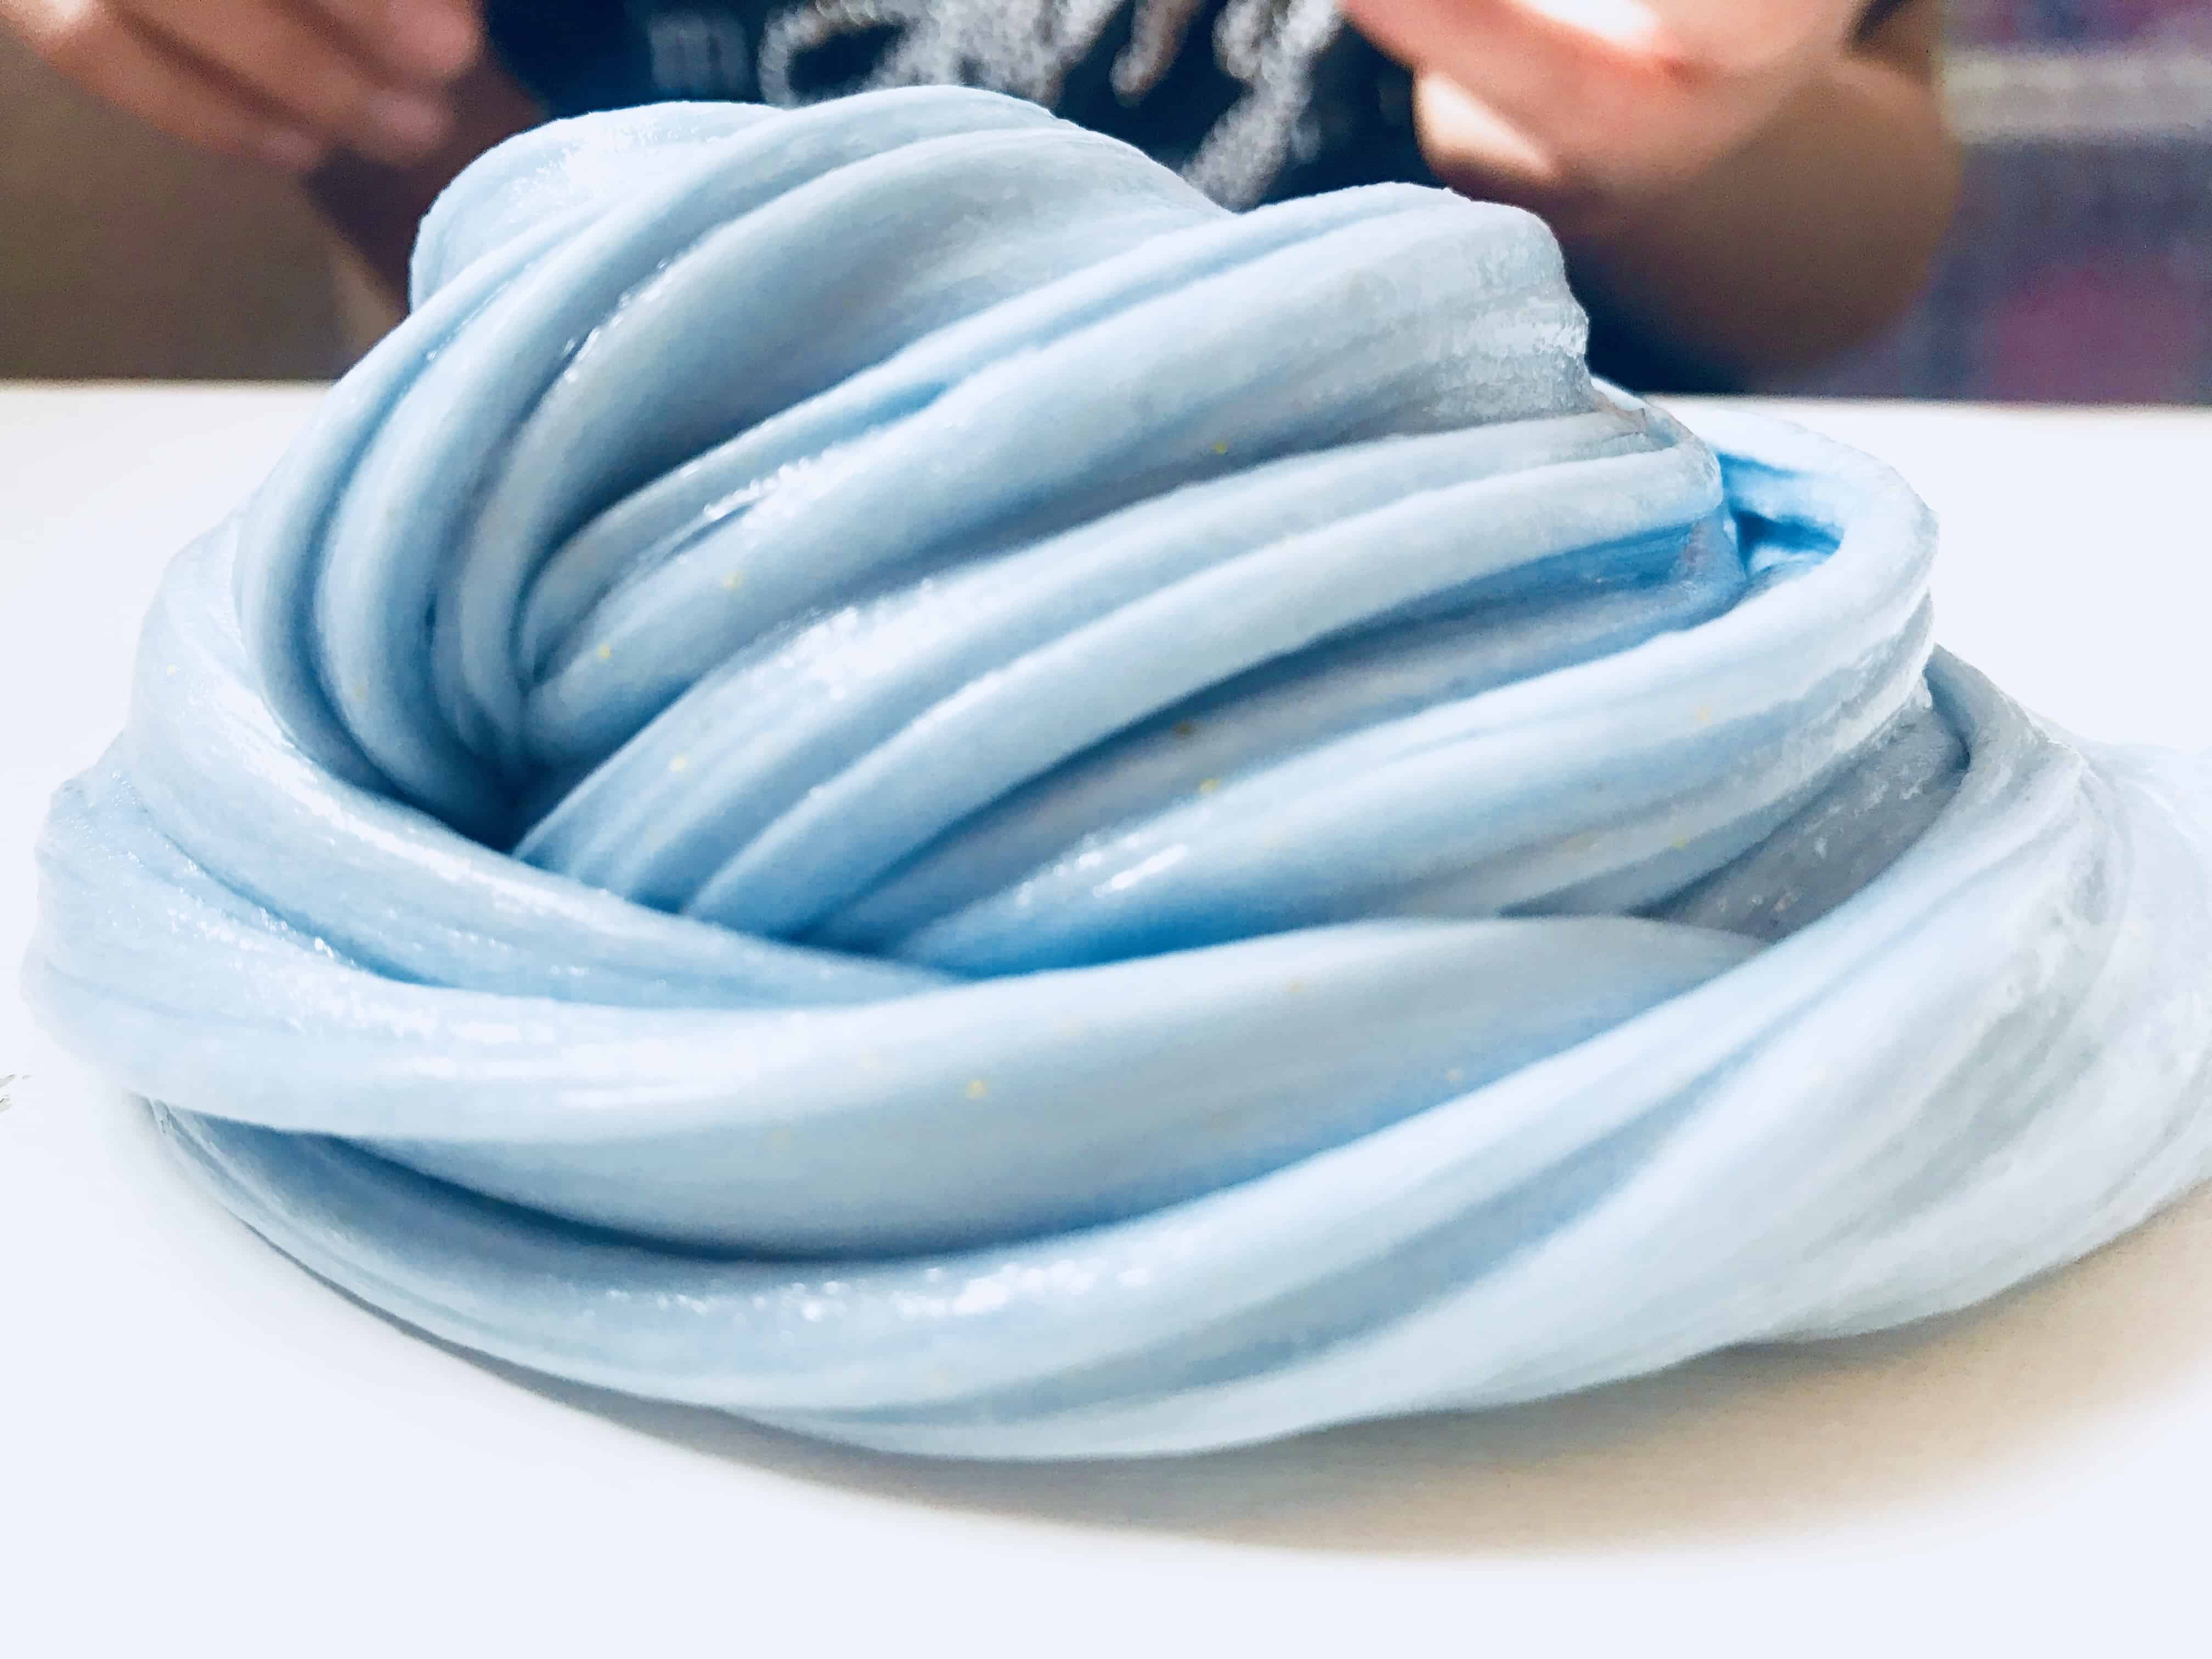
The Result…
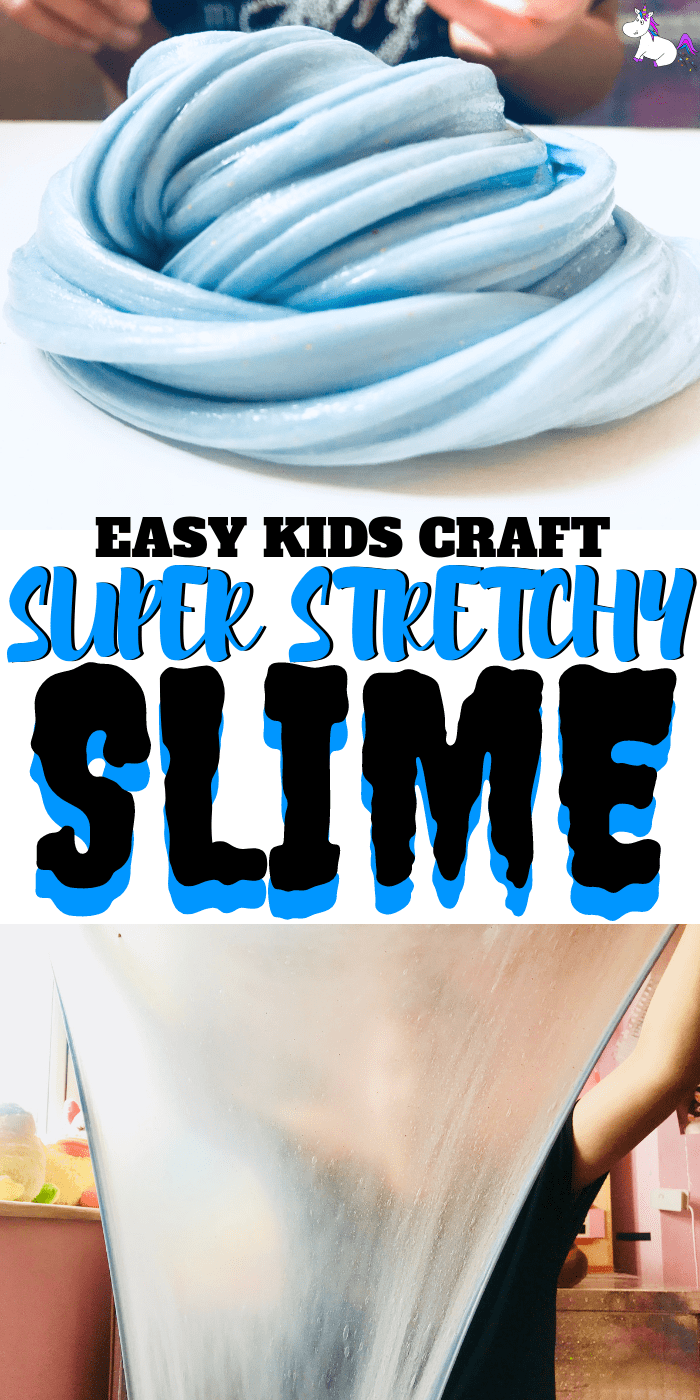
You should now have a gorgeous stretchy slime that looks something like this…
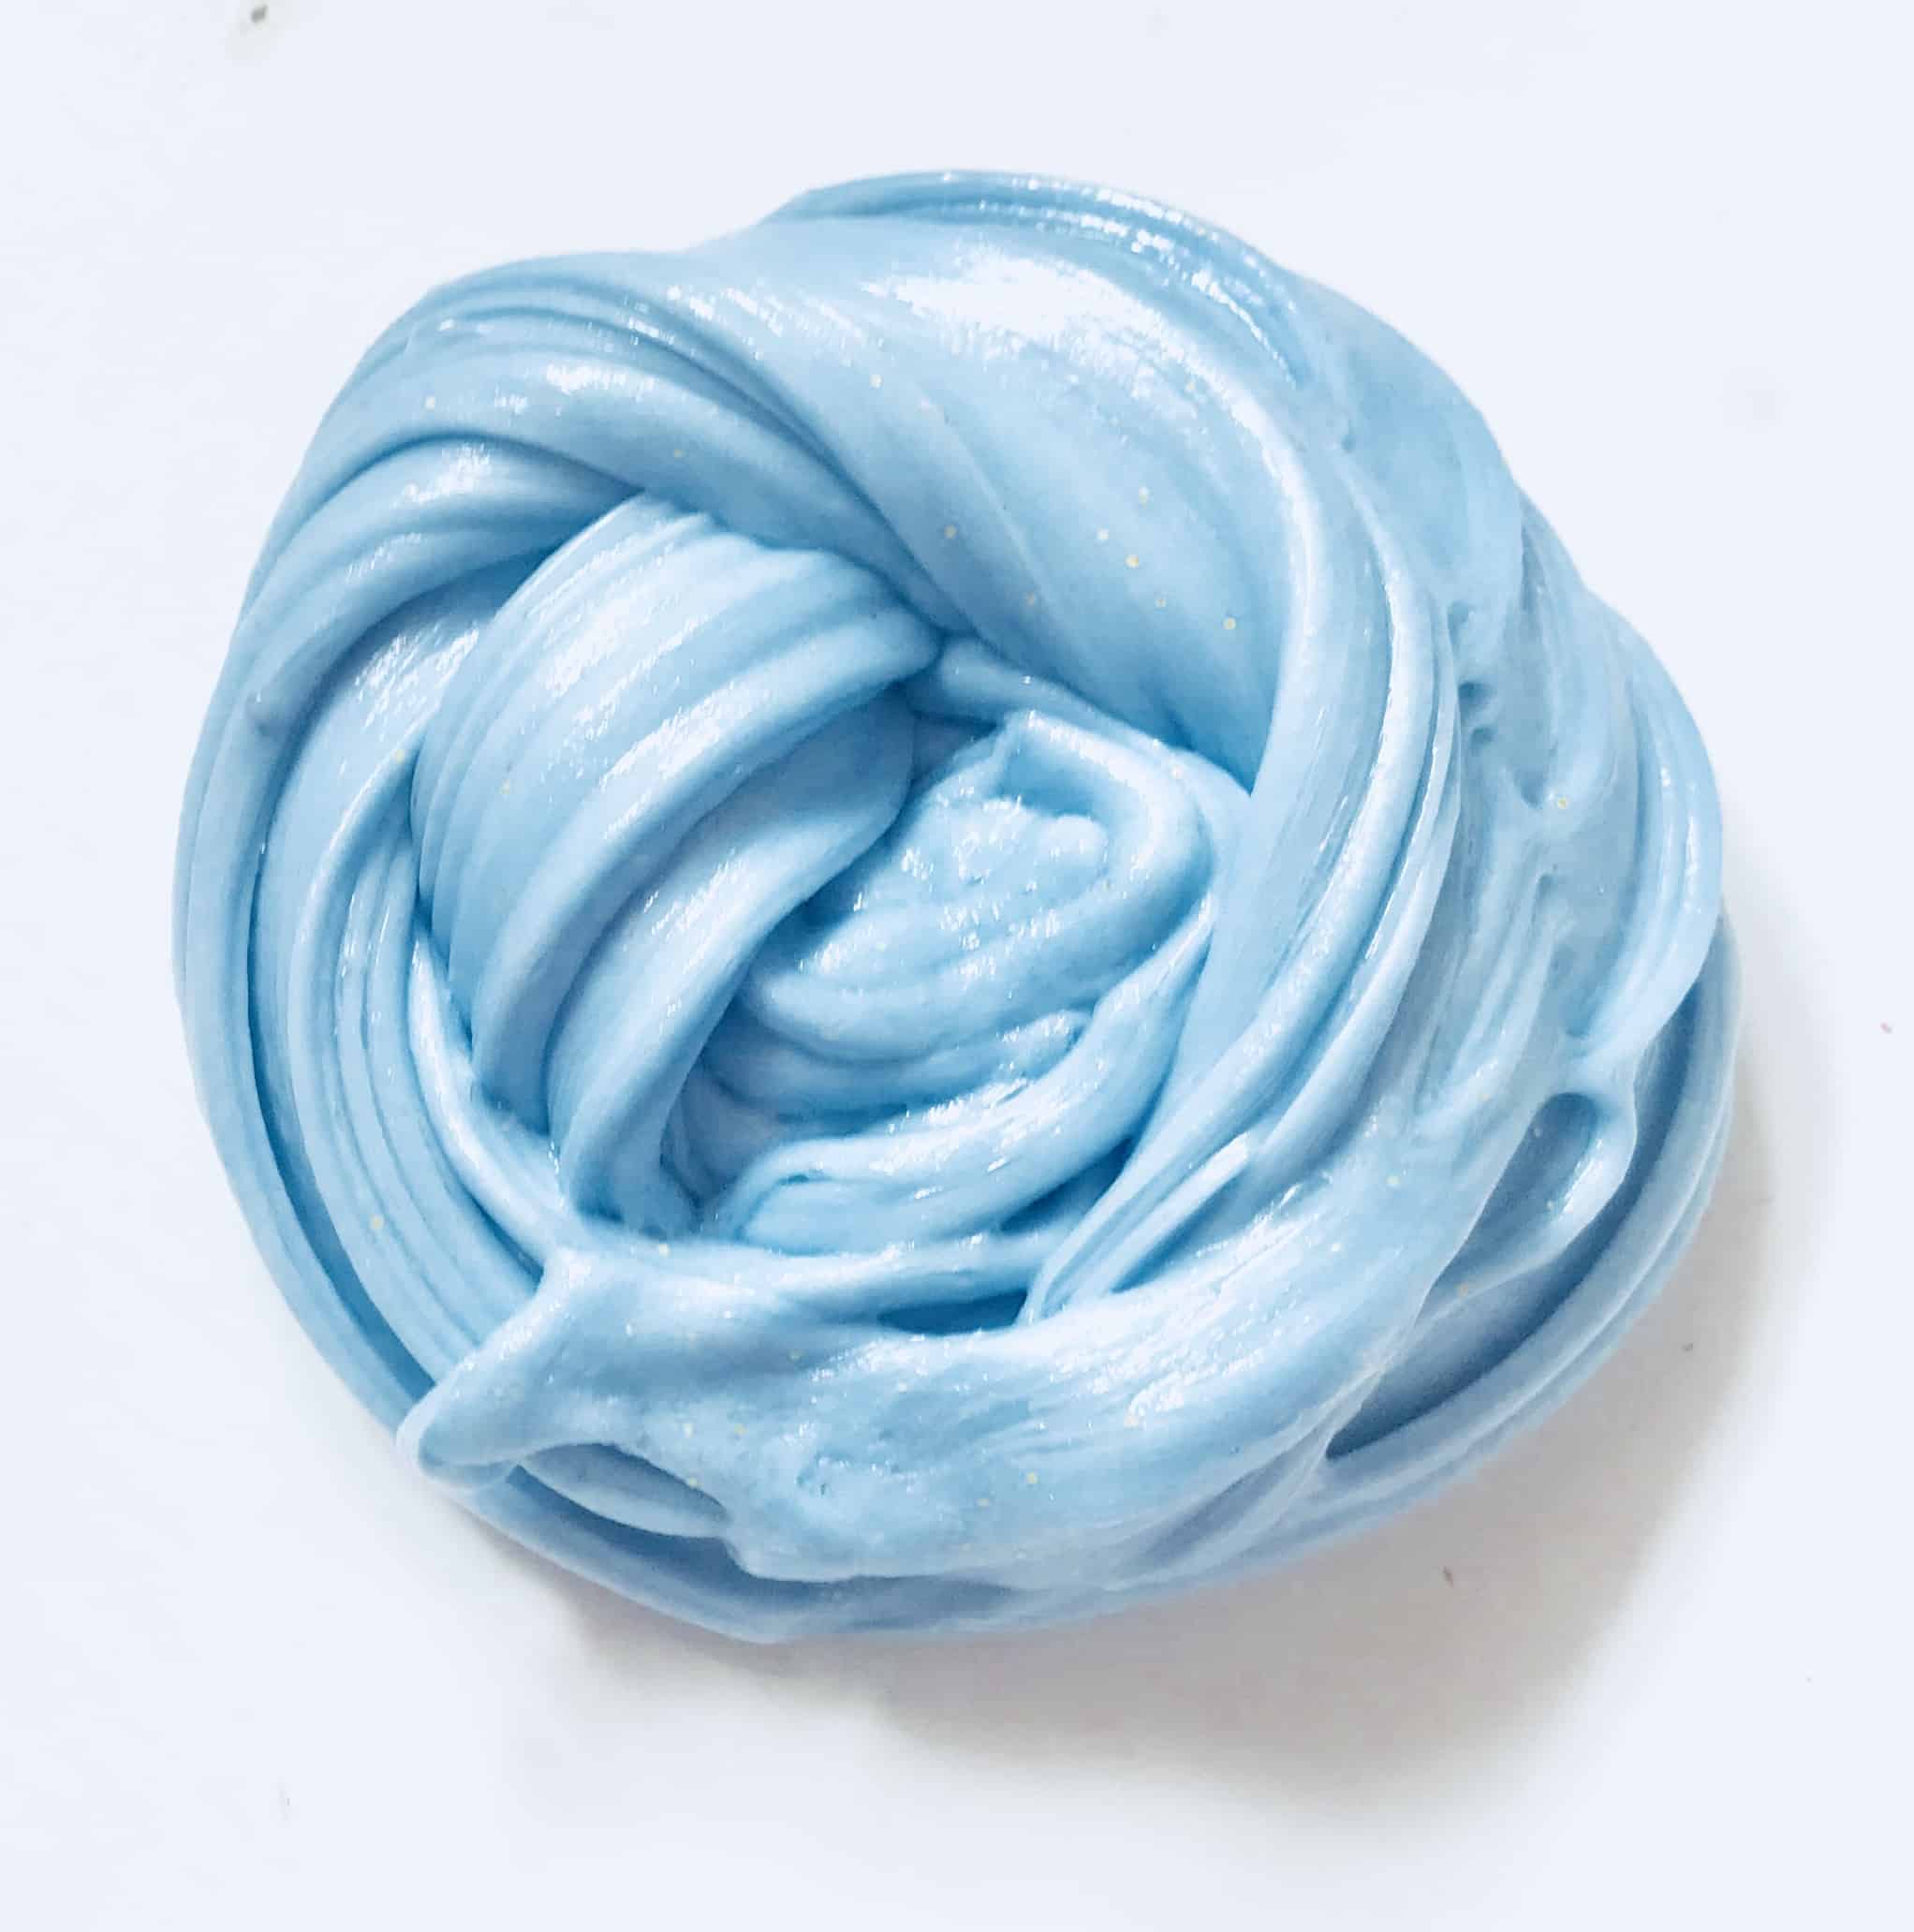
We added a little bit of blue food coloring at step 4… and of course the obligatory gold glitter!
Seriously… that slime looks so good, right?

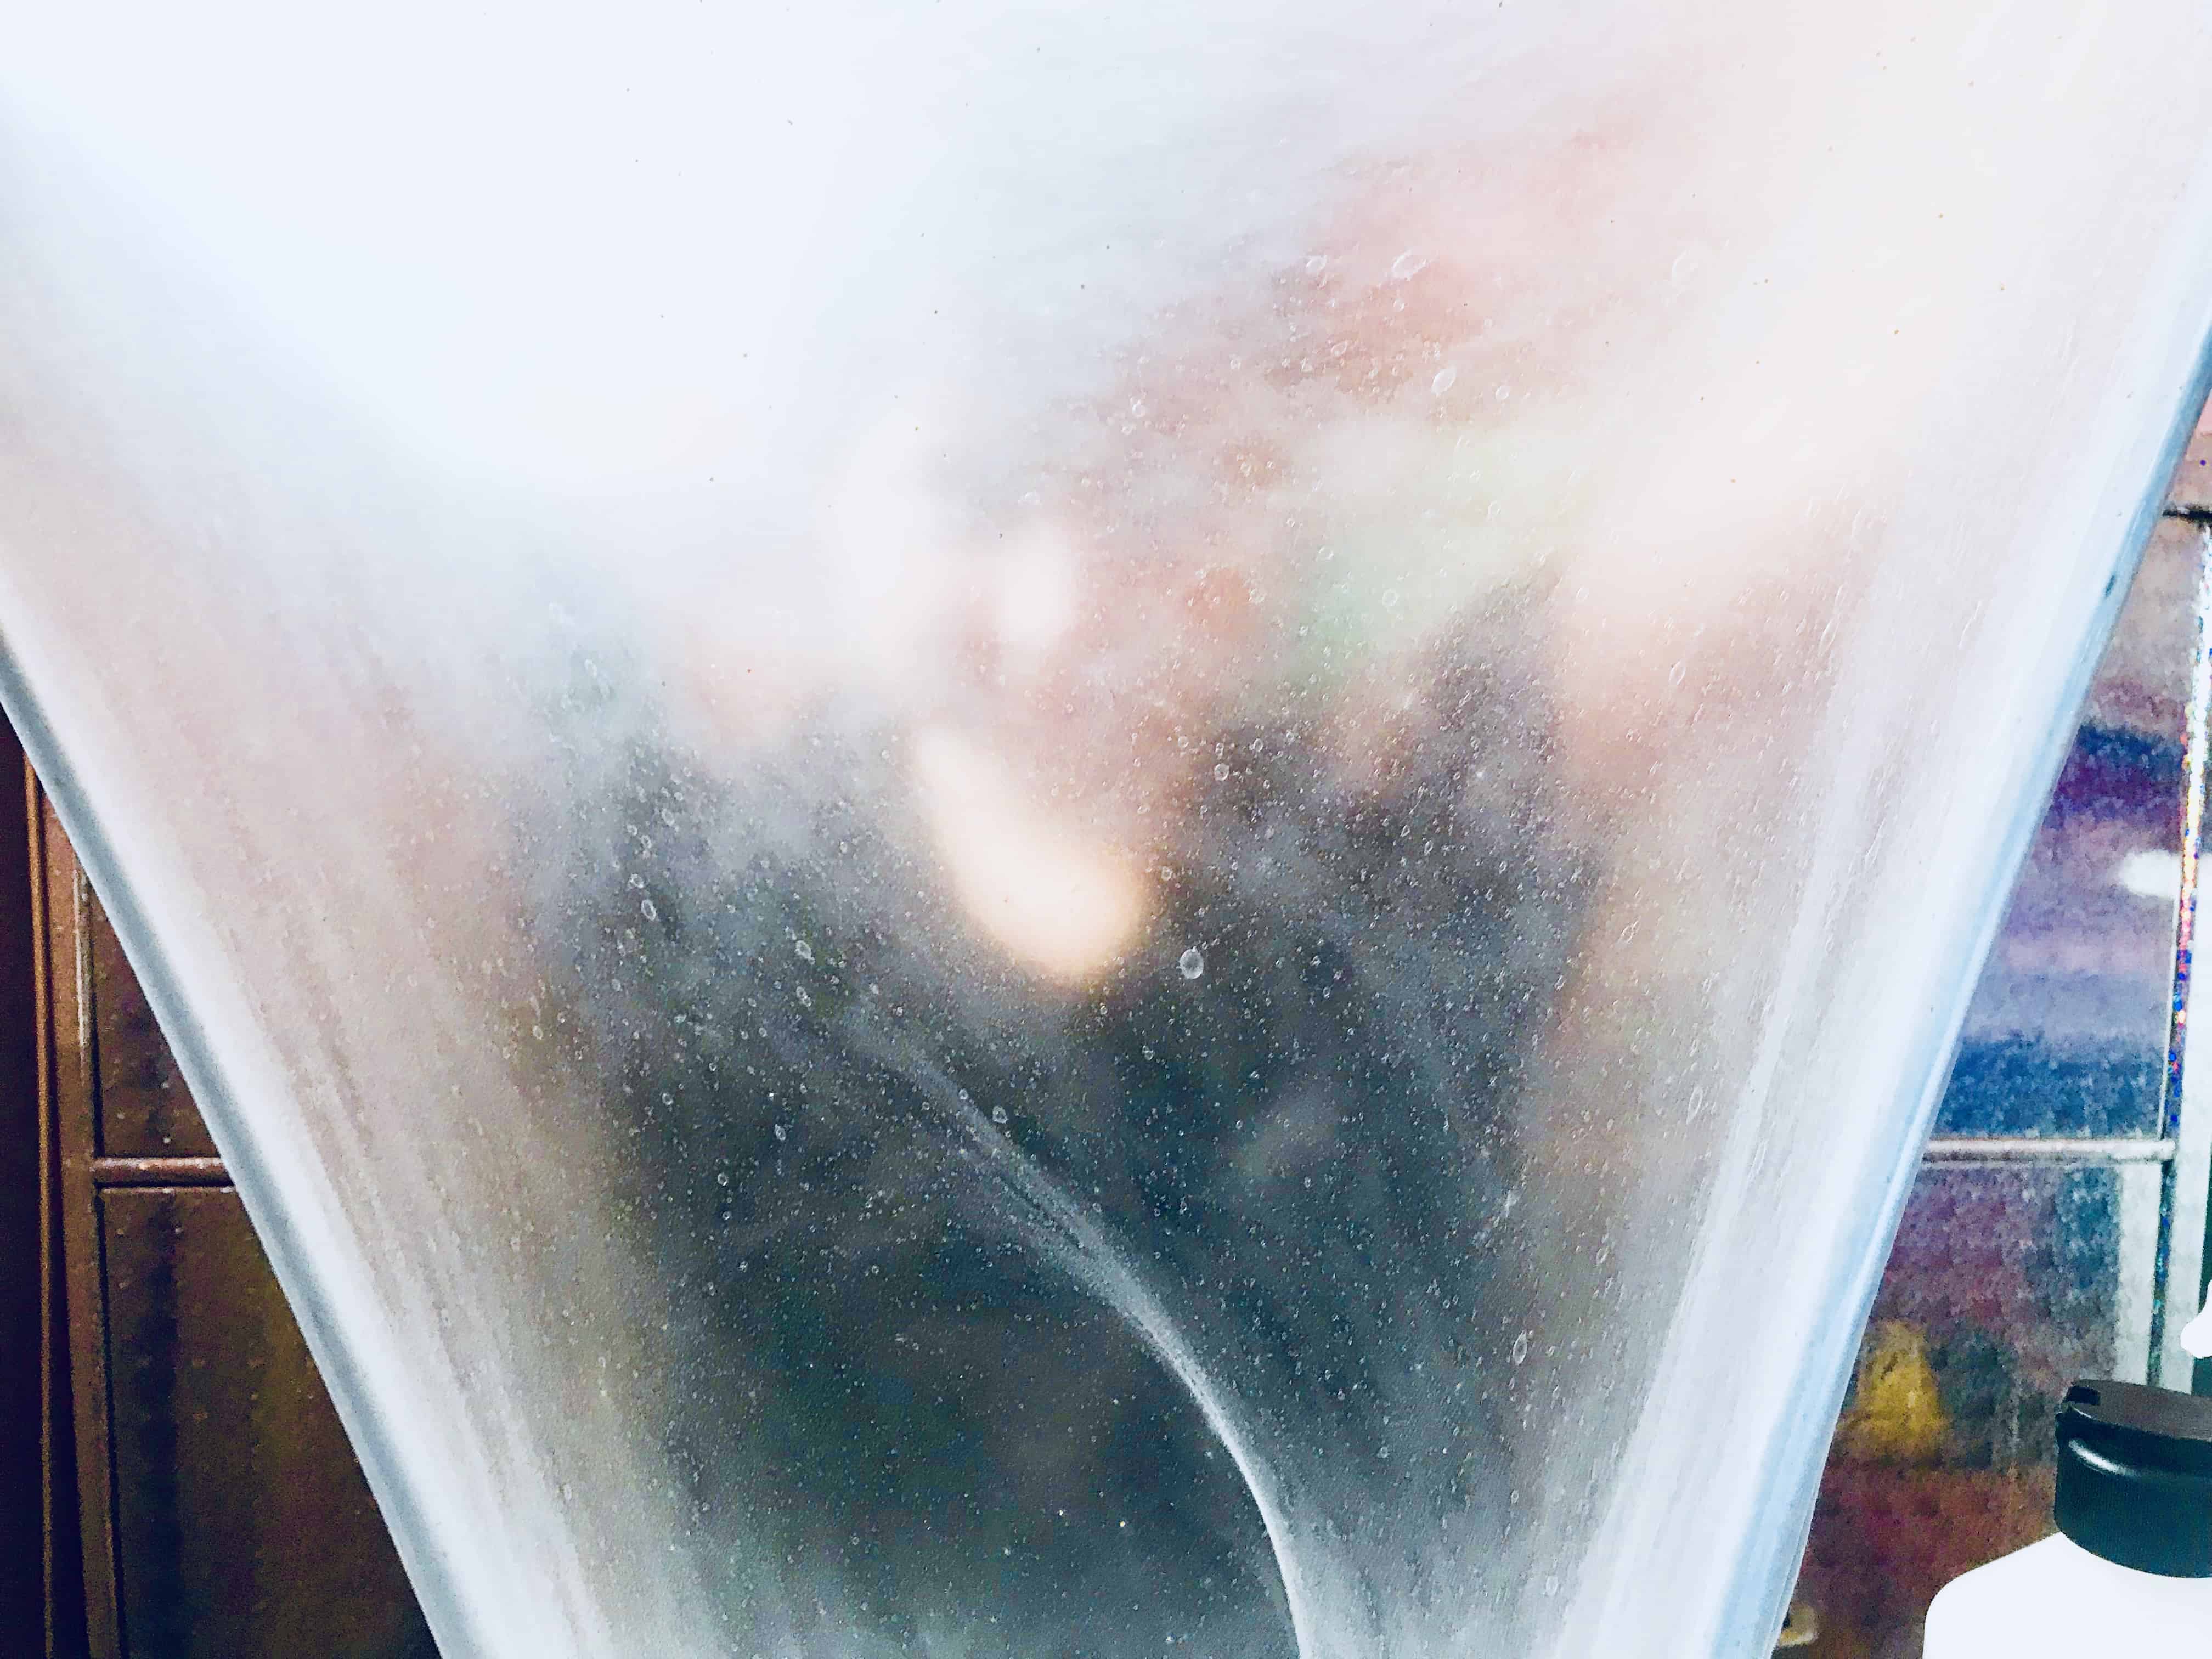
Achieving a Stretchy Slime
There are so many ingredients to make slime into different textures… like shaving foam for fluffy slime & clay for butter slime… but the hand moisturizer in this slime is what makes it so stretchy & helps it to stay soft for ages…
If you want to add shaving foam, just add in approximately the same amount of shaving foam as the glue… you can’t go wrong.
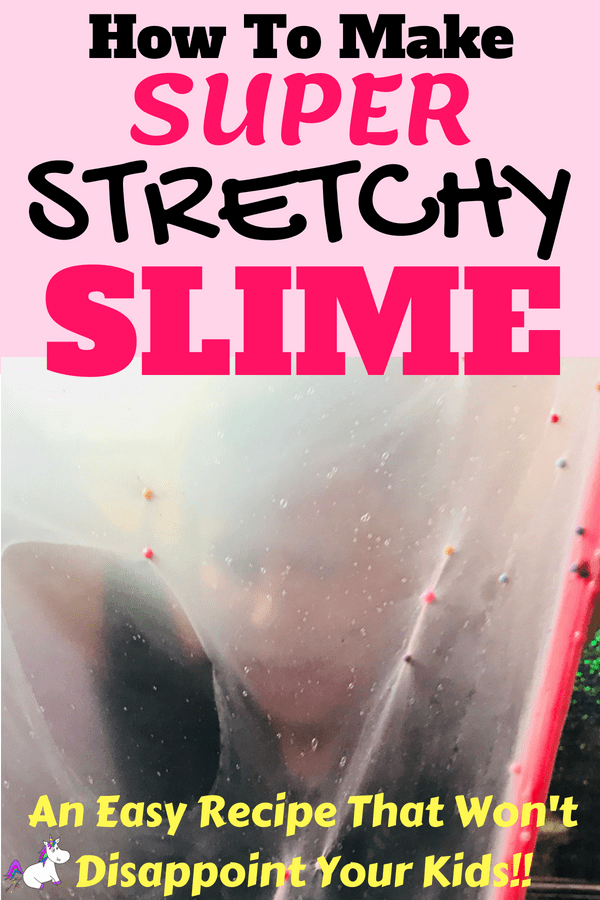
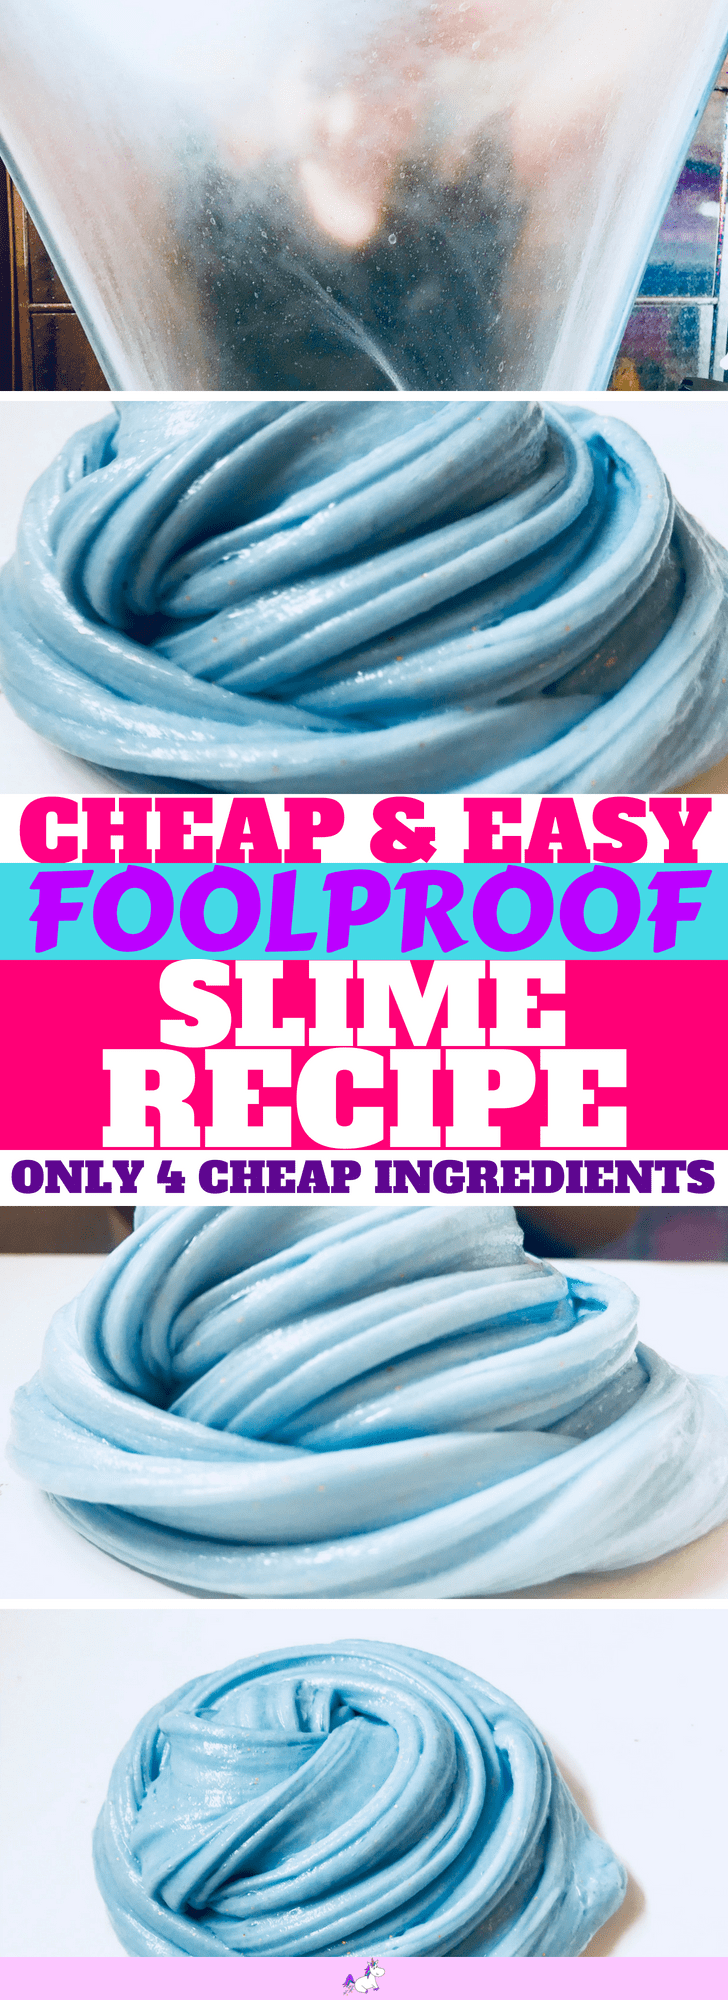
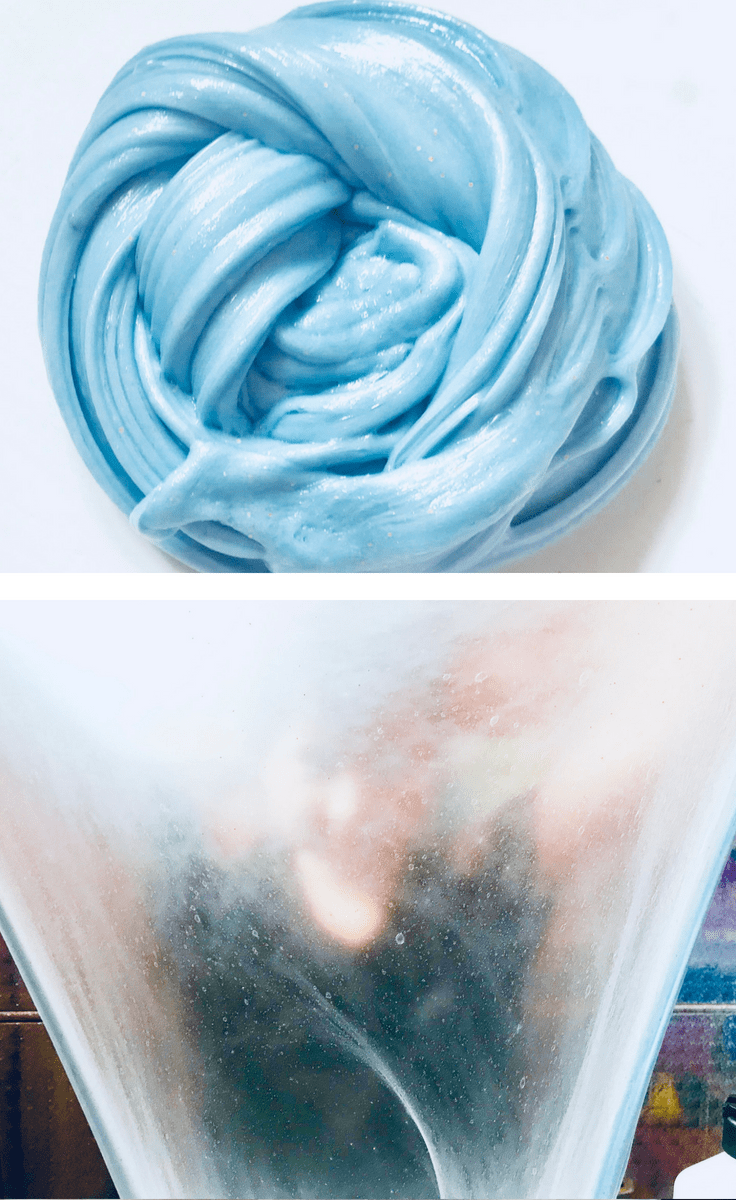
Take a look at how stretchy this slime is…
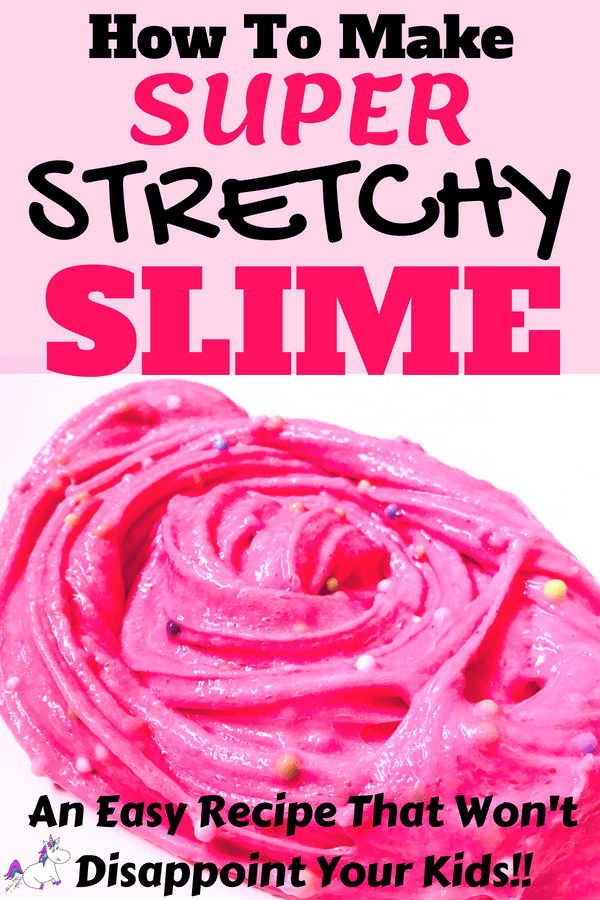
We also made it in pink…
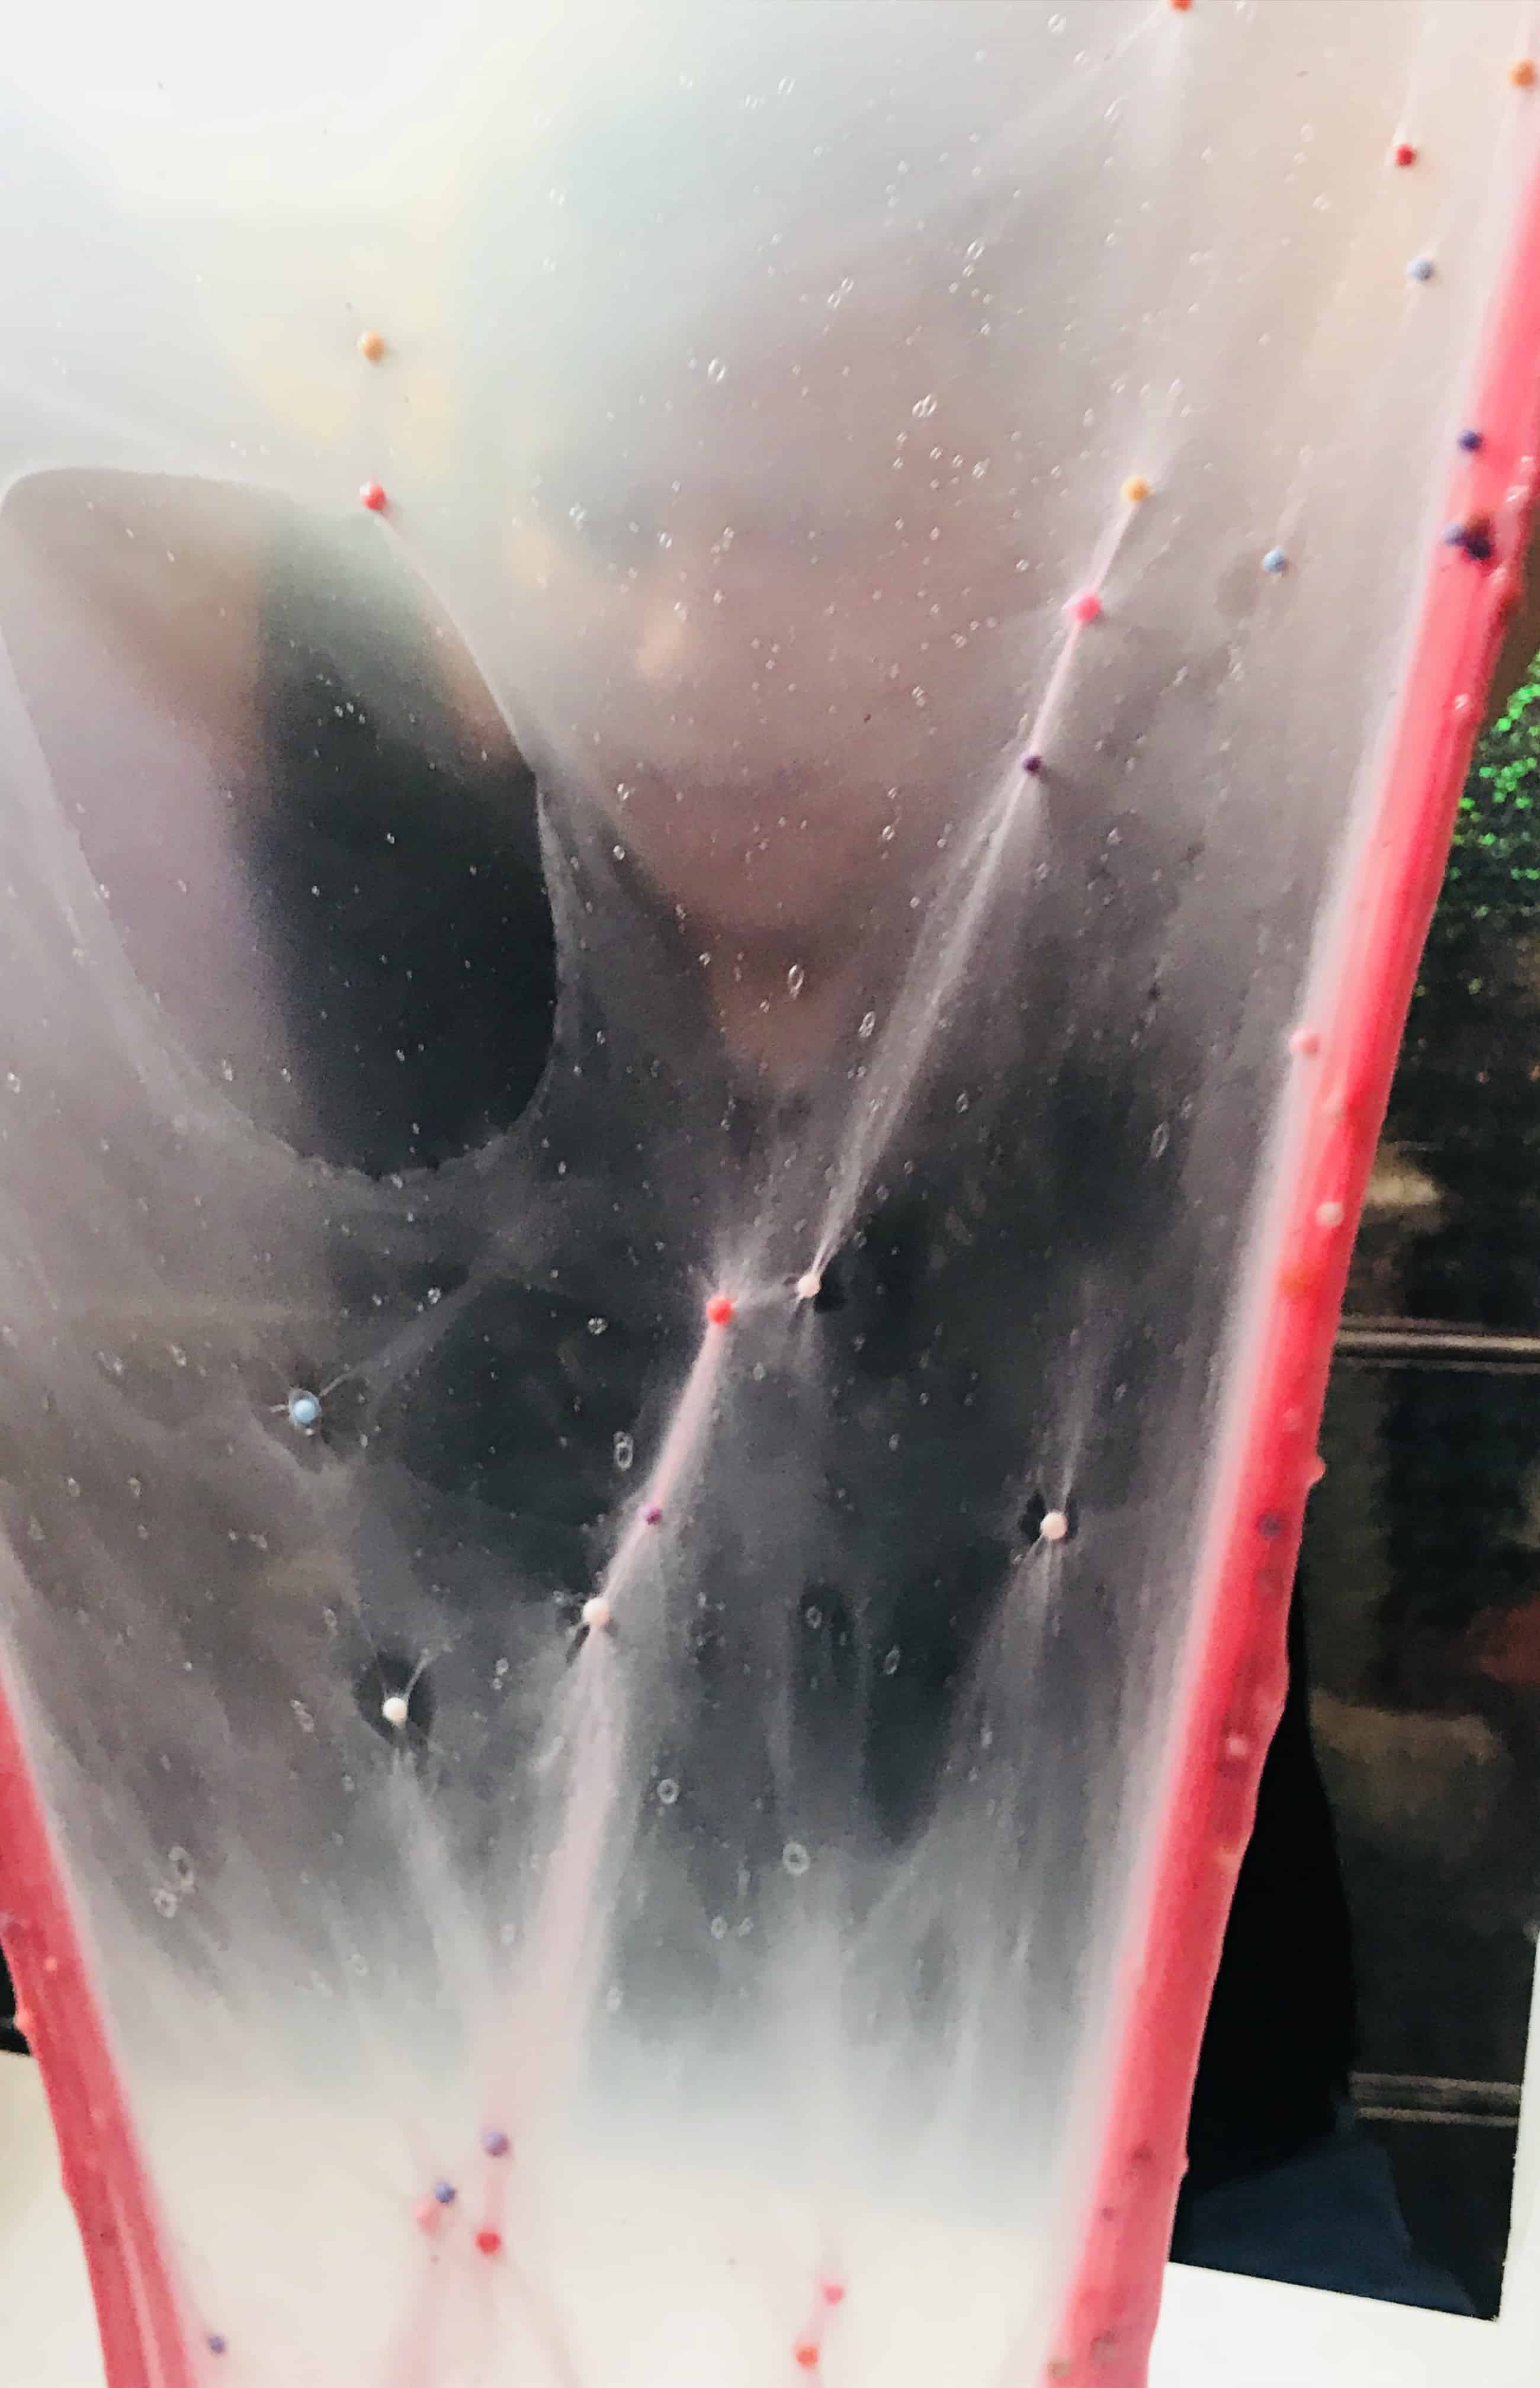
The Insta Swirl….
Slime Accessories
There are so many accessories you can use in your slime… we like to add foam beads of all colors, sequins and even glass beads for a crunchy slime.
Other ideas include glitter, small pieces of sponge, iron oxide powder for awesome magnetic slime and even glow powder for a slime that glows in the dark!
Slime failures
You will encounter failures when making slime, it’s inevitable.
There are some failures that can be avoided however simply by sticking closely to the recipe.
The more you make slime, the easier it will become for you to instinctively know what works and what doesn’t and be able to adjust your mixture accordingly.
If you have a slime that is hard & tearable… even old slime that has dried up… you can follow my instructions here on how to fix that. It’s super easy… you simply add moisturizer.
Sometimes, you’ll just get a bad glue or an old glue that just isn’t going to work no matter what you do.
That’s why I recommend you use this glue or at least buy a small bottle of PVA to try before investing in a larger one as this way you can keep the costs to a minimum if things go wrong.
Storing Your Slime
Store your slime in an airtight container for best results… We use these.
If you have followed the recipe above you should find the slime keeps really well for ages & ages… This is because of the hand moisturizer in the mix.
If you find your slime is drying out after a few days you can always refresh it with more moisturizer.
Before You Go...
There’s something so satisfying about playing slime and I really hope you get the best slime ever from this recipe…
let me know how it goes and feel free to ask me any questions… you can even send me pics of your finished slime… I’d love to see them!
Thanks so much for reading… If you loved this post please can I ask you to click here and share it with your Pinterest followers… I’d really appreciate it!