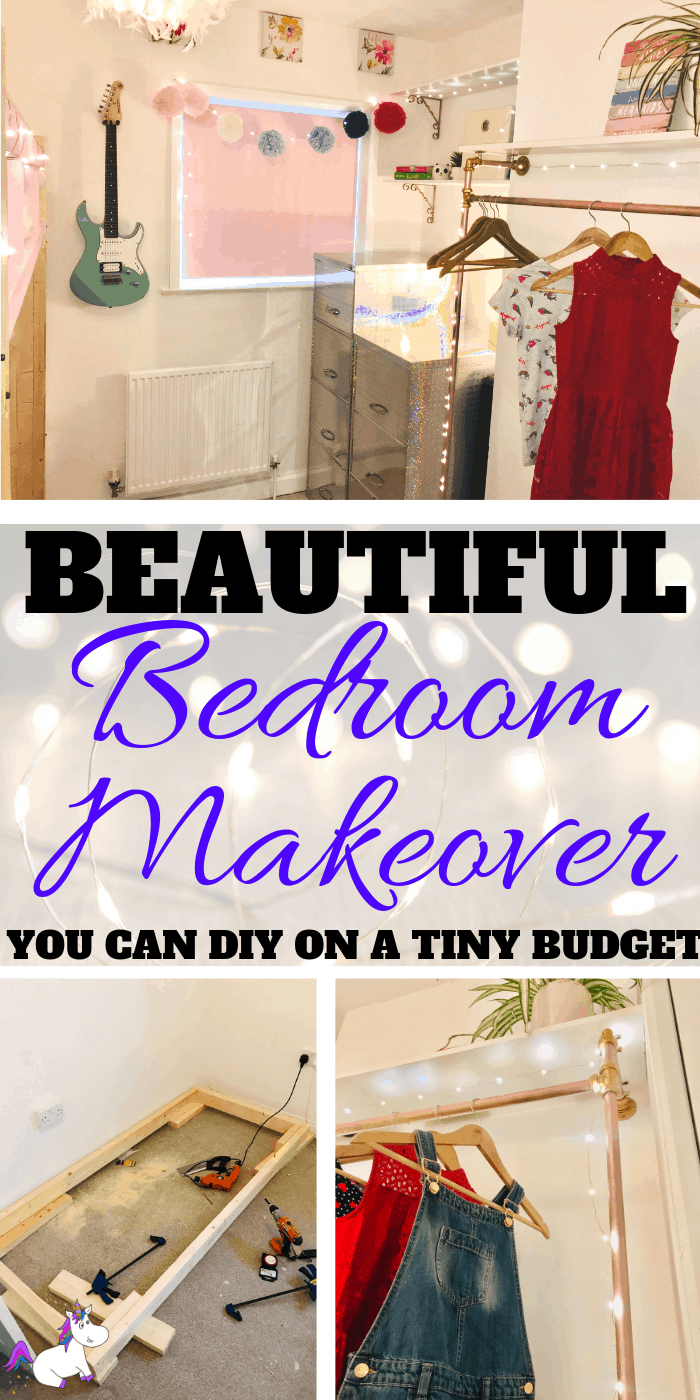
When it comes to doing a bedroom makeover, I am loathed to spend money on things that I can DIY.
For some people DIY is their worst nightmare, but personally… I love it!
You don’t have to build everything from scratch with DIY, you can also take an item you already own, or a cheap item bought new & hack it or customize it to make it better.
A year ago I decided to put away my saws & paintbrushes so I could focus full time on my blog!
This worked out really well for my blog but for my house? not so much!
Now my house needs work!!
I decided to start with my daughter’s bedroom because her room is the biggest.
That way I can use the space in her room to store her brothers’ things when their rooms are being done.
…and then eventually, they’ll all have a nice space they can hide in for when I’m working on the rest of the house!
So let’s get to it…
P.S. If you haven’t got time to read this now you can click here to quickly & easily save it to your Pinterest
This post may contain affiliate links. See my full disclosure here for more info.
Bedroom Makeover Plan
Although my daughter’s room is the biggest, it’s still pretty small at 3m x3m at it’s widest point.
Once you have a bed on the floor and a desk you end up with about a meter width of floor space.
Without clever storage, the room can become cluttered & messy in no time!
So for this room, aside from painting the walls & laying a new carpet, there were 3 main tasks to cover…
- Bed
- Wardrobe
- Storage
Painting & Prepping The Room
Painting is by far the best part of bedroom makeovers… am I right?
For this room, my little girl wanted to keep the unicorn paper that she already had on one wall & paint the rest white with glitter… lots of glitter!
Not one to argue with a glitter addiction… I bought a 5-liter tub of cheap white paint at $6 and added in an unhealthy but incredibly satisfying amount ($19 worth) of glitter additive…
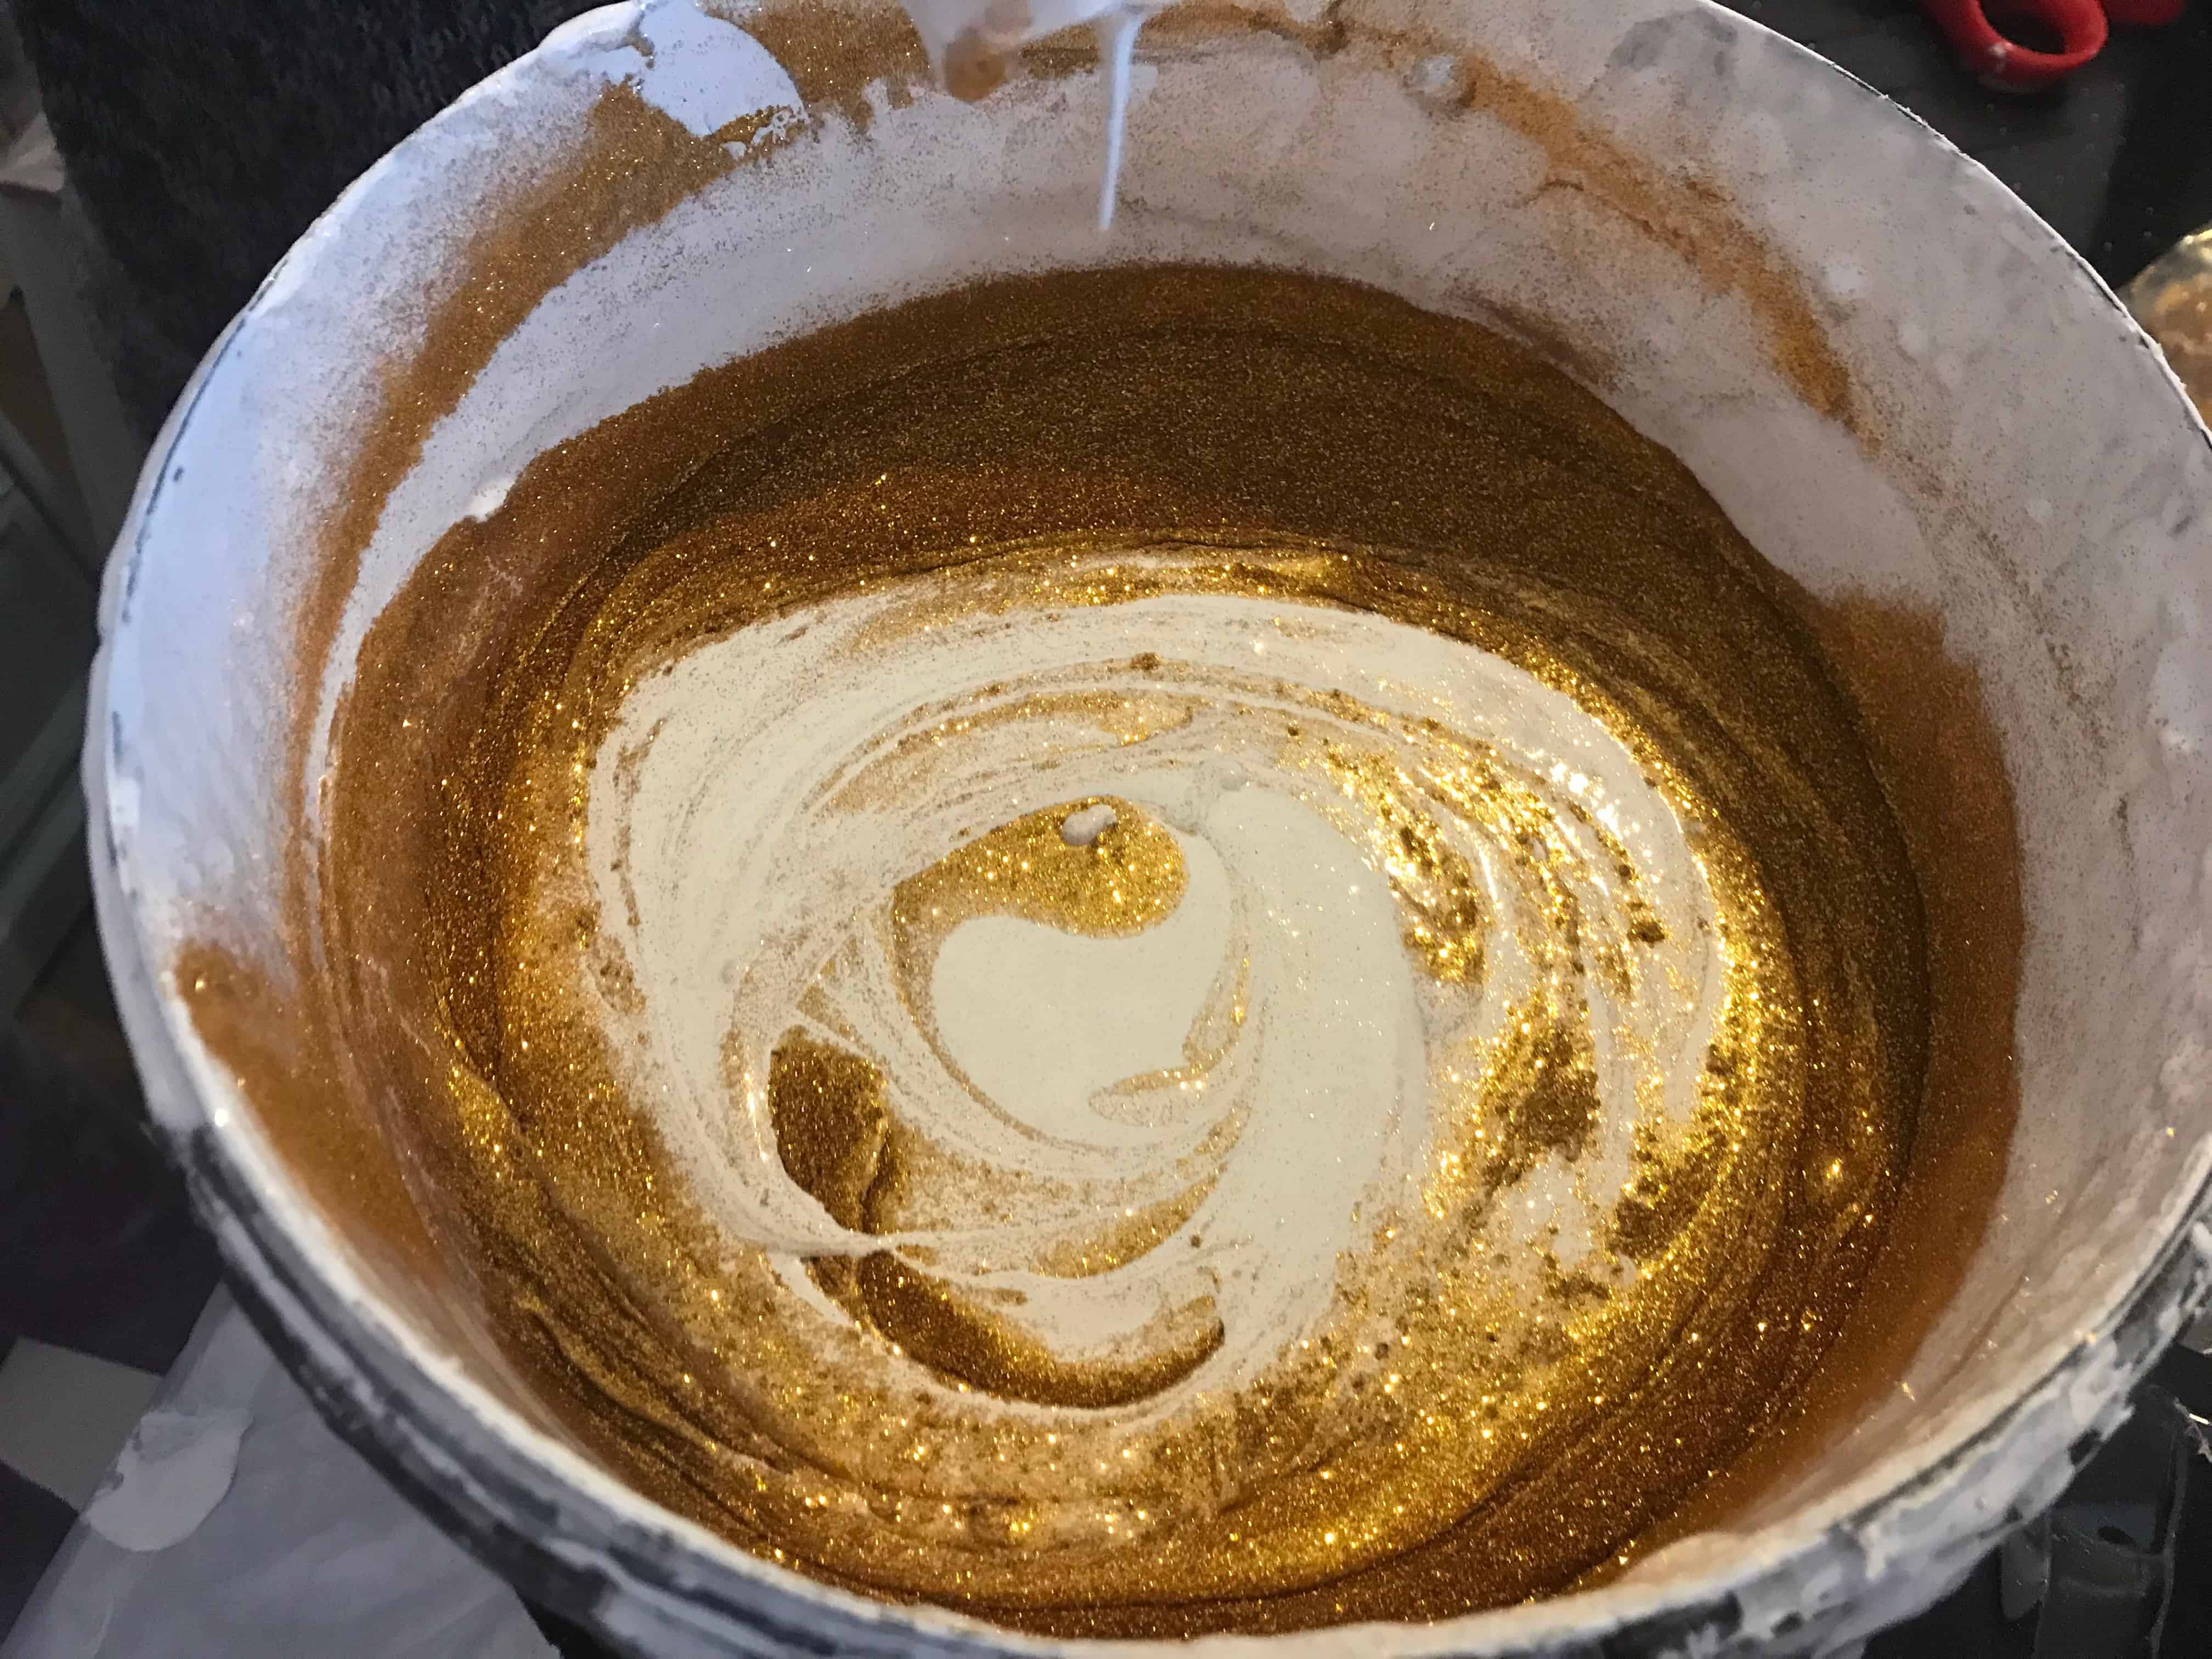
I made the mistake of painting only one plain white coat before adding the glitter… you’ll be surprised how much 9 packs of glitter can thicken up the paint so I recommend painting enough coats of plain white (or whatever color you’re using) and then adding the glitter for an extra top coat.
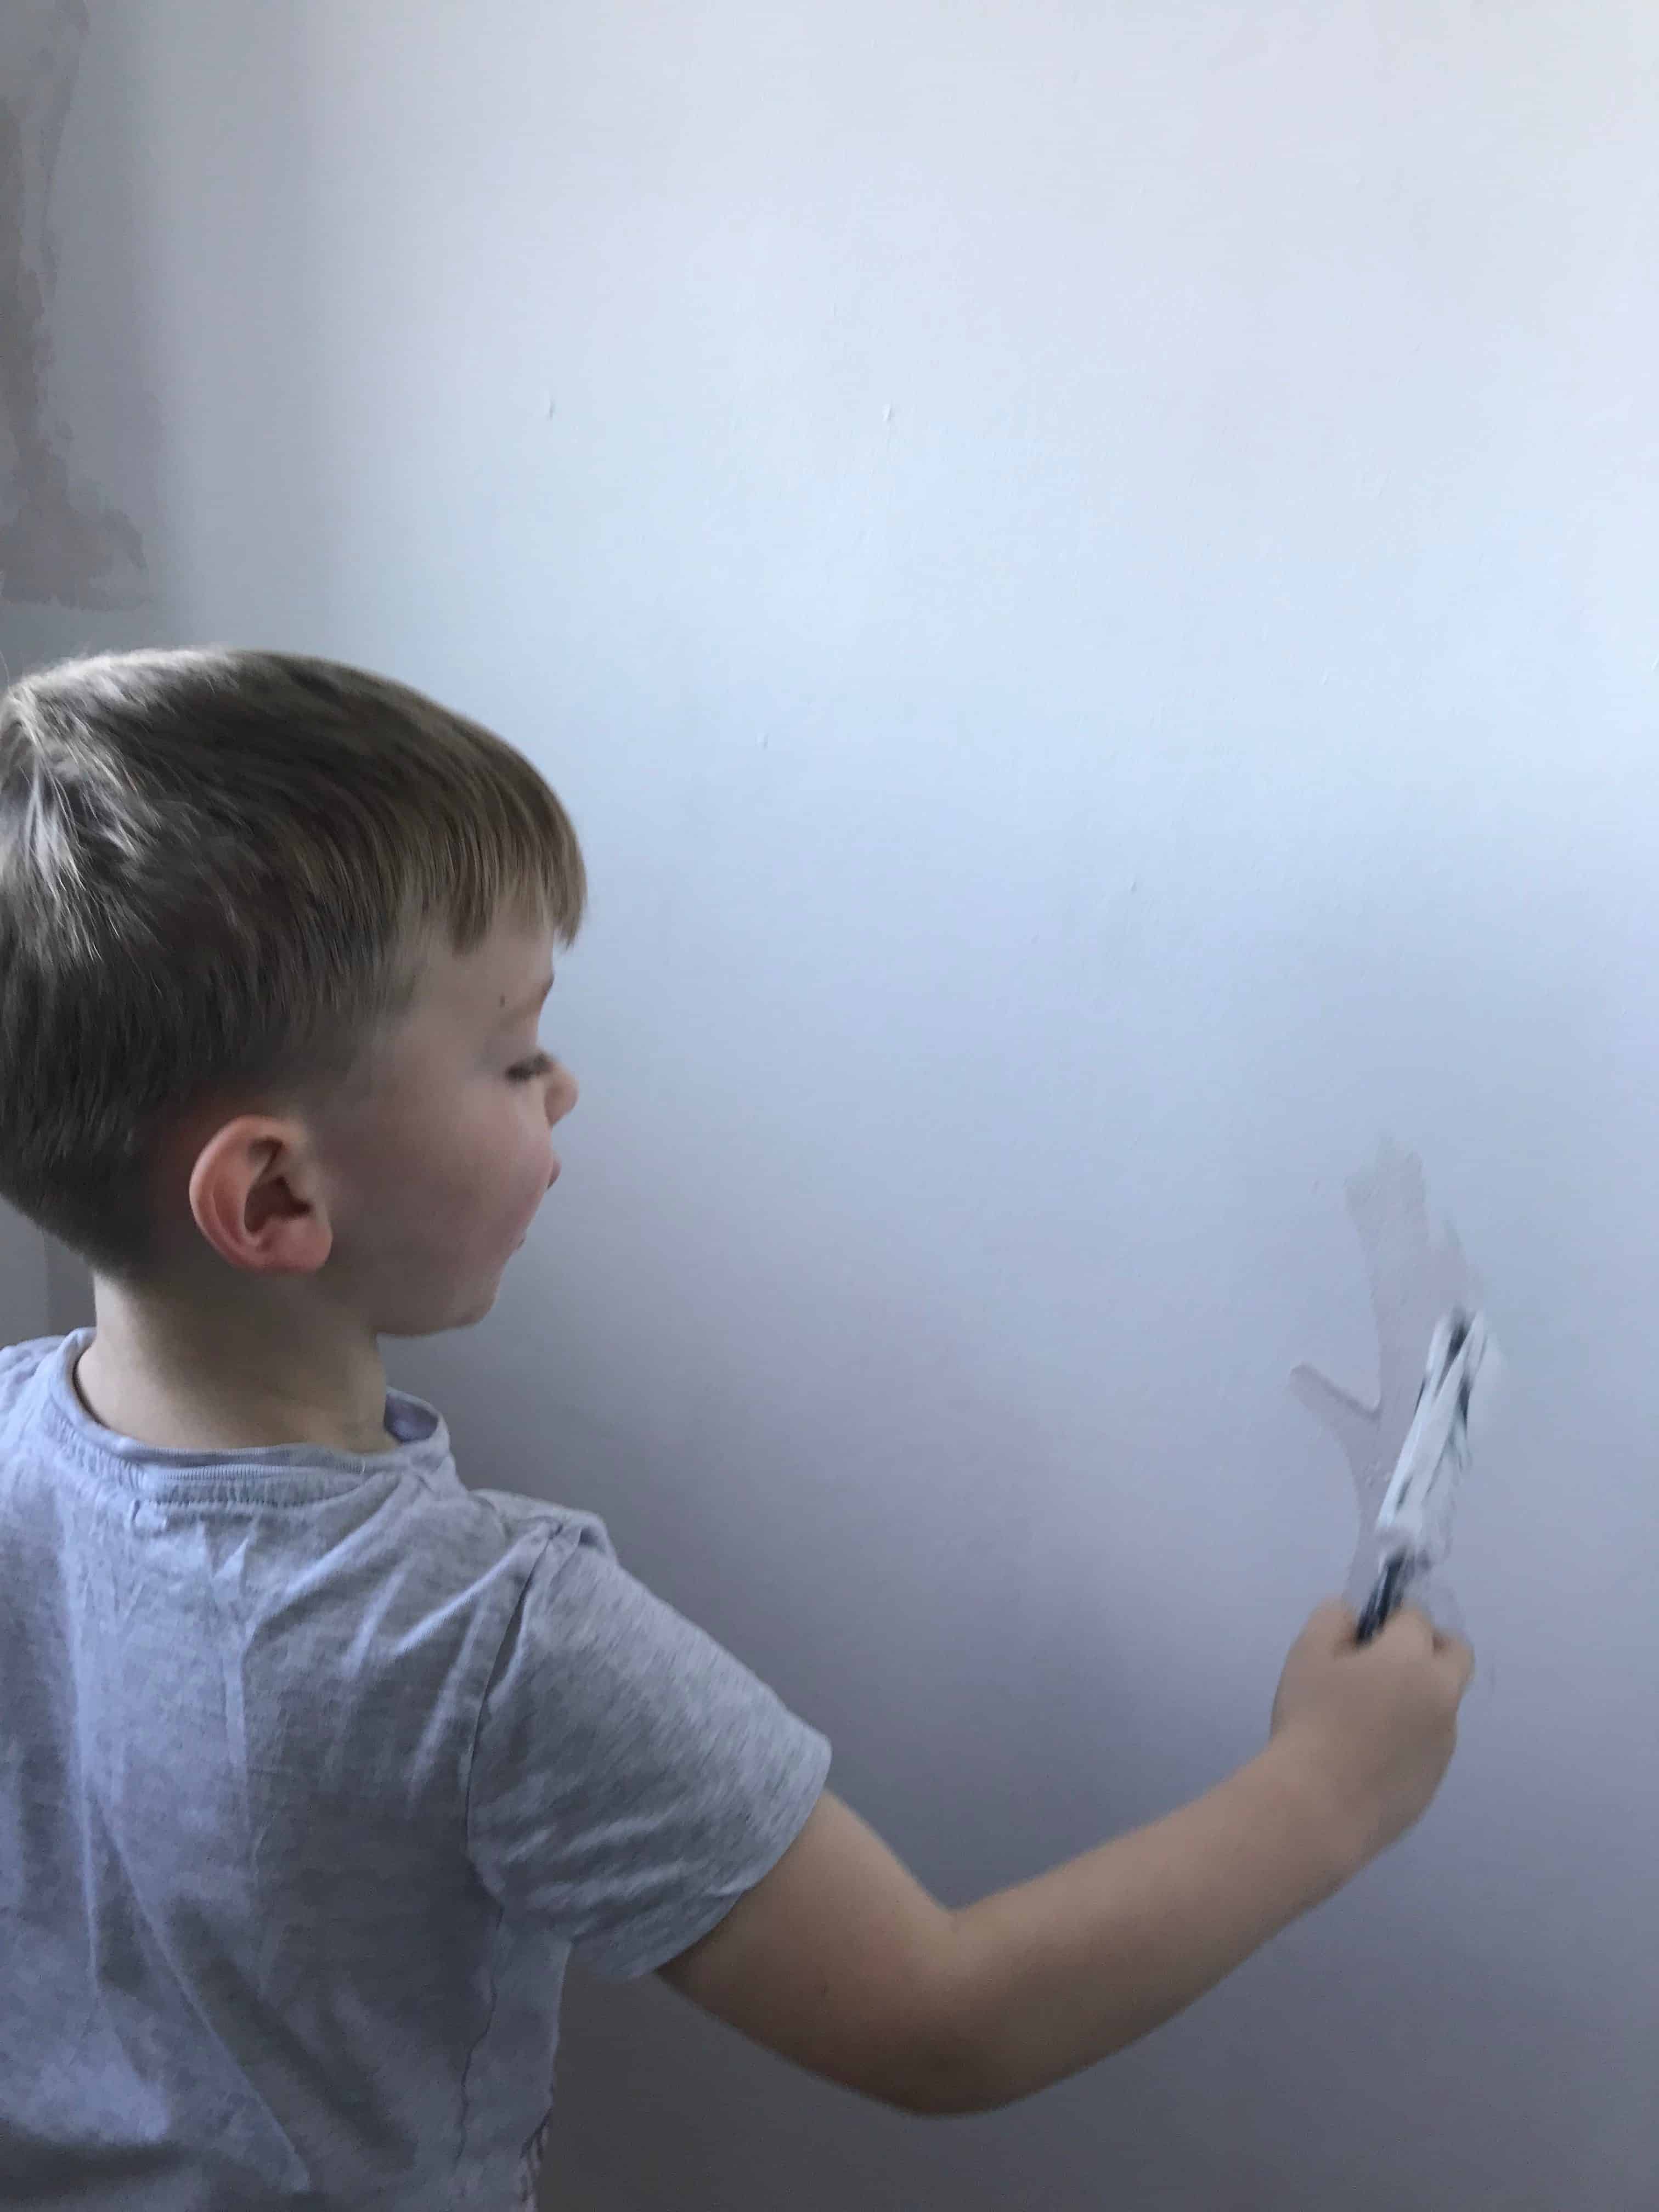
And of course, get some good helpers…
DIY Bed for less than $200
I knew that I needed to get the bed off the floor to create some much-needed floor space… but decent cabin beds are soooo expensive!
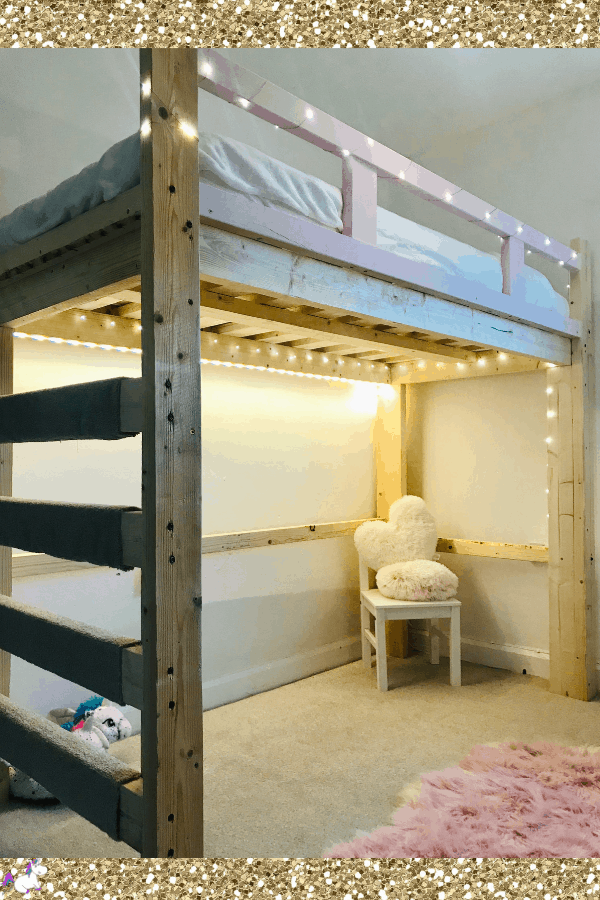
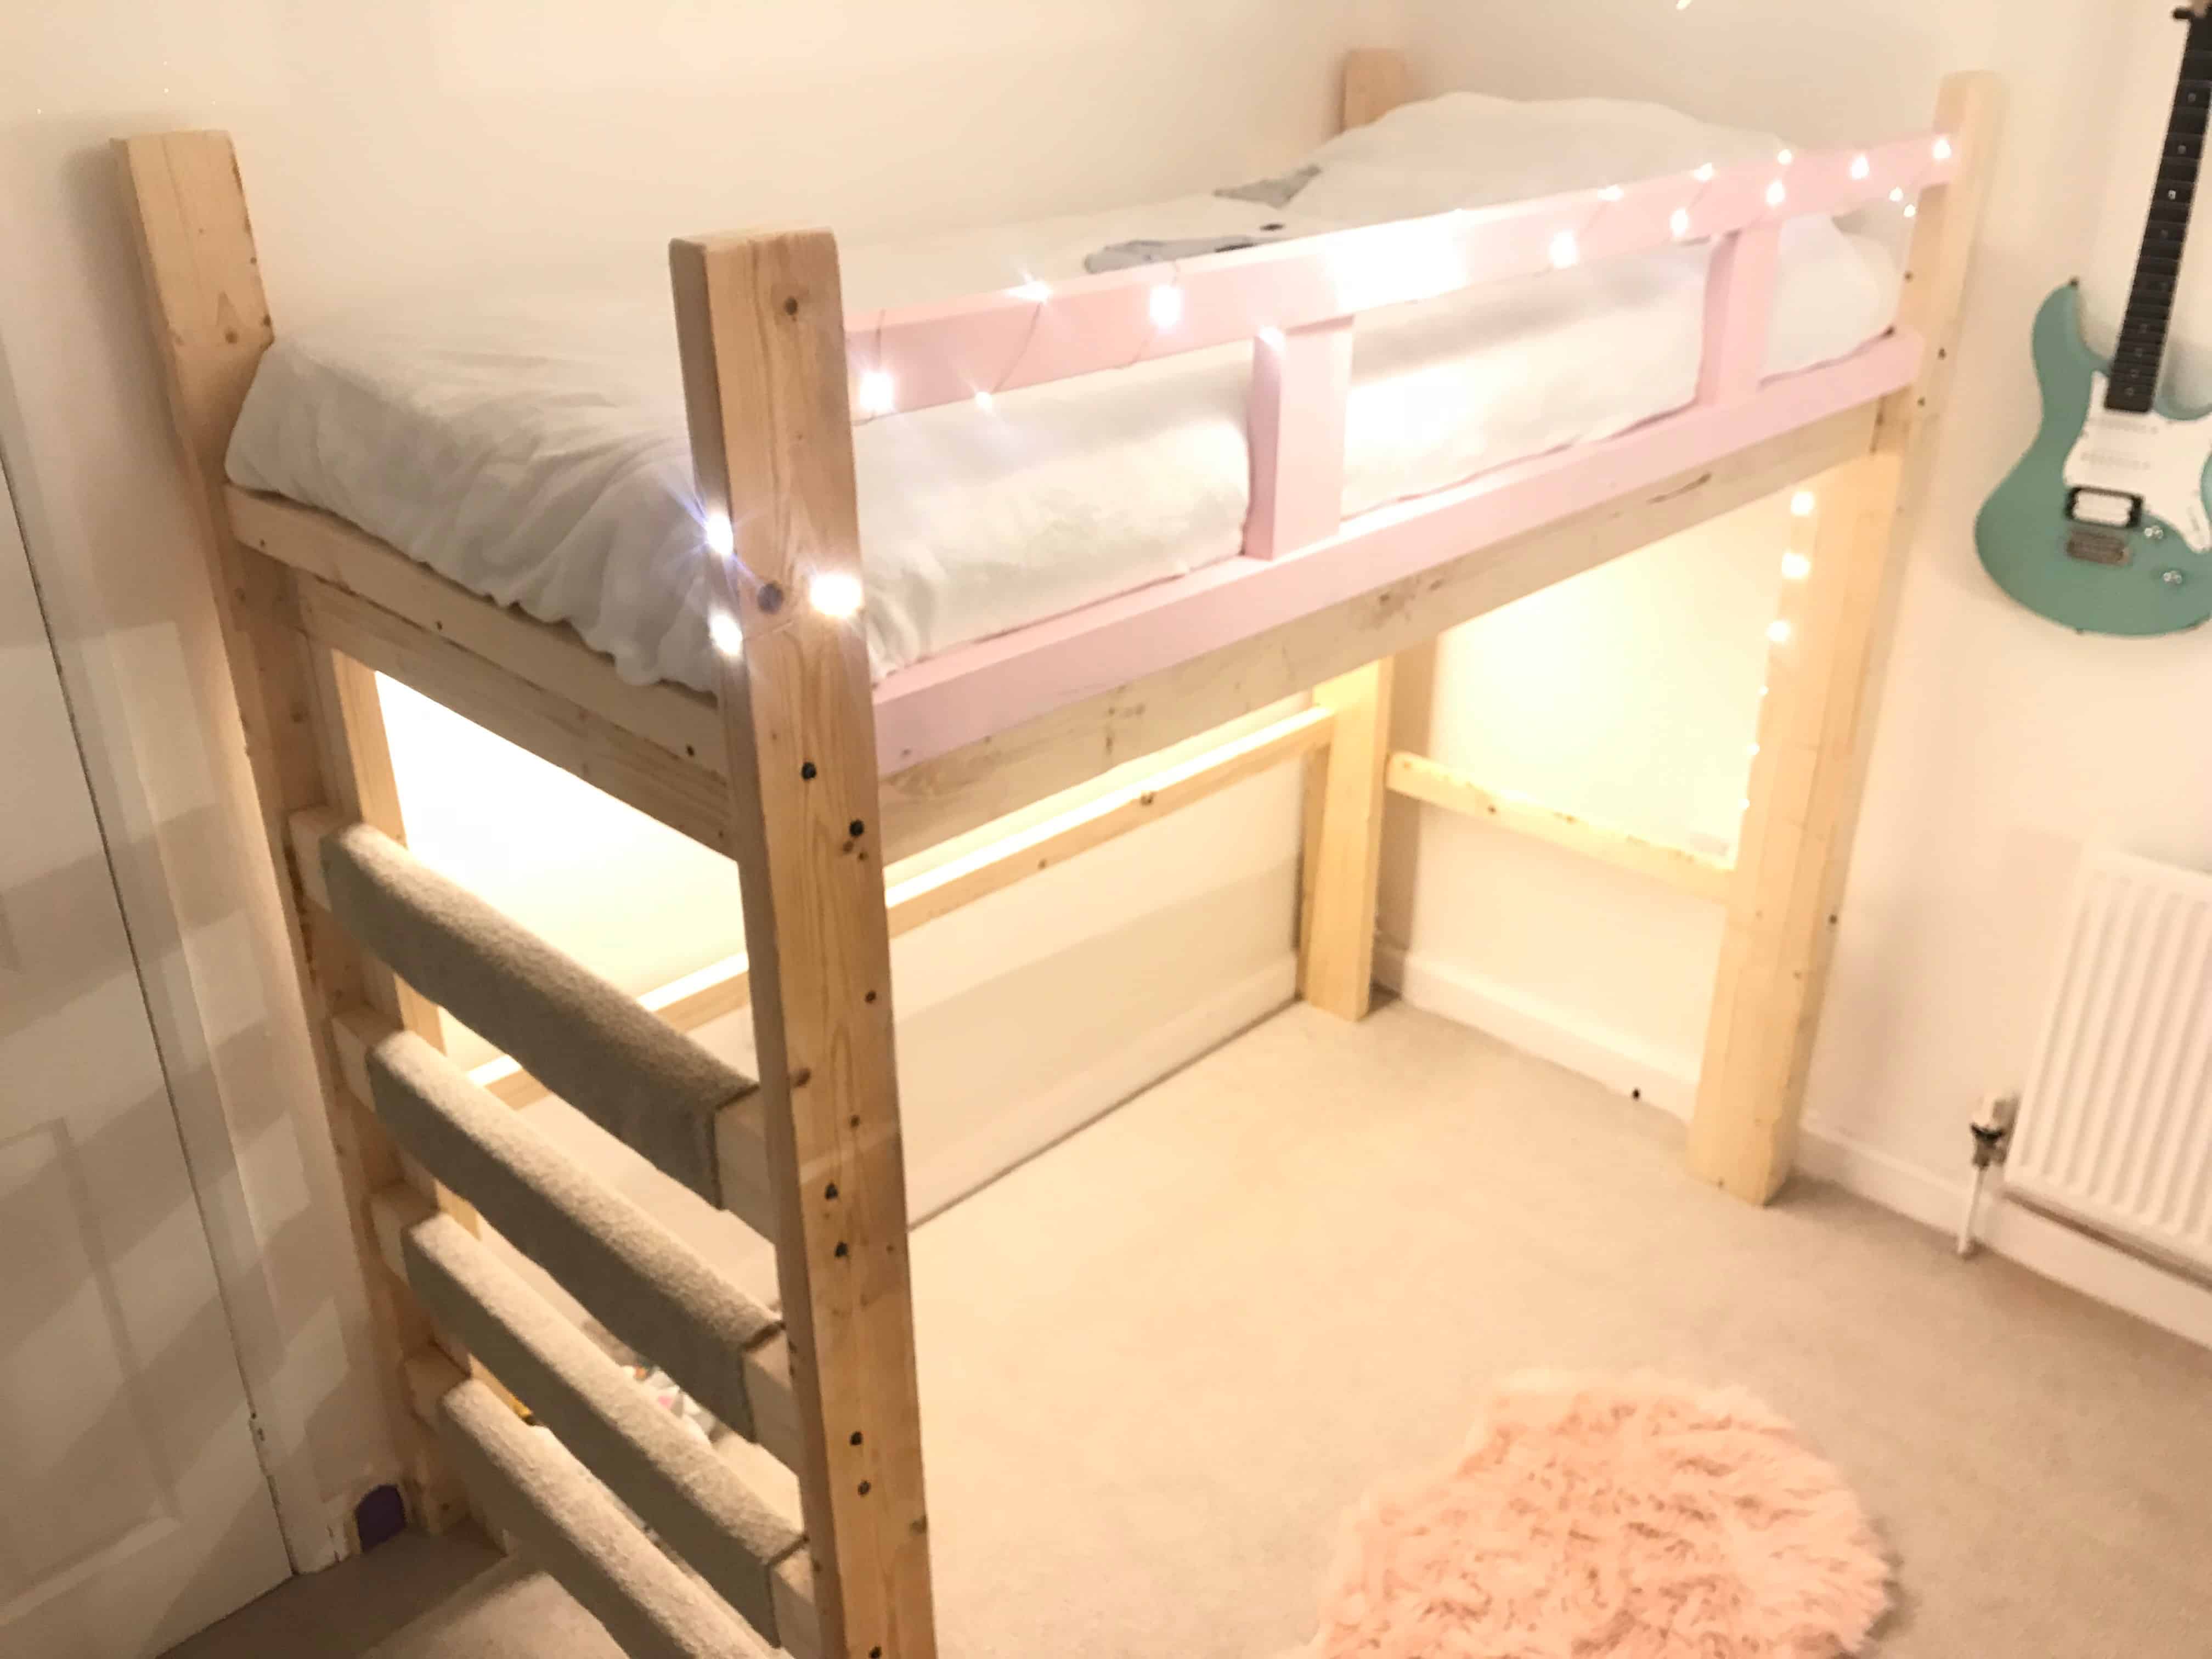
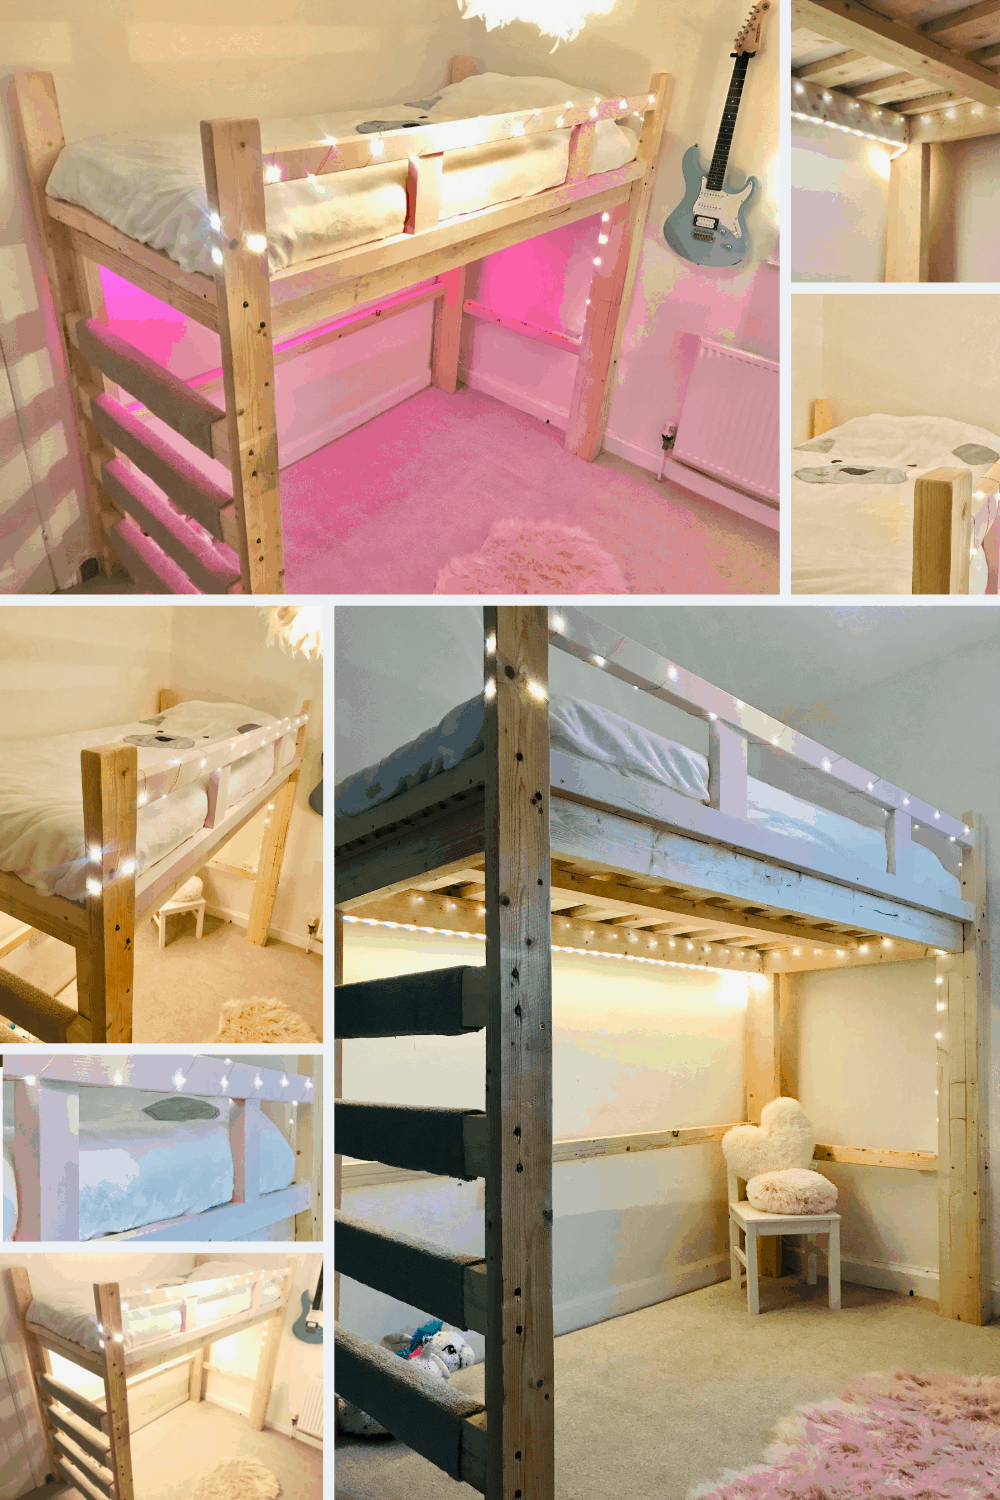
So, I decided to get creative and build my daughter a bed…
Ok, it’s true…
…I’m NOT a carpenter but what I lack in carpentry skills I make up for in sheer determination 😉
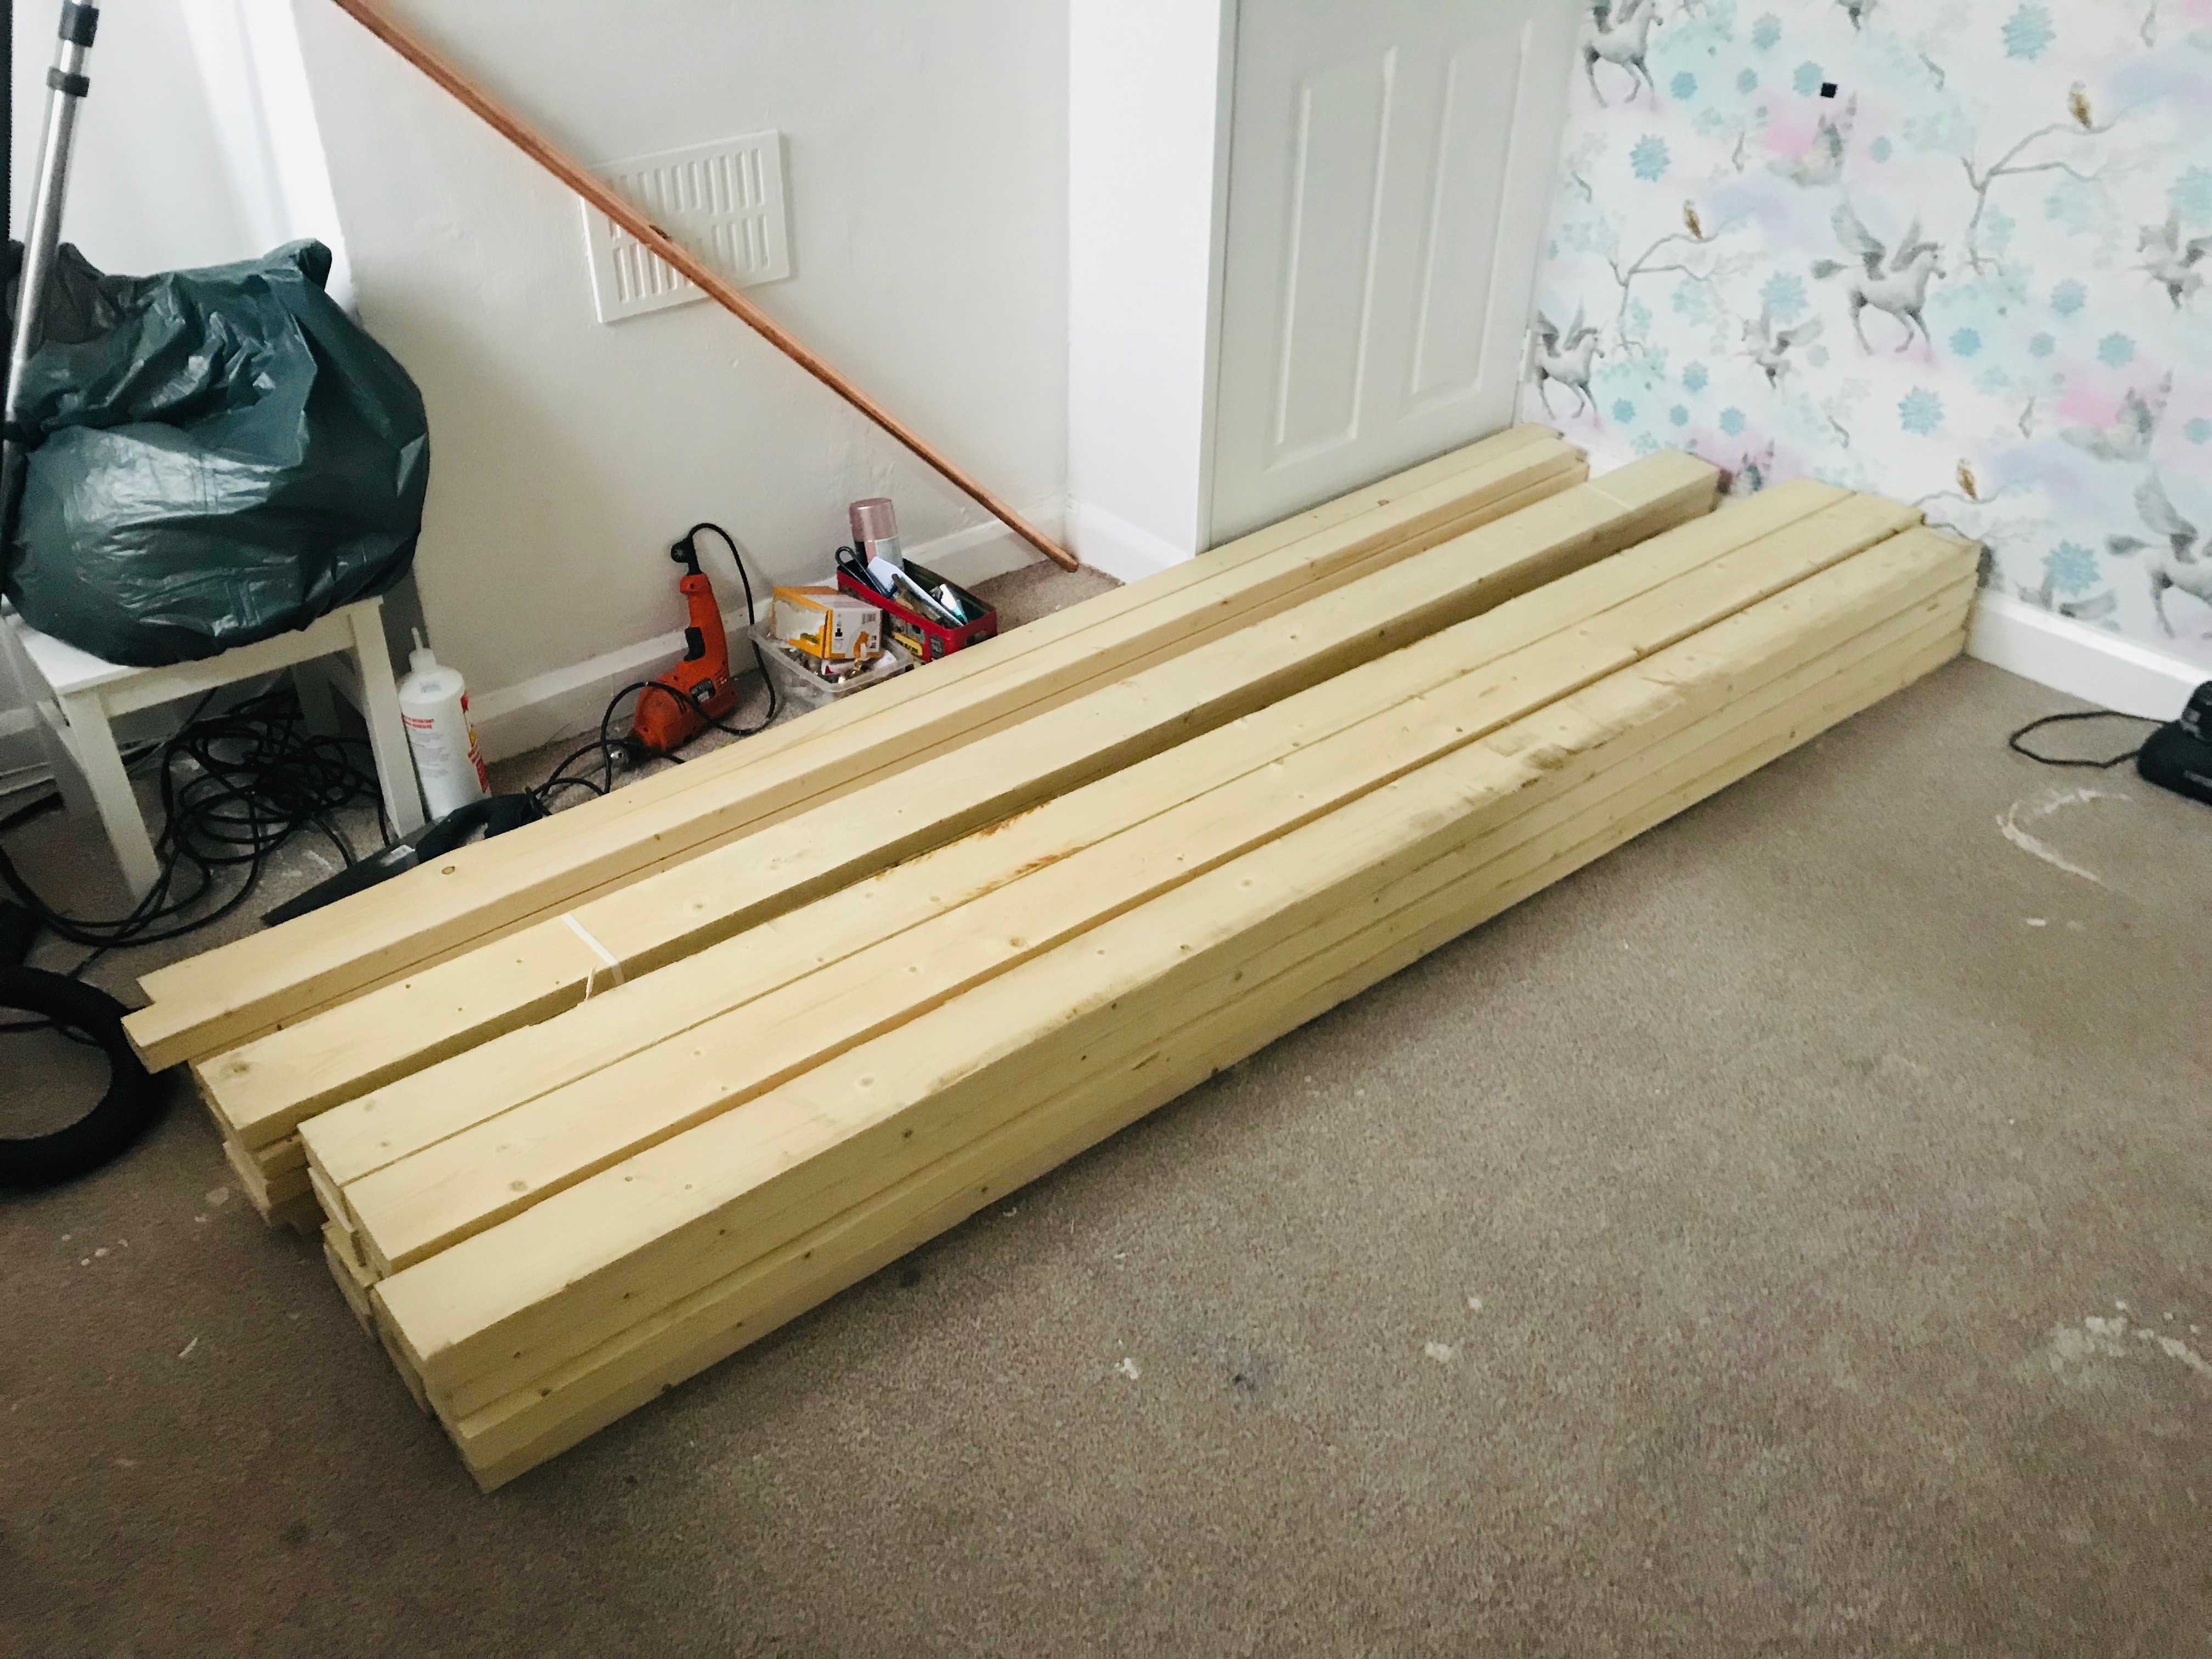
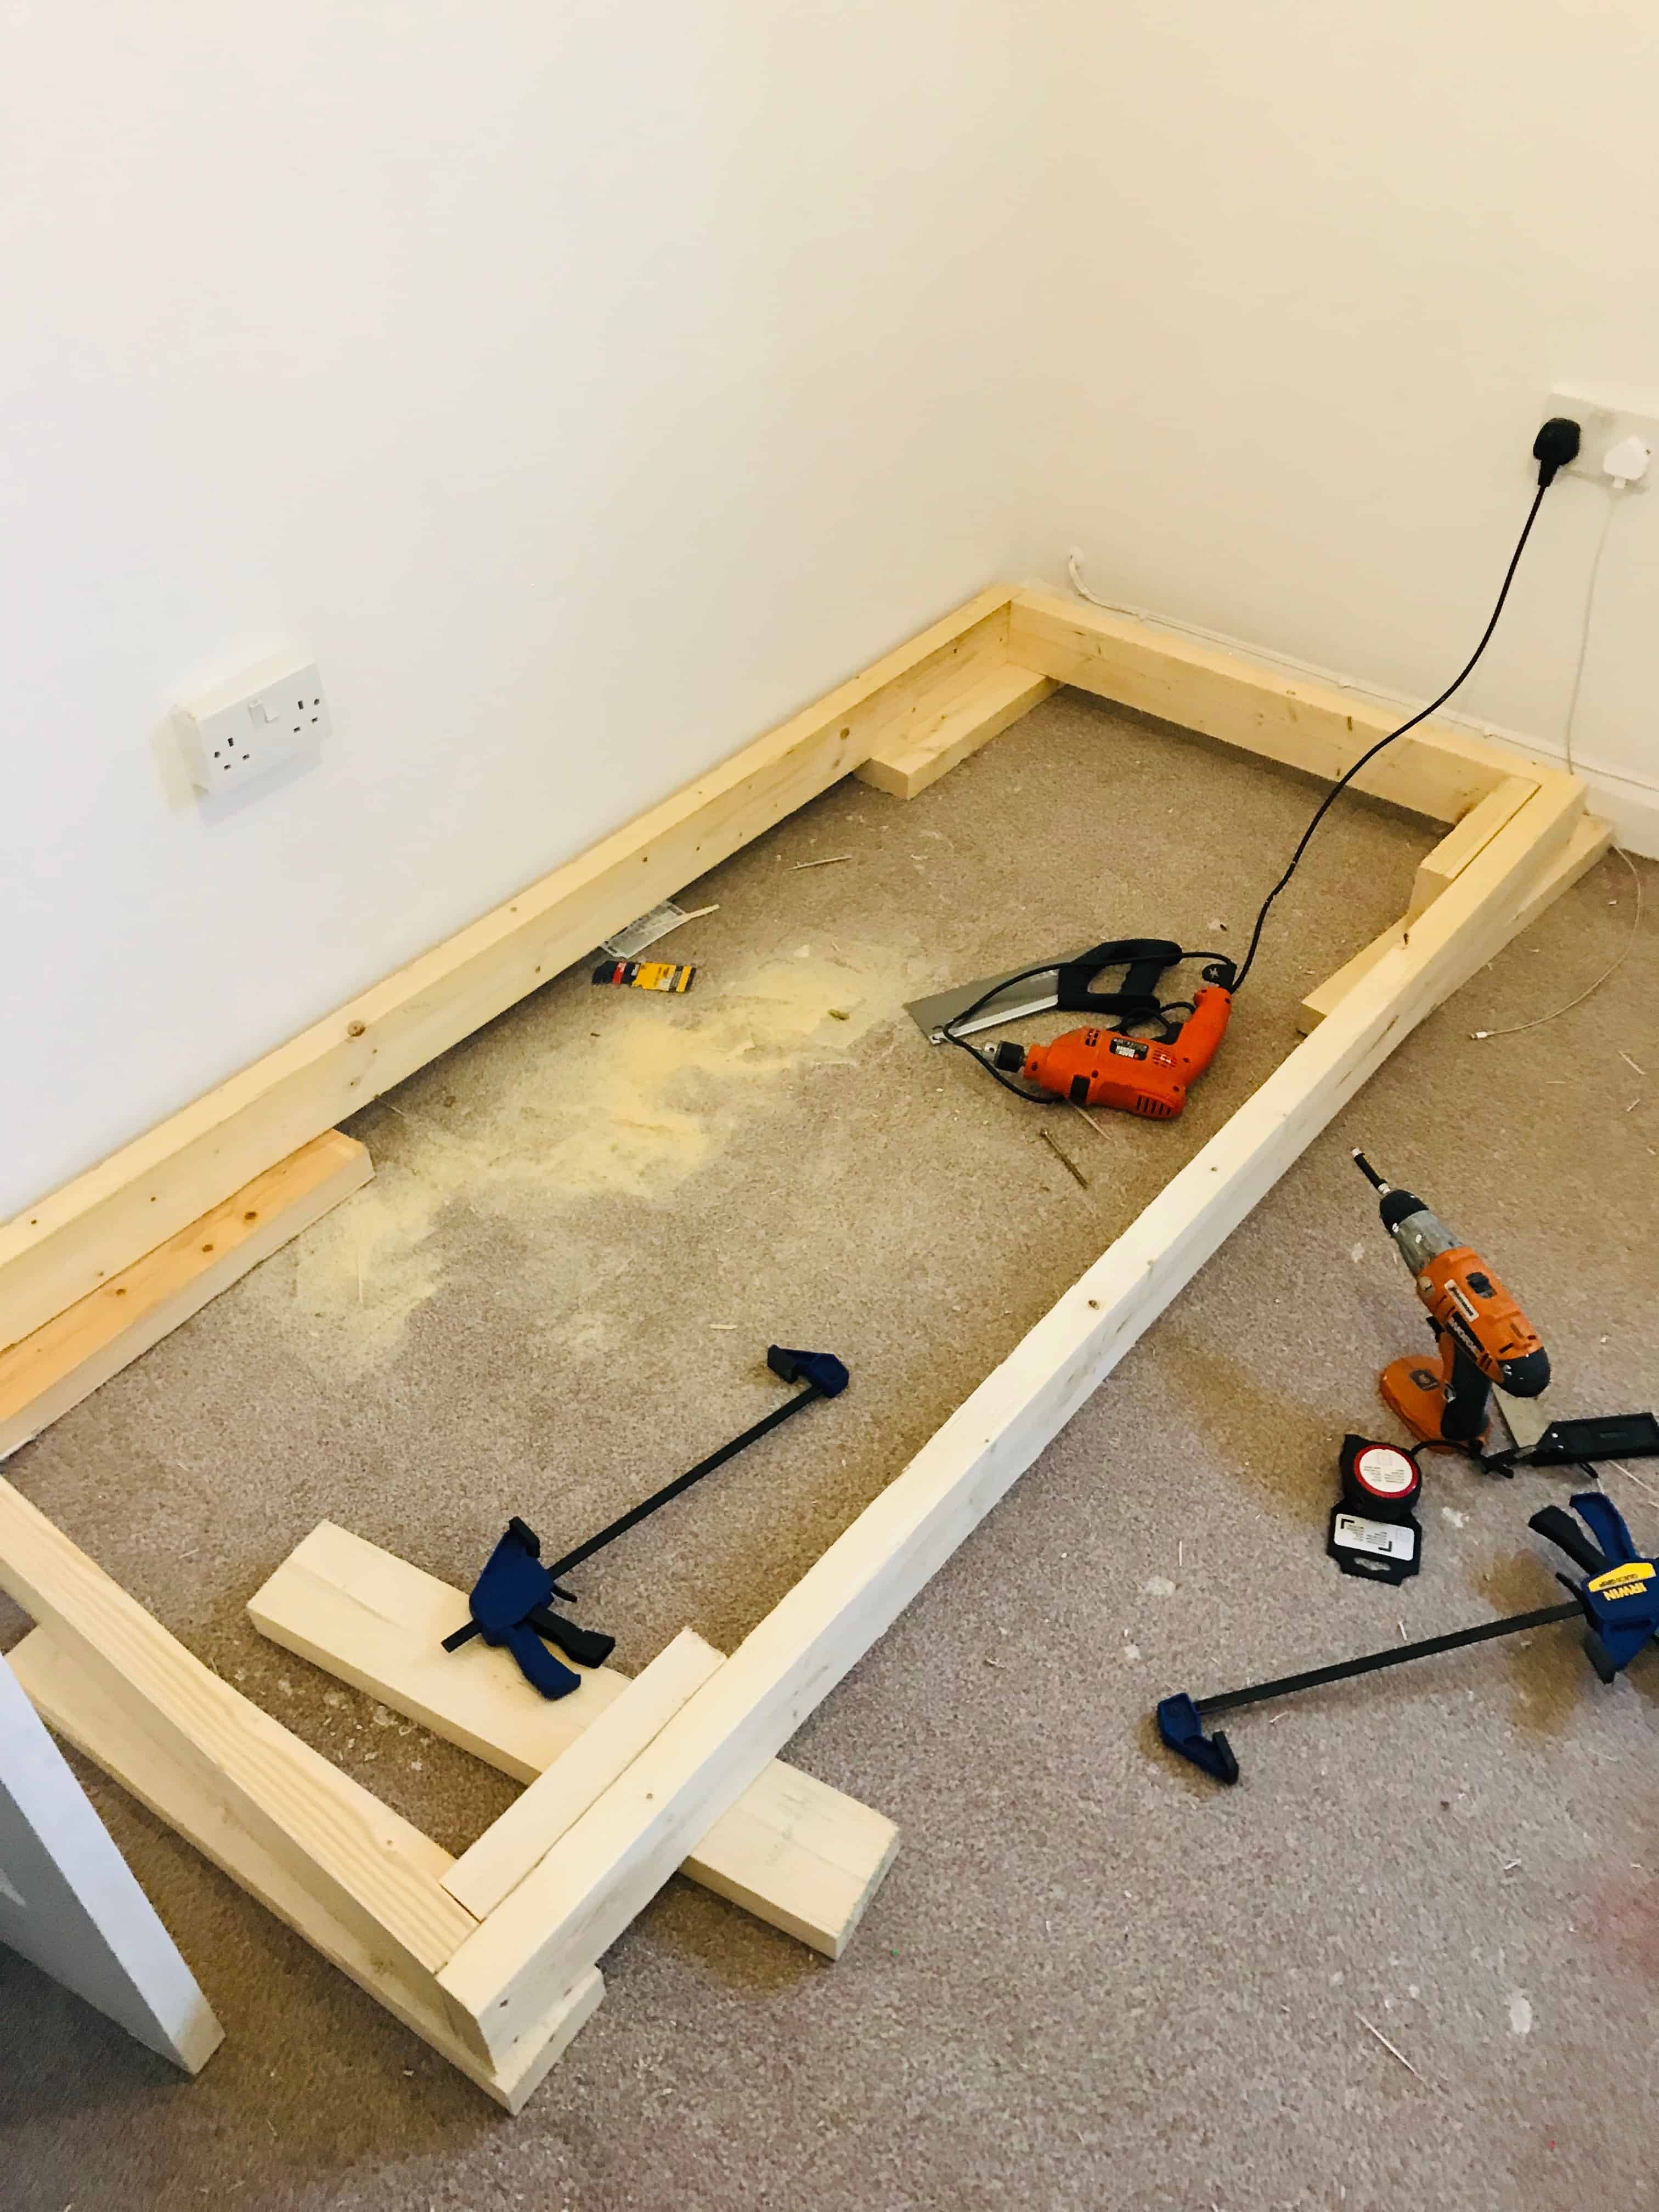
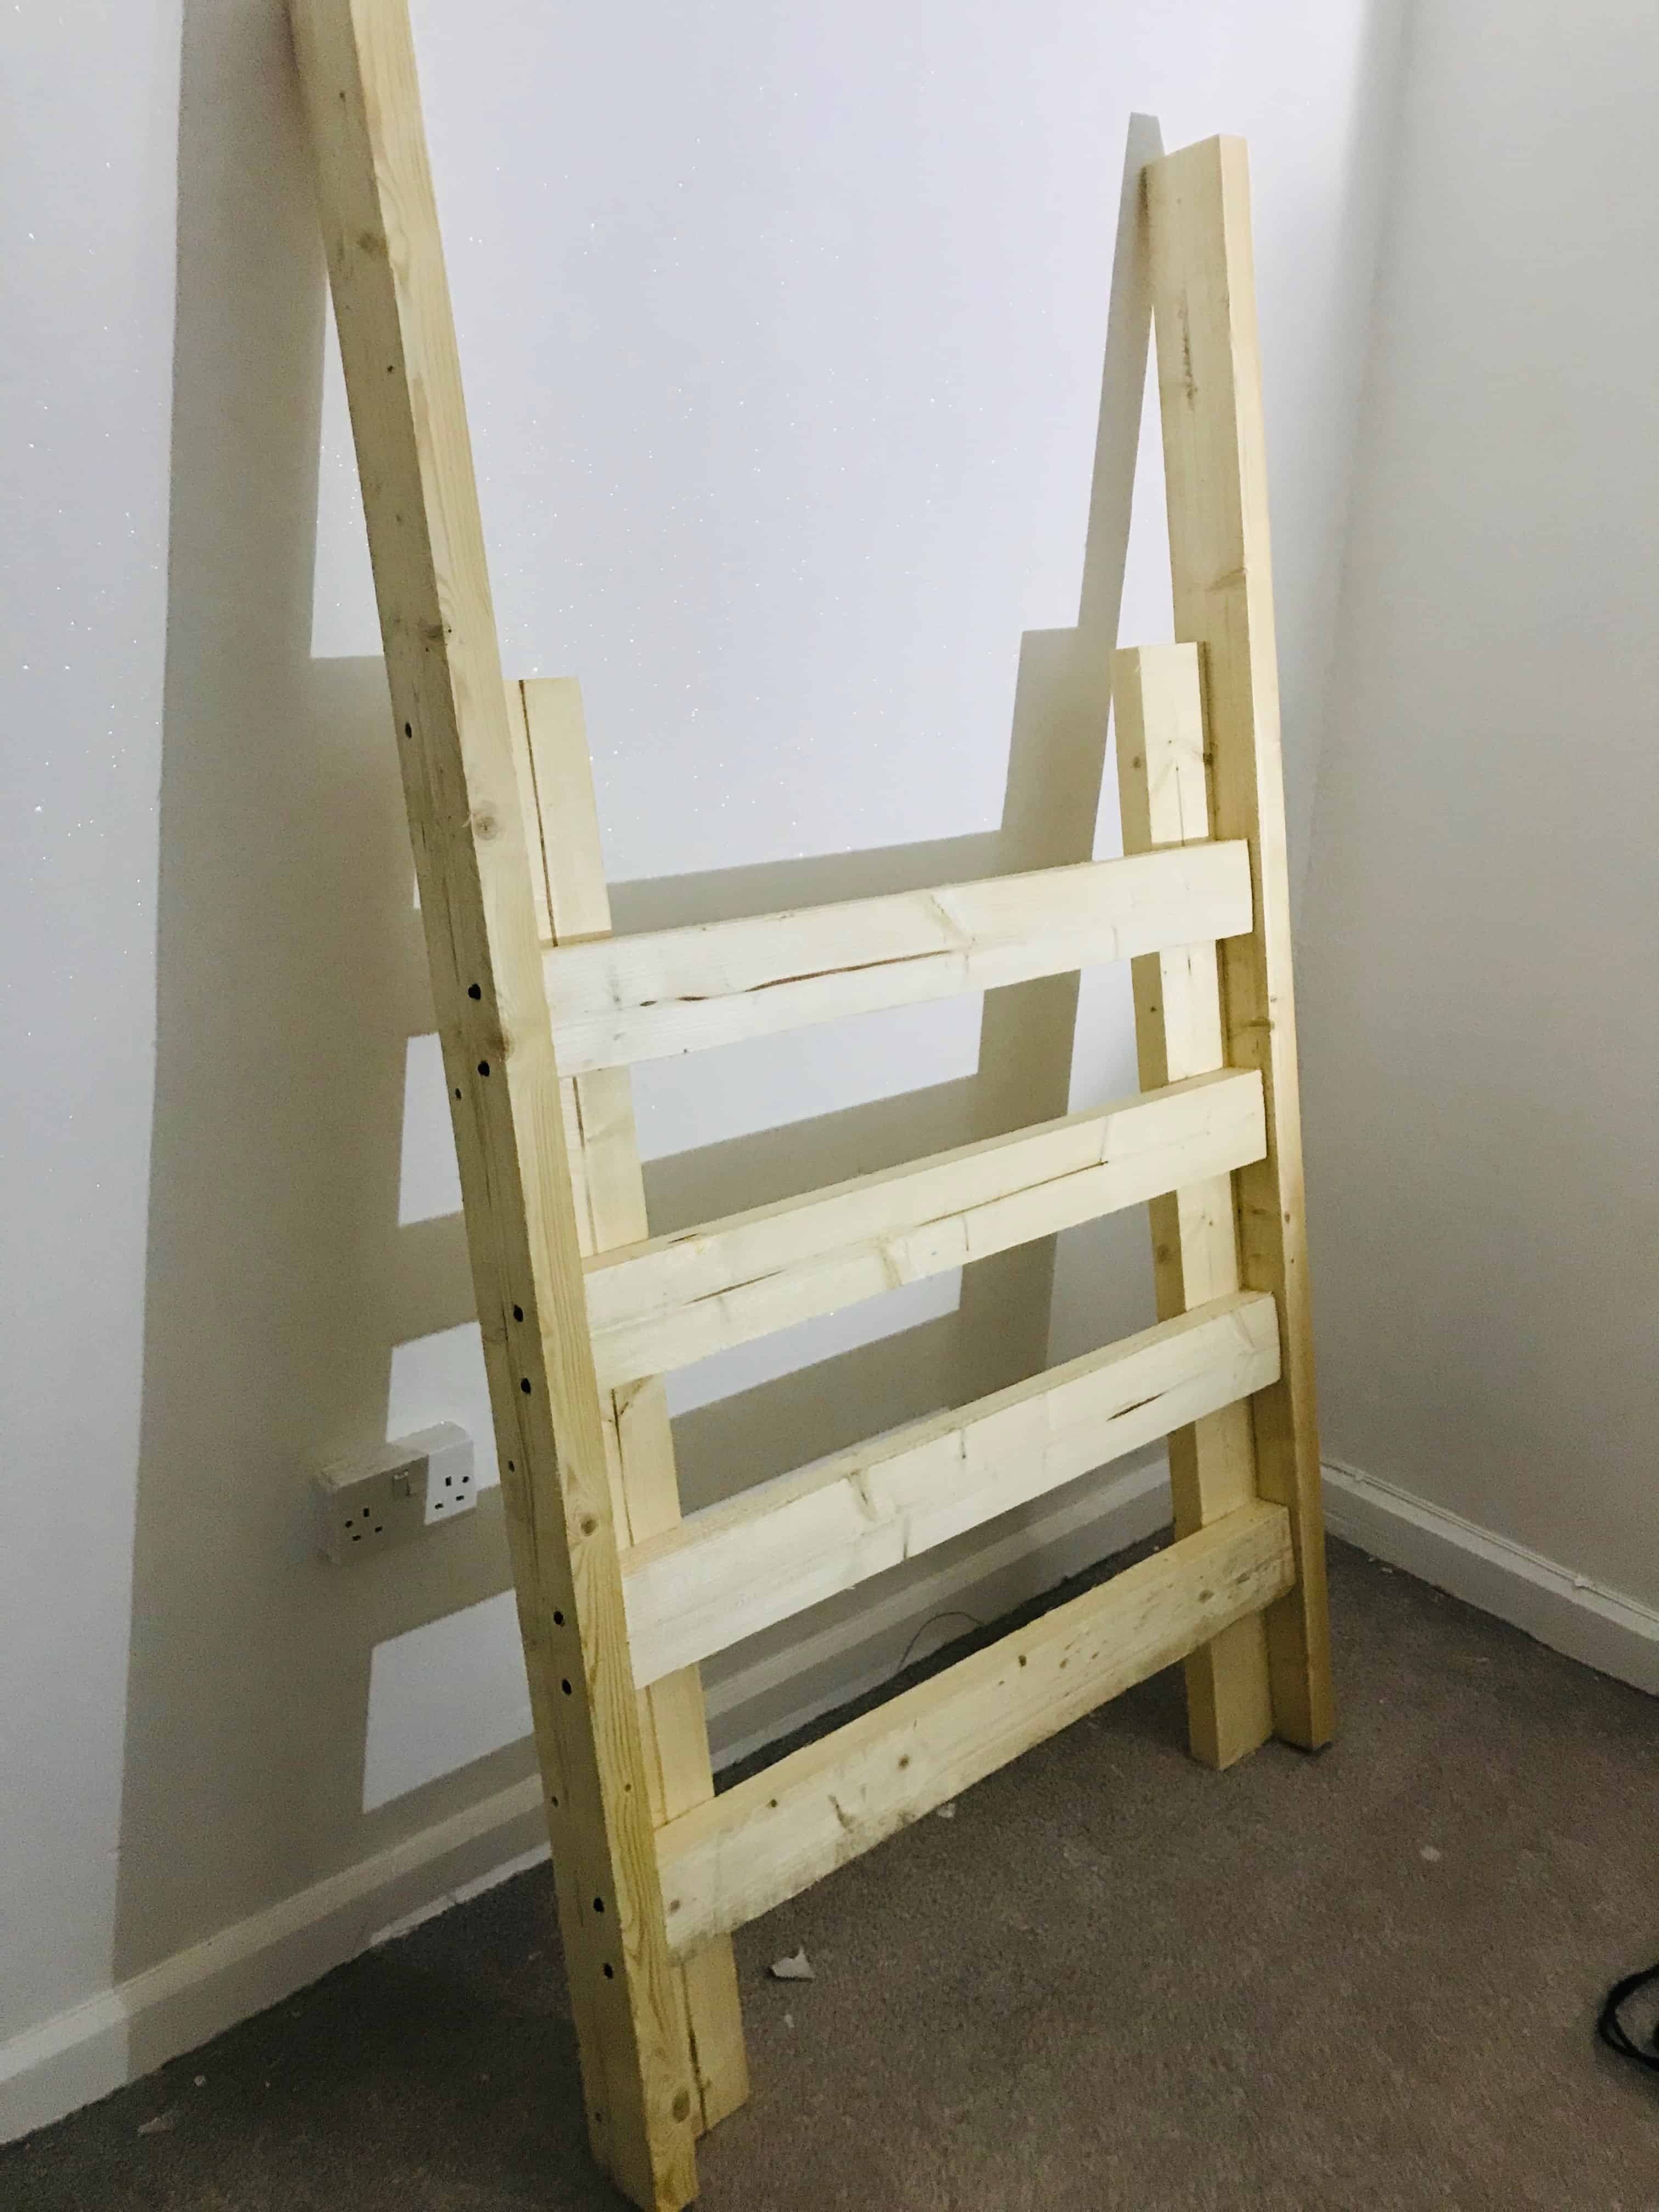
Building this bed took me less than two days & worked out at approximately $170 dollars… much cheaper than buying one premade & also a lot more sturdy.
Of course, this is only true if you have access to the right tools.
I’ve taken pictures to document the build process & will add a DIY bed tutorial soon… I’ll link it here when it’s done.
The Finished Bed
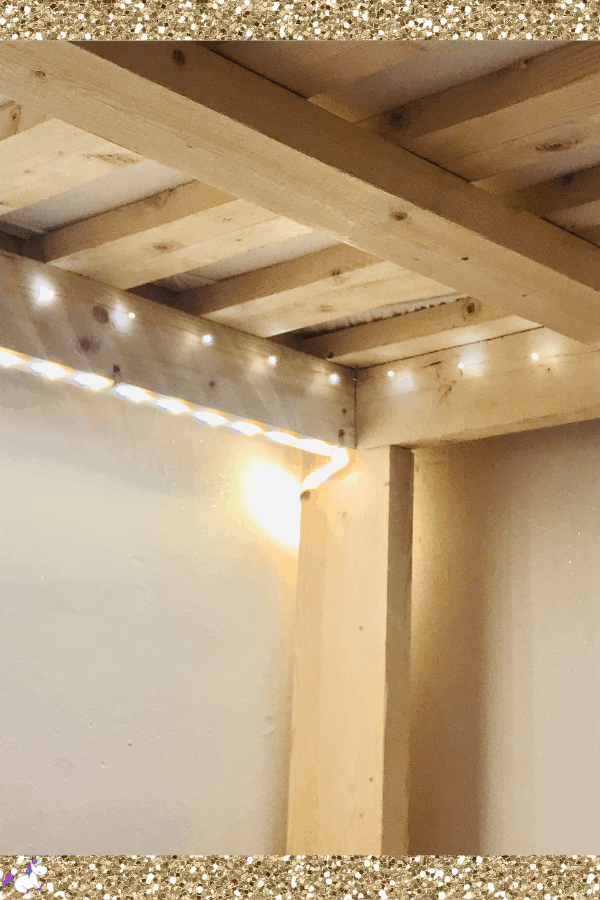
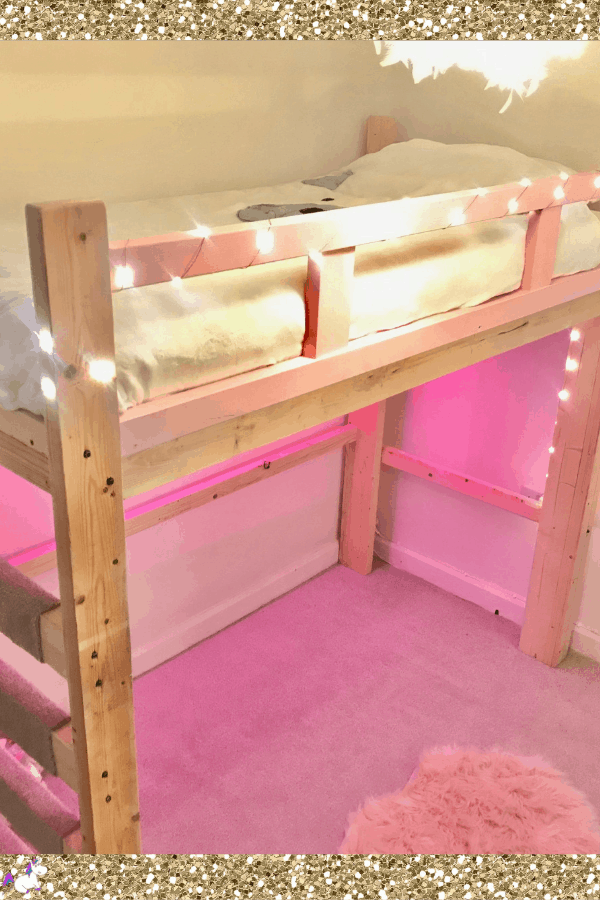
I love the way the bed has turned out… I spent hours drawing out my design only to lose the plan when I came to start chopping the wood… doh!
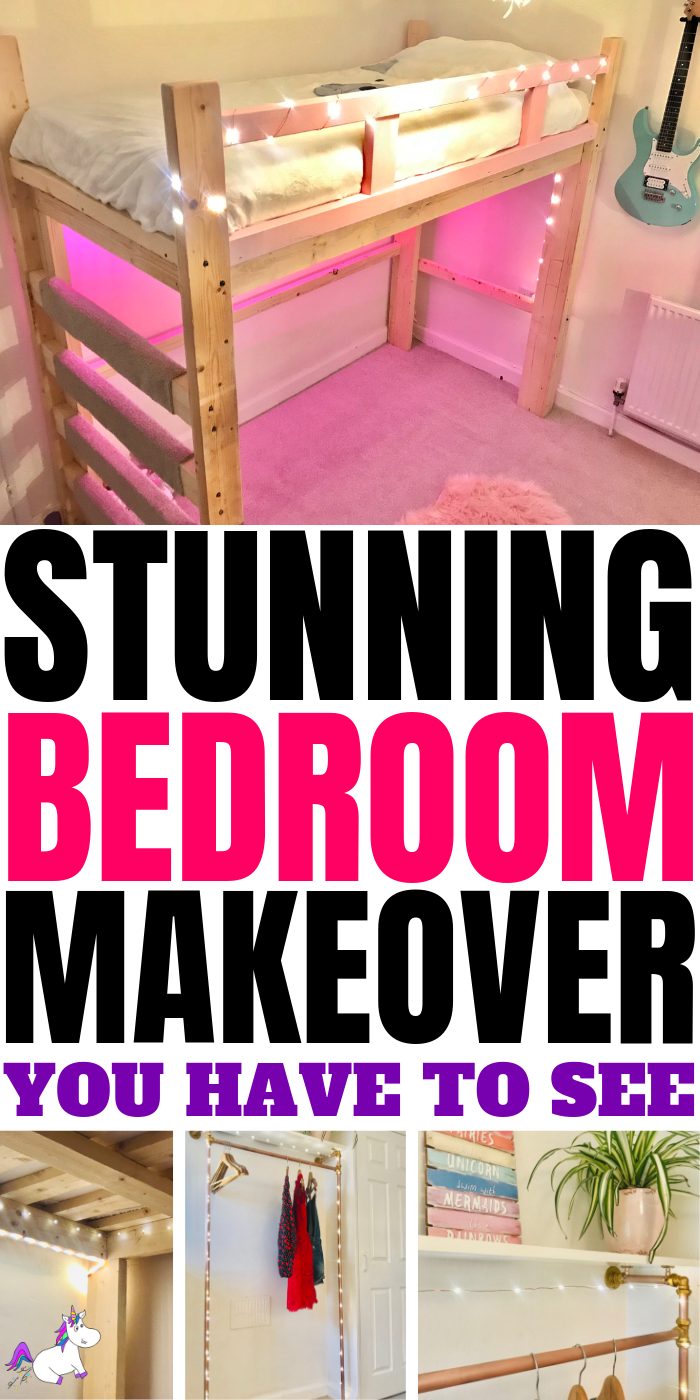
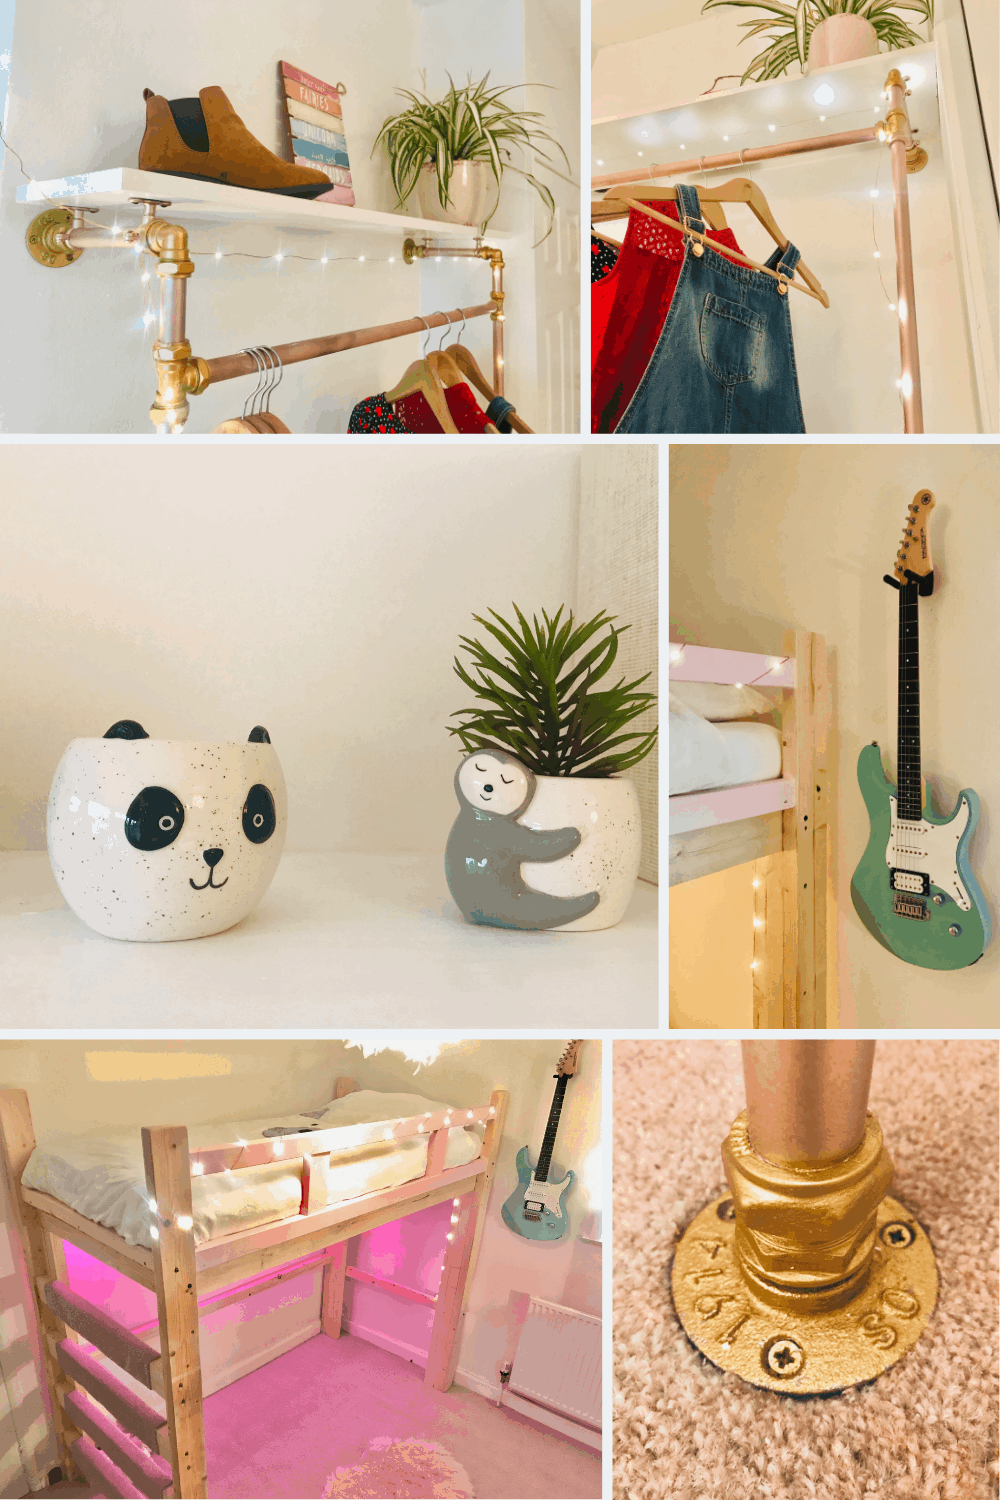
My girly wanted fairy lights under her bed but I also decided to install a set of Philips Hue lights as they look fantastic and are great fun when choosing a color to suit your mood.
To make the ladder more comfortable to climb I added some of the leftover carpet to steps.
Industrial Style Clothes Rail
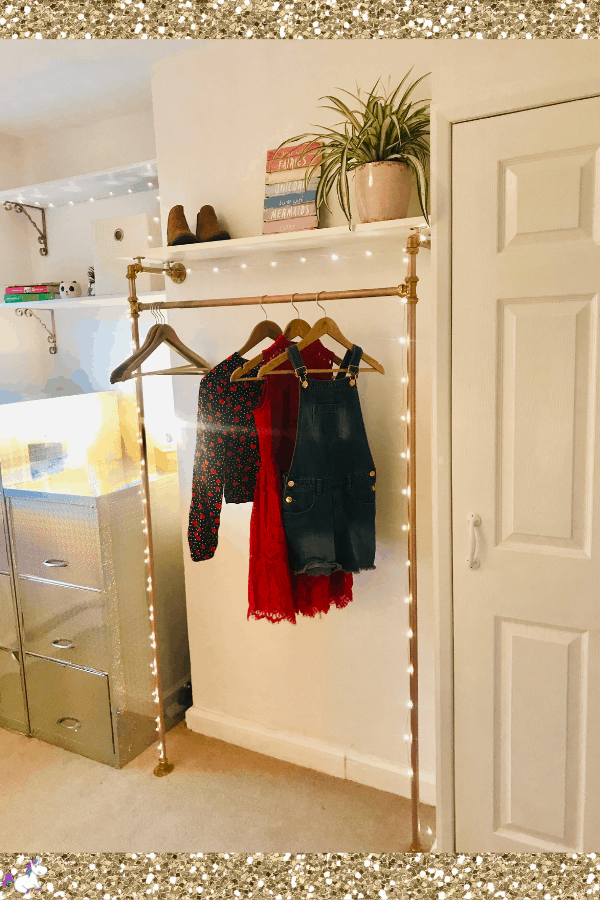
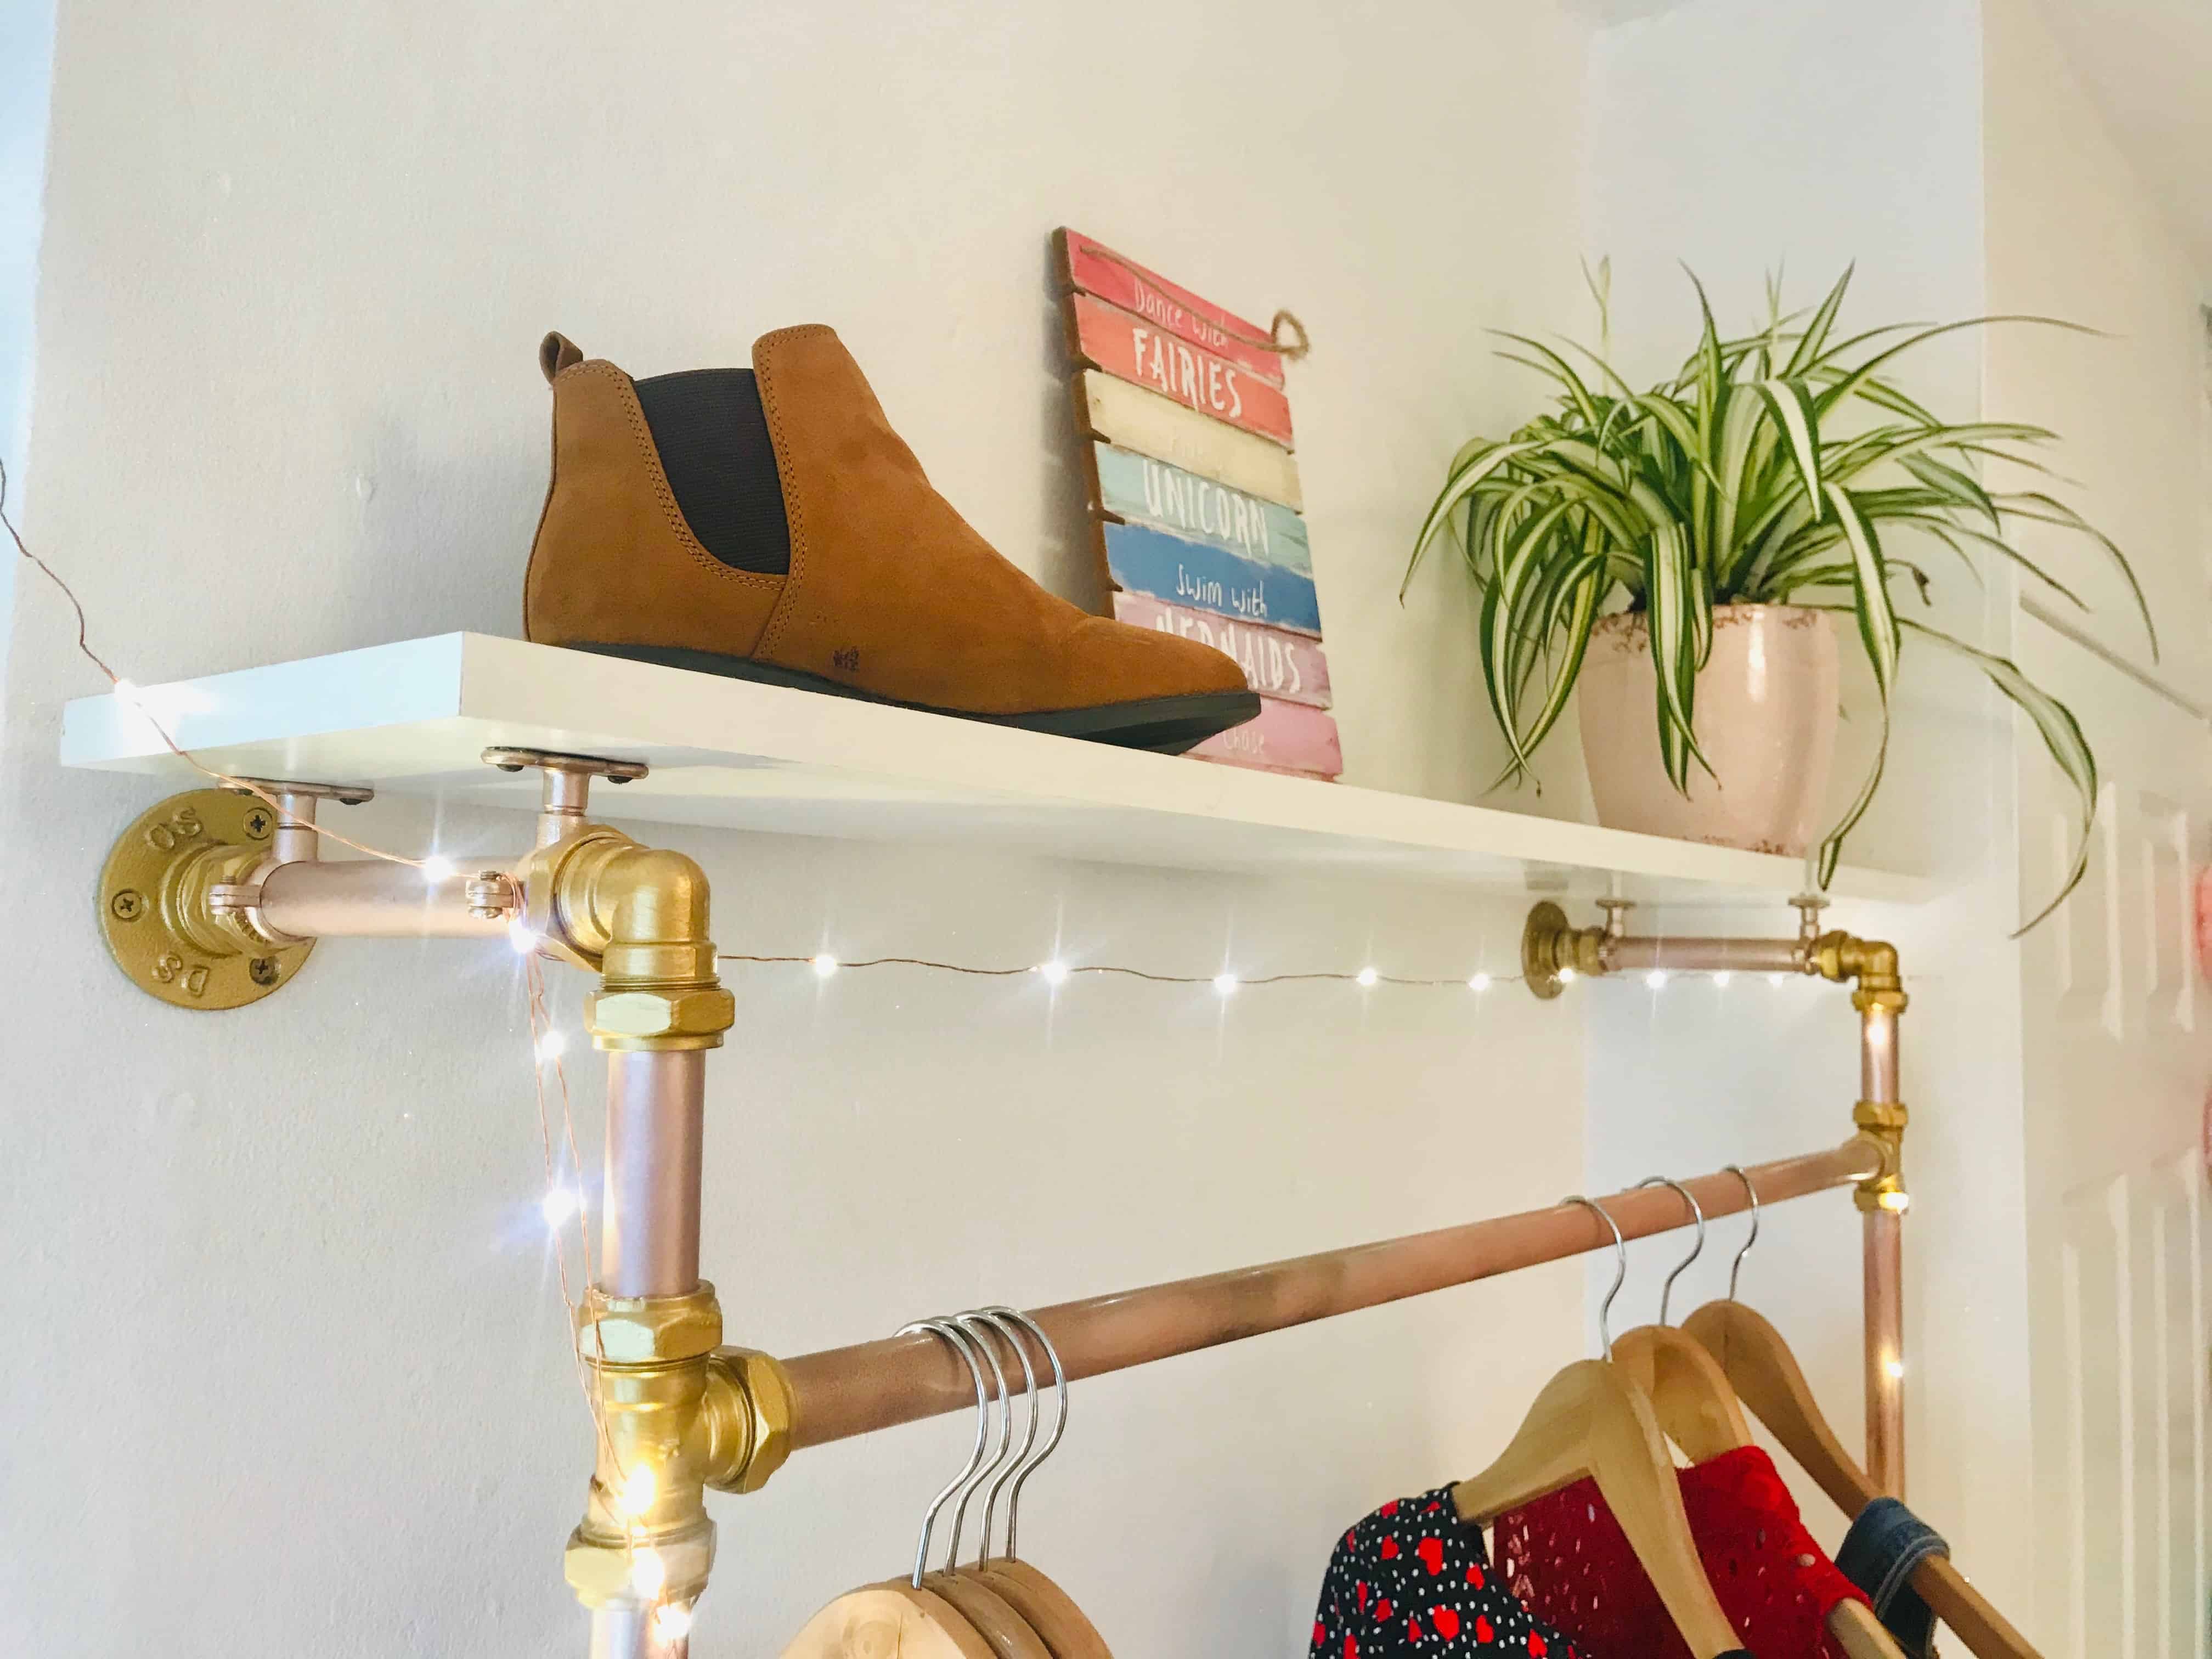
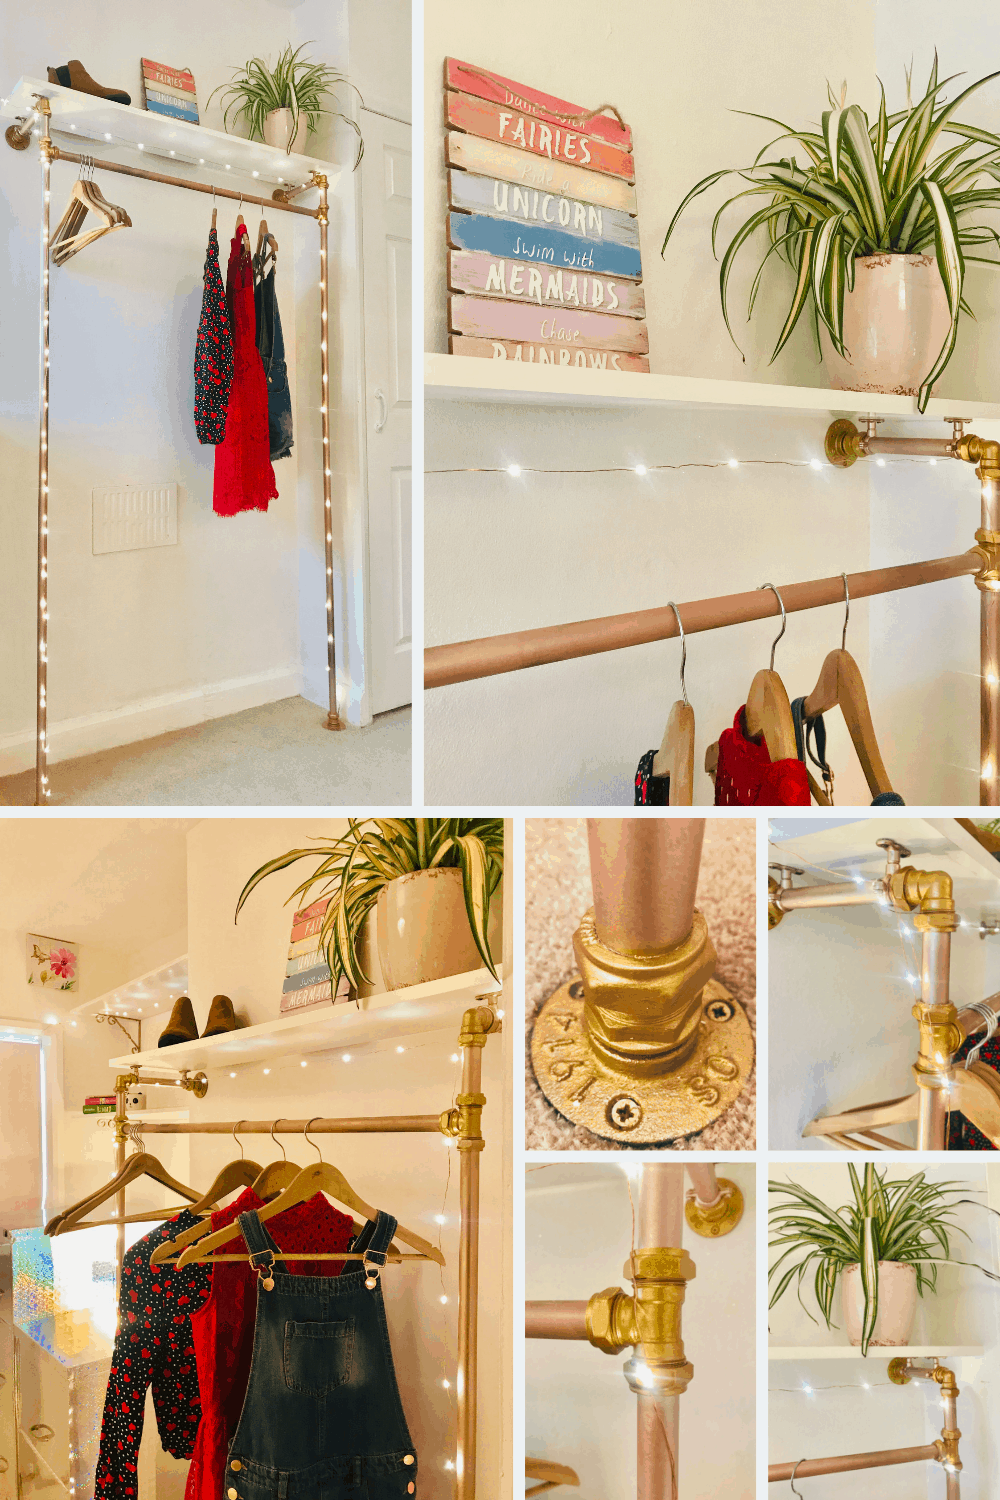
This clothes rail, made out of 3/4inch copper pipe was really easy to build & worked out at about $130 including the shelf.
If you want to build one yourself I’ll be linking up a tutorial here when it’s done.
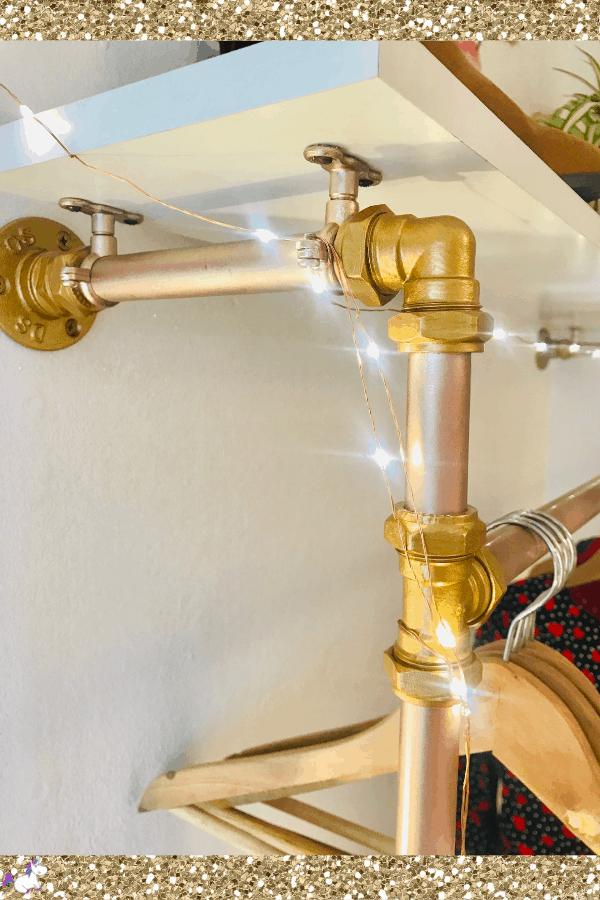
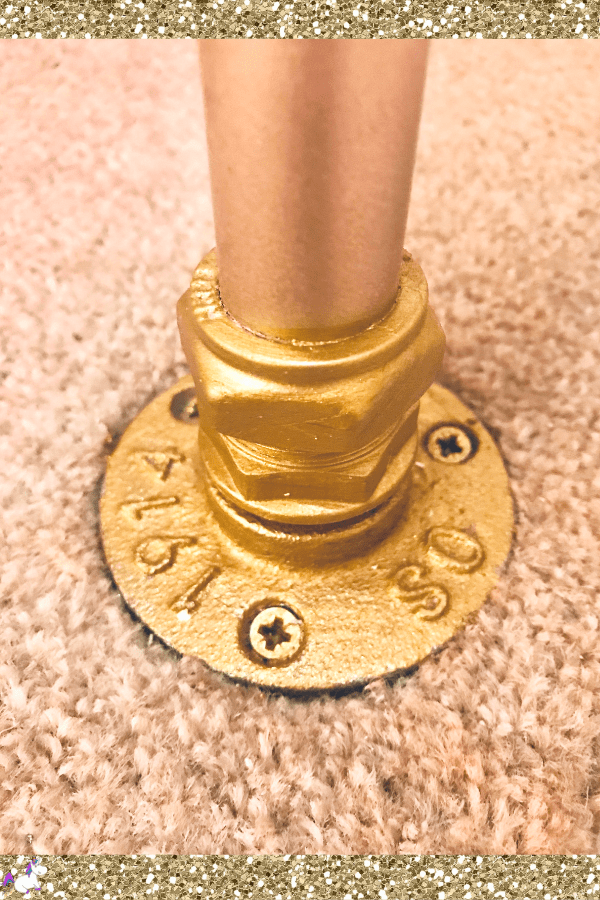
My daughter wanted the pipes to be rose gold so we spent a little extra on some rose gold spray paint and it was such a good investment!
After it was painted we decided that there was a little too much pink & so we painted the connections for the pipes gold.
Storage Solutions
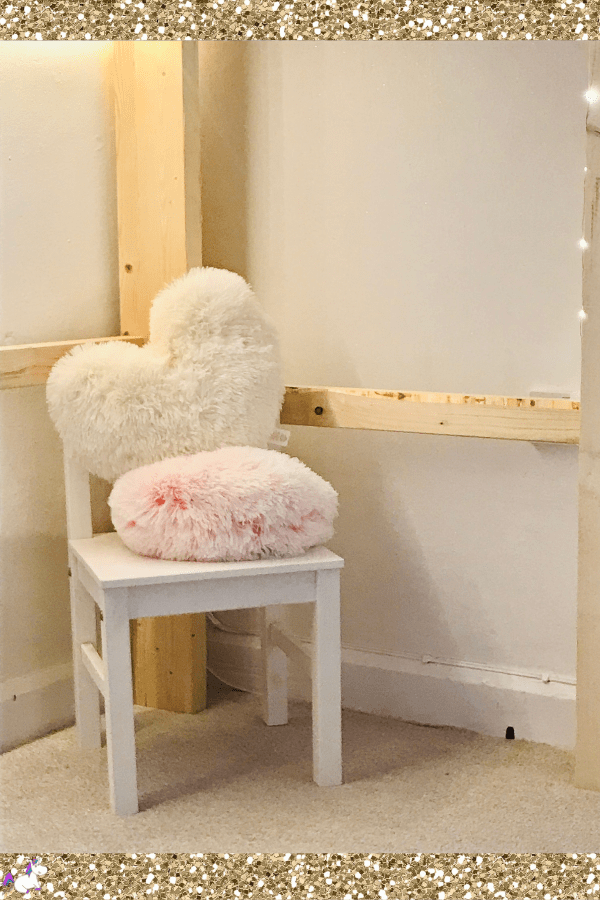
Storage is key when you have a small bedroom so take some time to work out what you need to store & where. You may need to get a little creative with storage solutions!
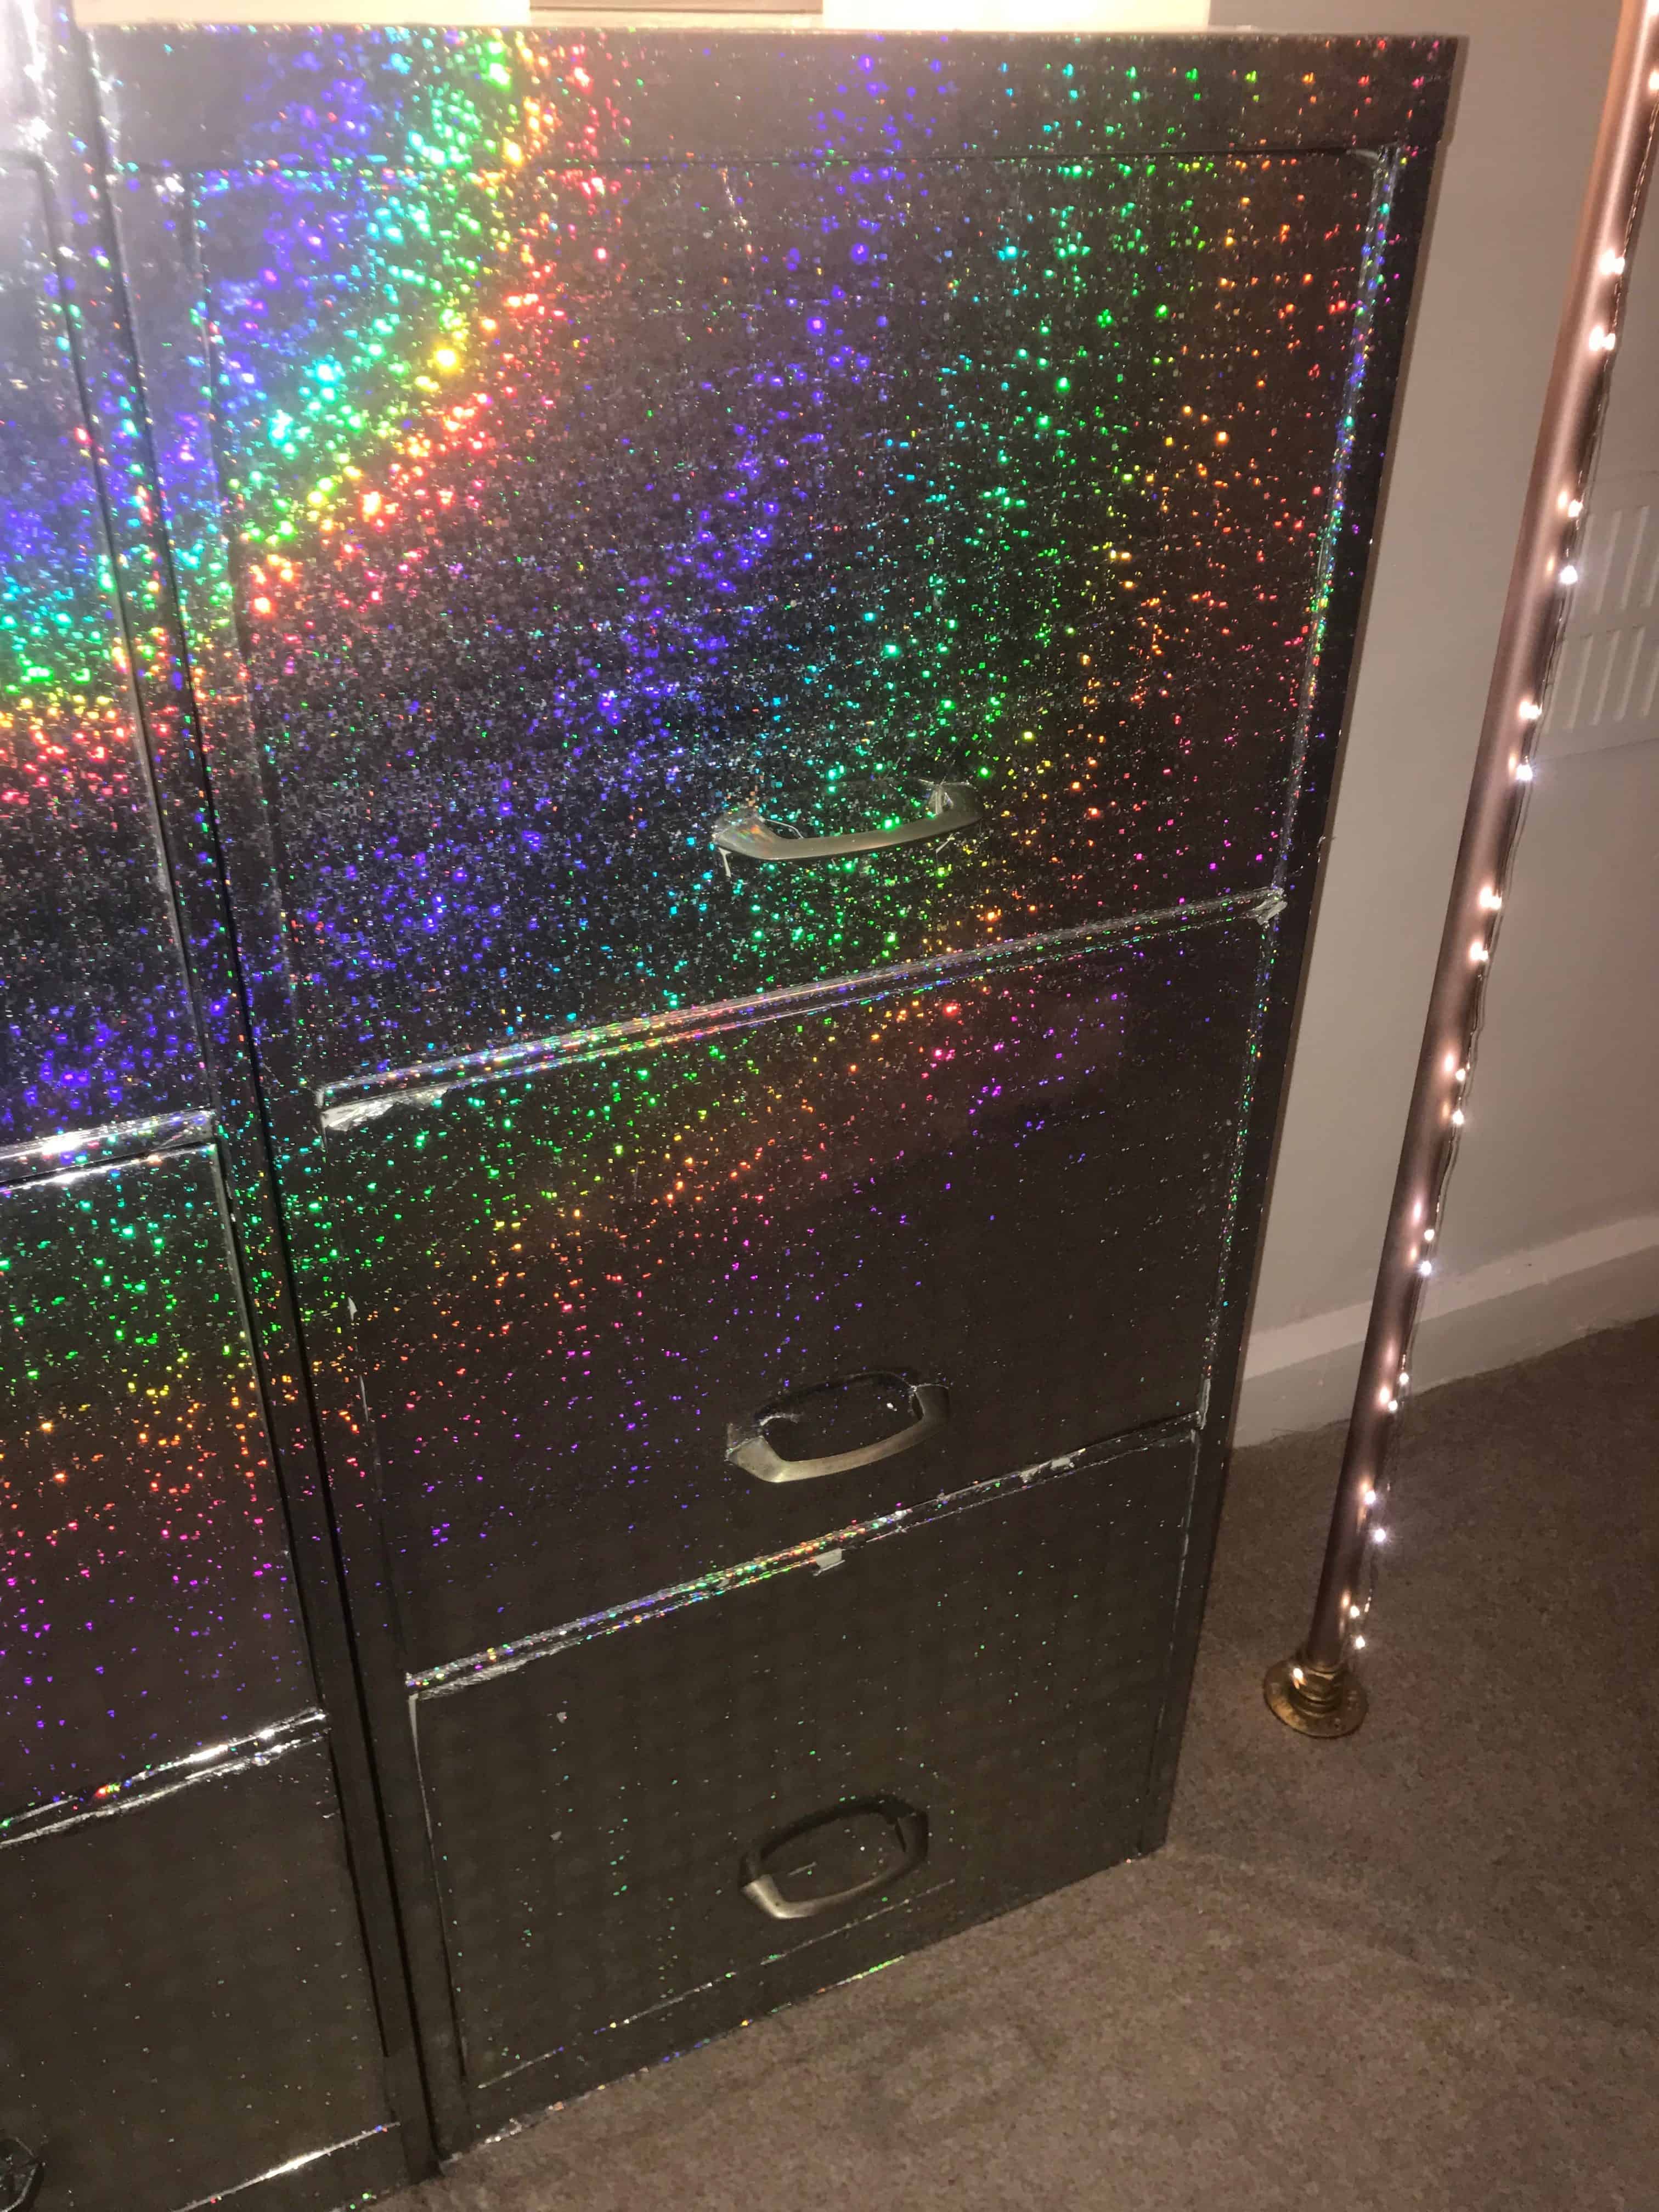
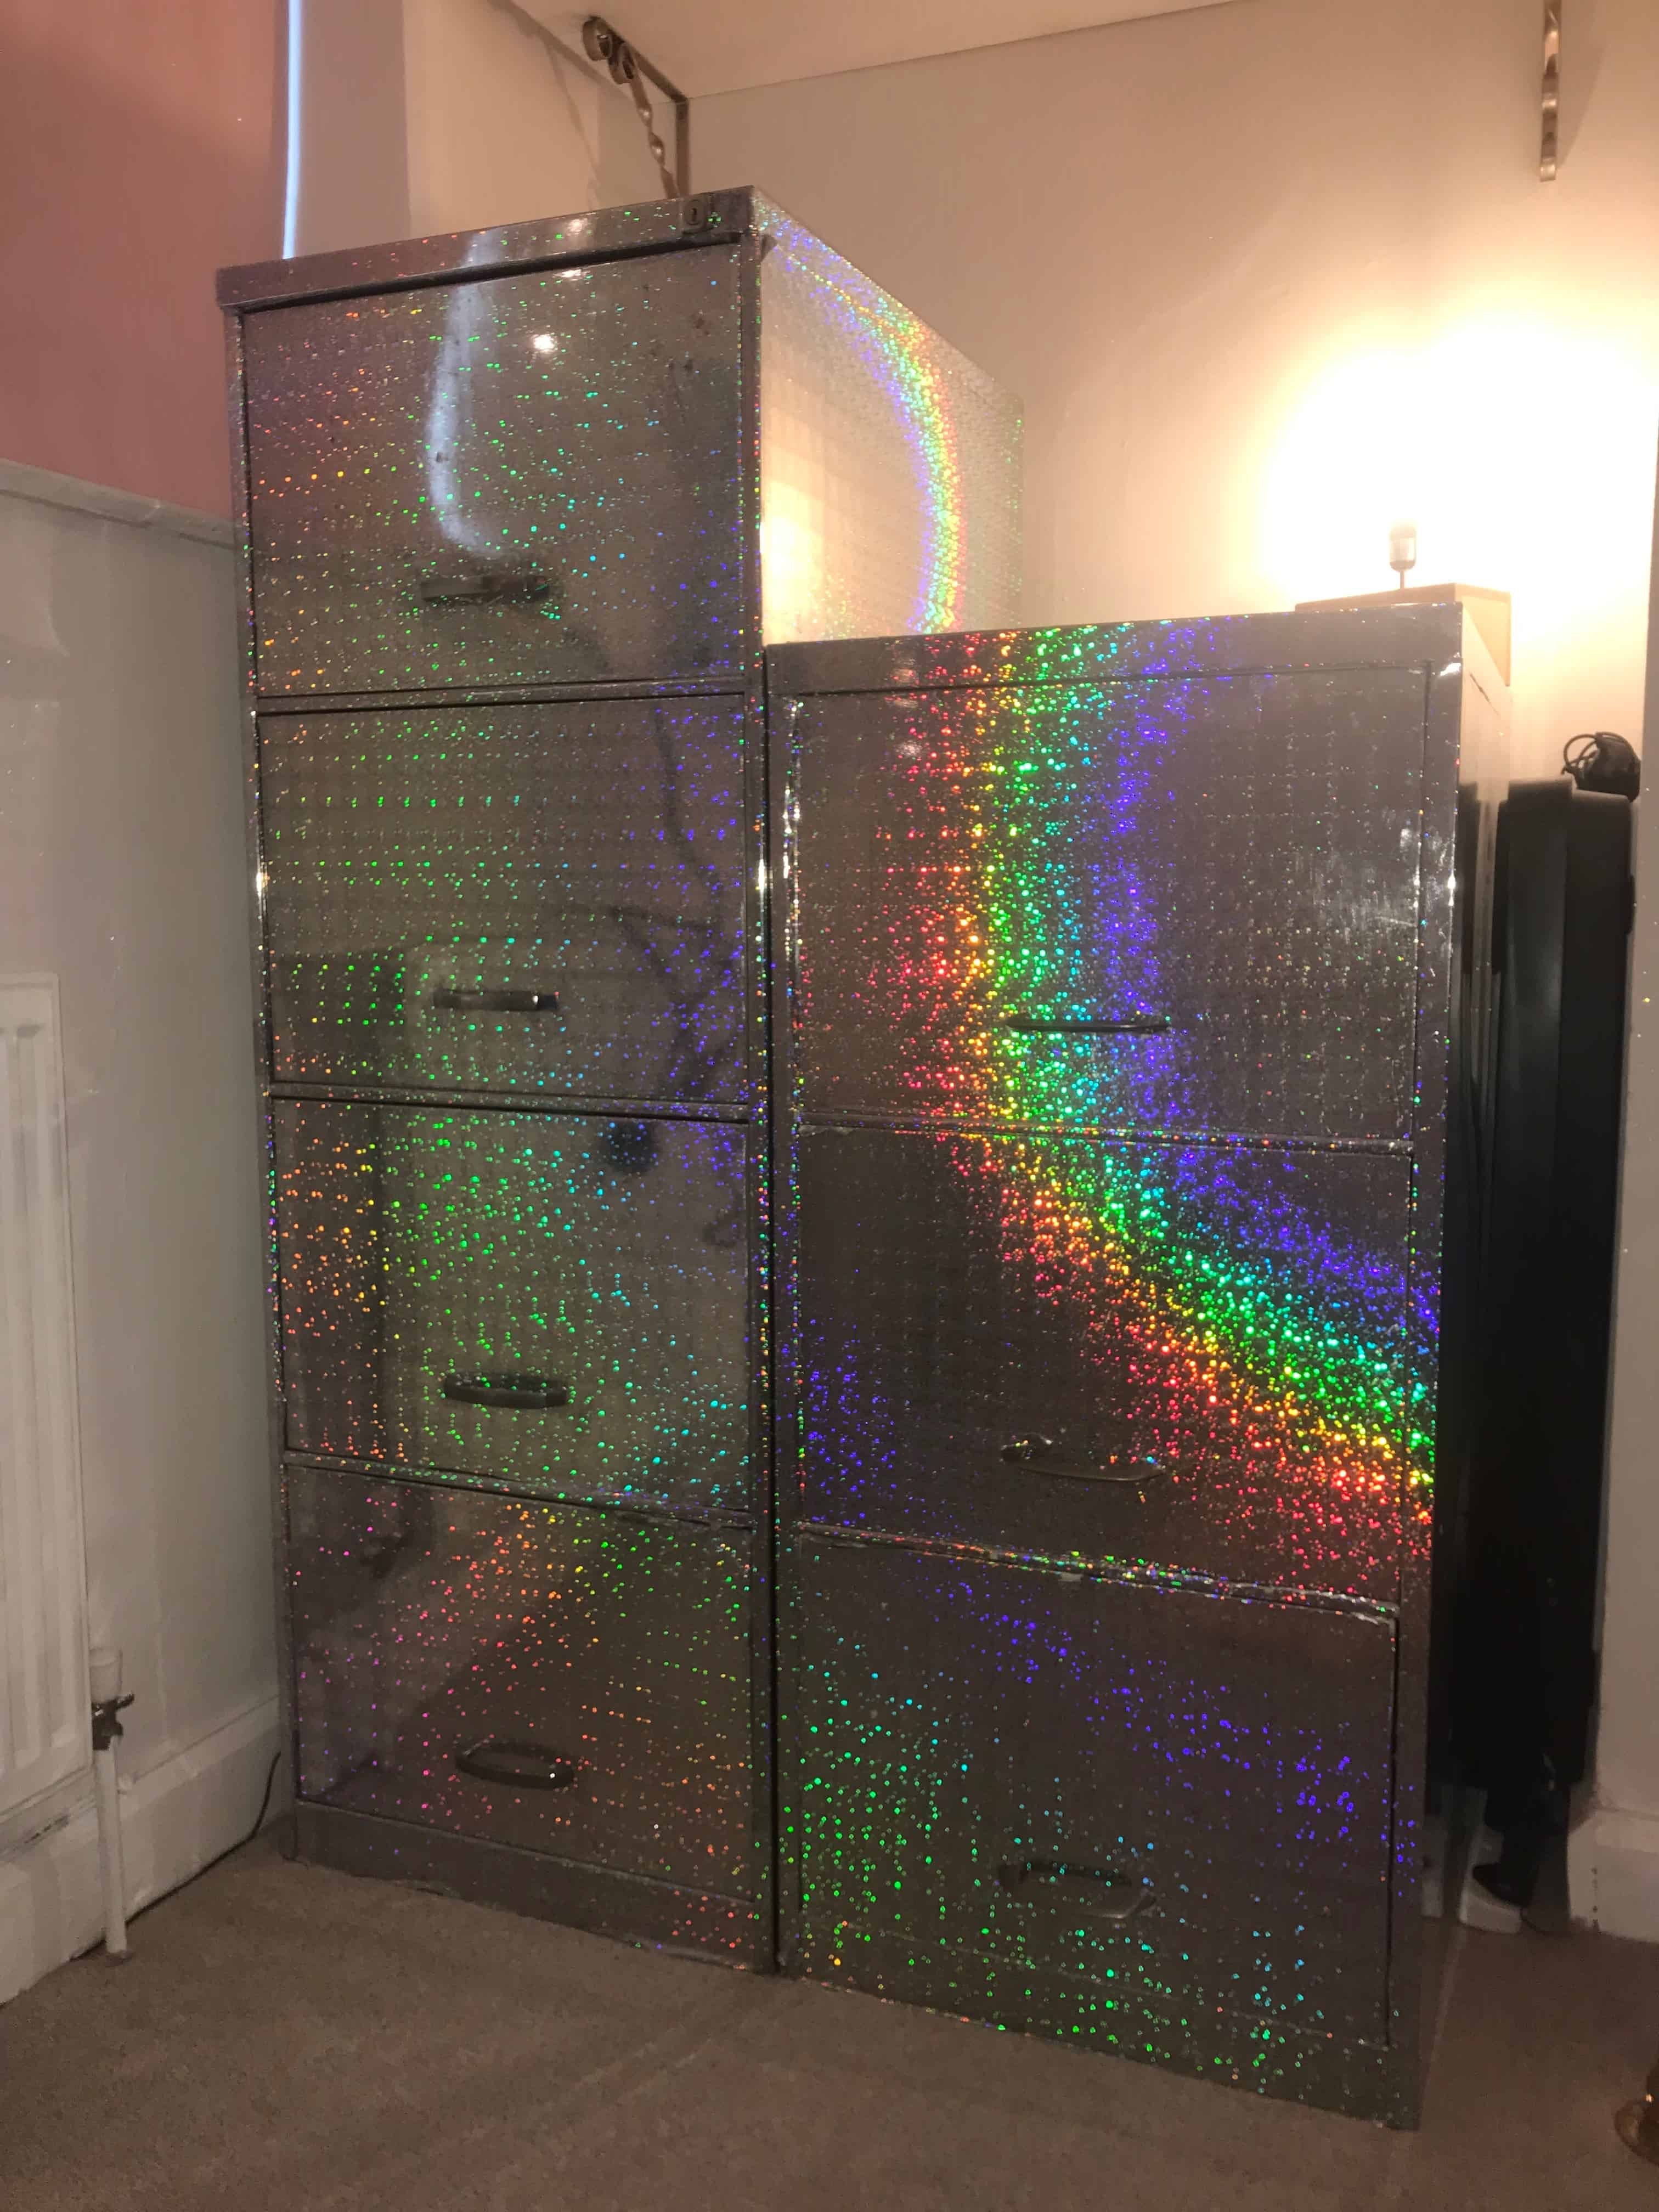
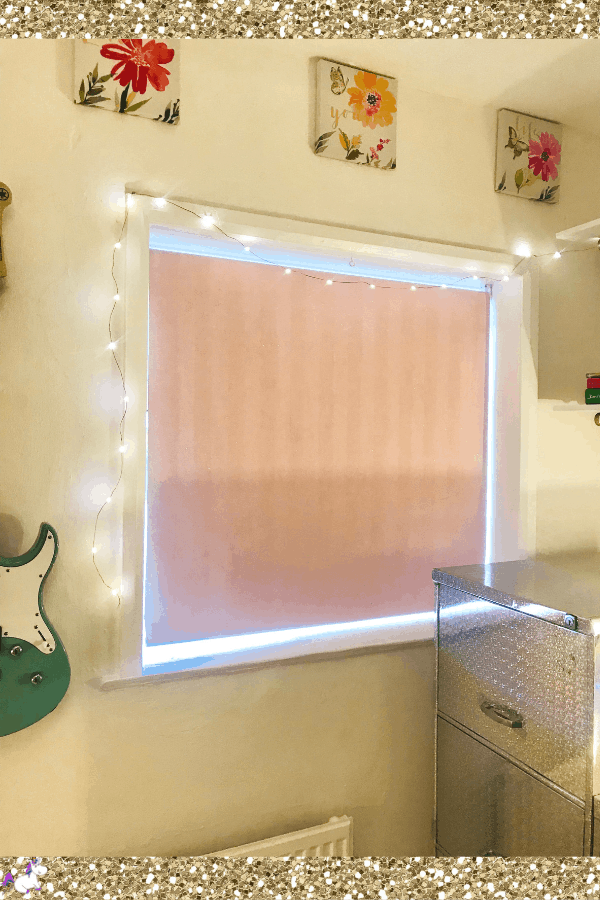
The last time I decorated my daughter’s room we used large filing cabinets & covered them with some self-adhesive paper.
They look really fun & provide a HUGE amount of storage space so we decided to keep them.
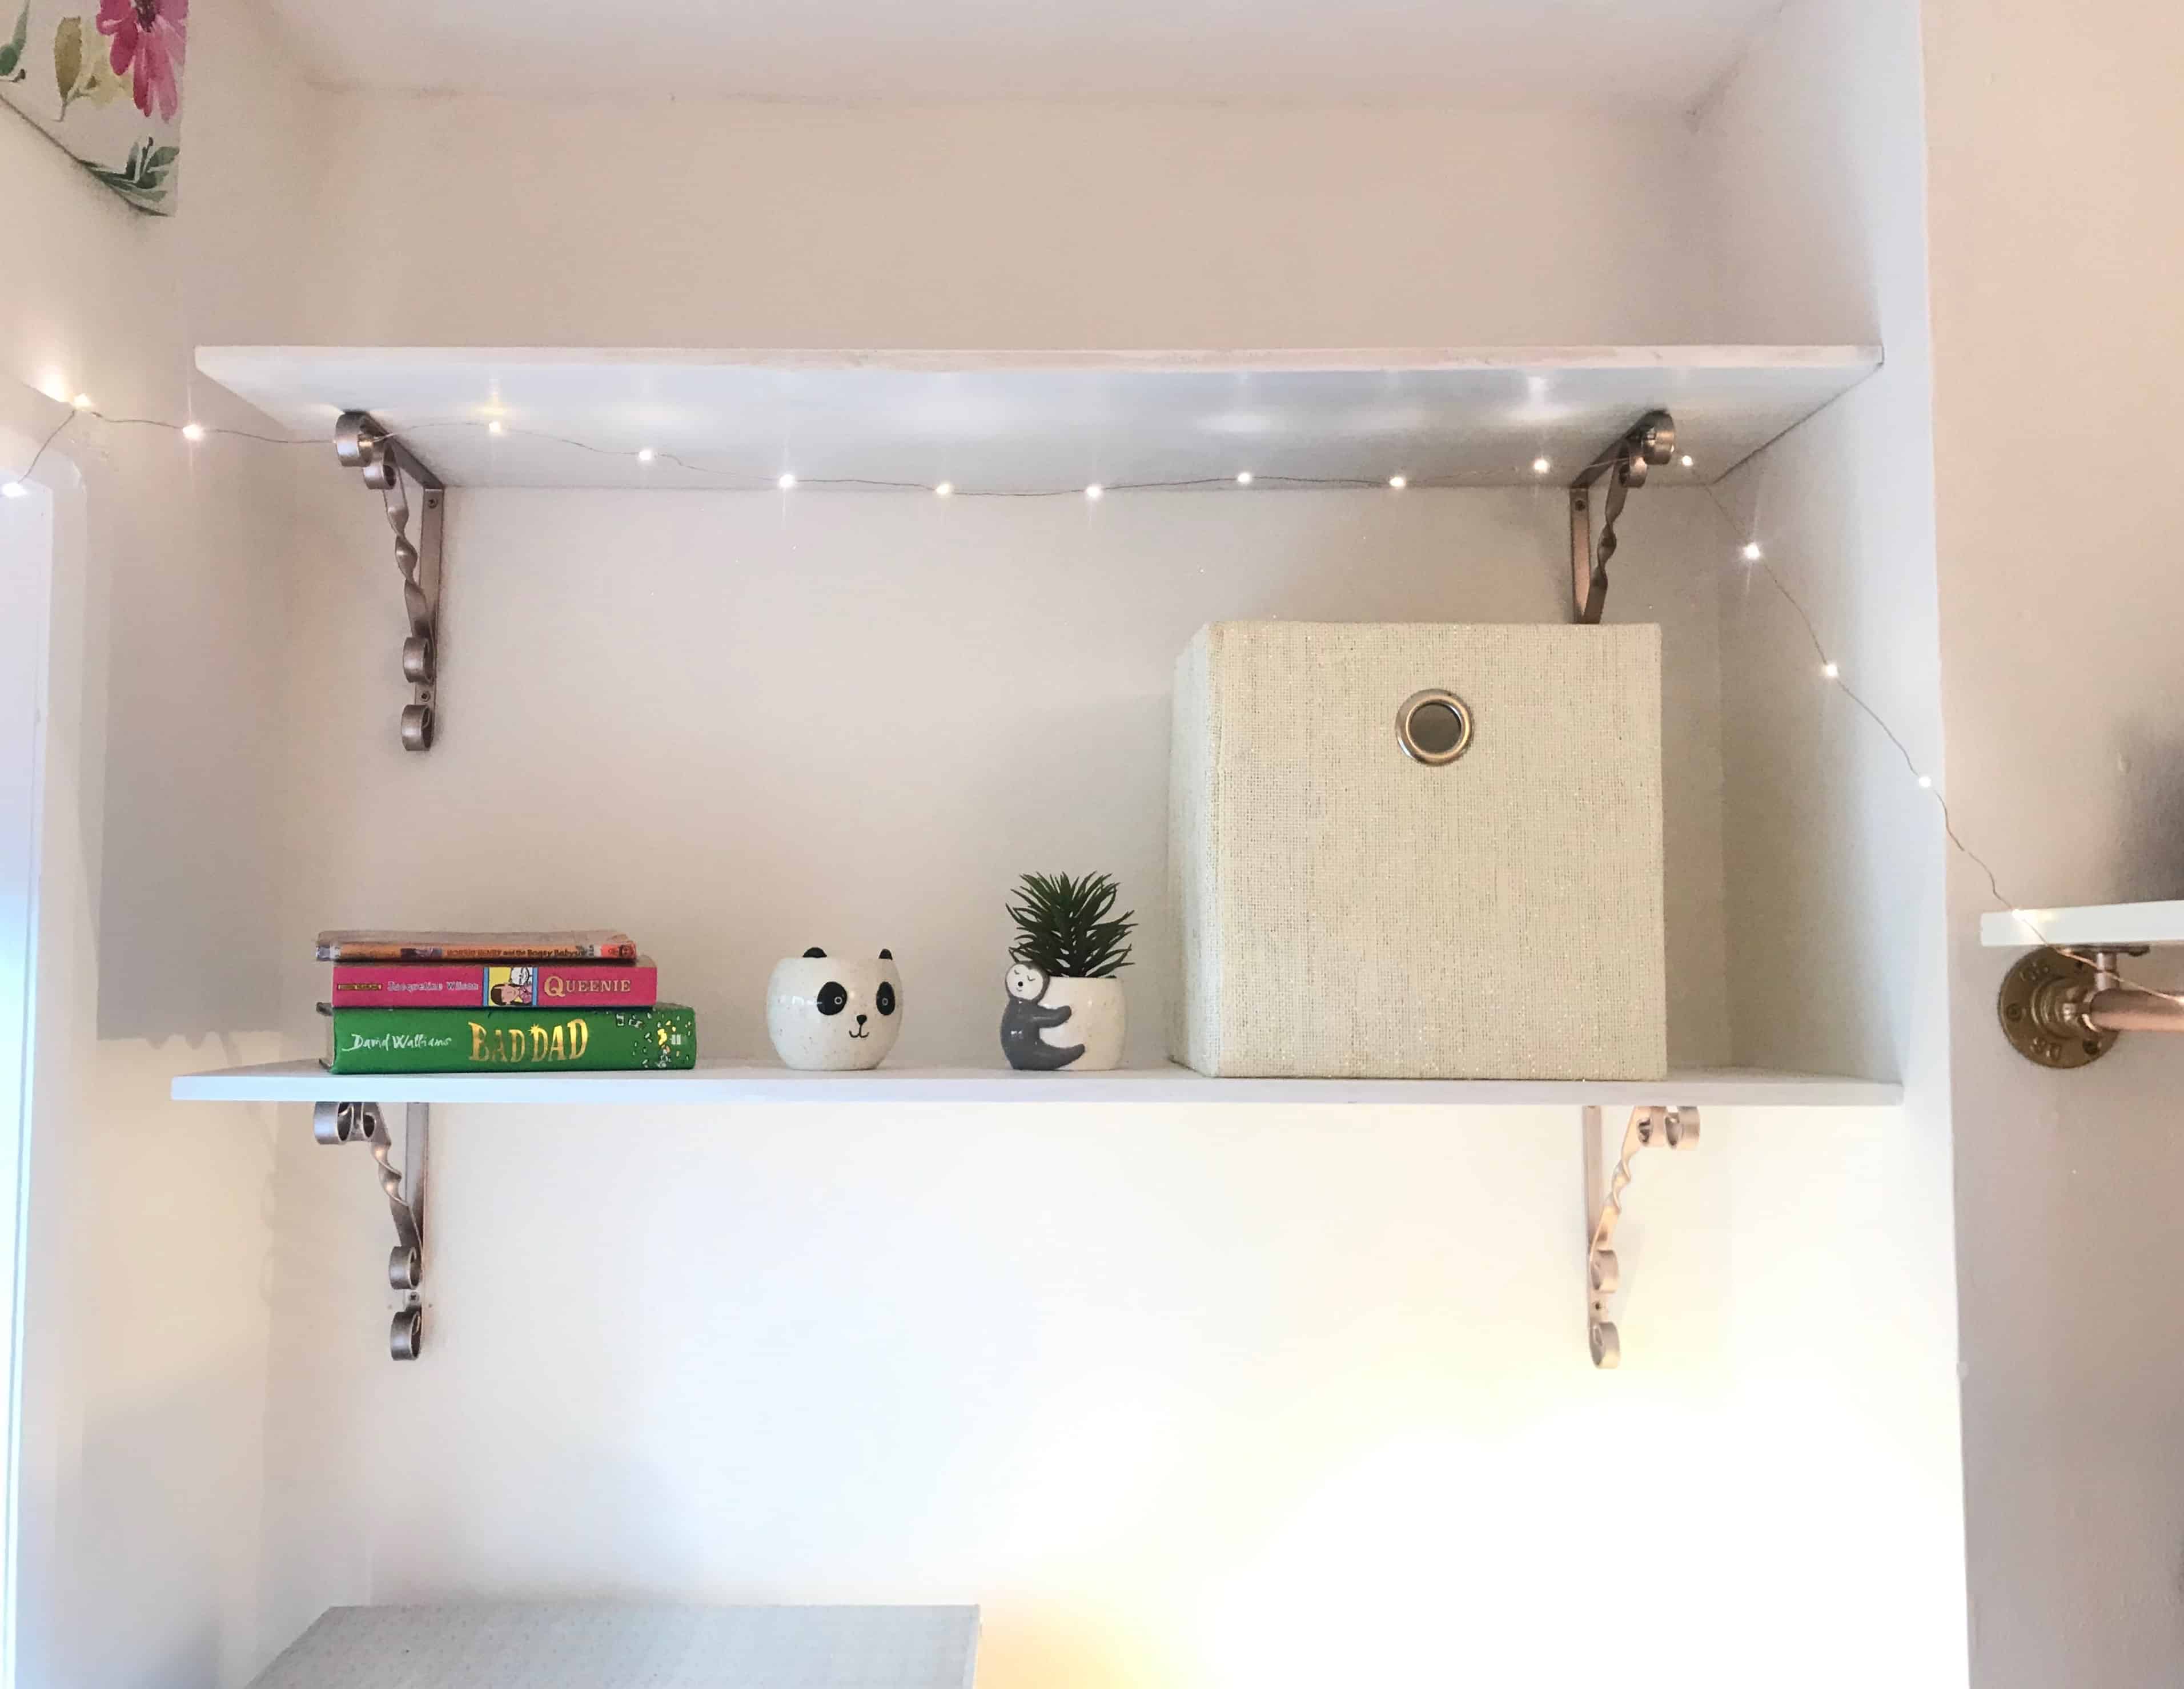
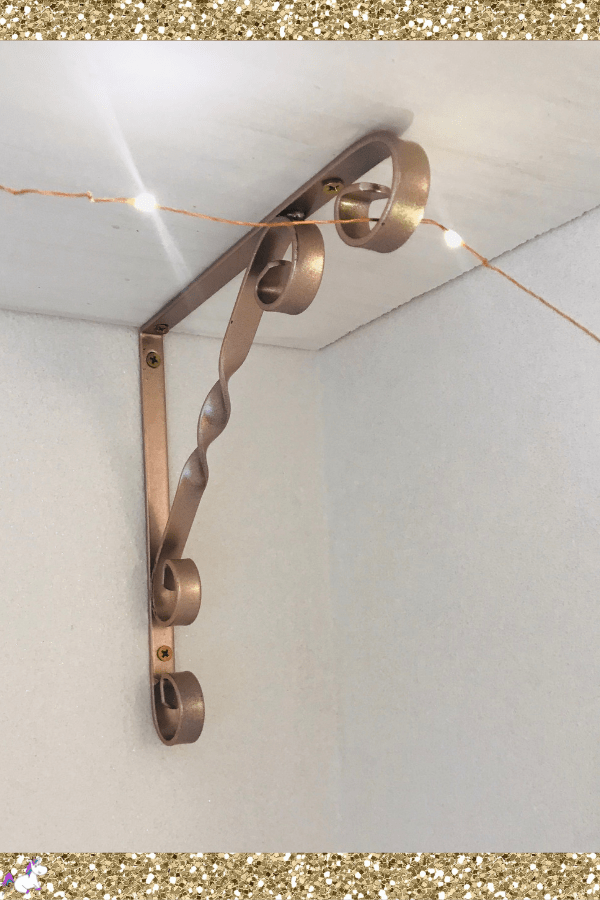
We also decided to keep the shelving above the cabinets… but to keep with the theme of the room they were painted white & the brackets were painted using the same rose gold spray from the clothes rail.
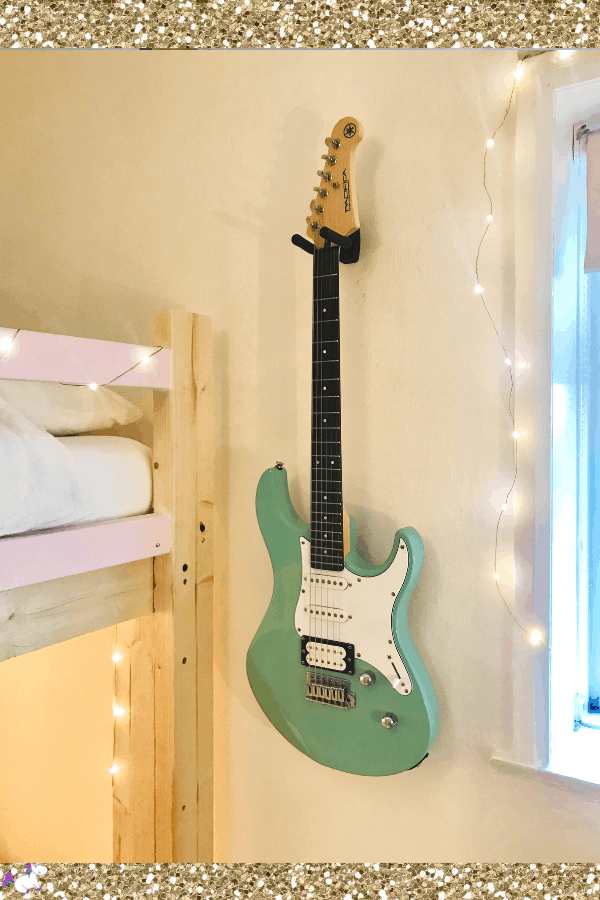
As my daughter plays guitar we also wanted somewhere to keep her guitar off of the floor!
Bedroom Makeover Cost Breakdown
Taking the time to plan out your room makeover will help you to keep to a tight budget.
Decide where your money is best spent & get creative for the rest!
Think about whether you could save money by DIY’ing certain aspects of your room & if you’re stuck simply send me an email & I’ll see if I can help you come up with a solution.
Here is a breakdown of the costs for my daughter’s bedroom makeover
Bed: $180
Clothes Rail: $130
Paint: $30
Carpet & carpet laying tools: $115
Accessories: $50
Total Cost:
[tf_numbers name=”5193″]
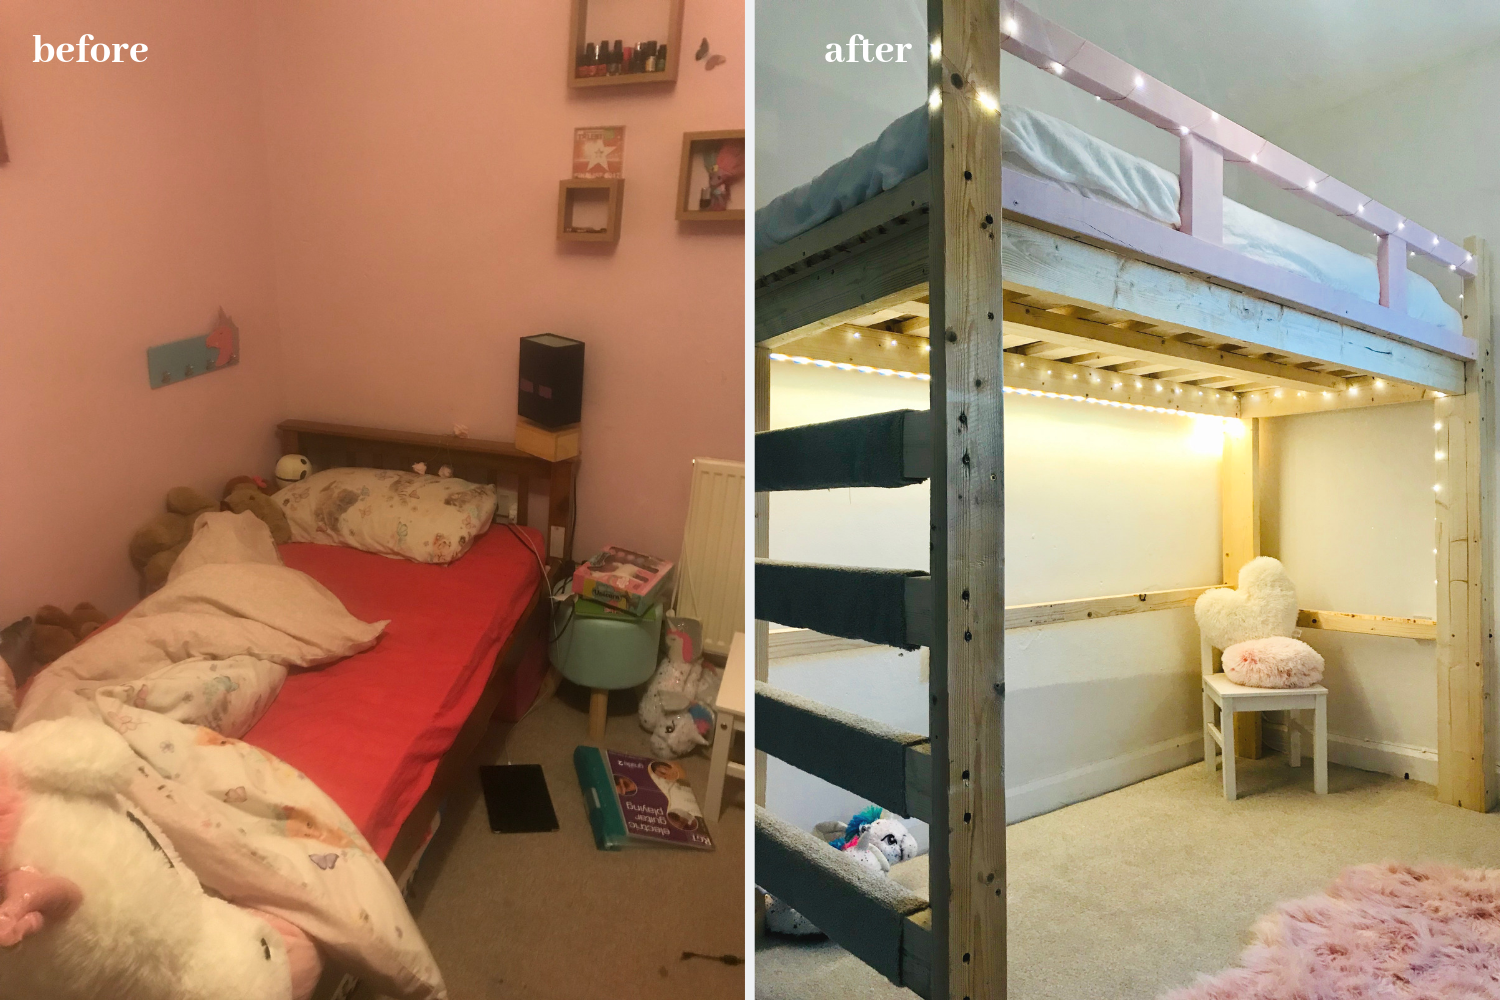
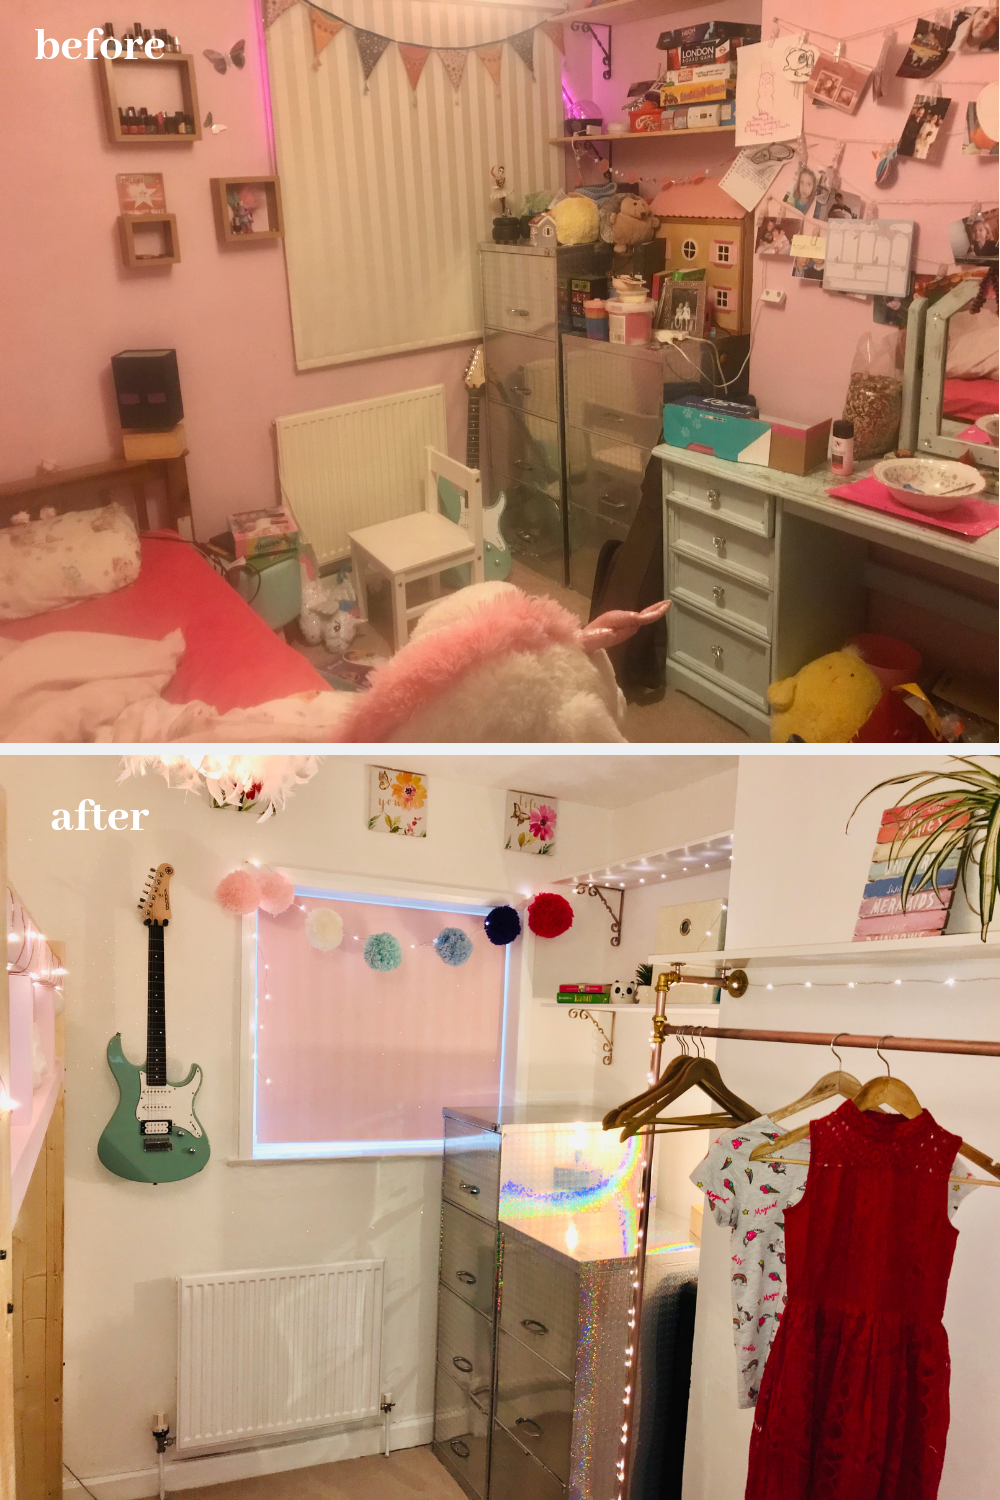
Bedroom Makeover Before & After
If you’re already on my list you would’ve already seen the embarrassing before picture of my daughter’s room as I gave you a little sneak peek before I started work… but for those of you who haven’t seen it yet here goes…
Before You Go...
I hope you have found this bedroom makeover useful for inspiration & ideas of your own bedroom makeover project!
If you loved this post & want more awesome home decor ideas & the tutorials for this room sent straight to you, simply fill out the box below to subscribe…
You can also click here to follow me on Pinterest as that’s where I share even more fabulous DIY & craft ideas!
