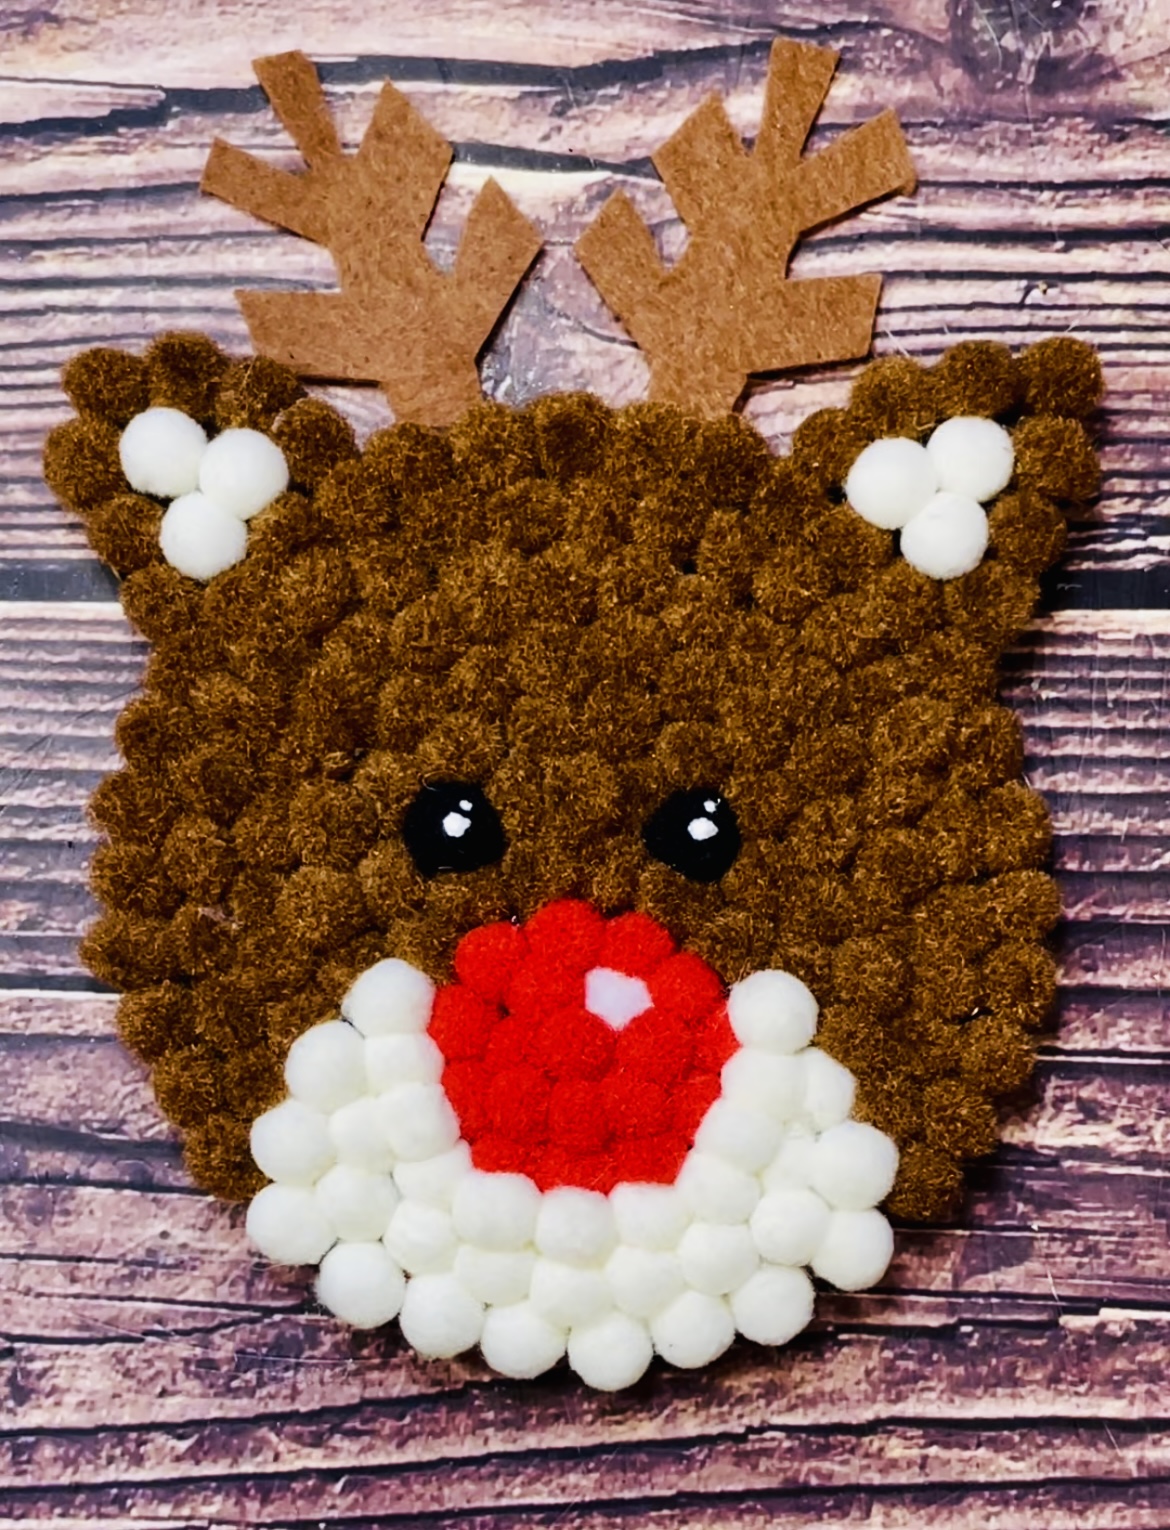
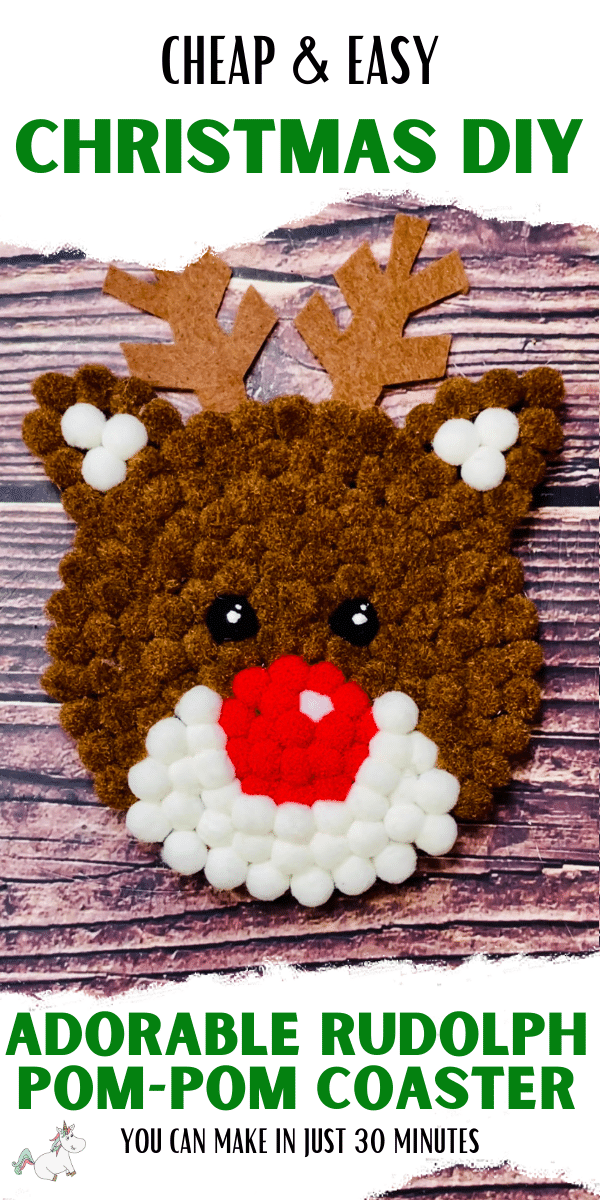
Looking for an easy DIY Christmas coaster project then look no further than this beautiful DIY Rudolph pom pom coaster!
Well, we had so much fun creating our Halloween pom-pom coasters and they were a massive hit with you guys so we thought why not make some festive ones too!
And not only do we think this Rudolph coaster is super adorable (yep, he’s guaranteed to bring a smile to everyone’s face)…
The best part is he only takes about 30 minutes to make and requires a few cheap and easy to find materials!
Christmas Coaster Series
This DIY Rudolph pom pom coaster is the first in our 4-part series of DIY Christmas coasters and we think they’re all simply adorable!
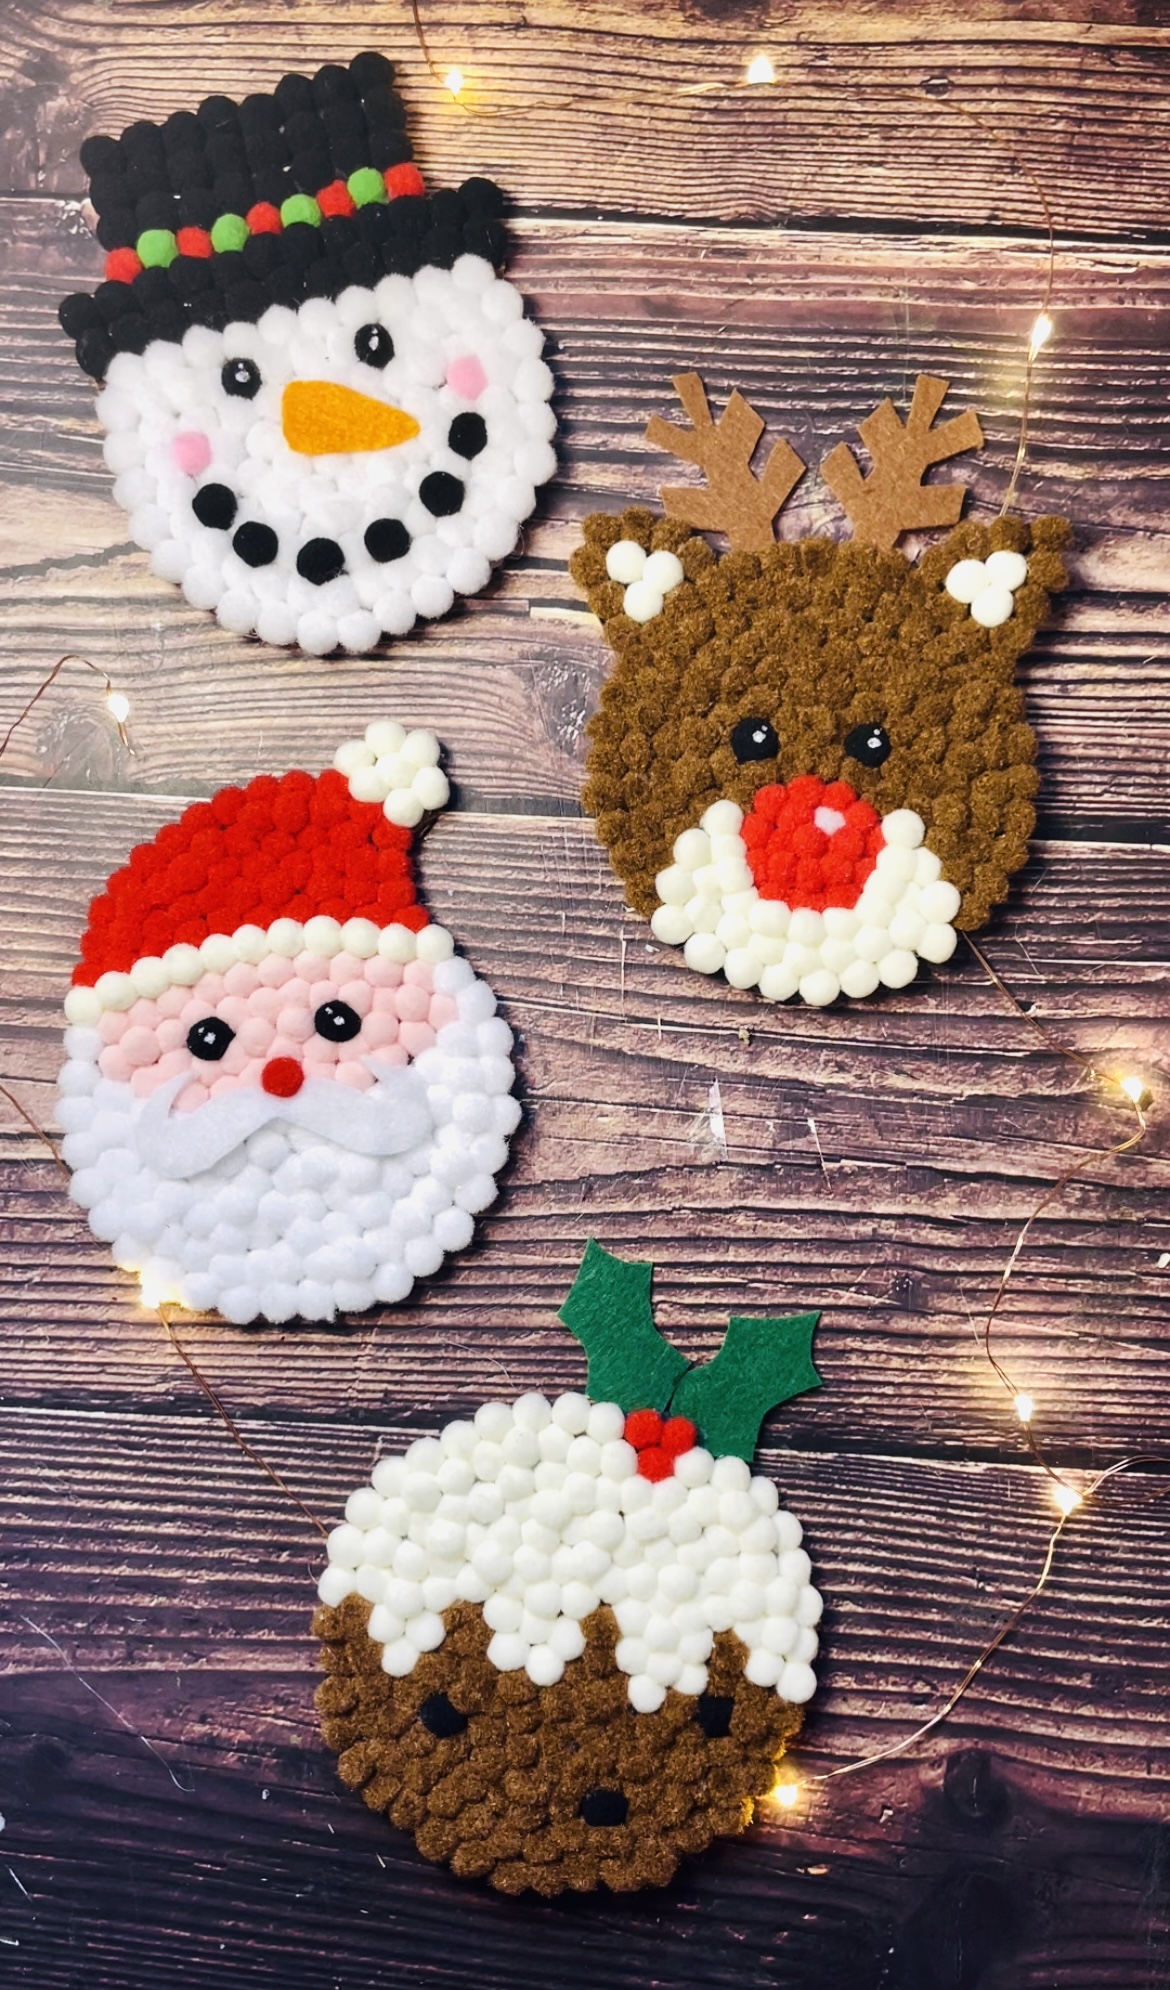
You can complete this adorable set of DIY Christmas coasters with the Santa, Christmas Pudding, and Snowman pom-pom coasters!
Don’t you just think they’ll make the perfect handmade gift?
So do we! Look out for those tutorials coming to the blog in the next few days!
In the meantime, let’s make Rudolph…
P.S. Quickly save this adorable DIY Rudolph Pom-Pom coaster project to your favorite Christmas crafts board on Pinterest by clicking here
This post may contain affiliate links. See my full disclosure here for more info.
DIY Rudolph Pom Pom Coaster Video Tutorial
Before you get started with this easy craft be sure to watch the quick video tutorial first…
DIY Rudolph Coaster Free Template
The very first thing you’ll need to make this Rudolph coaster is the Free template found in my member’s library.
To grab your free template simply click here to visit the sign-up page, enter your email and I’ll send you the link and password to the member’s library. If you’re already a member then just click here to visit the library and enter your password.
Once you download your free template, simply print it out on letter-size (A4 paper) and cut out.
Tools and Materials
Once you’ve got your template, the rest of the materials are all cheap and easy to find…
In fact, you can find everything you need on Amazon!
The process of making these coasters is straightforward however a little tip is don’t be tempted to try and substitute the hot glue with school glue!
Why?
Well, we’ve tried that and it simply doesn’t work… the pom poms will just slip and slide all over the place and even when dry they don’t adhere very well.
With hot glue, the pom-poms will adhere super quickly and you won’t believe how difficult (almost impossible) they are to pull off!
Tools
- Scissors
- Glue gun
- Sharpie
- Tweezers
- Printer
Materials
- Cork sheet or 10cm diameter round cork trivets
- Brown 10mm Pom Poms
- Cream or Ivory 10mm Pom Poms
- Red 10mm Pom Poms
- Black 10mm Pom Poms
- 1 White 10mm Pom Pom
- Brown Felt
DIY Rudolph Pom-Pom Coaster Method
STEP 1
Gather all your materials. Print and cut out your template. You can get your free template from the member’s library by clicking here and entering your best email. Or if you are already a member click here and enter your password.

STEP 2
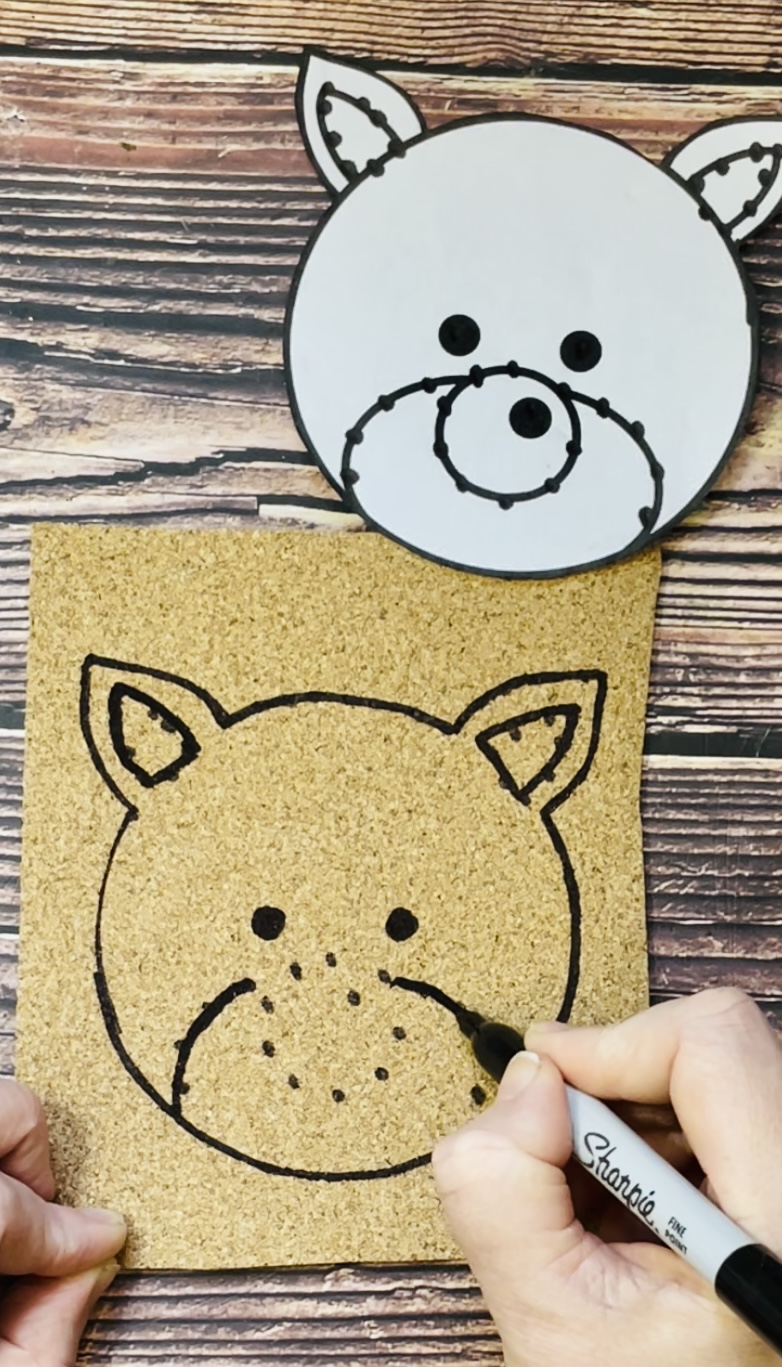
Place your template onto the cork sheet and draw around it with your sharpie. If your cork sheet won’t stay flat then I found the best way to flatten it is with an iron.

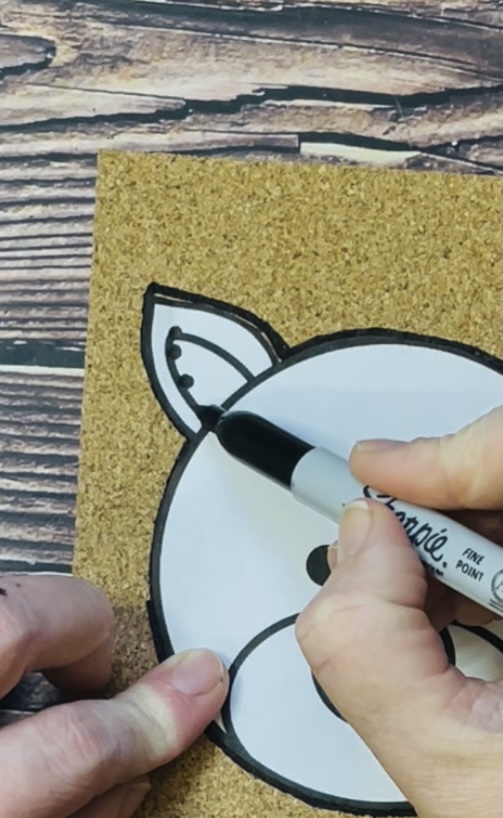
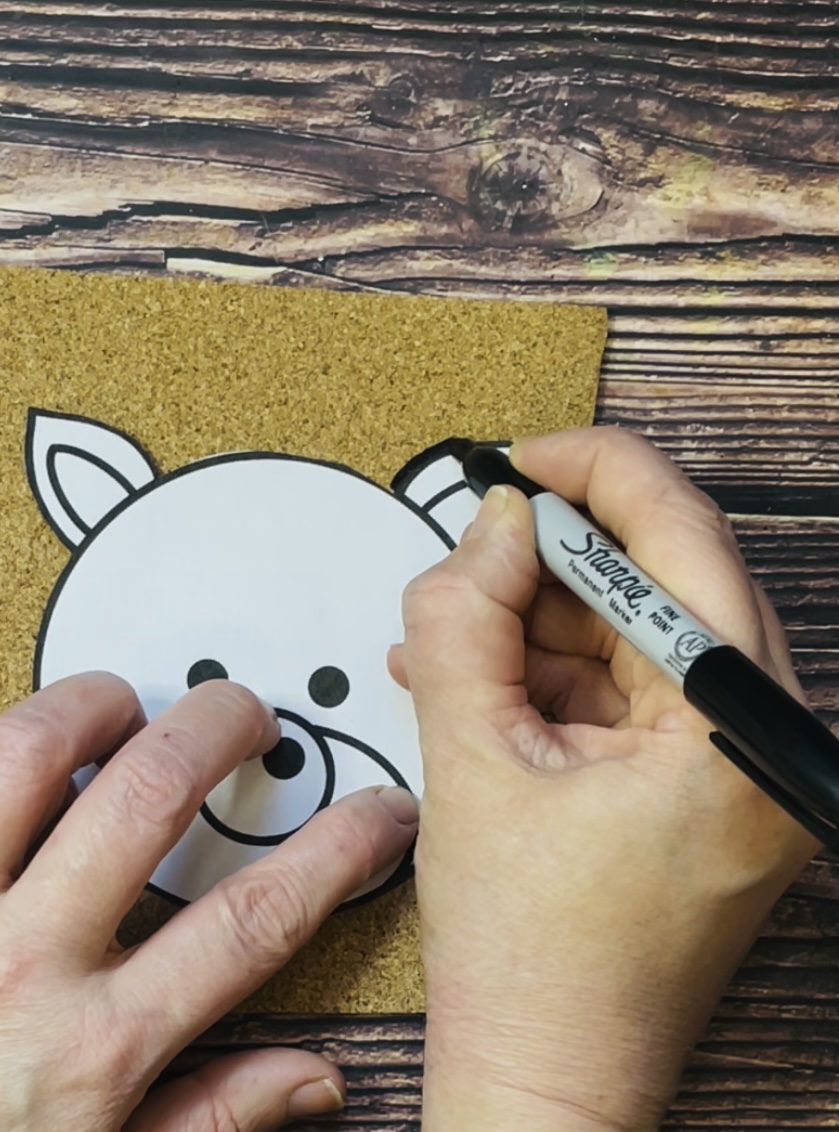
STEP 3
Keeping the template in position, use the sharpie to mark the features of Rudolph. Do this by holding the sharpie on the lines to allow the ink to seep through the paper and mark the cork.
STEP 4
Remove the template and join up the dots on the surface of the cork to make the features.

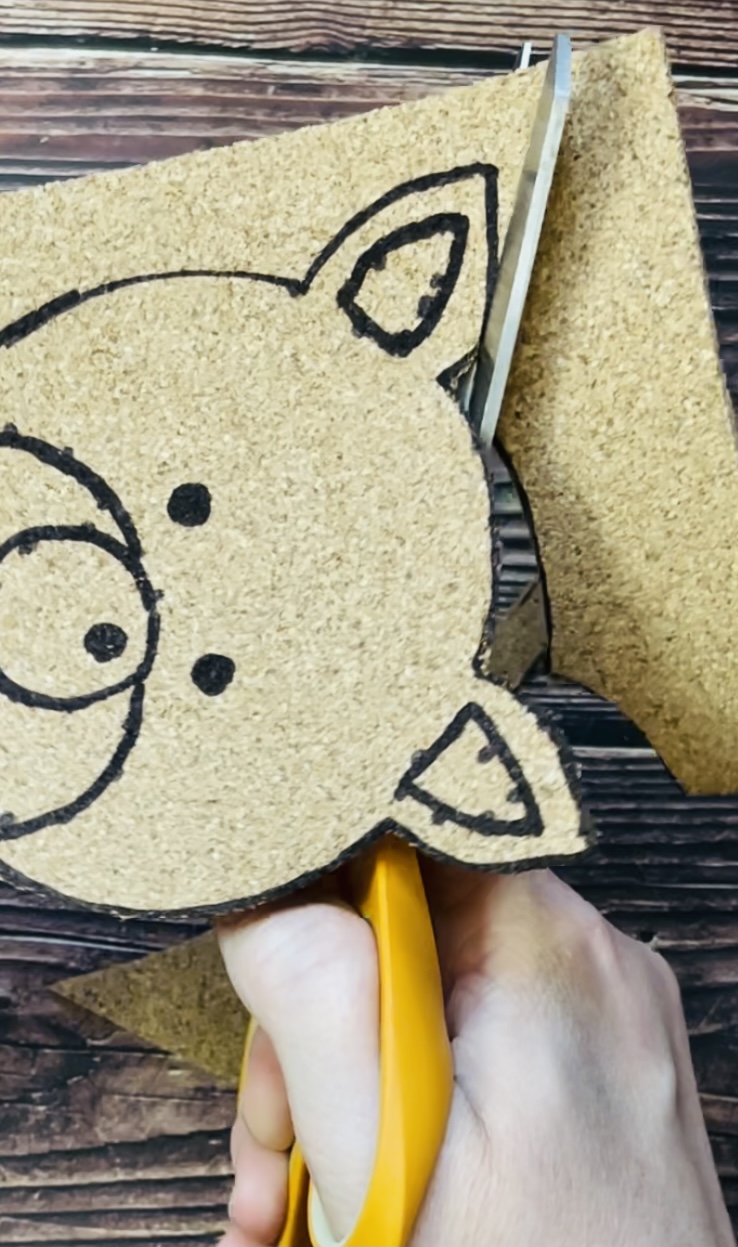
STEP 5
Cut out your Rudolph
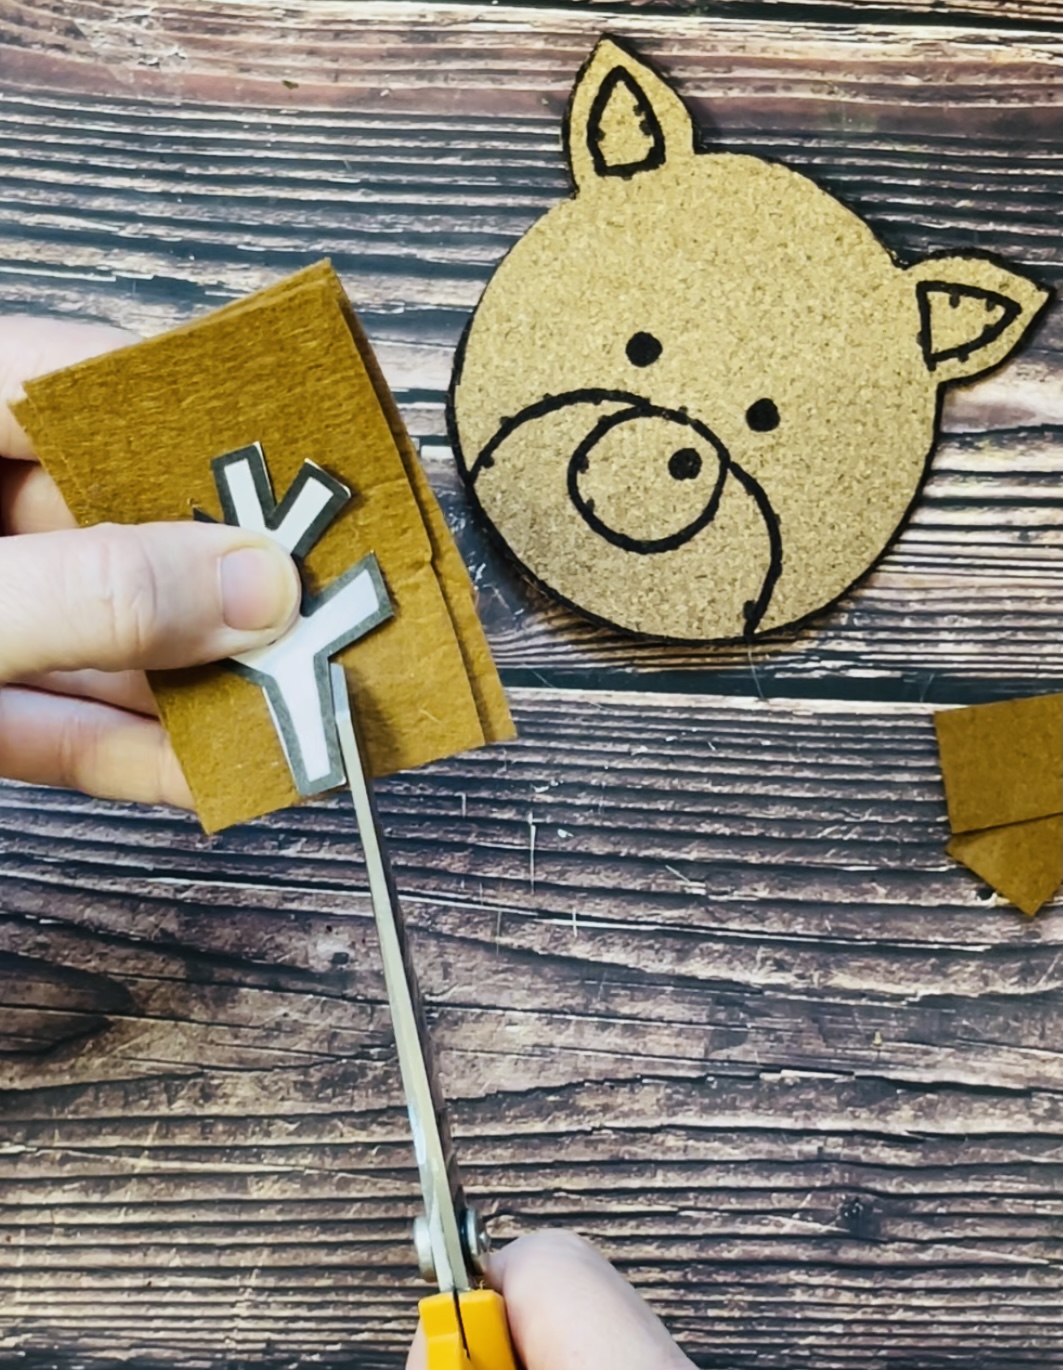
STEP 6
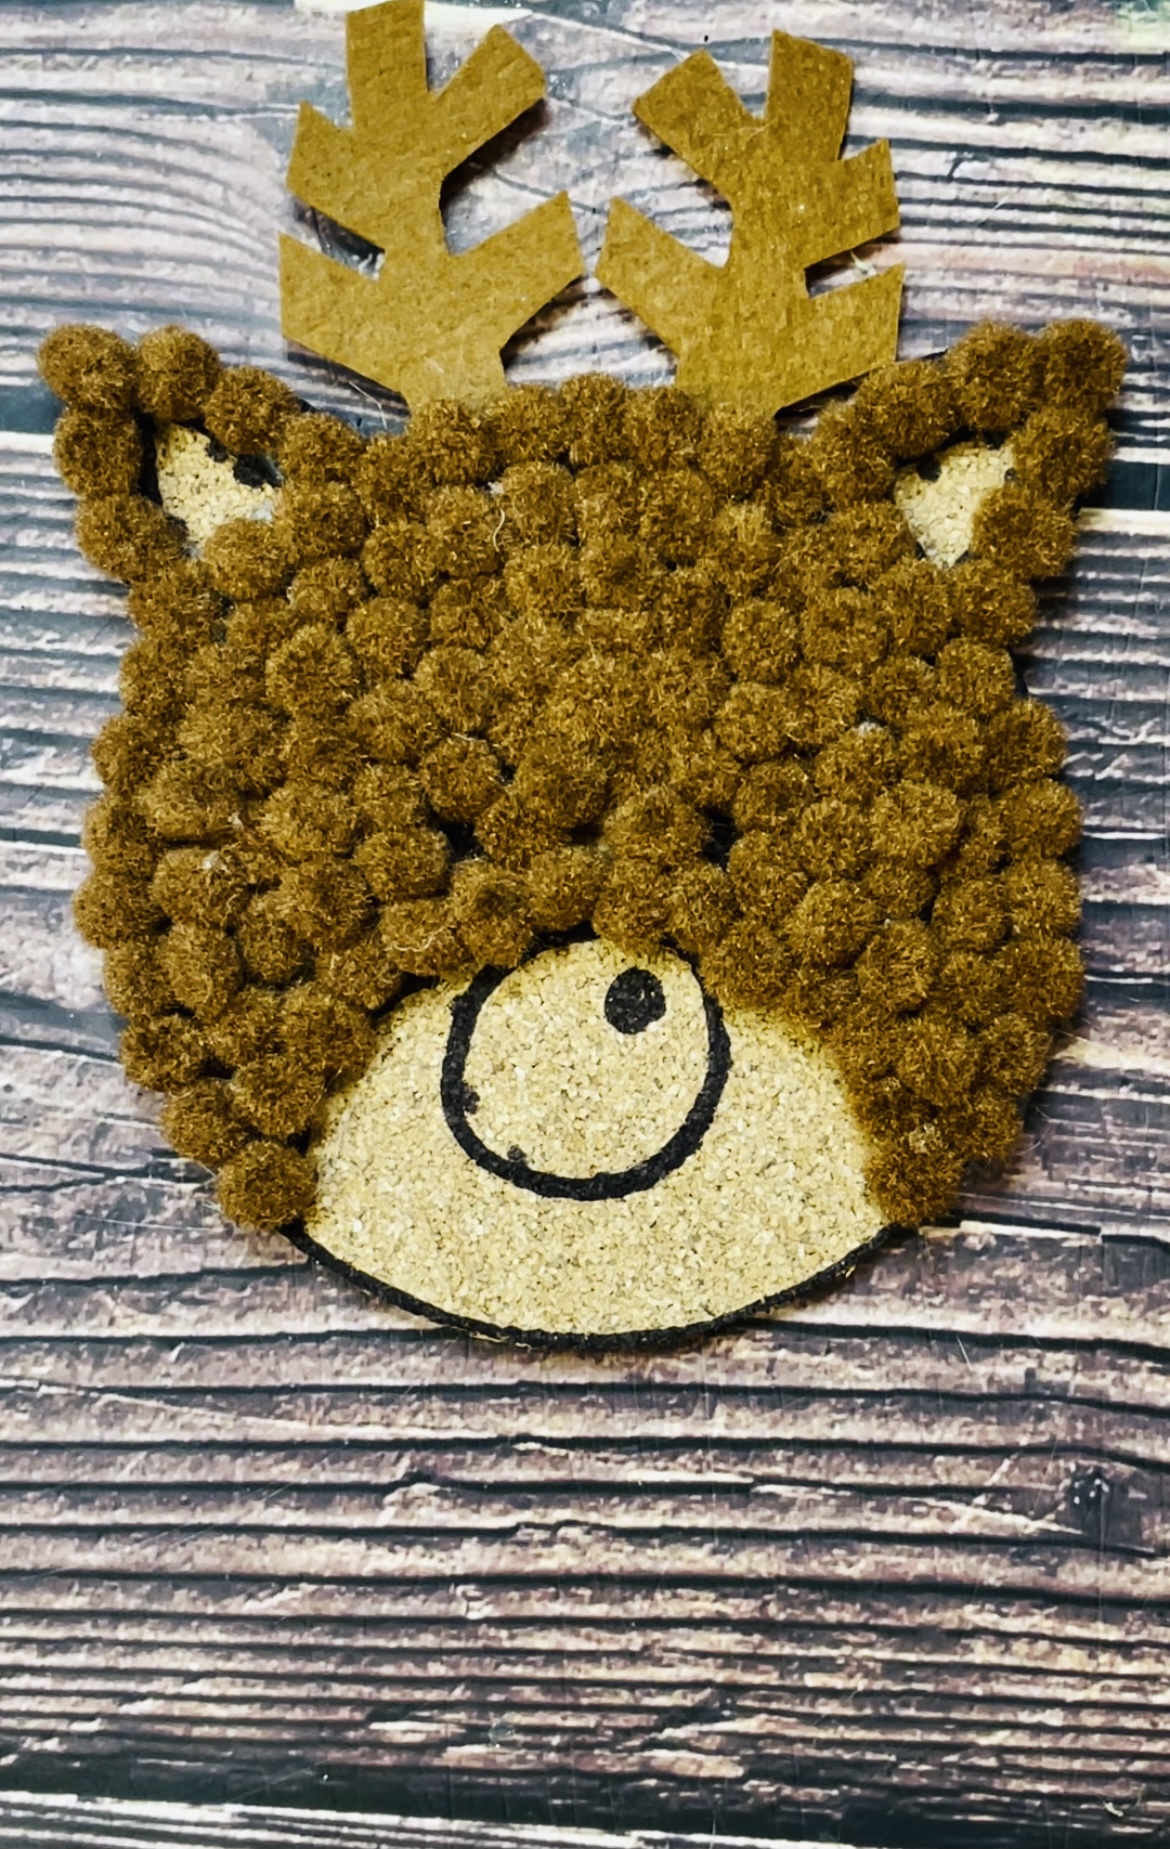
Use the antler templates to cut out two antlers using brown felt.
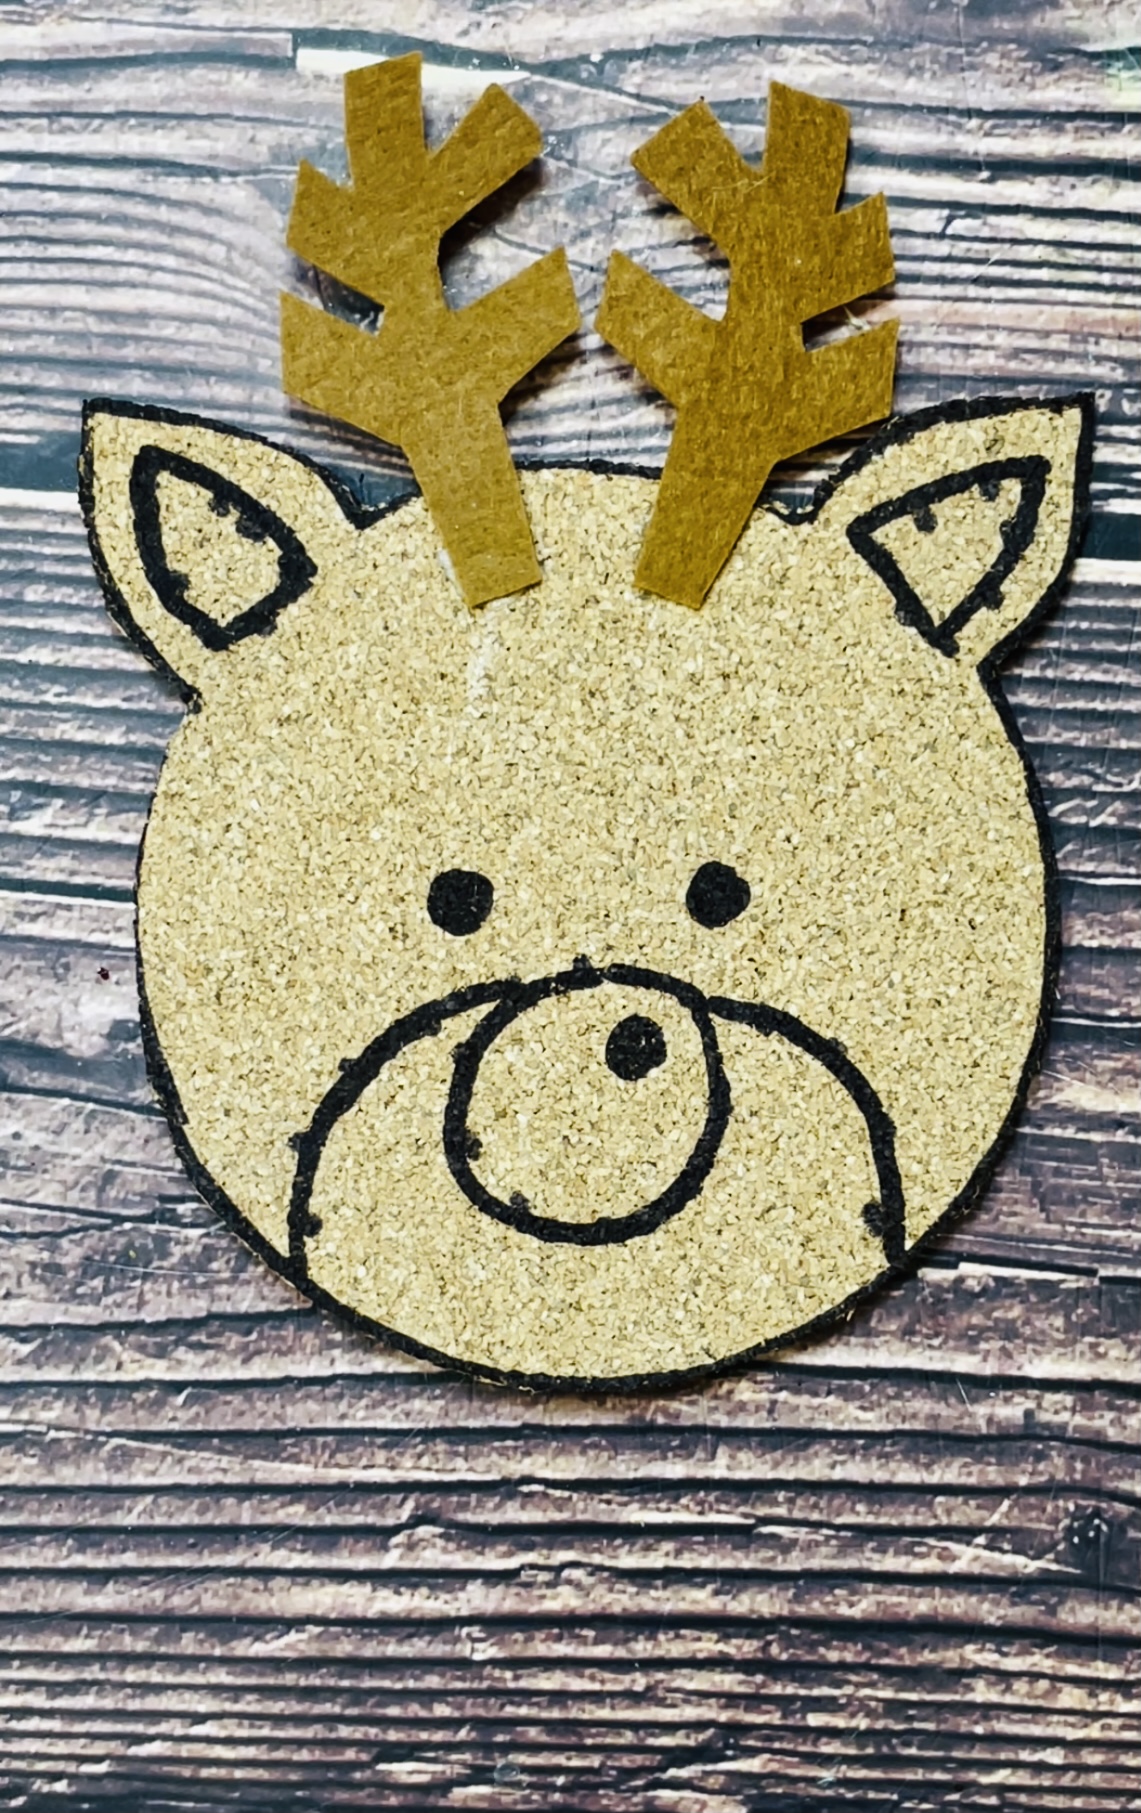
STEP 7
Secure the antlers to the cork using hot-glue.
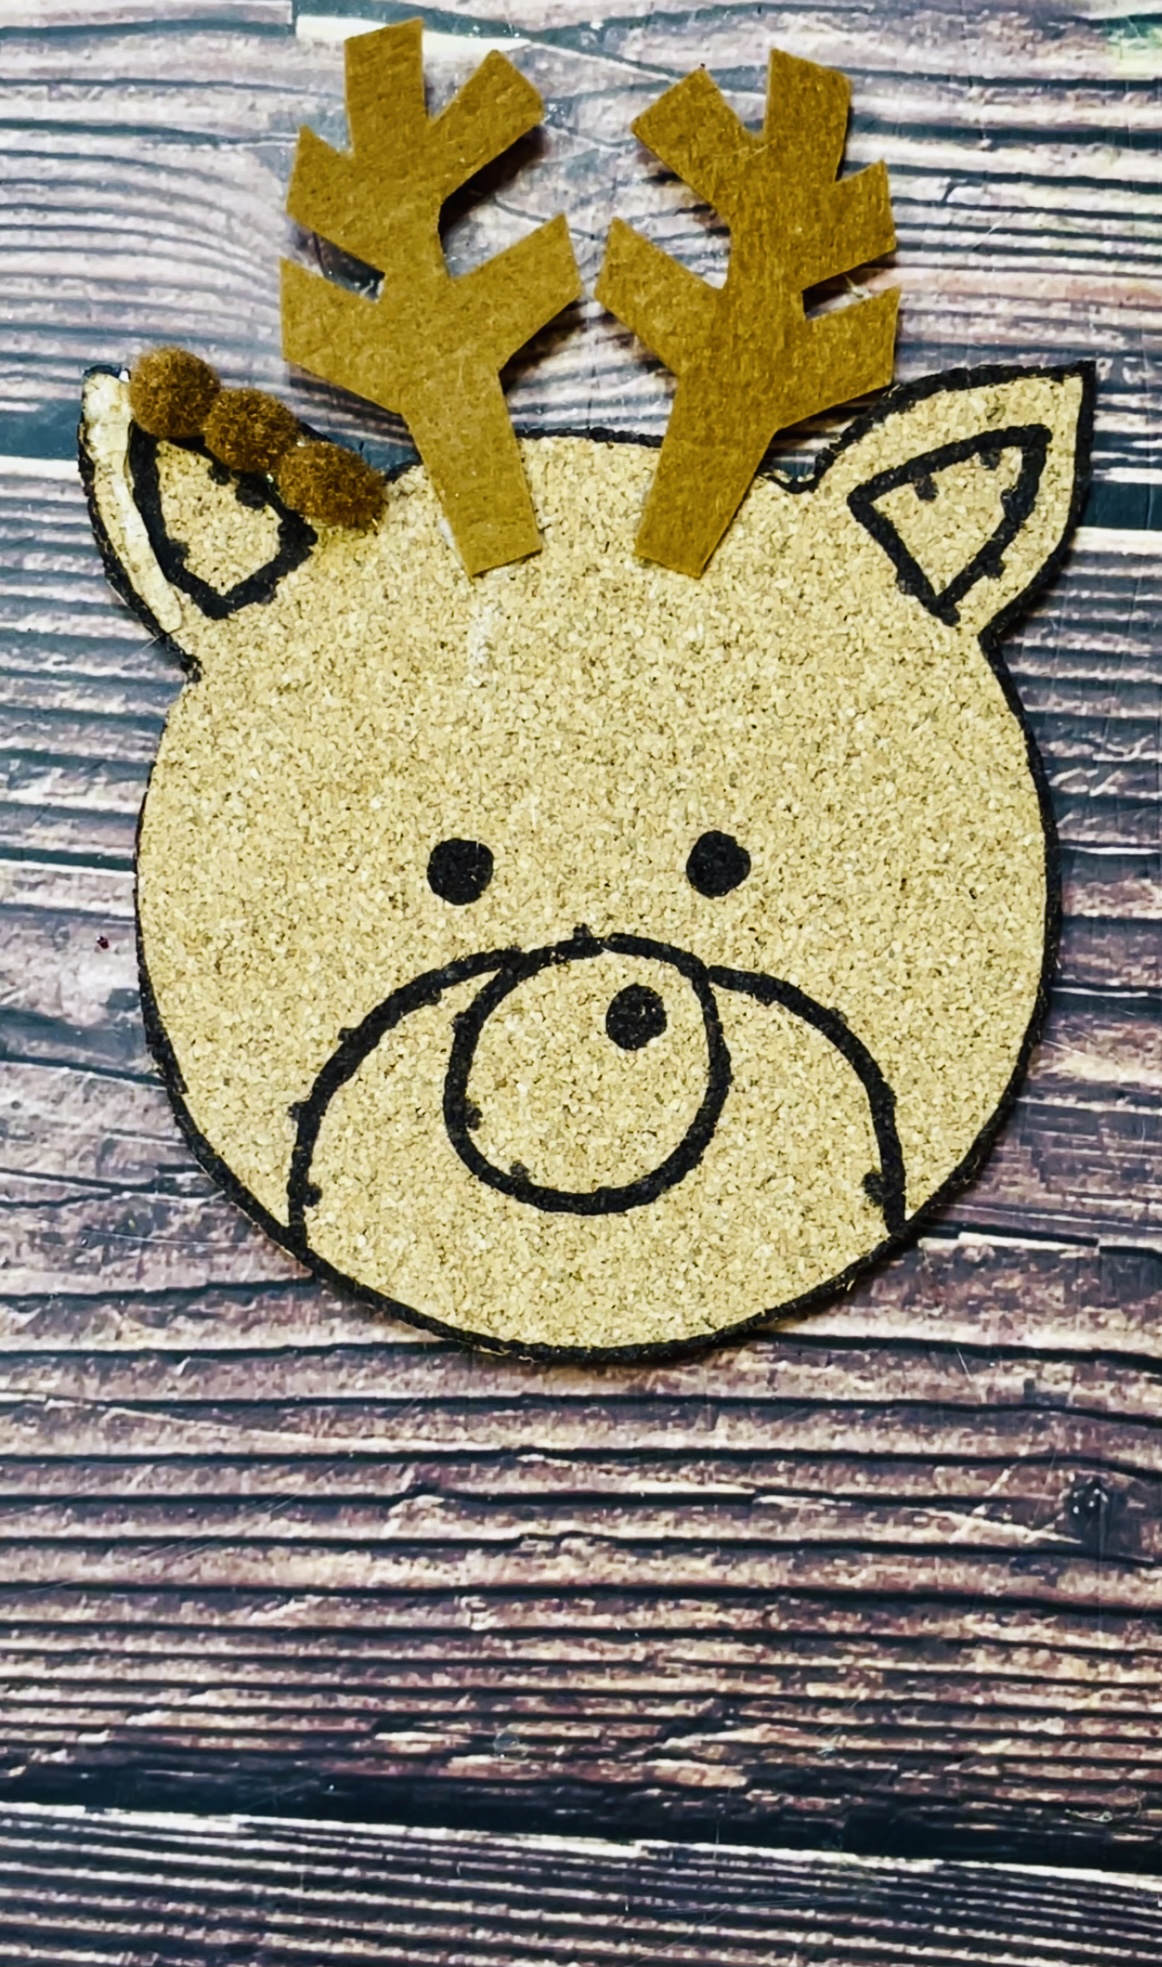
STEP 8
Begin securing the brown pom-poms to the cork with hot-glue, being sure to do the outline first and then filling in the middle. Leave a very small gap where the eyes will go.
STEP 9
Next secure the outer edge of the red nose with hot-glue.
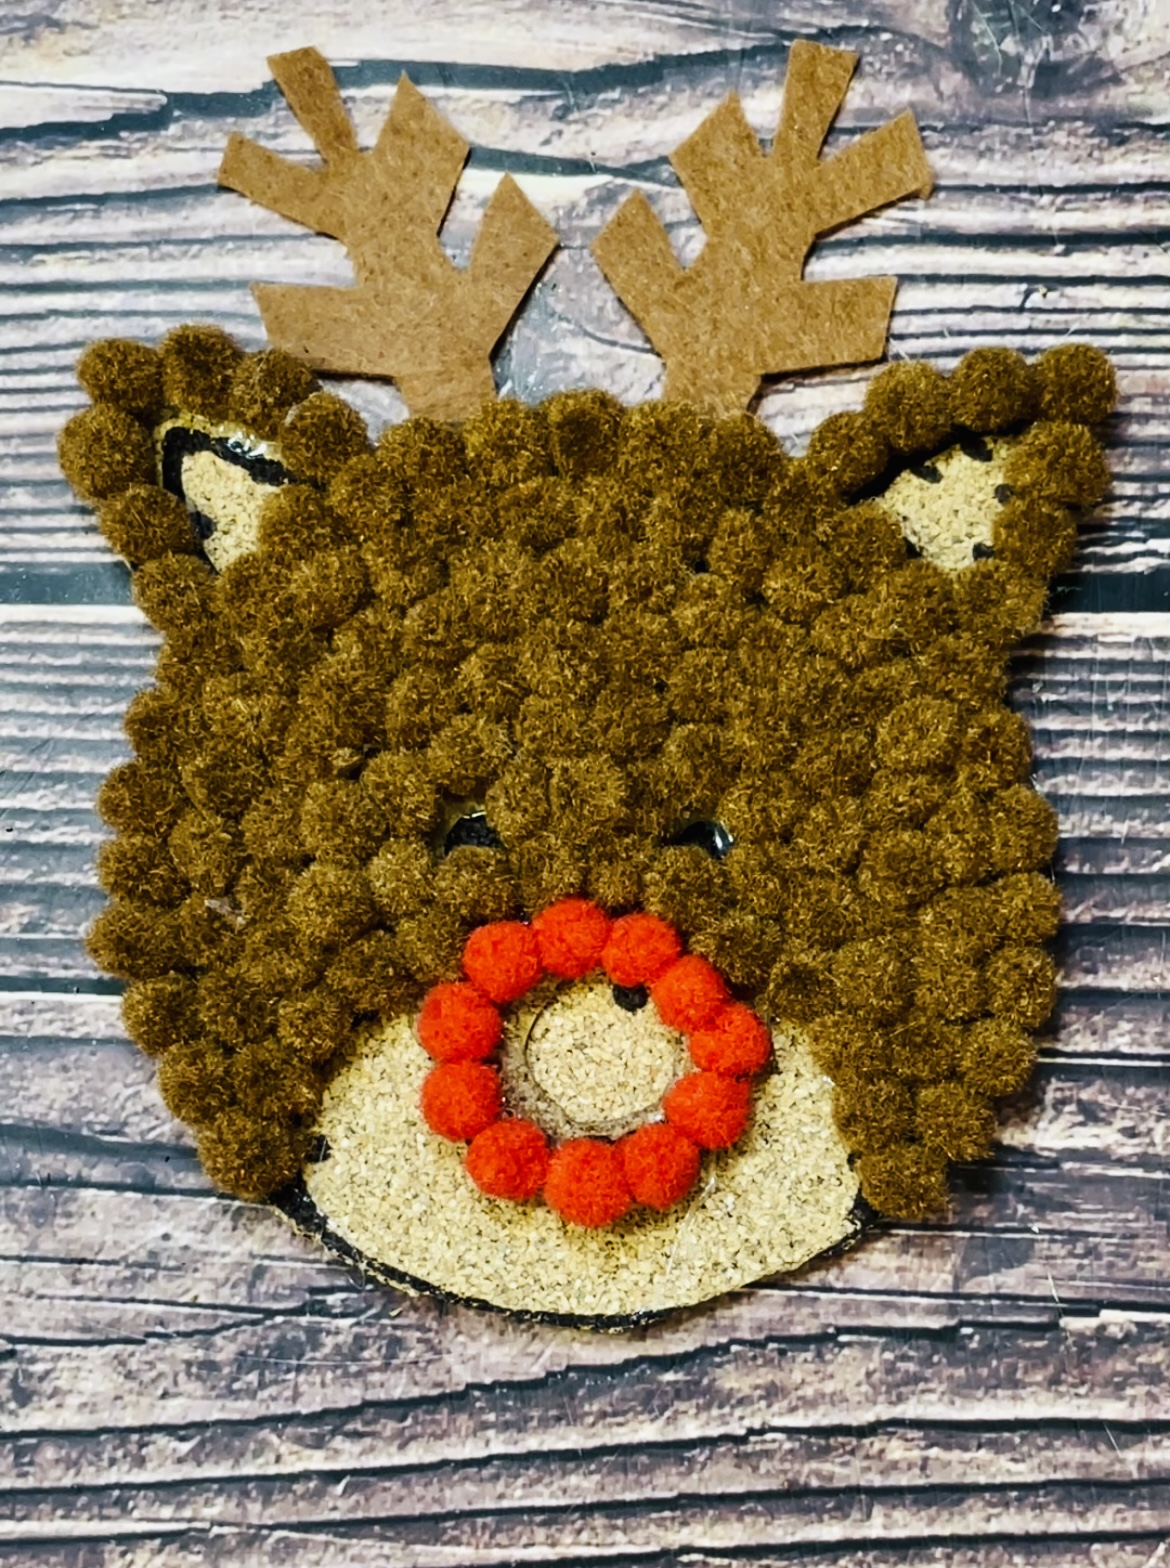
STEP 10
While the outer edge of the red nose sets, secure the bottom edge of cream pom-poms as shown and add some cream pom-poms for the insides of the ears. Doing the outer edges and allowing them to cool will ensure the design retains a good shape whilst you fill in the middle.
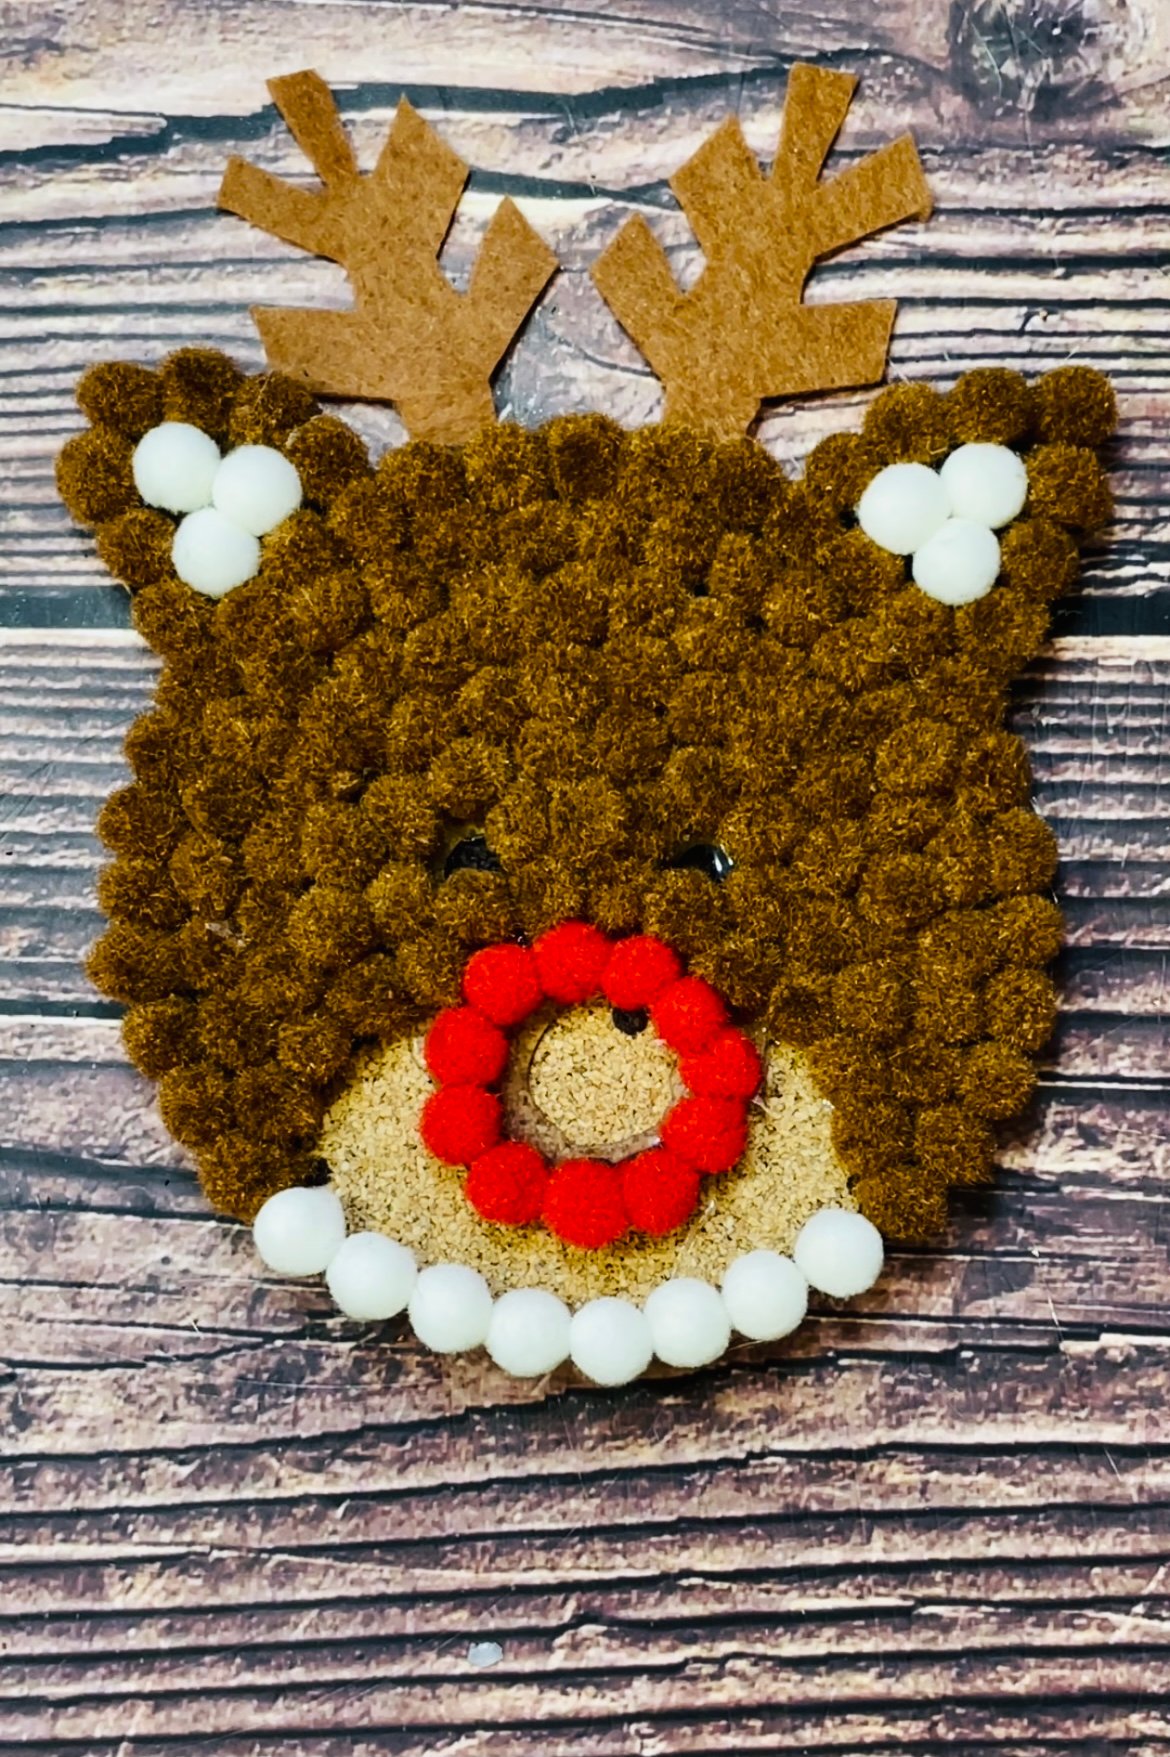
STEP 11
Secure one white pom-pom in the upper right area of the nose (this will give Rudolph’s nose a little twinkle) and then fill in the lower area of the face with the cream or ivory pom-poms.
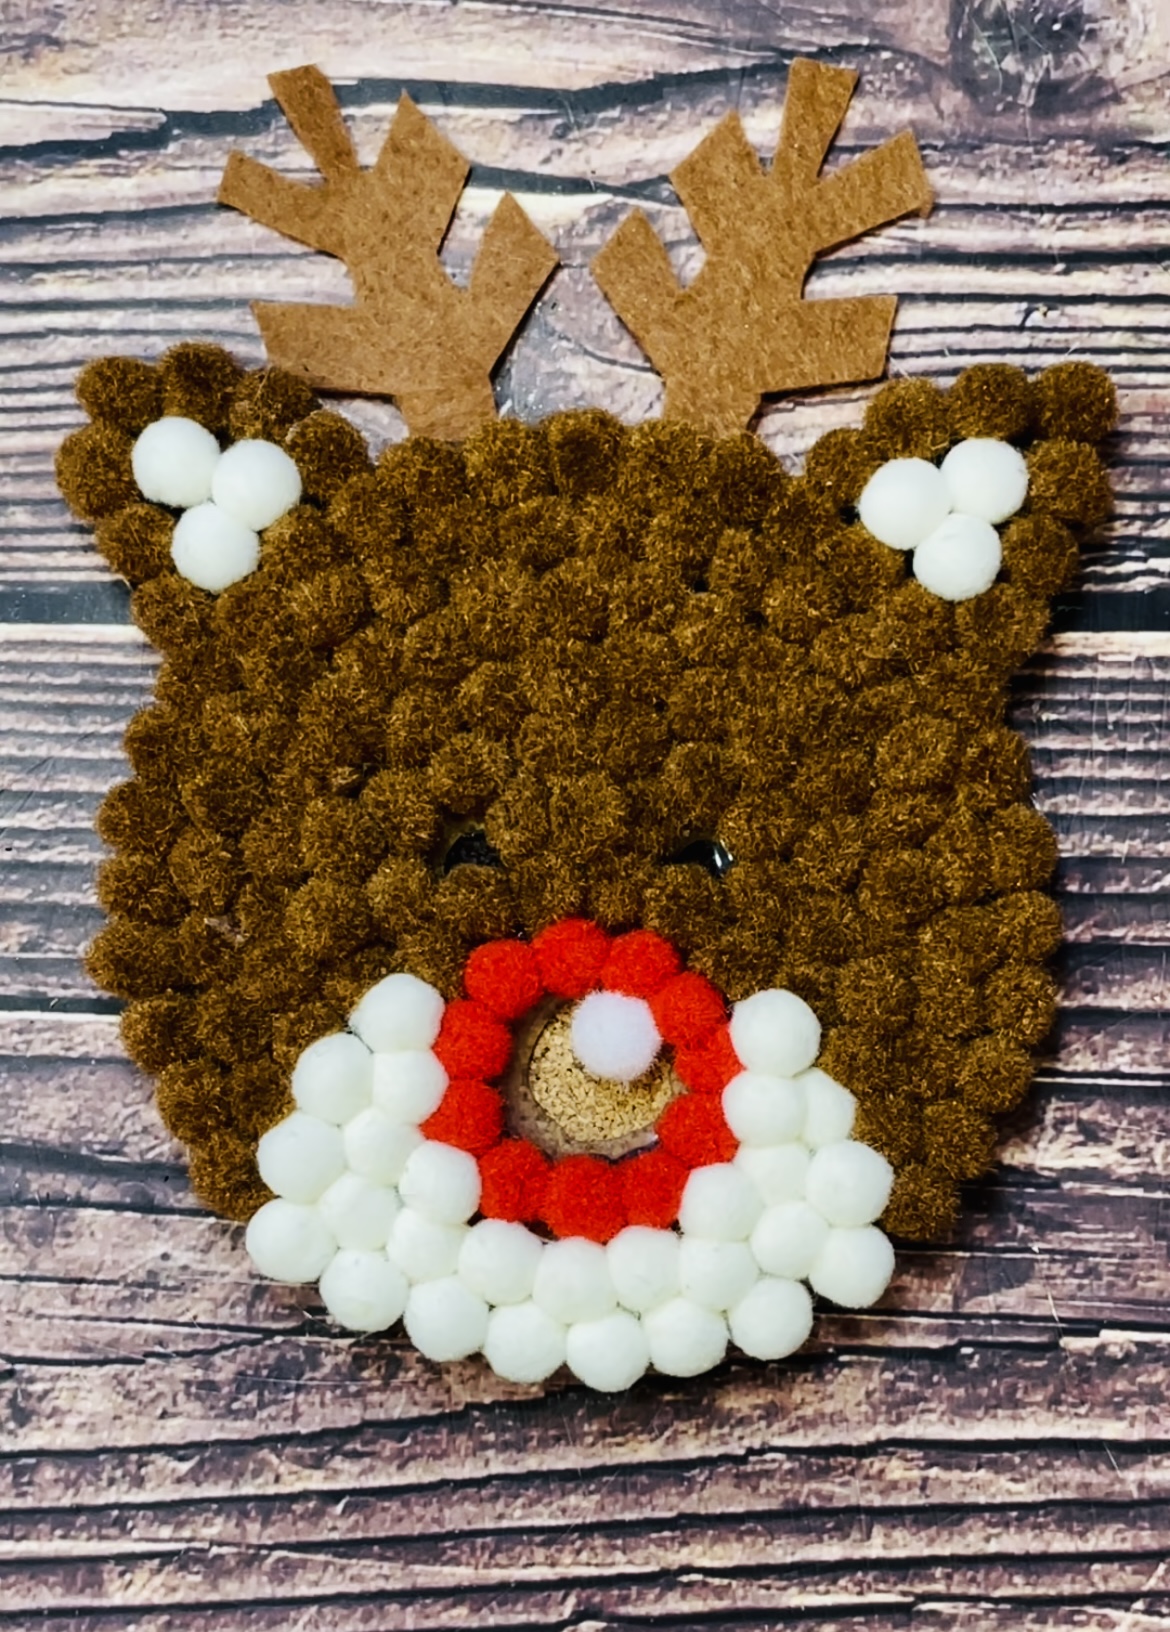
STEP 12
Once the outer edge of the red nose has fully set, fill in the rest of the nose with the red pom-poms as shown.
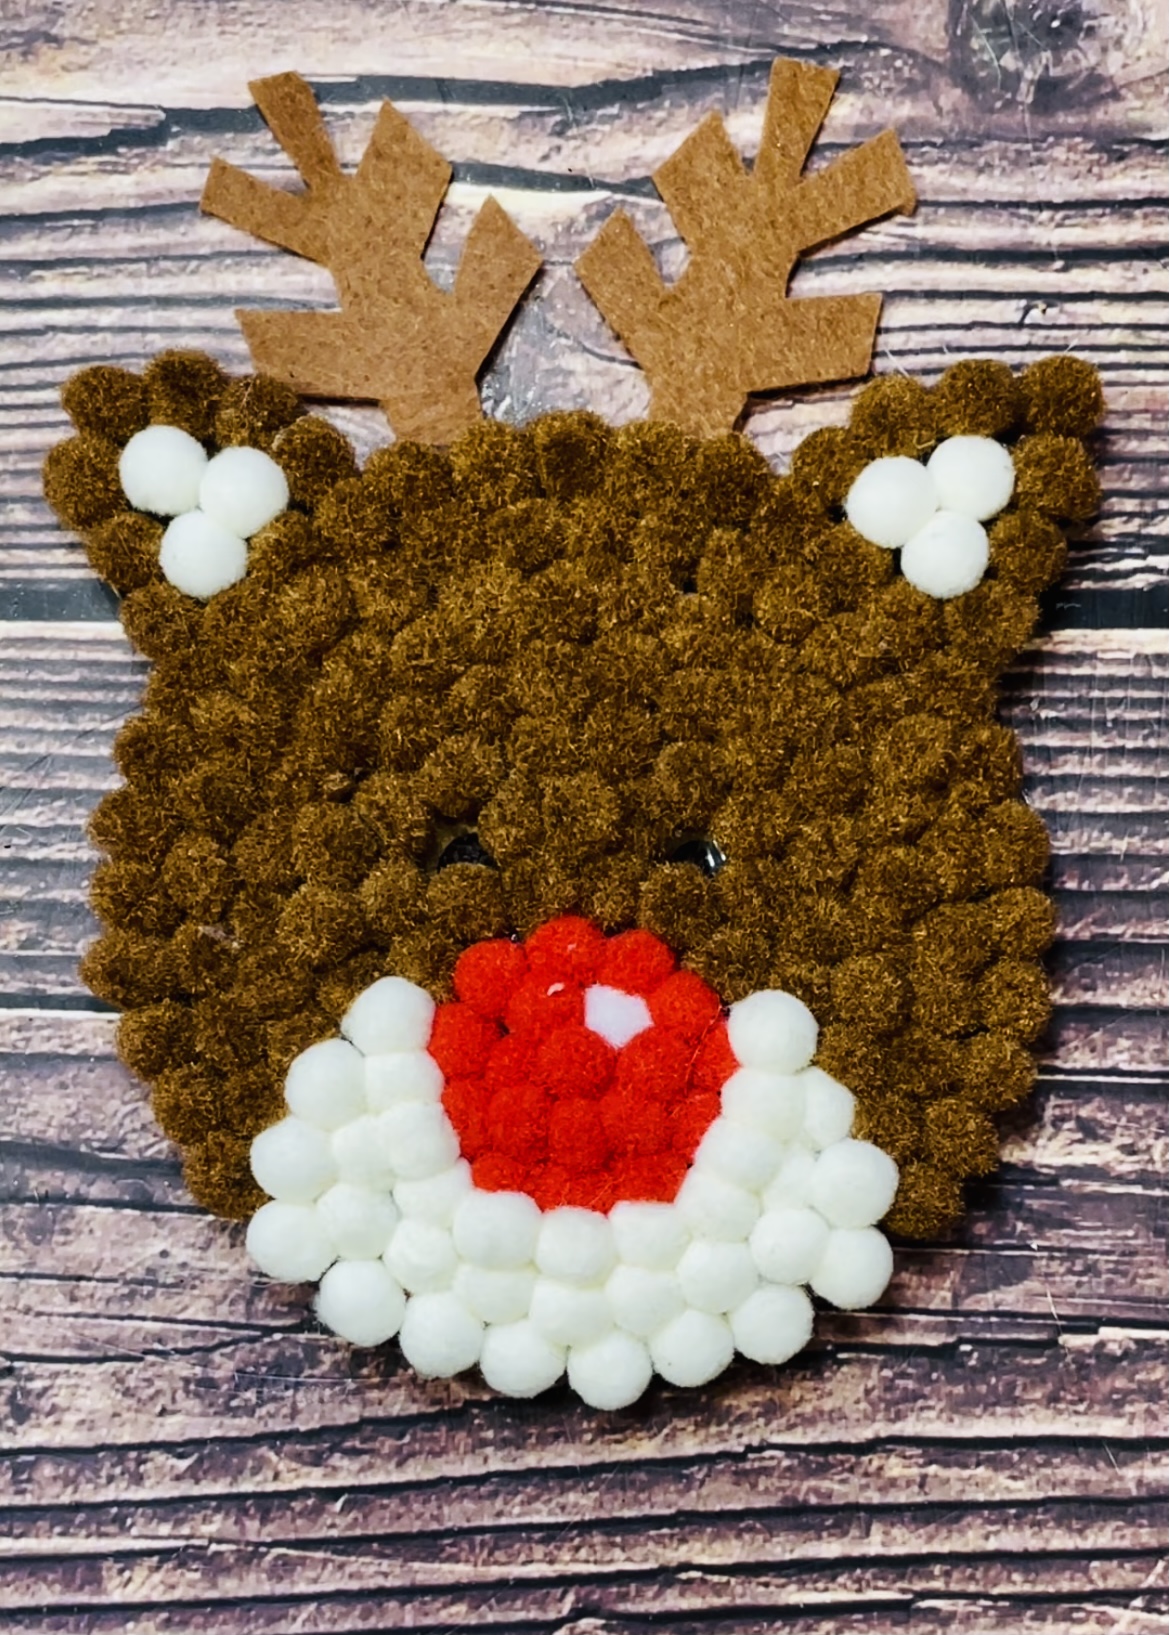
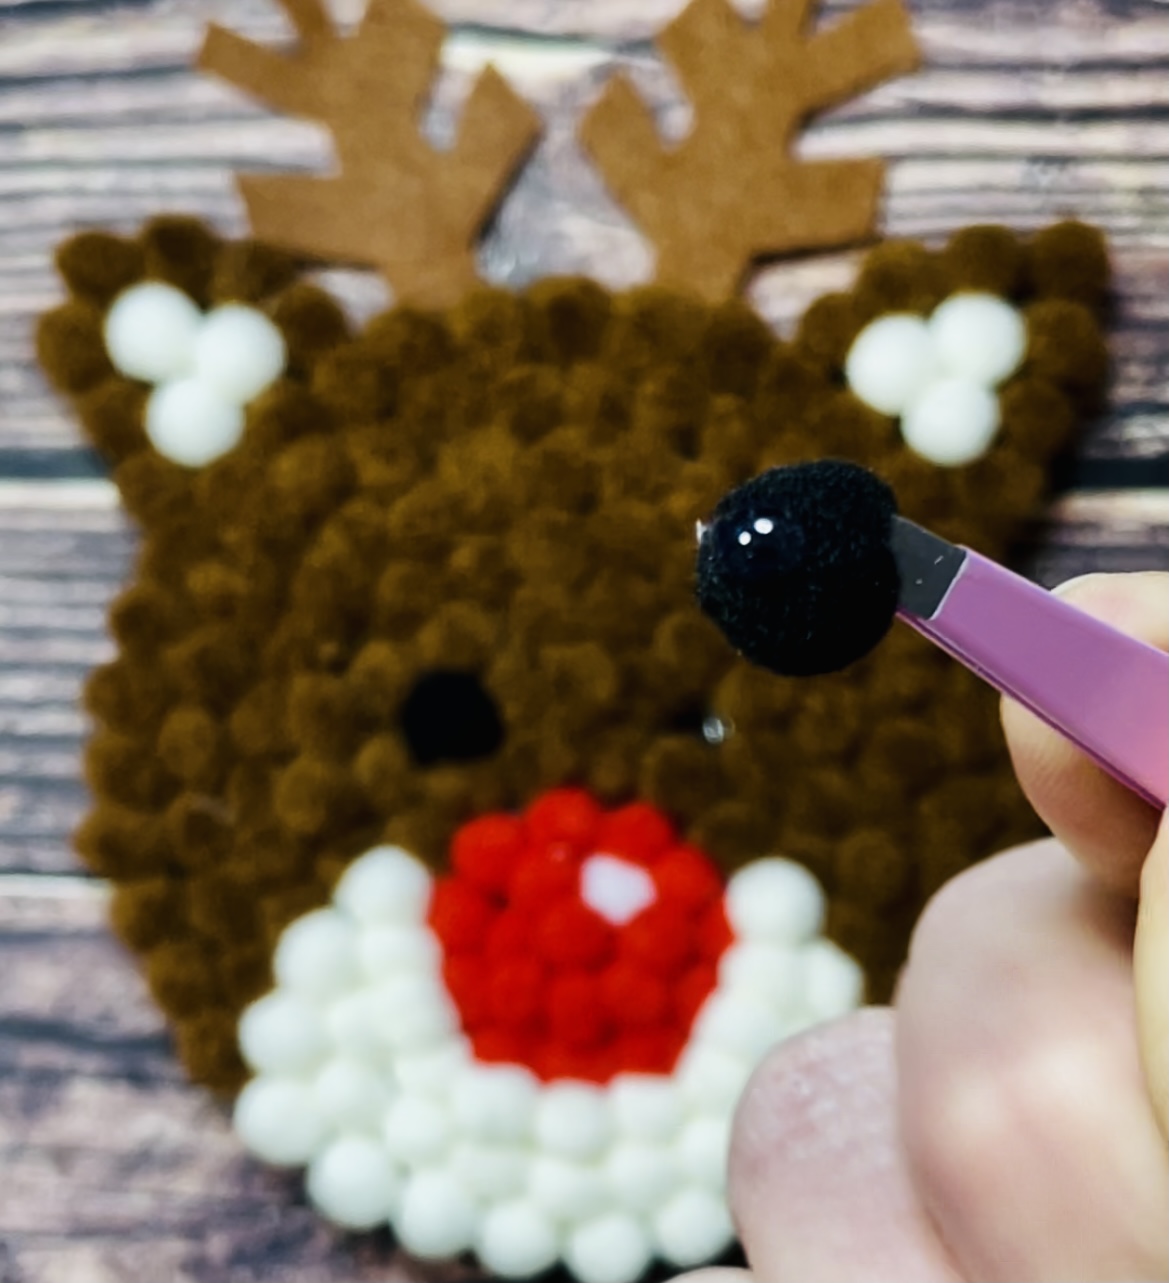
STEP 13
Secure the eyes by adding a drop of hot glue onto each of the black pom-poms and securing them individually… be sure to use tweezers to protect your fingers!
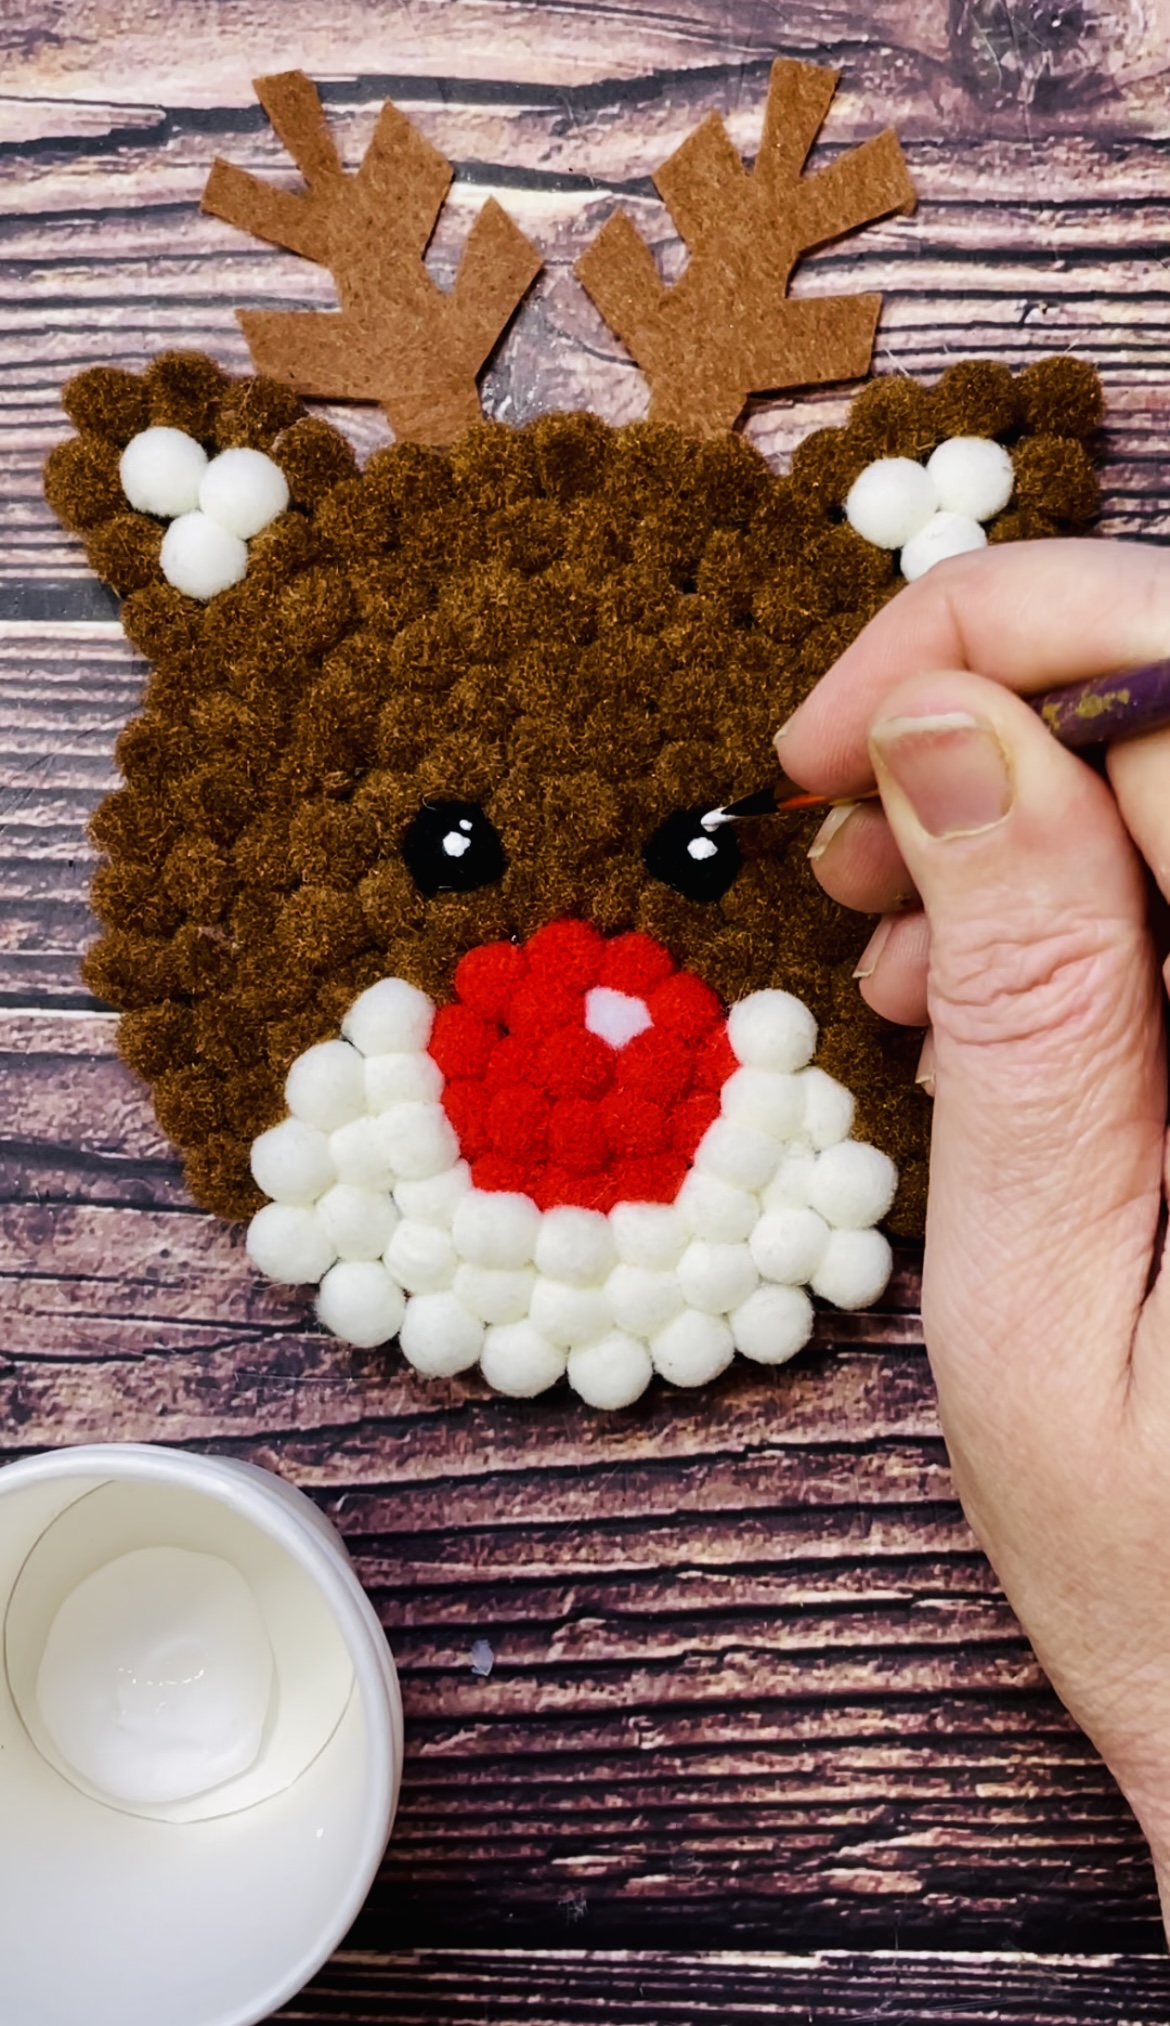
STEP 14
Lastly, add small white dots of white paints to give Rudy a little twinkle in his eyes and you’re all done! Adorable isn’t he?
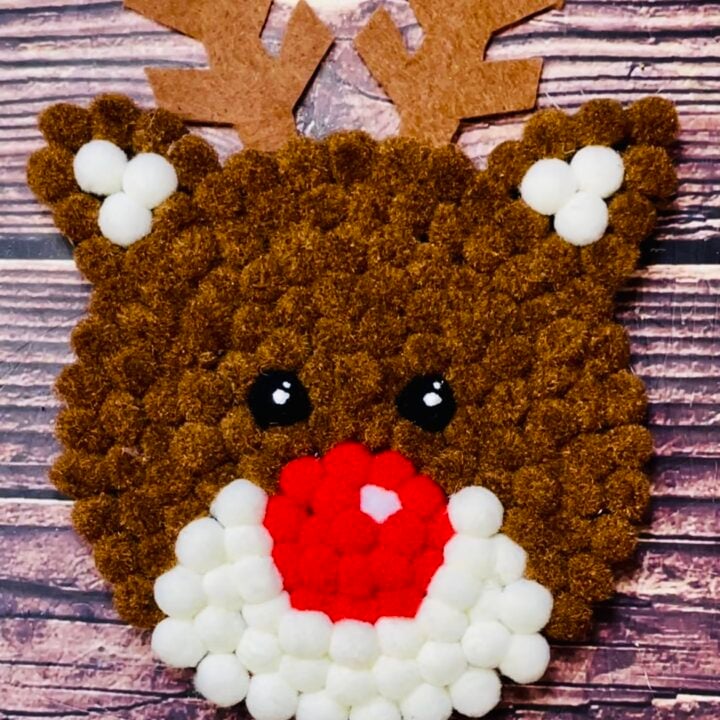
Adorable DIY Rudolph Pom Pom Coaster
This adorable Rudolph pom-pom coaster is cheap and easy to make and is the perfect handmade gift idea!
Materials
- Reindeer coaster template
- Cork sheet or 10cm diametre cork trivets
- Brown pom-poms
- Cream or ivory pom-poms
- Red pom-poms
- One white pom-pom
- Two black pom-poms
- White paint
- Brown felt
Tools
- Glue gun
- Sharpie
- Scissors
- Paintbrush
- Printer
Instructions
- Gather all your materials. Print and cut out your template. You can get your free template from the member's library by clicking here and entering your best email. Or if you are already a member click here and enter your password.

- Place your template onto the cork sheet and draw around it with your sharpie. If your cork sheet won't stay flat then I found the best way to flatten it is with an iron.

- Keeping the template in position, use the sharpie to mark the features of Rudolph. Do this by holding the sharpie on the lines to allow the ink to seep through the paper and mark the cork.

- Remove the template and join up the dots on the surface of the cork to make the features.

- Cut out your Rudolph

- Use the antler templates to cut out two antlers using brown felt.

- Secure the antlers to the cork using hot-glue.

- Begin securing the brown pom-poms to the cork with hot-glue, being sure to do the outline first and then filling in the middle. Leave a very small gap where the eyes will go.

- Next secure the outer edge of the red nose with hot-glue.

- While the outer edge of the red nose sets, secure the bottom edge of cream pom-poms as shown and add some cream pom-poms for the insides of the ears. Doing the outer edges and allowing them to cool will ensure the design retains a good shape whilst you fill in the middle.

- Secure one white pom-pom in the upper right area of the nose (this will give Rudolph's nose a little twinkle) and then fill in the lower area of the face with the cream or ivory pom-poms.

- Now fill in the rest of the nose with red pom-poms as shown.

- Secure the eyes by adding a drop of hot glue onto each of the black pom-poms and securing them individually... be sure to use tweezers to protect your fingers!

- Lastly add small white dots of white paints to give Rudy a little twinkle in his eyes and you're all done! Adorable isn't he?

