This cute and easy DIY Orange Cake Soap can be made in just 15-20 minutes!
It smells so delicious and is packed with orange essential oil that will leave you feeling refreshed and revitalized!
Whether you’re making it for yourself, or as the perfect handmade gift idea for anyone on your list, we know you’ll love making this gorgeous orange soap!

This orange cake soap is a quick and easy project that you can make in approximately 15-20 minutes!
With setting time you’re looking at an hour or so in total!
This stunning soap smells like delicious juicy oranges and looks good enough to eat… of course, you can’t actually eat it though!
You’ll find this craft tutorial featured in my little ebook 54 adorable crafts and is one of my favorite crafts to make when I’m making gifts for friends and family.
It’s so satisfying pouring and then cutting into the soap once it’s set to make the little sprinkles that adorn the top of the cake!
I can’t wait to show you how to make it…
Supplies For DIY Orange Cake Soap
Yield: 1 Soap
Tools
- Silicone Mould
- Knife
- Small Bowls (2-3)
- Baking Paper
- Jug
- Circle Cutter
Materials
- 175g Clear Melt and Pour Soap
- 75g White Melt and Pour Soap
- Orange and Yellow Soap Dyes
- Orange Essential Oil
How To Make Orange Cake Soap
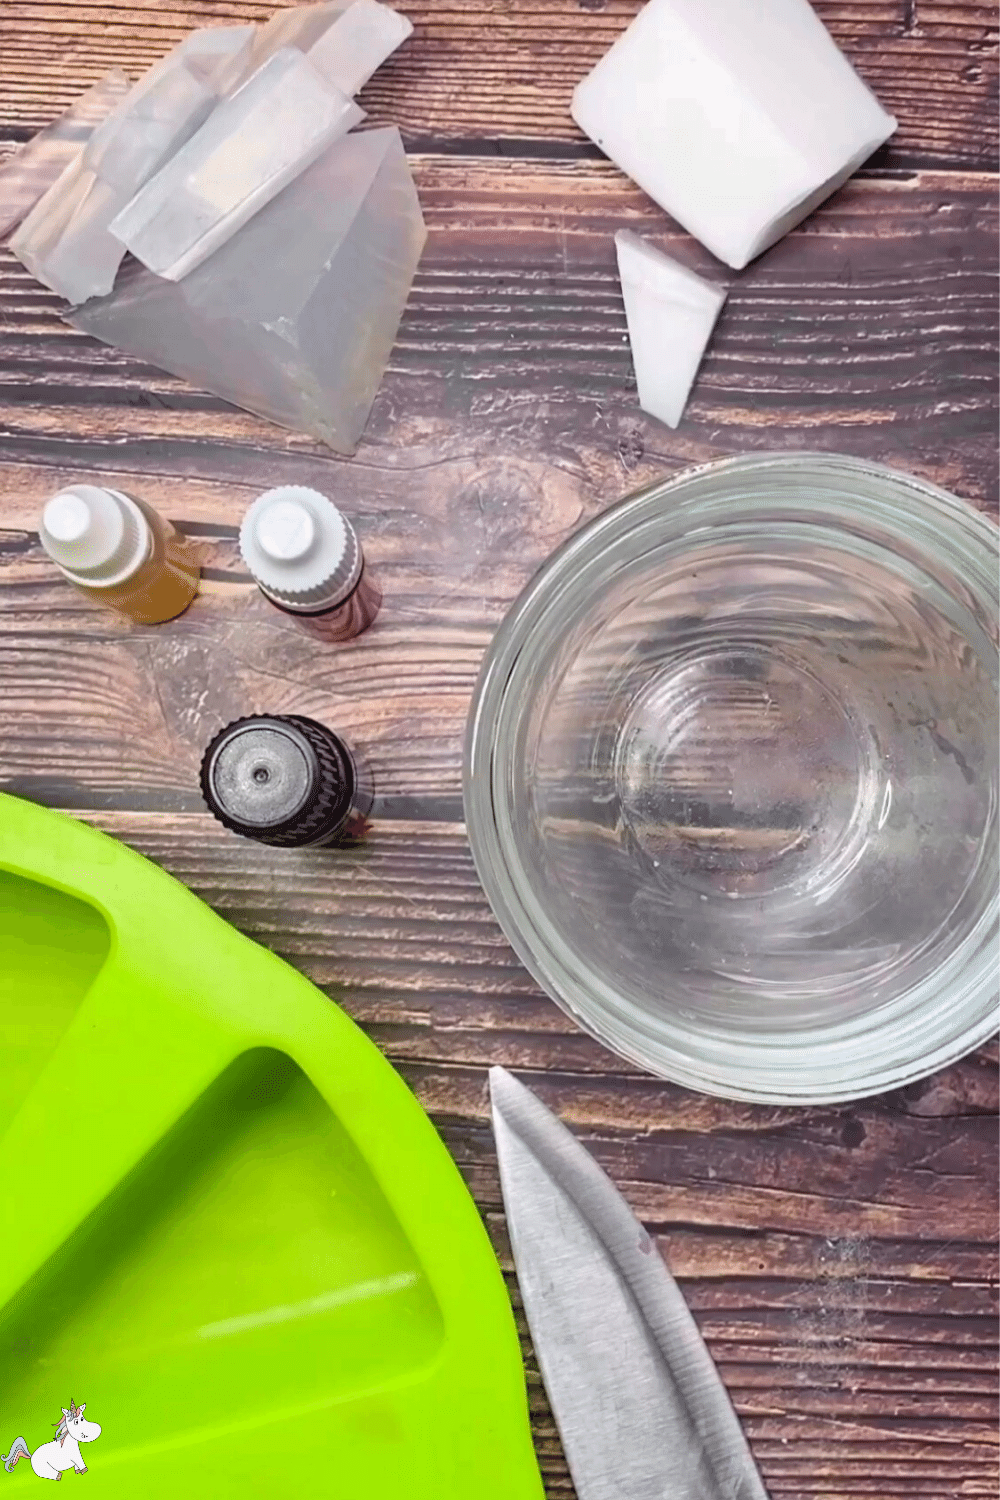
Step 1 – Get Prepared
Gather together all of your tools and materials
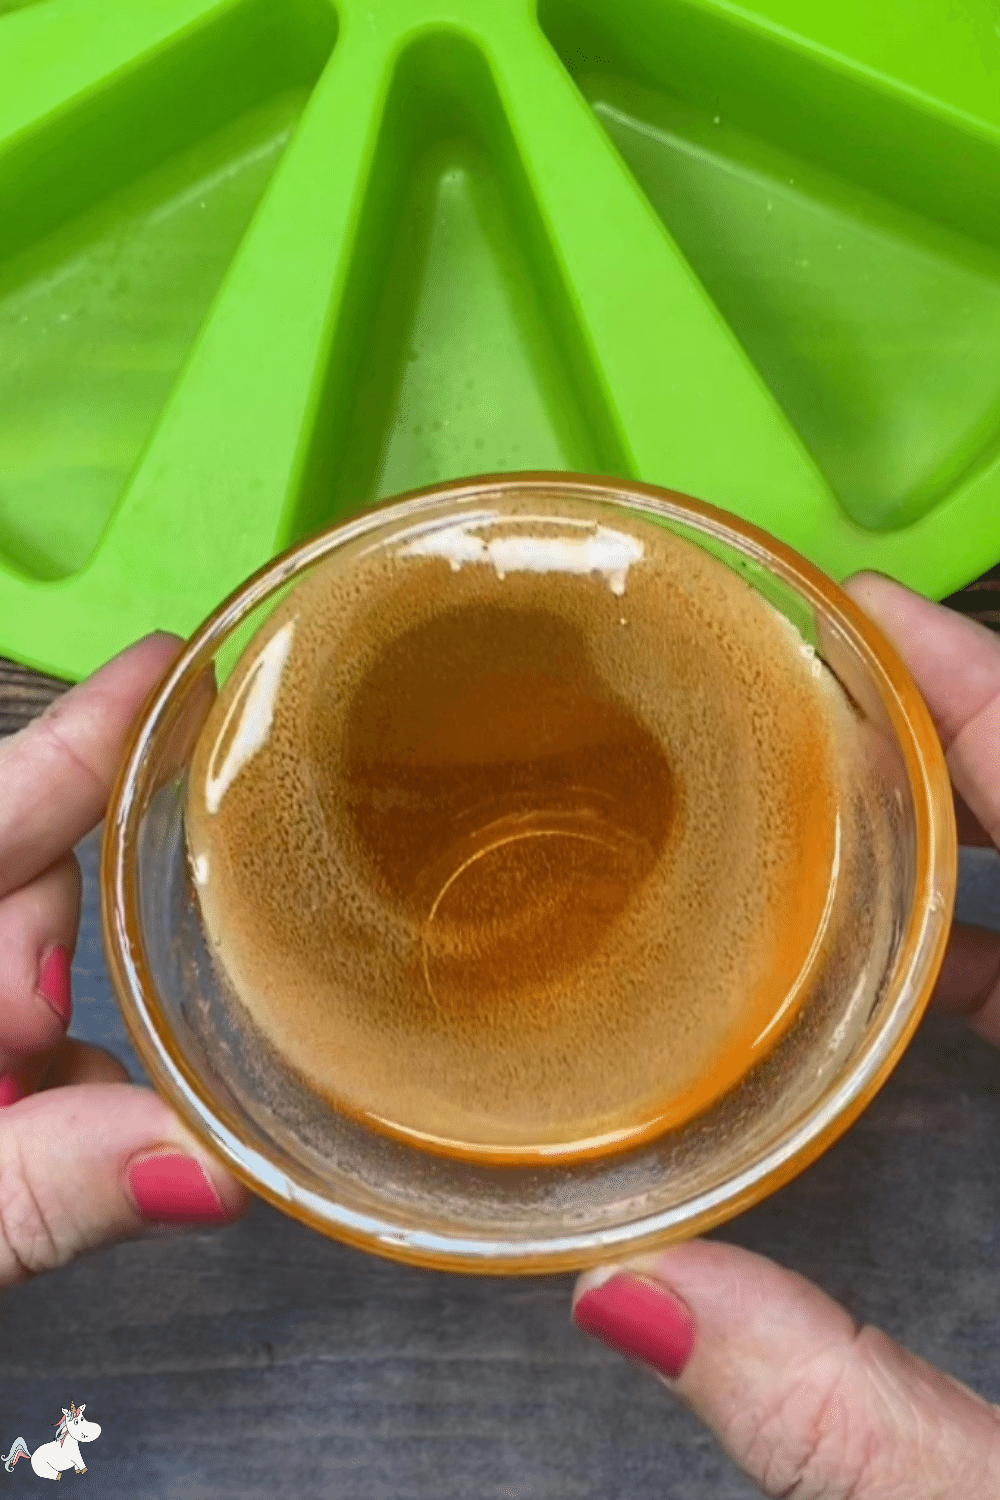
Step 2 – Make The Soap Base
Melt 120g of the clear soap base in the microwave. This should only take between 20-60 seconds.
Be sure to check every 10 seconds or so as the soap will overflow once melted!
Once the soap has melted, add orange soap dye and a few drops of essential oil and pour into the mold.
Step 3 – Making The Orange Segment For The Top Of The Cake Soap Slice
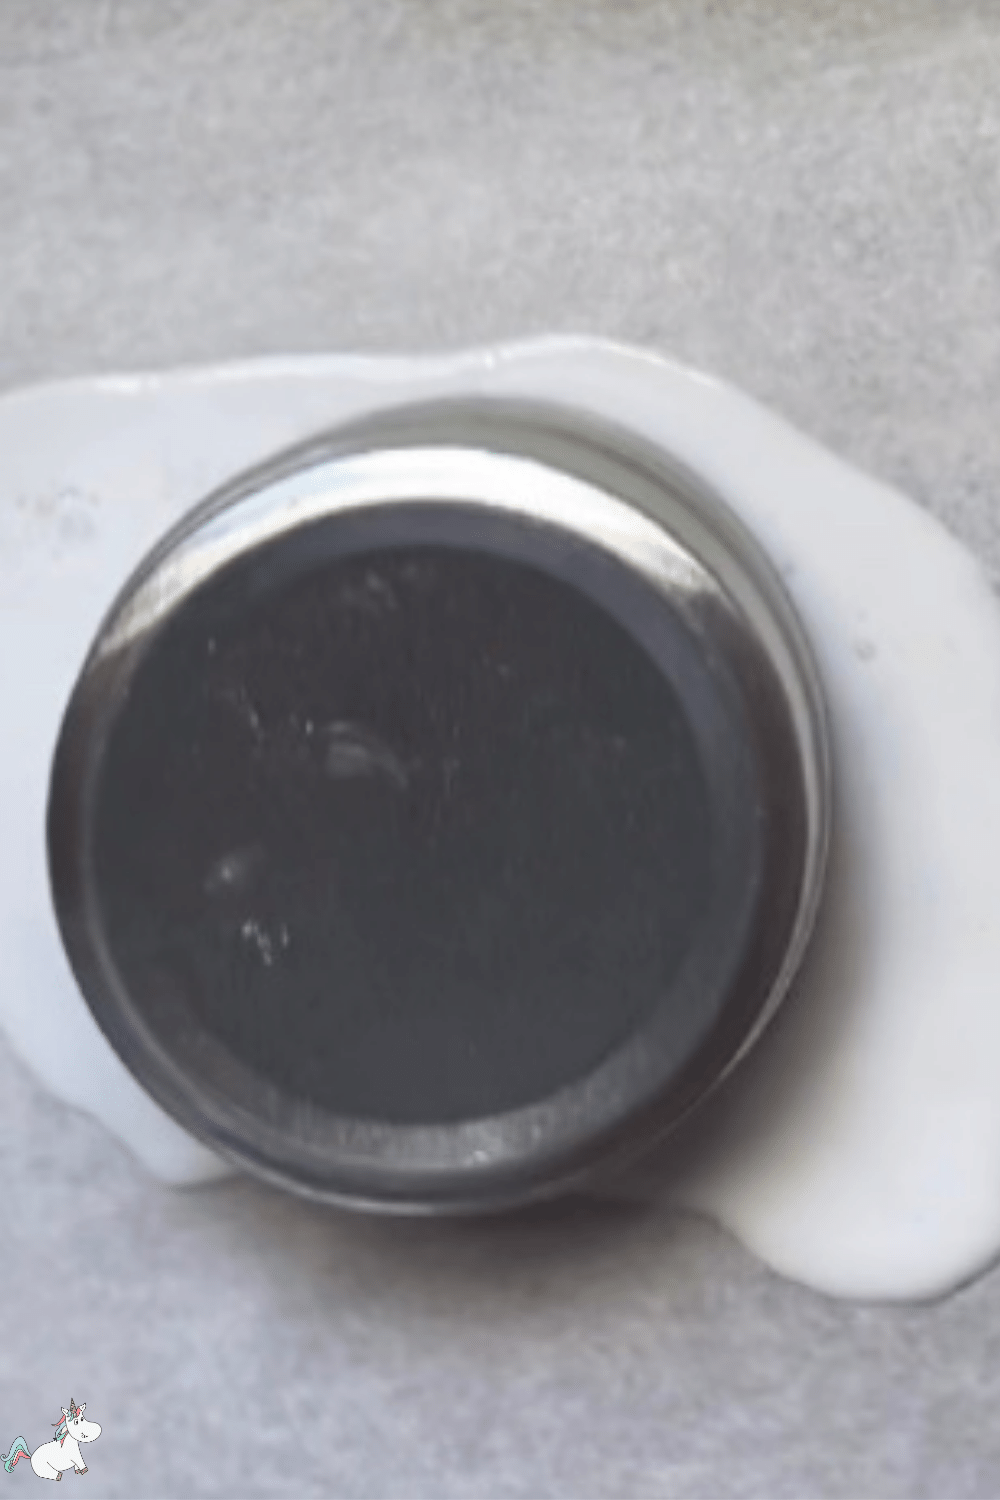
3.1 Melt approximately 25g of the white soap base and pour onto a flat sheet of baking paper… don’t worry, the soap won’t spread too far at all.

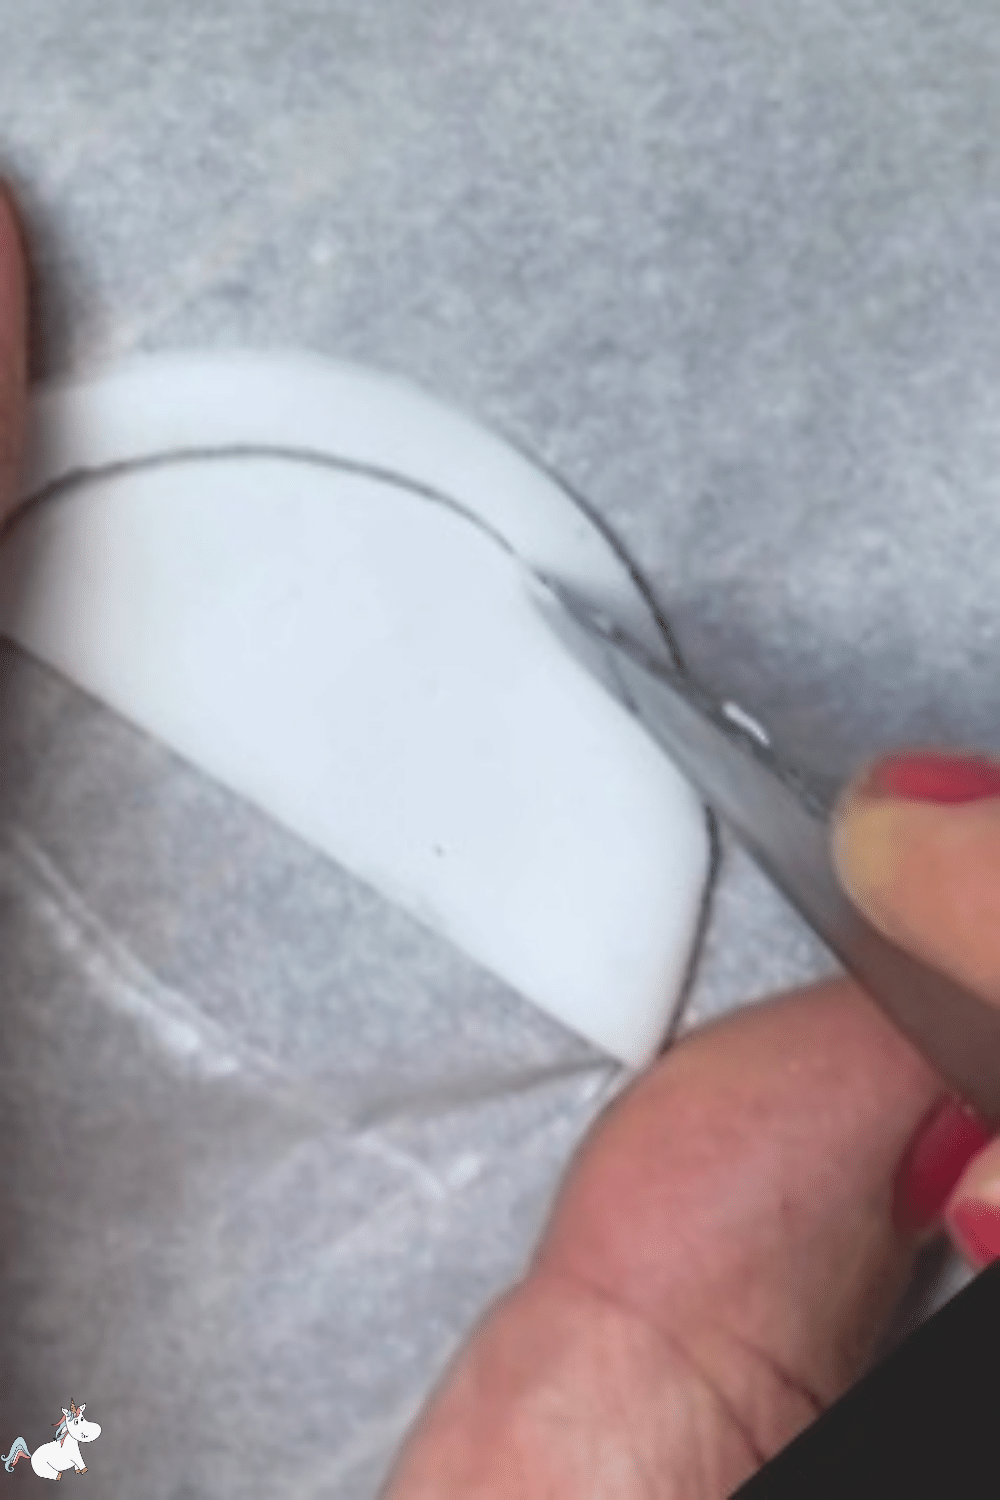
3.2 Once the poured soap feels solid to touch, use a round cutting tool to cut out a circle shape.
3.3 Cut the circle in half using the knife to make two semi circles
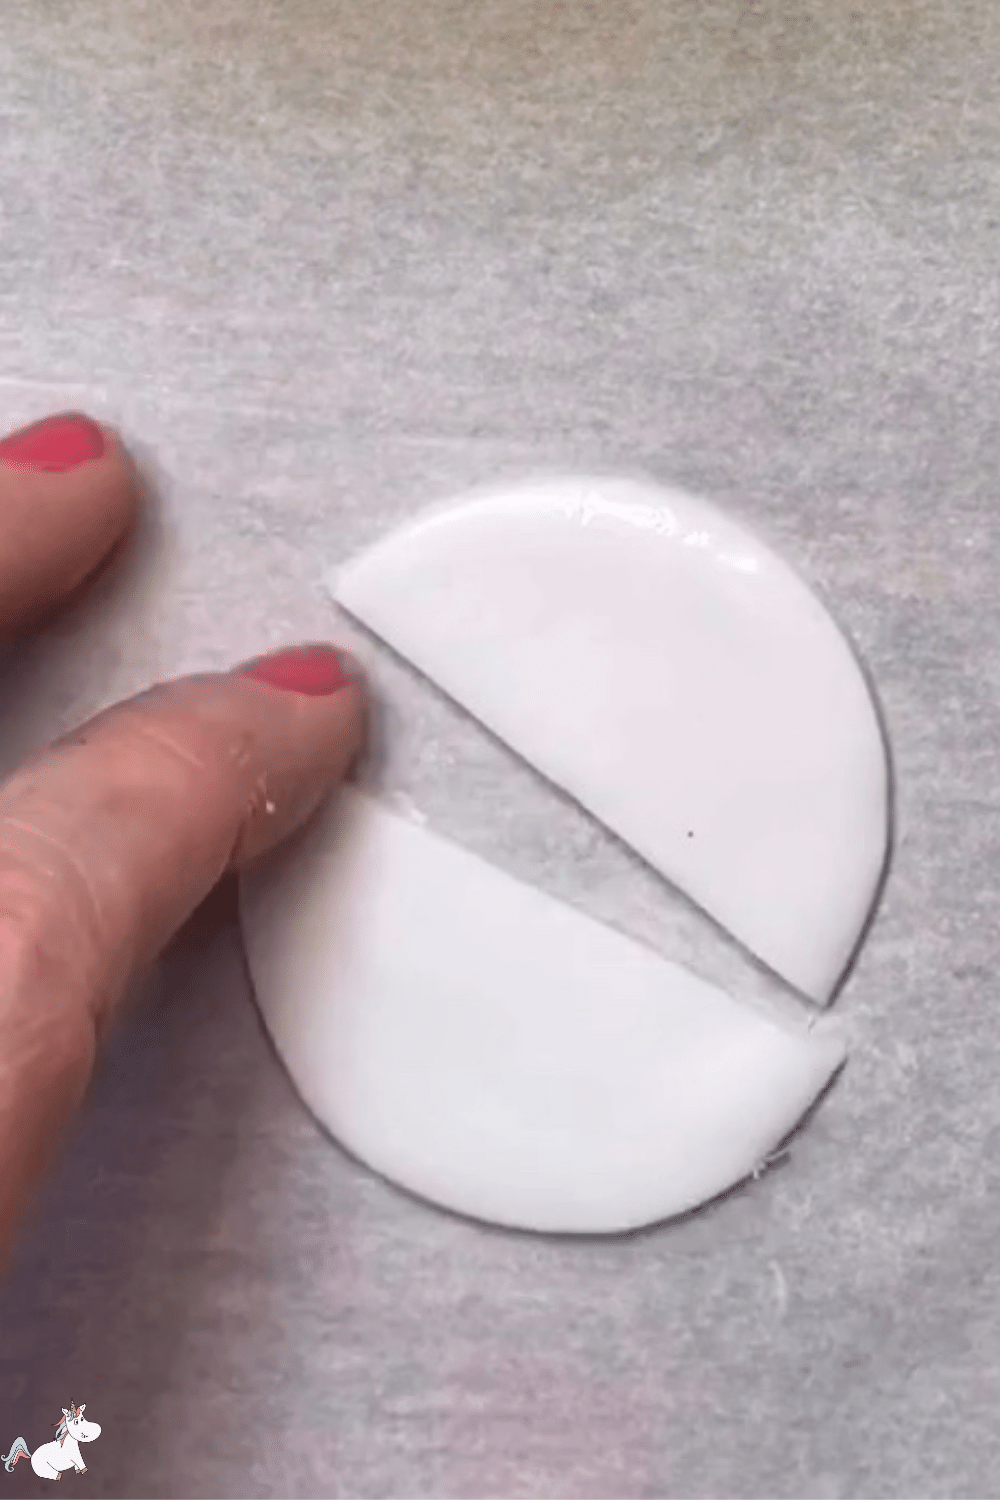
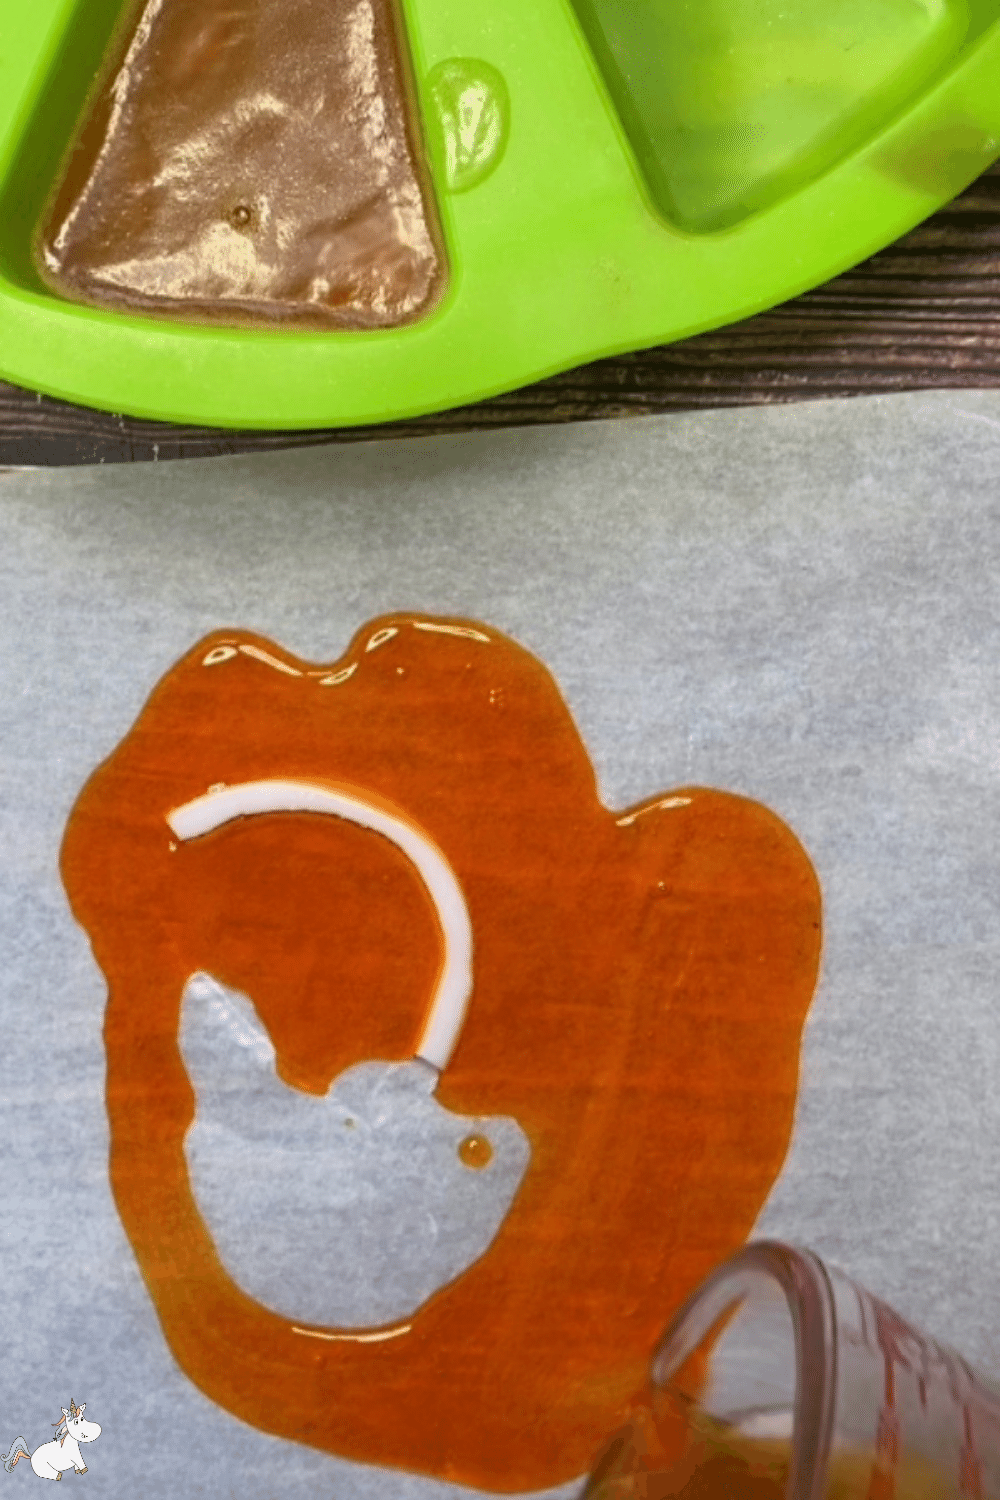
3.4 Carve out an inner semi-circle as shown below. Leave the remaining outer edge on the paper ready for the next step.
3.5 Melt approximately 40g of the clear soap in the microwave and melt in 10-second bursts until fully melted and then add a few drops of orange dye.
Pour the orange soap around the white semi-circle edge that remains on the paper.
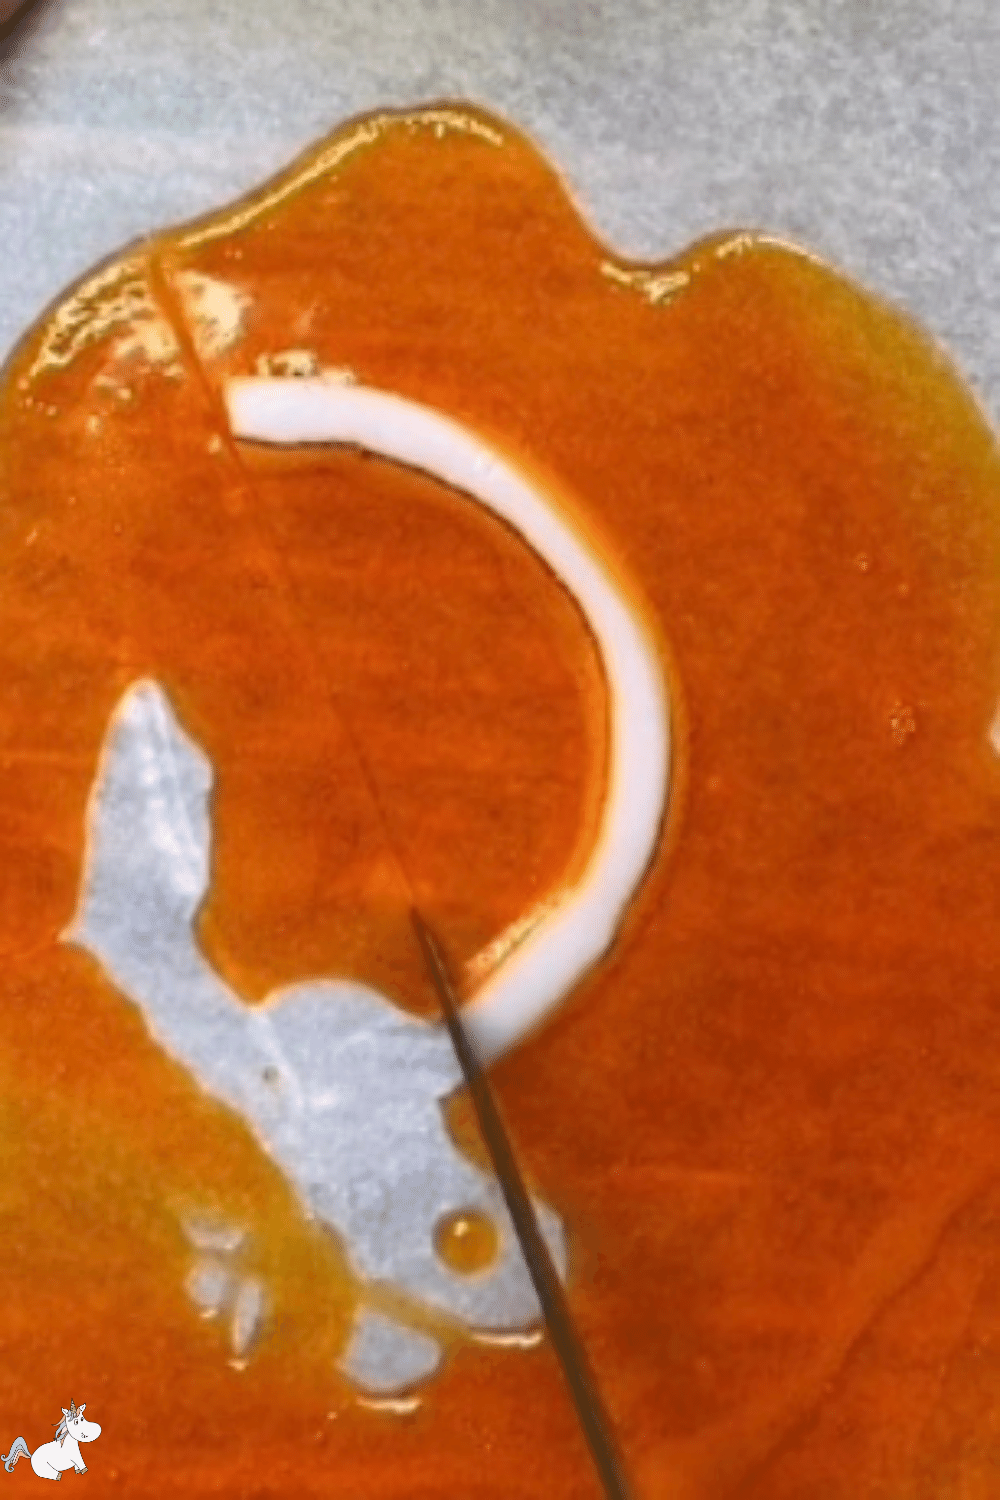
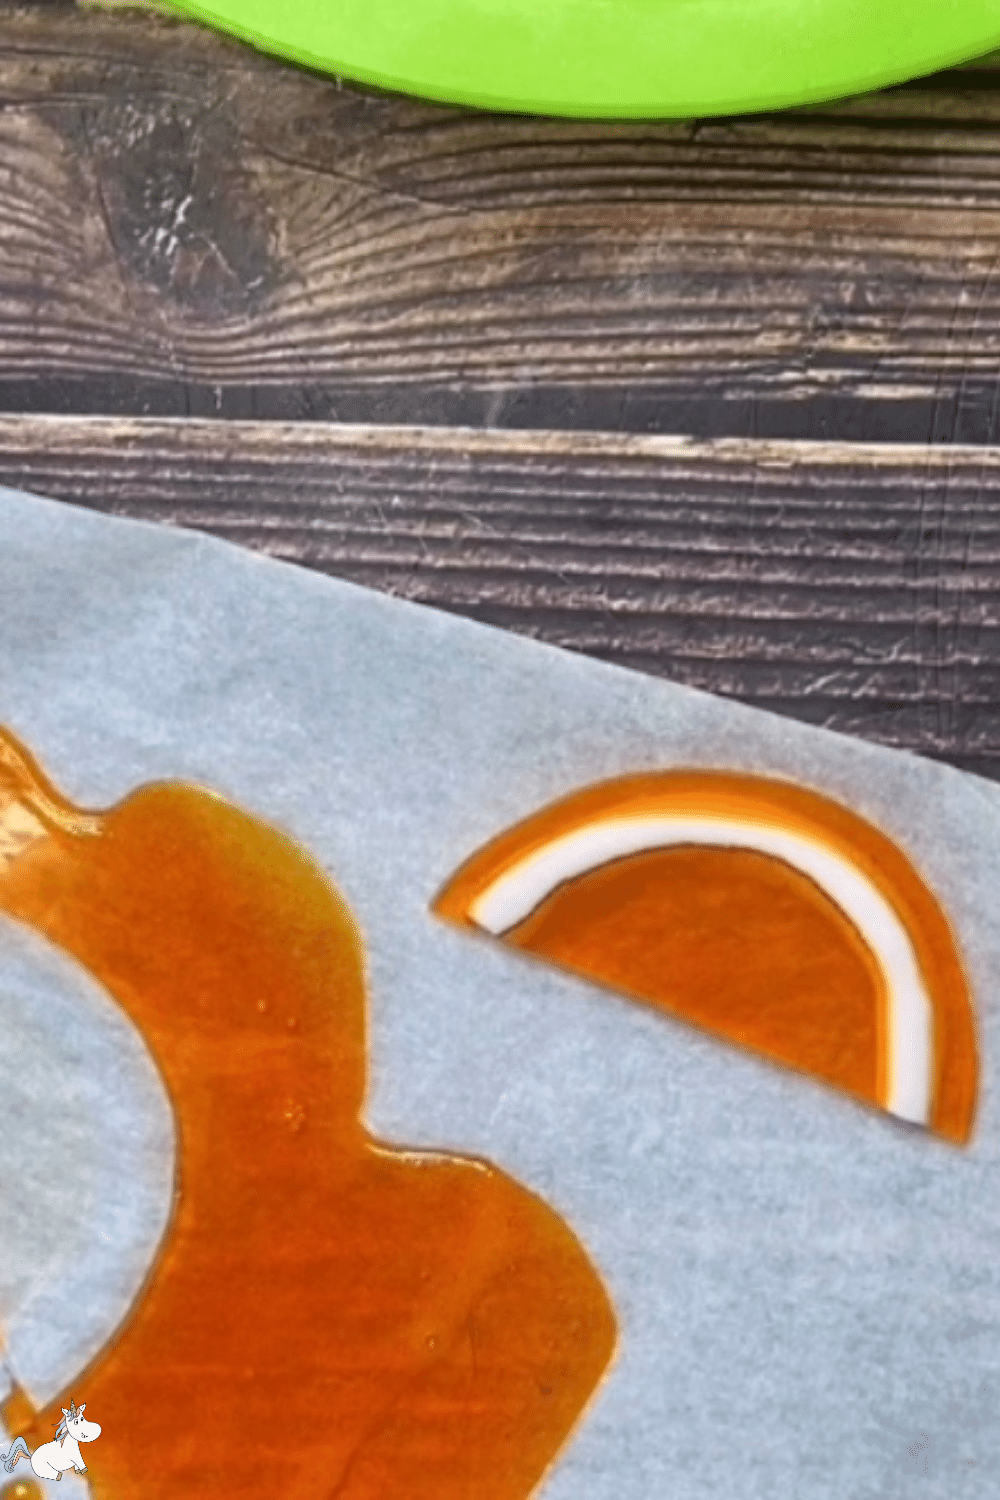
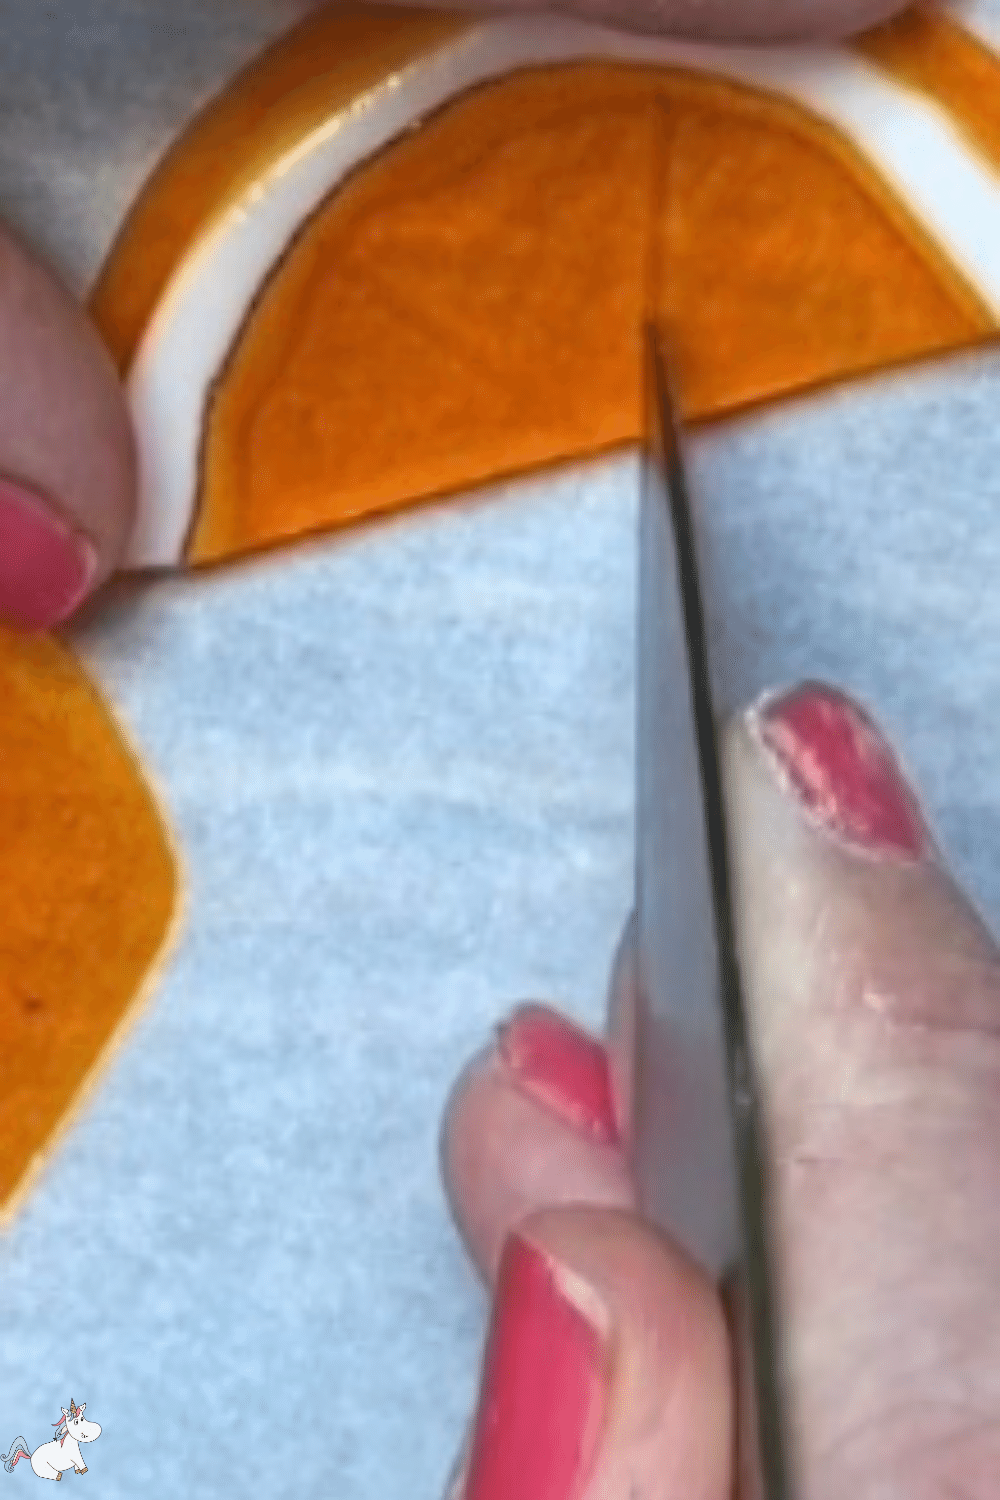
3.6 Once the soap feels solid to touch use a knife to cut out an orange segment shape as shown in the following three pictures…
- TIP – Leave the excess orange soap on the paper ready for making sprinkles in the next step!

Step 4 – Making The Sprinkles
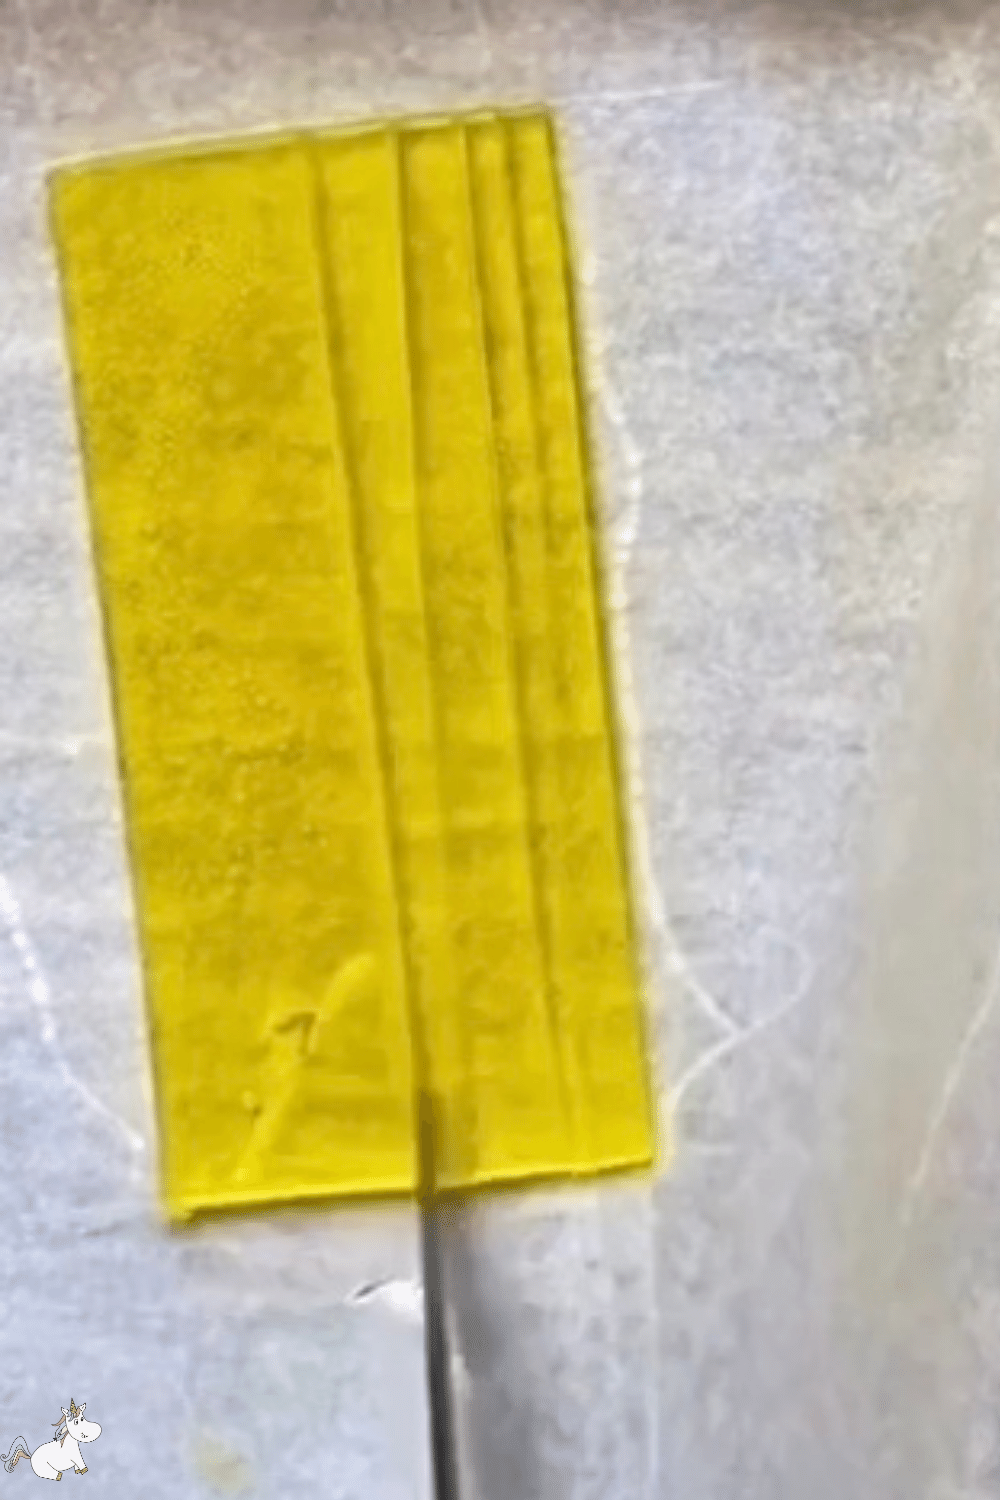
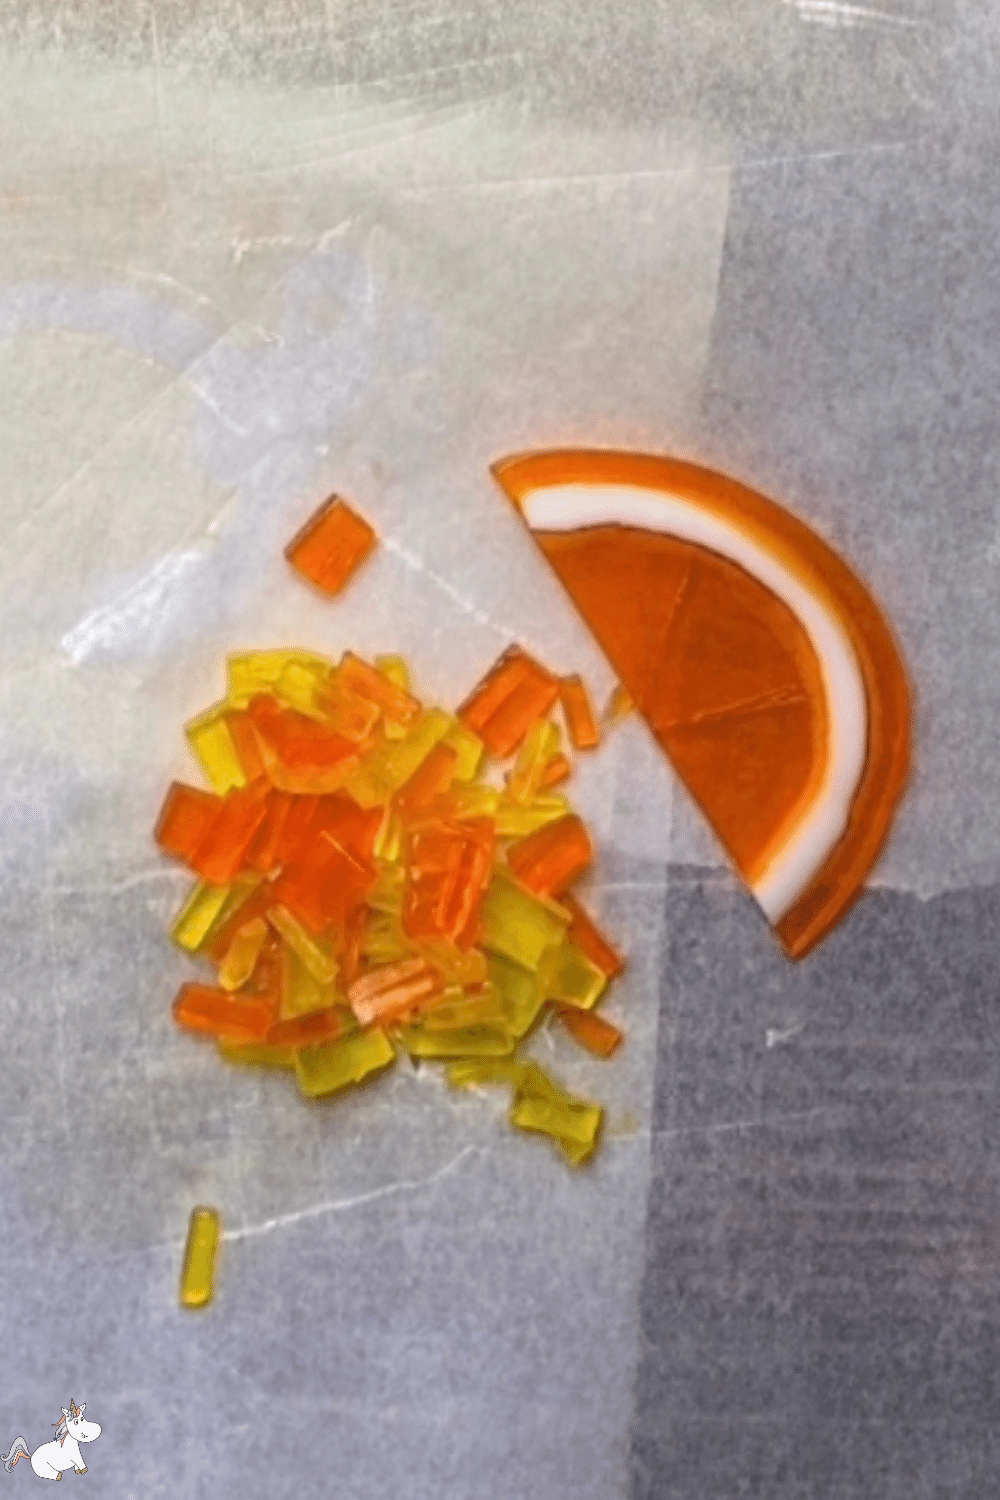
4.1 Melt 15g of clear melt and pour soap in 10-second bursts until melted. Add a few drops of yellow coloring and pour them onto your baking paper. Once the soap feels solid to touch, use the knife to cut horizontal lines in the soap and then vertical lines to create lots of little squares.
4.2. Repeat with the remaining orange soap and your toppings are ready!
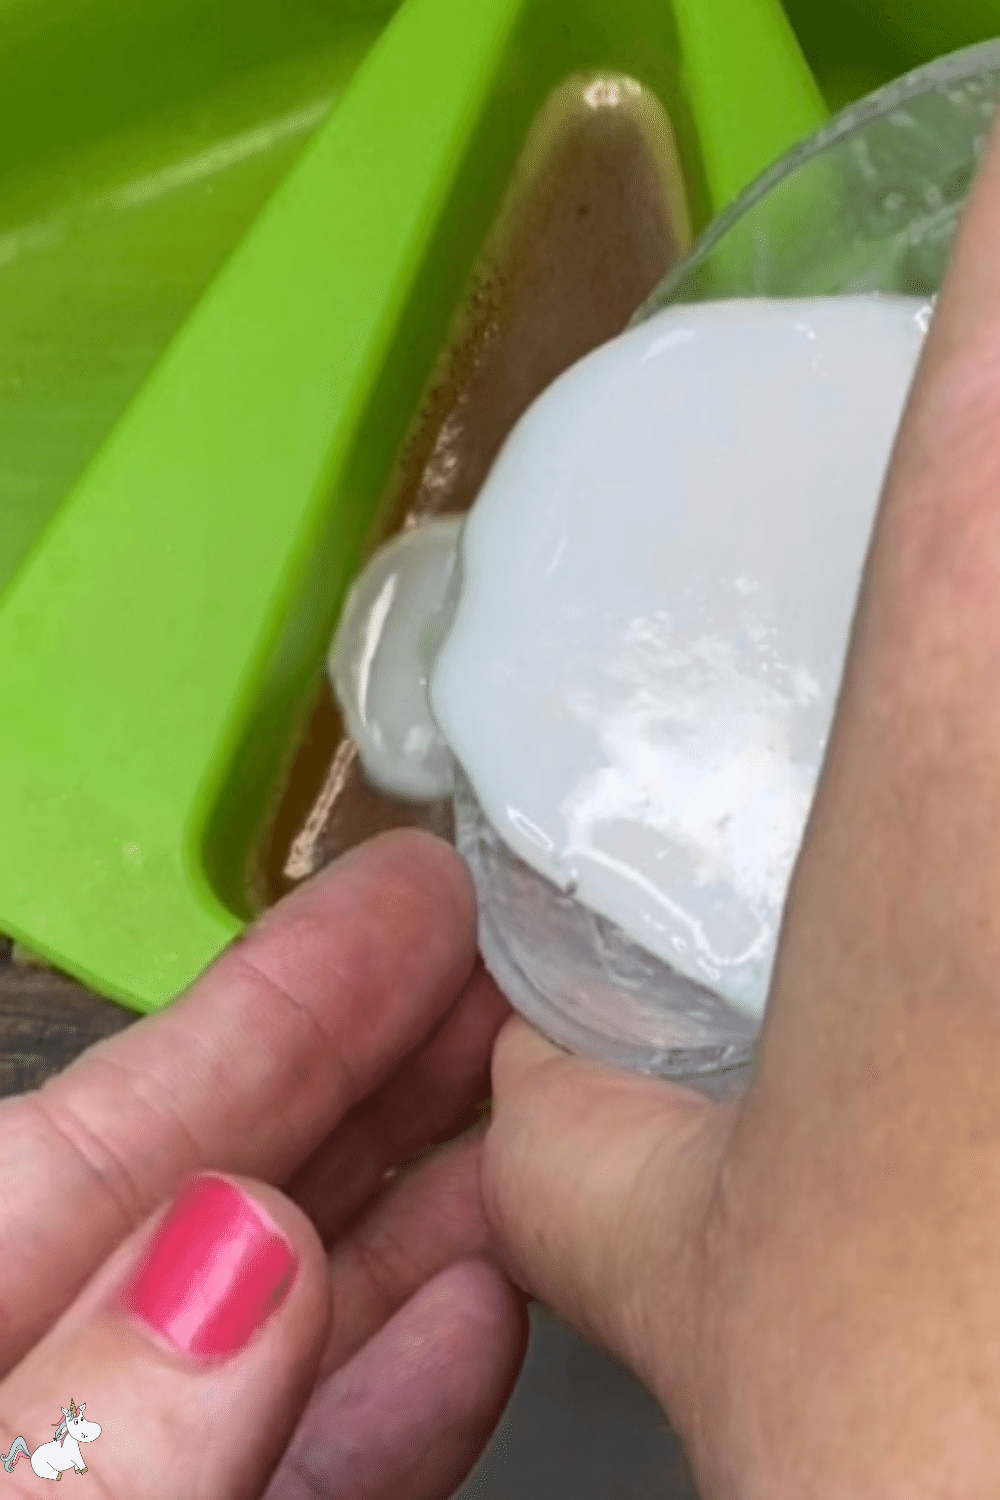
Step 5 – Make The Cake Soap Icing
Melt 50g of white soap in the microwave in 10-second bursts until fully melted. Add a few drops of orange essential oil and pour on top of the orange base you poured in step 2.
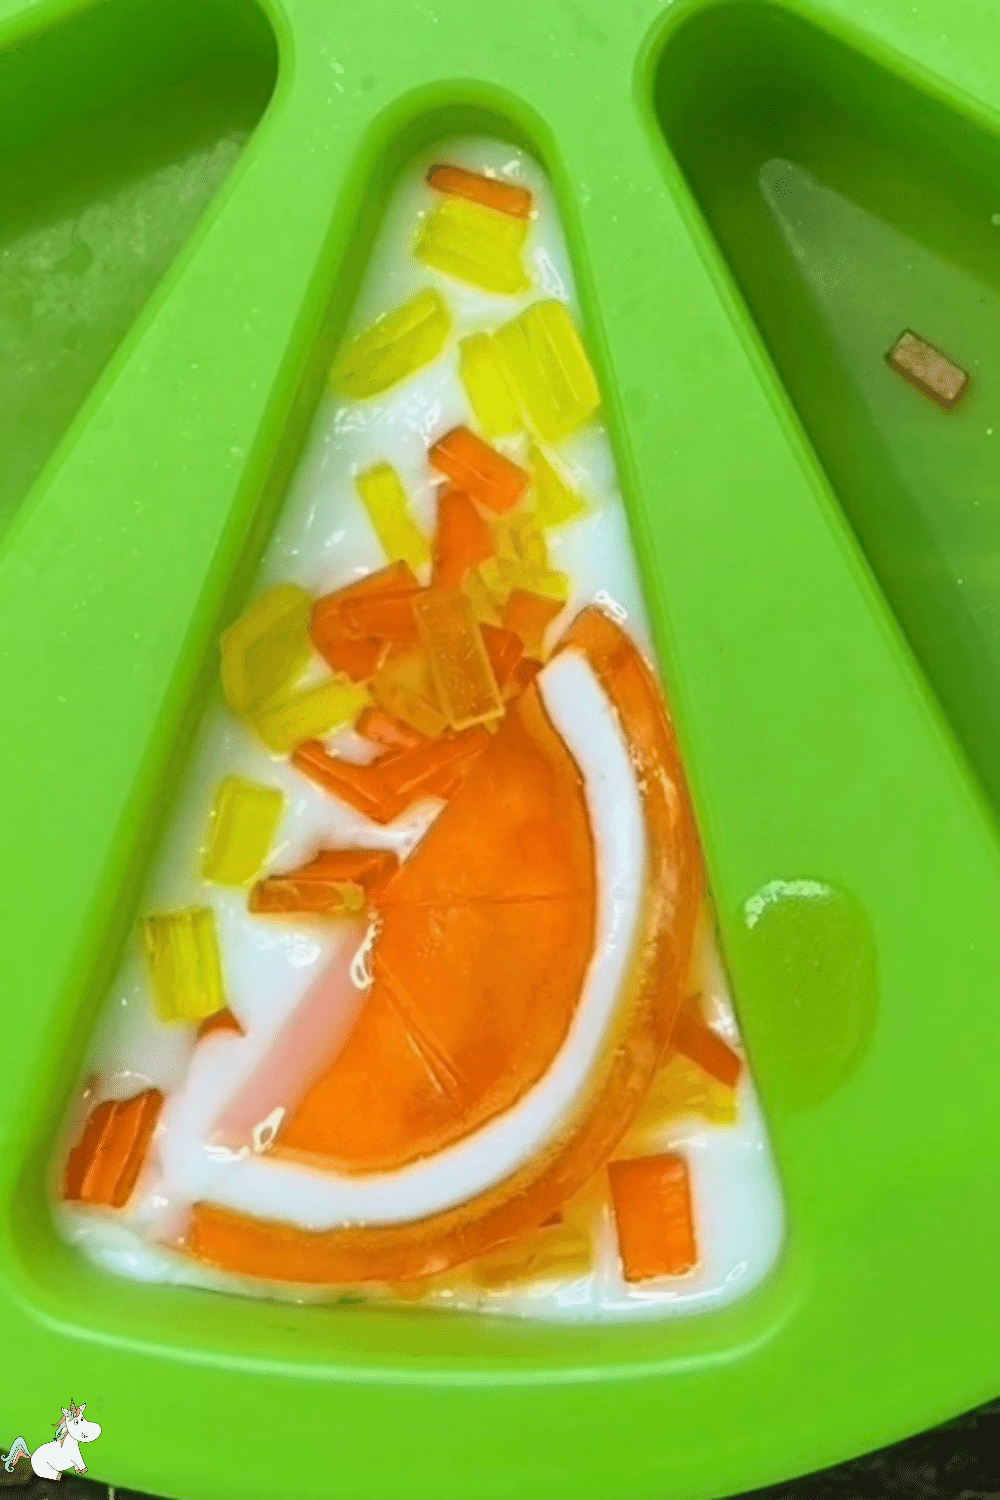
Step 6 – Decorate The Cake Soap
Working quickly (as the soap sets super fast) add your sprinkles onto the top of the white soap and place your orange segment.
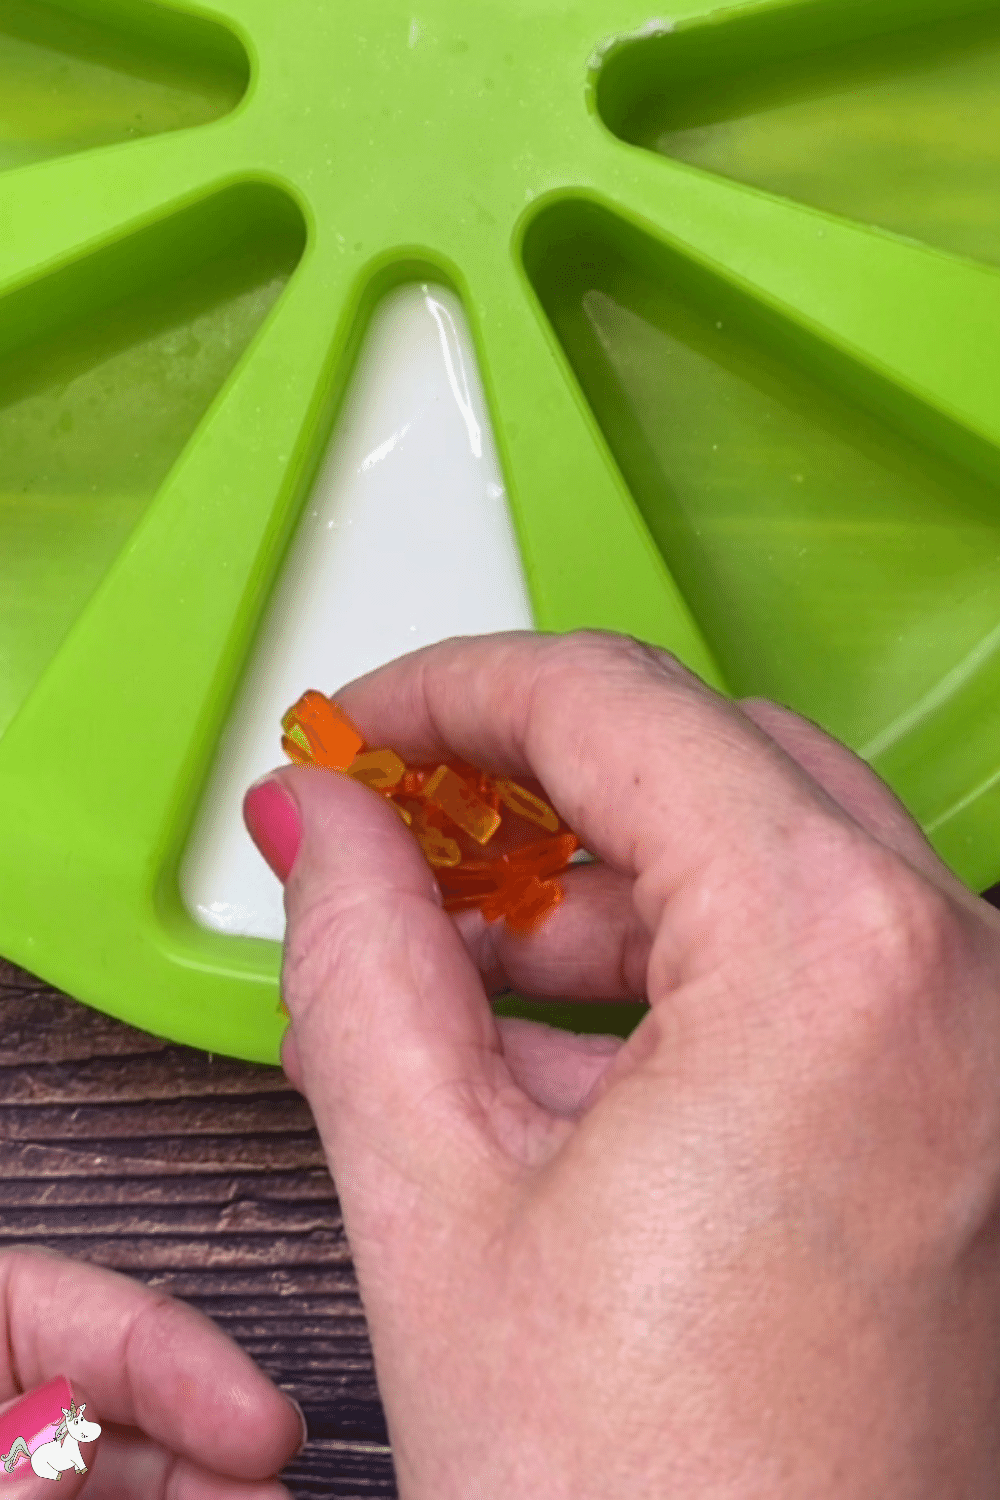
- Tip: Use a knife to poke the sprinkles and segments down into the hot soap to avoid burning your fingers.
Conclusion
This beautifully scented orange cake soap is a pleasure to make and will be a delightful homemade gift for everyone on your list.
It’s filled with orange essential oils that will leave you feeling fresh and energized and looks amazing too!
More Craft Articles On The Mummy Front
If you enjoyed this DIY Orange cake soap tutorial then be sure to click the button below to follow us on Facebook where we’ll be sharing new posts just like this one…
You May Also Like These Articles From The Mummy Front
- 42 DIY Valentine’s Wreaths To Make On A Budget
- 14 Valentine’s Day Decoration Ideas You’ll Fall In Love With
- DIY Valentines Sugar Scrub Recipe
Connect With The Mummy Front
Here at the Mummy Front, we love sharing ideas and getting to know you and what you enjoy crafting the most!
If you want to get to know us too then be sure to click here to join our family, we can’t wait to get to know you!